Execute employee termination tasks by using lifecycle workflows
This tutorial provides a step-by-step guide on how to execute a real-time employee termination by using lifecycle workflows in the Microsoft Entra admin center.
This leaver scenario runs a workflow on demand and accomplishes the following tasks:
- Remove the user from all groups.
- Remove the user from all Microsoft Teams memberships.
- Delete the user account.
For more information, see Run a workflow on demand.
Prerequisites
Using this feature requires Microsoft Entra ID Governance licenses. To find the right license for your requirements, see Microsoft Entra ID Governance licensing fundamentals.
Before you begin
To complete this tutorial, you must satisfy the prerequisites listed in this section before starting the tutorial as they aren't included in the actual tutorial. As part of the prerequisites for completing this tutorial, you need an account that has group and Teams memberships and that can be deleted during the tutorial. For comprehensive instructions on how to complete these prerequisite steps, see Prepare user accounts for lifecycle workflows.
The leaver scenario includes the following steps:
- Prerequisite: Create a user account that represents an employee leaving your organization.
- Prerequisite: Prepare the user account with group and Teams memberships.
- Create the lifecycle management workflow.
- Run the workflow on demand.
- Verify that the workflow was successfully executed.
Create a workflow by using the leaver template
Use the following steps to create a leaver on-demand workflow that executes a real-time employee termination by using lifecycle workflows in the Microsoft Entra admin center:
Sign in to the Microsoft Entra admin center as at least a Lifecycle Workflows Administrator.
Select Identity Governance.
Select Lifecycle workflows.
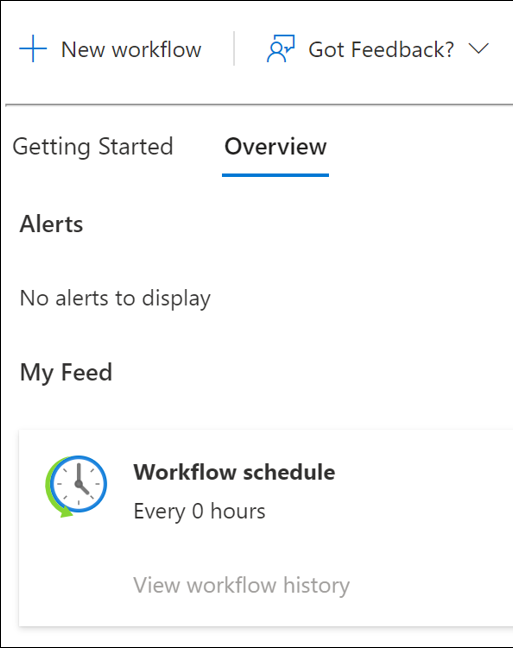
On the Overview tab, select New workflow.
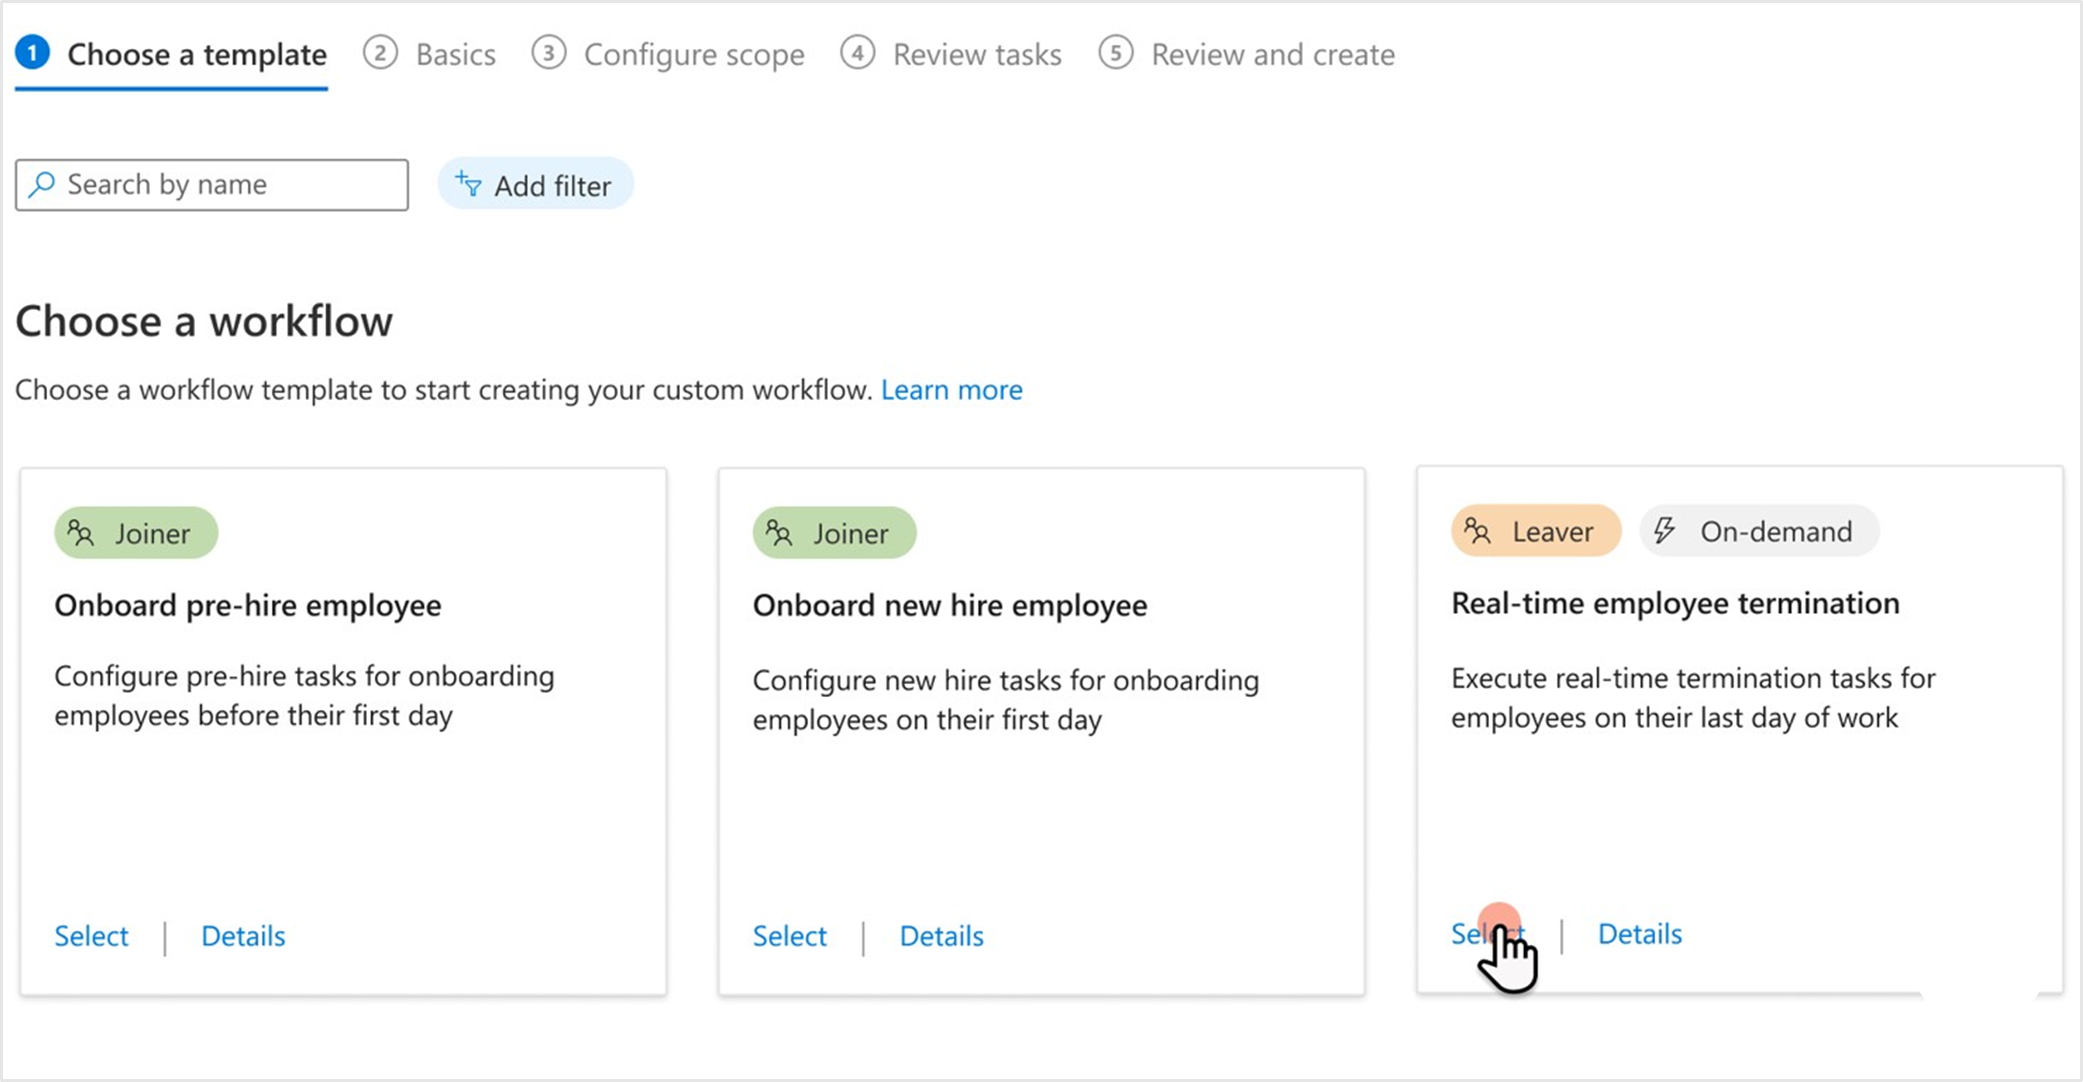
From the collection of templates, choose Select under Real-time employee termination.
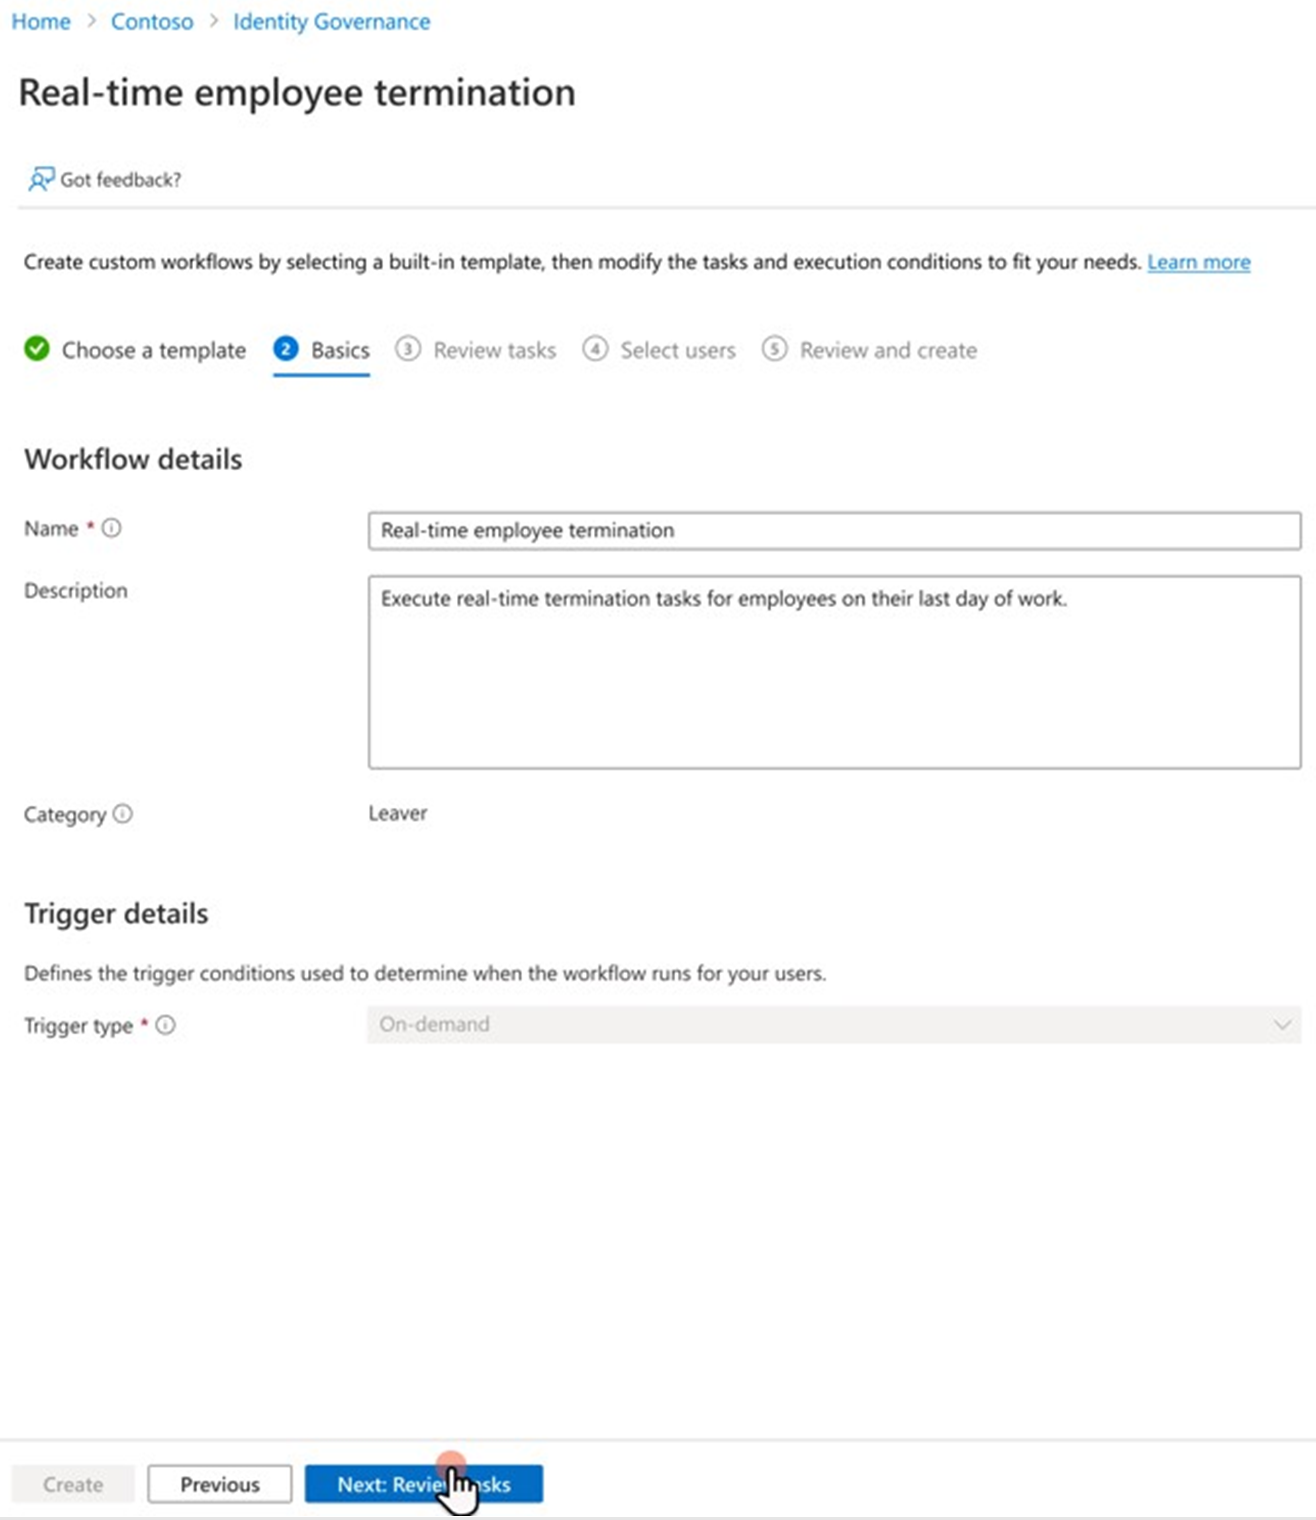
Configure basic information about the workflow, and then select Next: Review tasks.
Inspect the tasks if you want, but no additional configuration is needed. Select Next: Select users when you're finished.

On the Select users page, for Selection type choose Select users to run now. It allows you to select users for which the workflow will be executed immediately after creation. Regardless of the selection, you can run the workflow on demand later at any time, as needed.

Select Add users to designate the users for this workflow.

A panel with the list of available users appears on the right side of the window. Choose Select when you're done with your selection.

Select Next: Review and create when you're satisfied with your selection of users.

Verify that the information is correct, and then select Create.


Run the workflow
After the workflow is created, it runs automatically every three hours. Lifecycle workflows check every three hours for users in the associated execution condition, and executes the configured tasks for those users.
To run the workflow immediately, you can use the on-demand feature.
Note
You currently can't run a workflow on demand if it's set to Disabled. You need to set the workflow to Enabled to use the on-demand feature.
To run a workflow on demand for users by using the Microsoft Entra admin center:
- On the workflow screen, select the specific workflow that you want to run.
- Select Run on demand.
- On the Select users tab, select Add users.
- Add users.
- Select Run workflow.
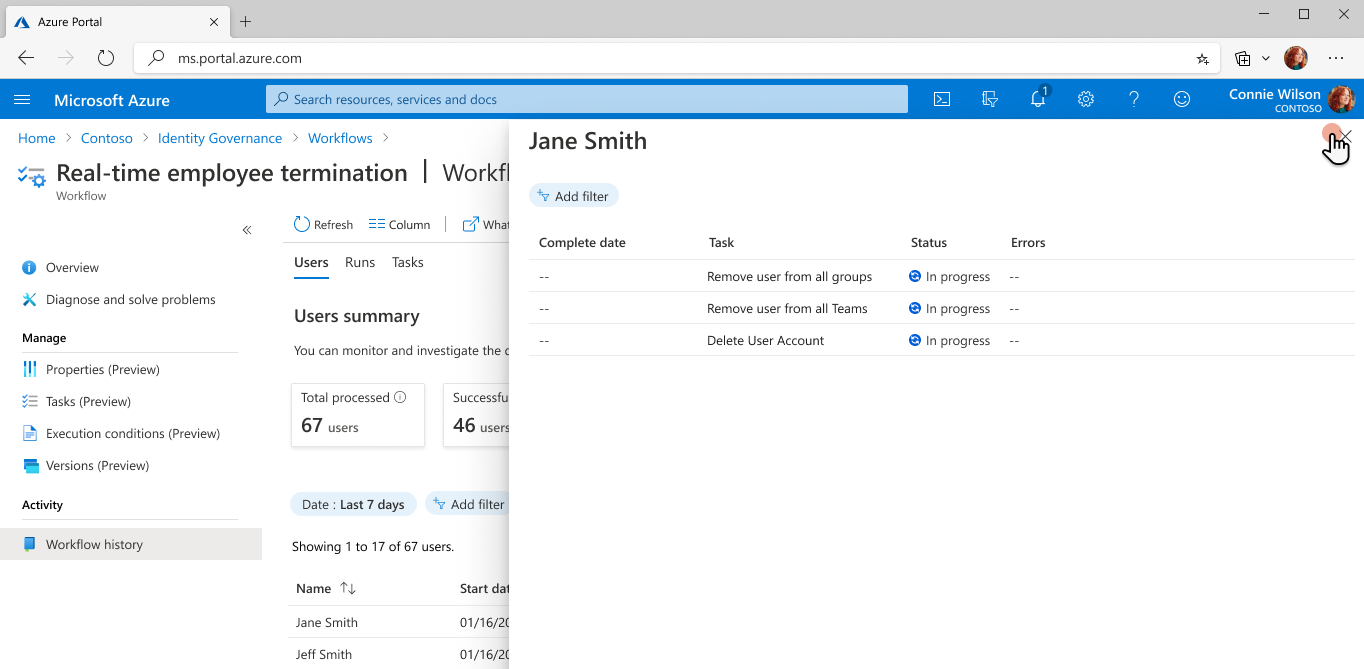
Check tasks and workflow status
At any time, you can monitor the status of workflows and tasks. Three data pivots, users runs, and tasks are currently available. You can learn more in the how-to guide Check the status of a workflow. In this tutorial, you check the status by using the user-focused reports.
On the Overview page for the workflow, select Workflow history.

The Workflow history page appears.

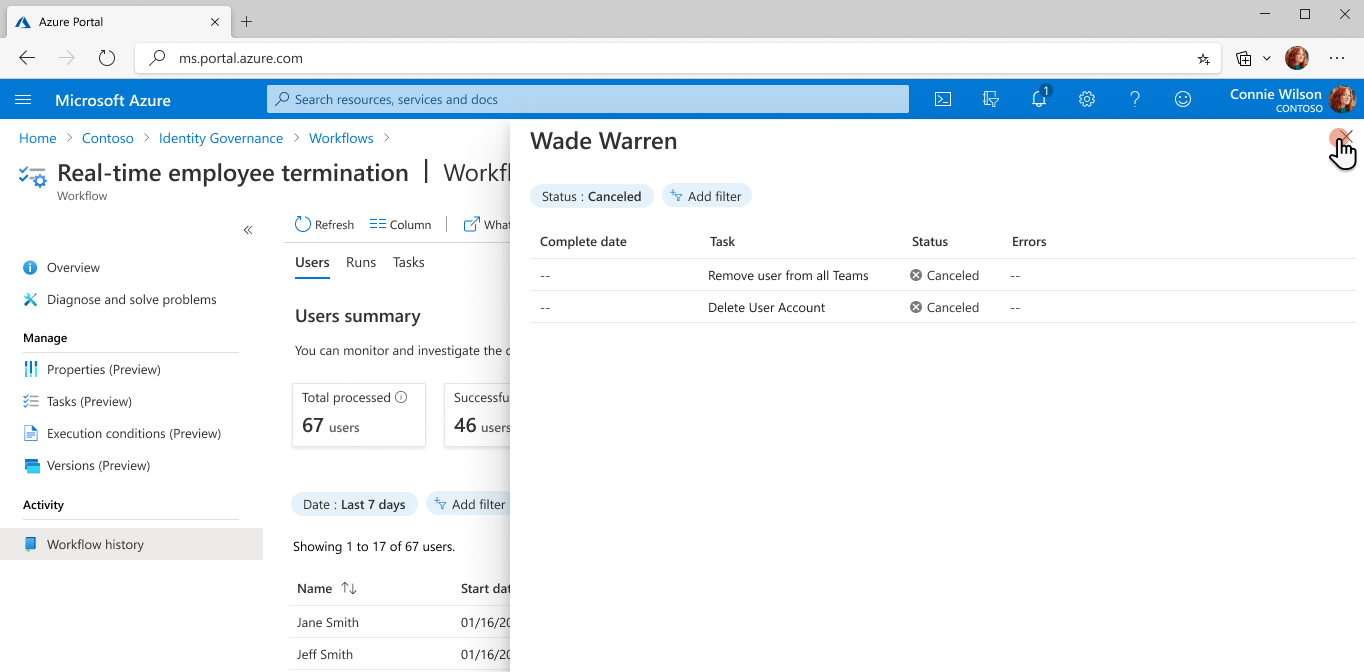
Select Total tasks for a user to view the total number of tasks created and their statuses.
To add an extra layer of granularity, select Failed tasks for a user to view the total number of failed tasks assigned to that user.

Select Unprocessed tasks for a user to view the total number of unprocessed or canceled tasks assigned to that user.


Next steps
Feedback
Coming soon: Throughout 2024 we will be phasing out GitHub Issues as the feedback mechanism for content and replacing it with a new feedback system. For more information see: https://aka.ms/ContentUserFeedback.
Submit and view feedback for