One-click app configuration of single sign-on
In this tutorial, you learn how to perform one-click, single sign-on (SSO) configuration for SAML-supporting, Microsoft Entra applications from the Azure Marketplace.
Introduction to one-click SSO
The one-click SSO feature is designed to configure single sign-on for Azure Marketplace apps that support SAML protocol. On the Microsoft Entra SSO configuration page, this option allows you to automatically configure the Microsoft Entra metadata on the application side. In this way, you can quickly set up SSO with minimal manual effort.
Advantages of one-click SSO
- Quick SSO configuration of Azure Marketplace applications that require manual setup on application side.
- More efficient and accurate SSO configuration.
- No partner communication or support needed for setup. The application provides the UI for SAML configuration.
Prerequisites
- An active subscription of the application to configure with SSO. You also need admin credentials.
- The My Apps Secure Sign-in extension from Microsoft installed in the browser. For more information, see Access and use apps on the My Apps portal.
One-click SSO configuration steps
Add the application from the Azure Marketplace.
Select Single sign-on.
Select Enable single sign-on.
Populate the mandatory configuration values in the Basic SAML Configuration section.
Note
If the application has custom claims that you need to configure, handle them before performing one-click SSO.
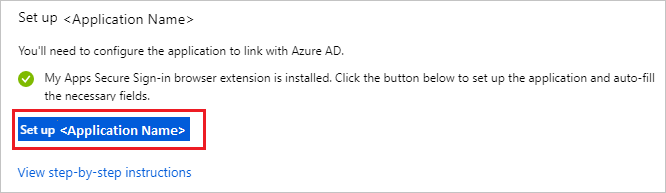
If the one-click SSO feature is available for your Azure Marketplace application, you see following screen. You might have to install the My Apps Secure Sign-in browser extension by selecting Install the extension.

After you add the extension to the browser, select Setup <Application Name>. After you're redirected to the application admin portal, sign in as an administrator.
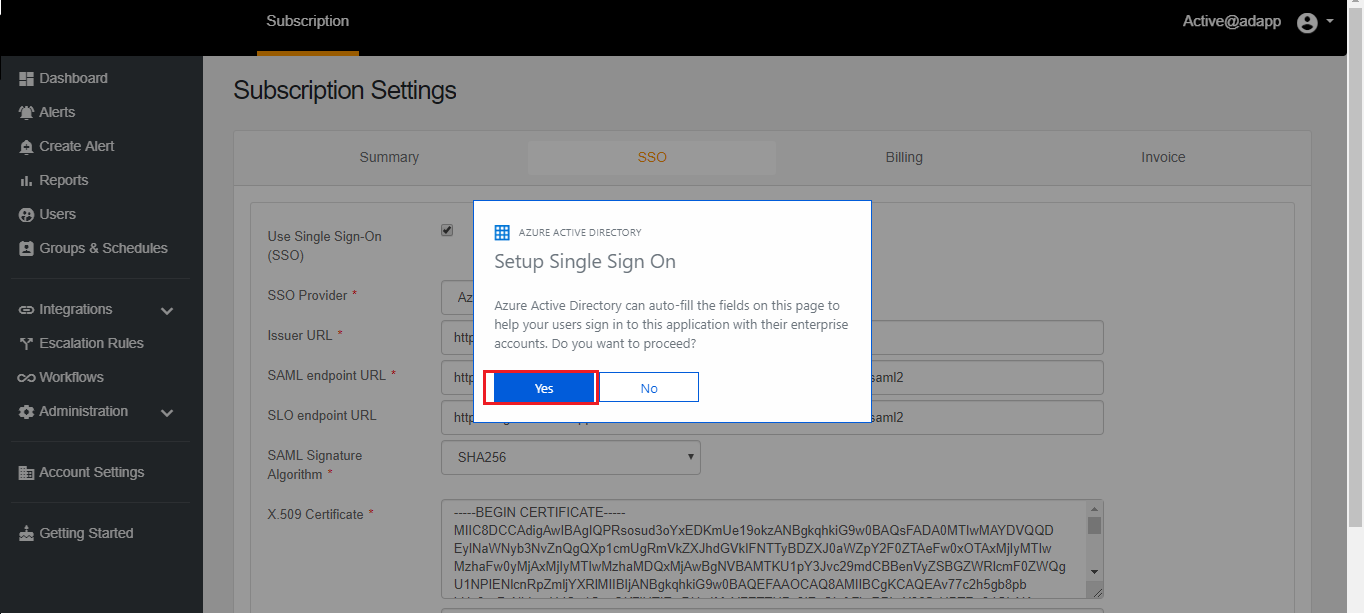
The browser extension automatically configures SSO on the application. Confirm by selecting Yes.
Note
If SSO configuration for your application requires additional steps, following the prompts to perform the steps.
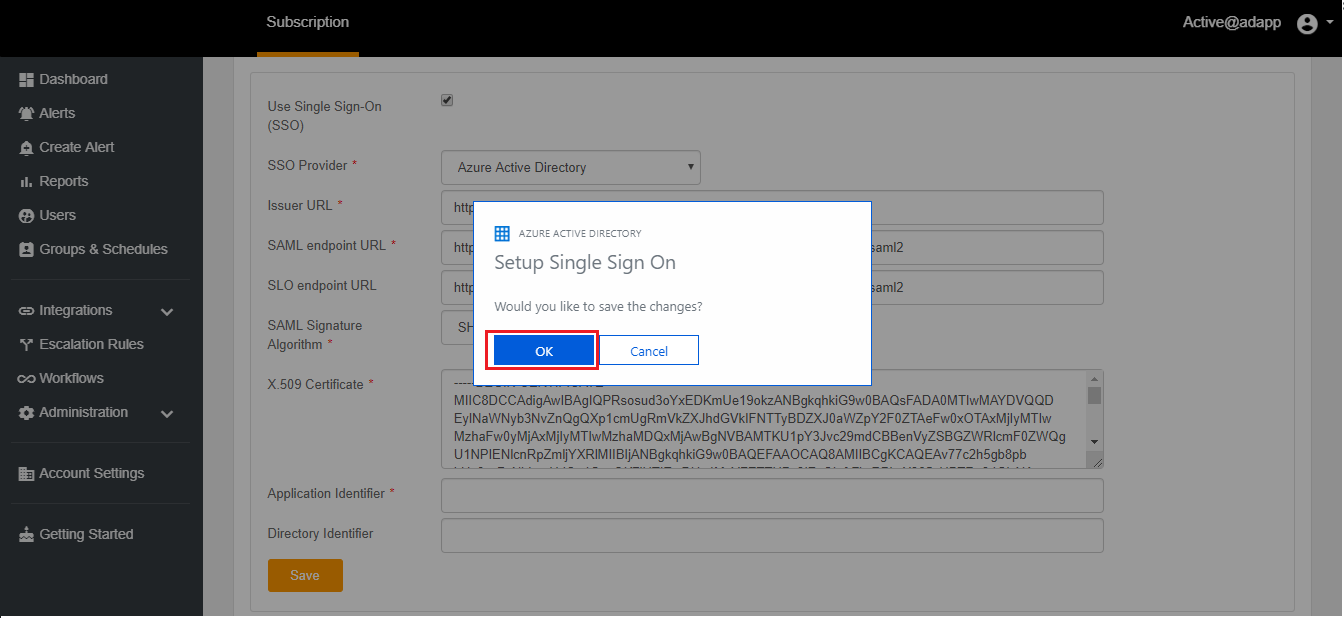
After the configuration is completed, select OK to save the changes.
A confirmation window displays to let you know that the SSO settings are successfully configured.
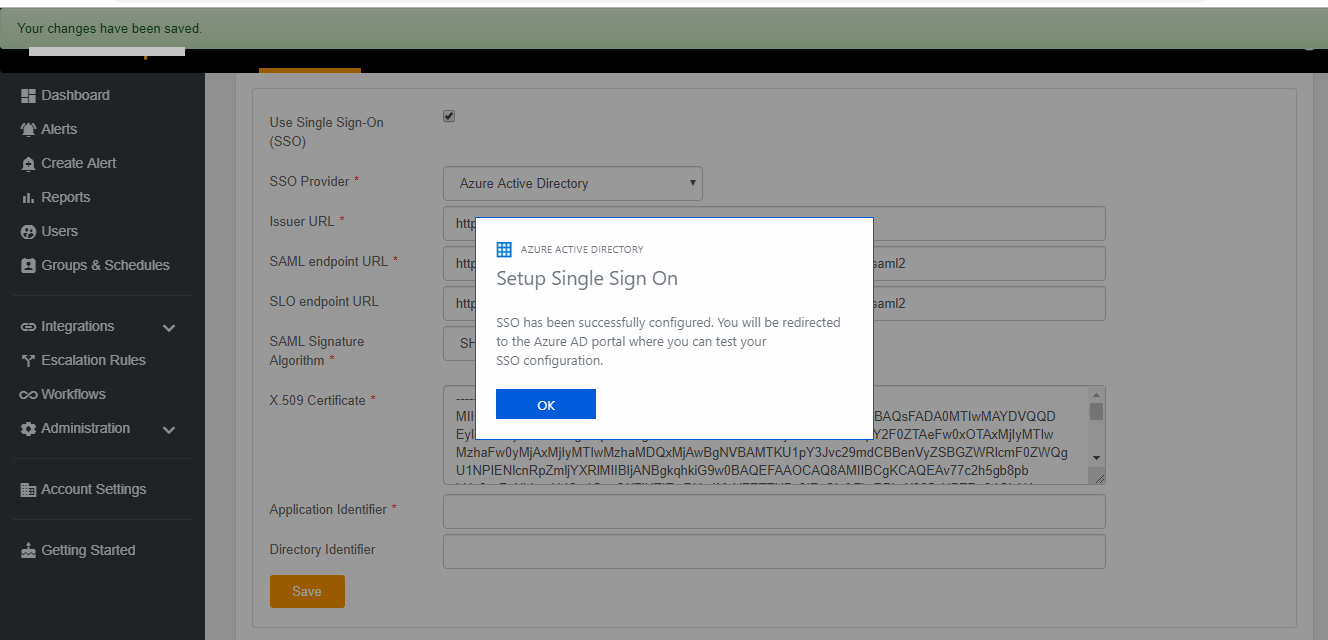
After the configuration is successful, you're signed out of the application and returned to the Microsoft Entra admin center.
You can select Test to test single sign-on.
Additional resources
Feedback
Coming soon: Throughout 2024 we will be phasing out GitHub Issues as the feedback mechanism for content and replacing it with a new feedback system. For more information see: https://aka.ms/ContentUserFeedback.
Submit and view feedback for