Import an Azure Function App as an API in Azure API Management
APPLIES TO: All API Management tiers
Azure API Management supports importing Azure Function Apps as new APIs or appending them to existing APIs. The process automatically generates a host key in the Azure Function App, which is then assigned to a named value in Azure API Management.
This article walks through importing and testing an Azure Function App as an API in Azure API Management.
You will learn how to:
- Import an Azure Function App as an API
- Append an Azure Function App to an API
- View the new Azure Function App host key and Azure API Management named value
- Test the API in the Azure portal
Prerequisites
- Complete the Create an Azure API Management instance quickstart.
- Make sure you have an Azure Functions app in your subscription. For more information, see Create an Azure Function App. Functions must have HTTP trigger and authorization level set to Anonymous or Function.
Note
You can use the API Management Extension for Visual Studio Code to import and manage your APIs. Follow the API Management Extension tutorial to install and get started.
Go to your API Management instance
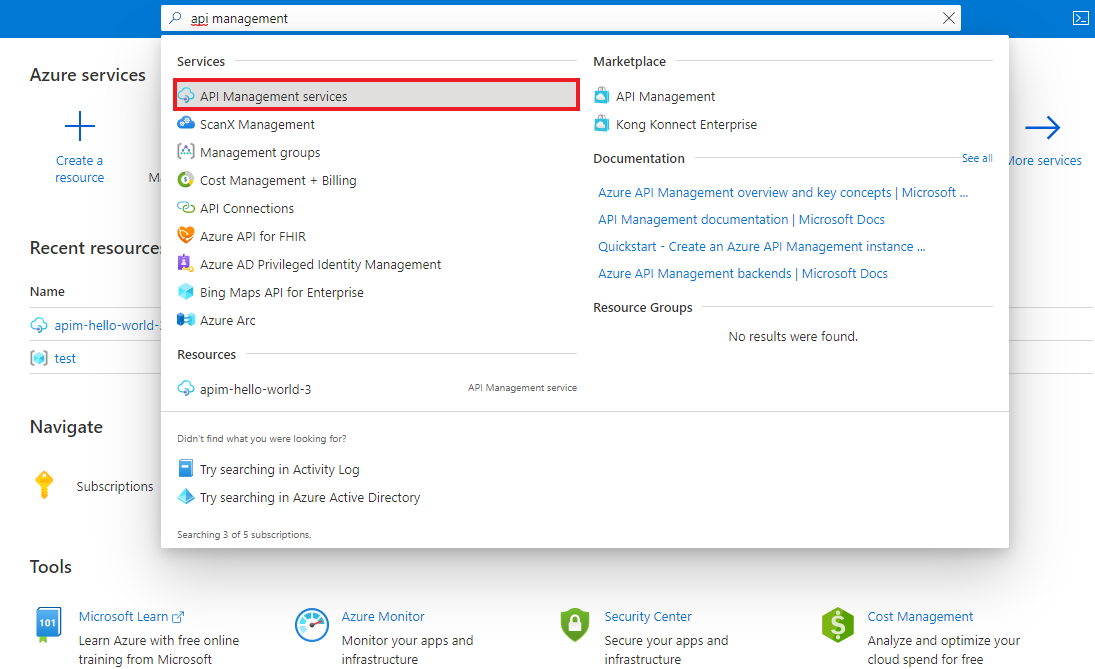
In the Azure portal, search for and select API Management services.
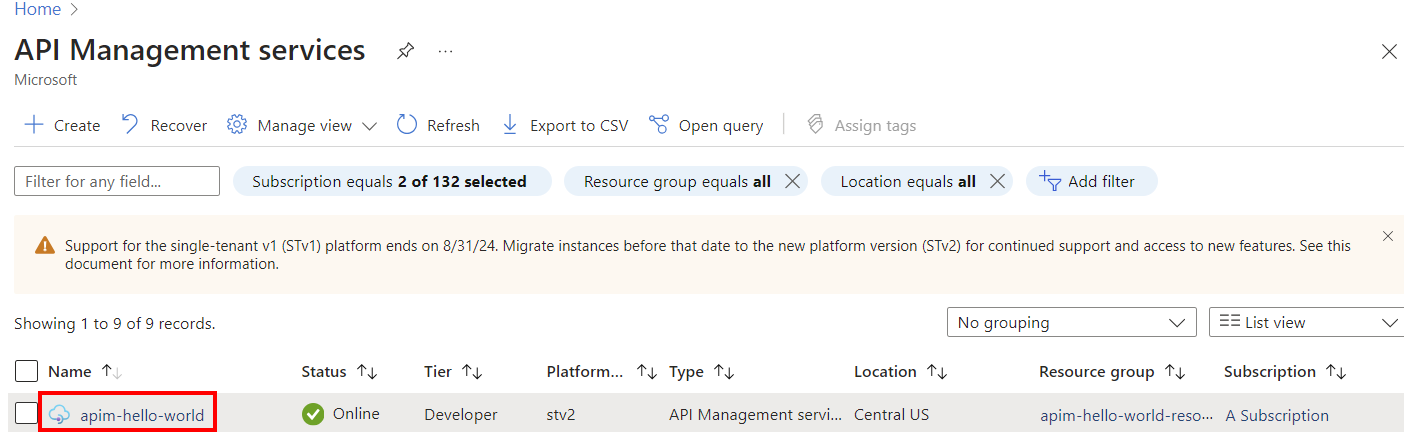
On the API Management services page, select your API Management instance.
Import an Azure Function App as a new API
Follow the steps below to create a new API from an Azure Function App.
Navigate to your API Management service in the Azure portal and select APIs from the menu.
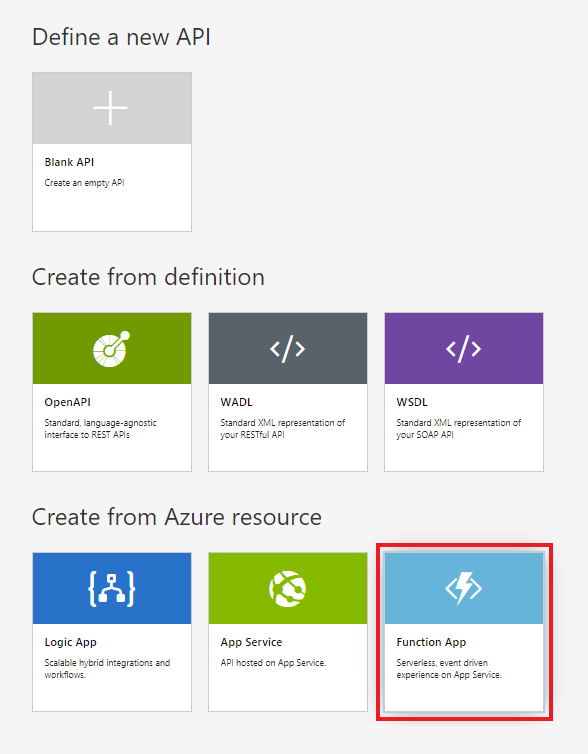
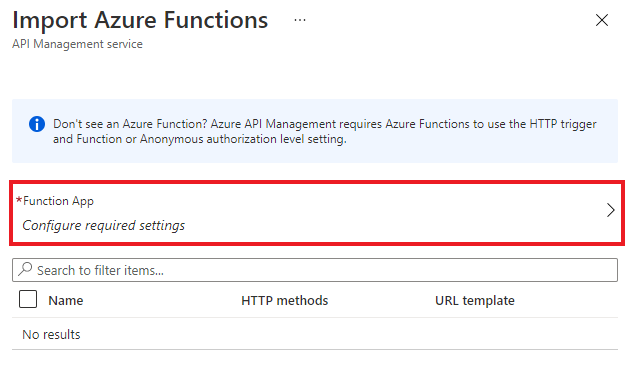
In the Add a new API list, select Function App.
Click Browse to select Functions for import.
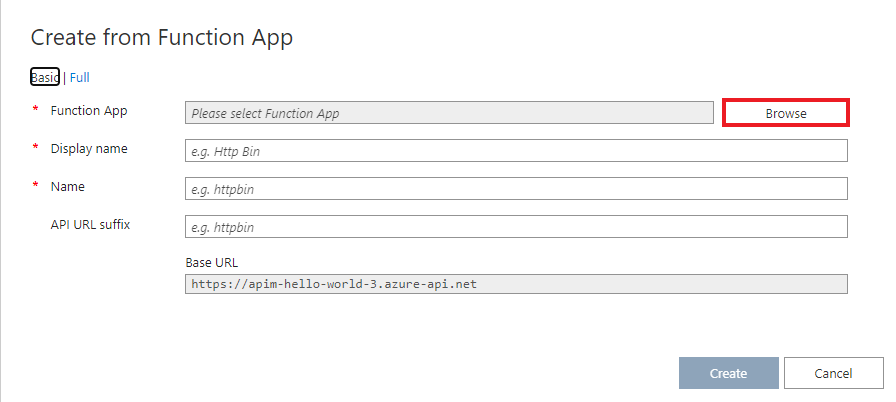
Click on the Function App section to choose from the list of available Function Apps.
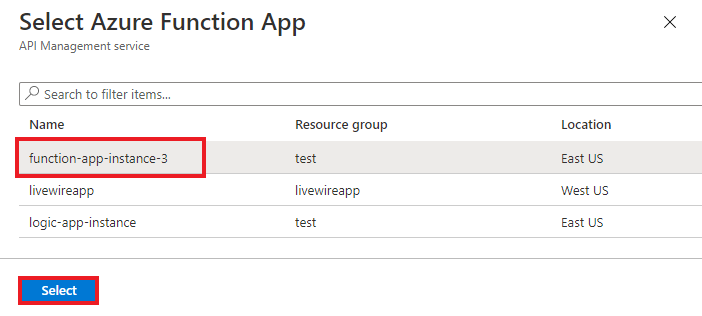
Find the Function App you want to import Functions from, click on it and press Select.
Select the Functions you would like to import and click Select.
- You can only import Functions based off HTTP trigger with Anonymous or Function authorization levels.

Switch to the Full view and assign Product to your new API.
If needed, specify other fields during creation or configure them later via the Settings tab.
- The settings are explained in the Import and publish your first API tutorial.
Note
Products are associations of one or more APIs offered to developers through the developer portal. First, developers must subscribe to a product to get access to the API. Once subscribed, they get a subscription key for any API in that product. As creator of the API Management instance, you are an administrator and are subscribed to every product by default.
Each API Management instance comes with two default sample products:
- Starter
- Unlimited
Click Create.
Append Azure Function App to an existing API
Follow the steps below to append Azure Function App to an existing API.
In your Azure API Management service instance, select APIs from the menu on the left.
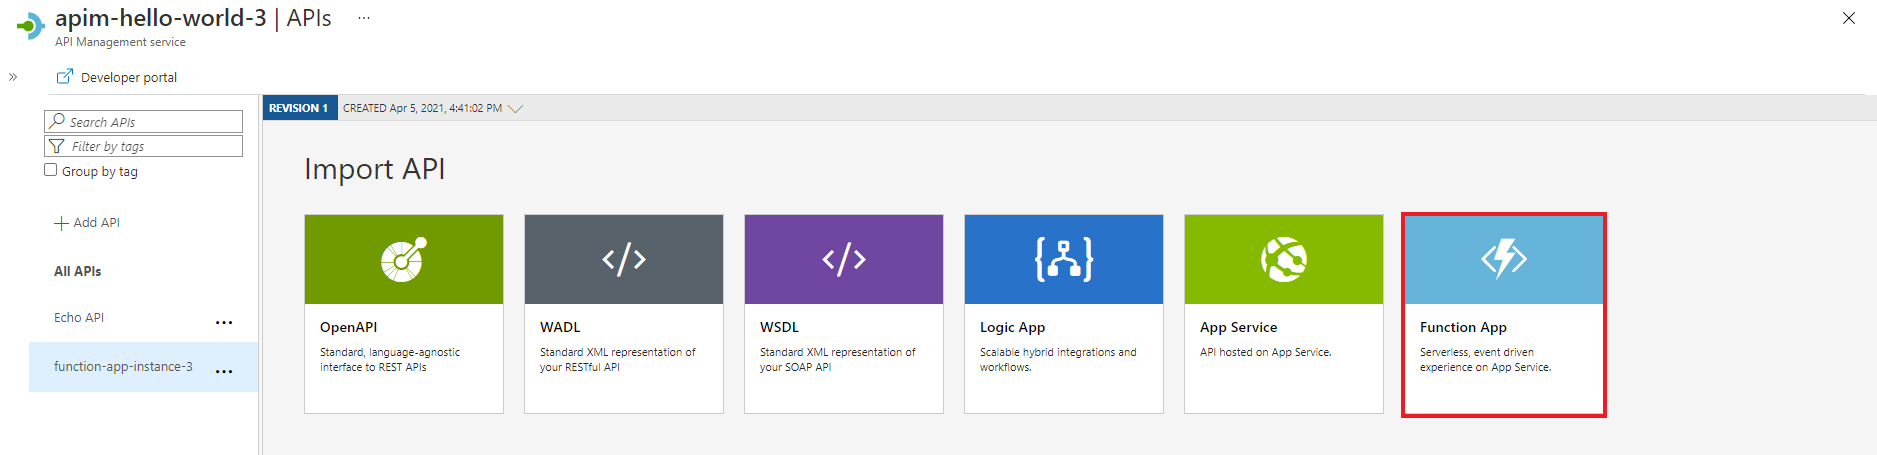
Choose an API you want to import an Azure Function App to. Click ... and select Import from the context menu.

Click on the Function App tile.
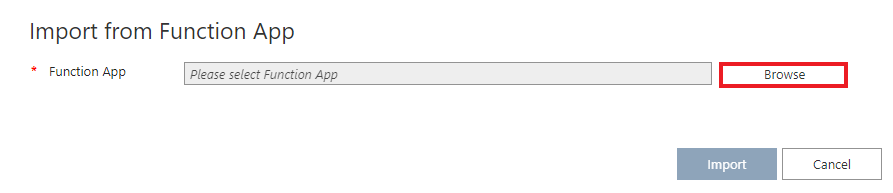
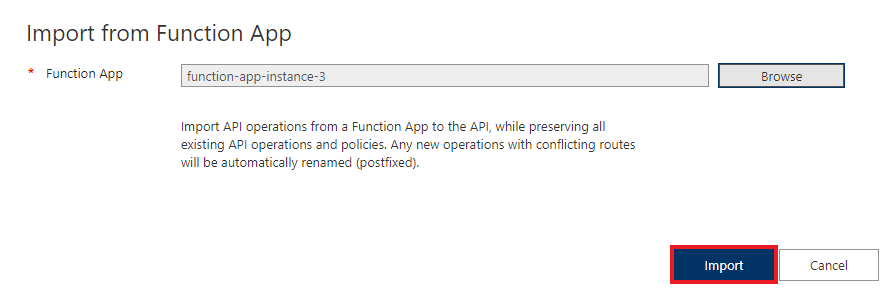
In the pop-up window, click Browse.
Click on the Function App section to choose from the list of available Function Apps.
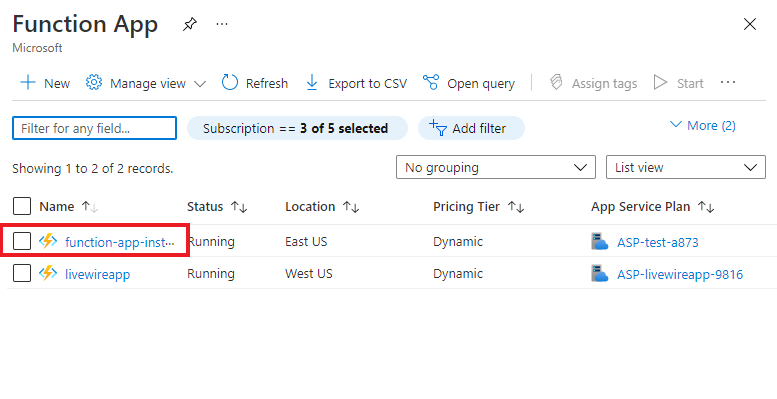
Find the Function App you want to import Functions from, click on it and press Select.
Select the Functions you would like to import and click Select.
Click Import.
Authorization
Import of an Azure Function App automatically generates:
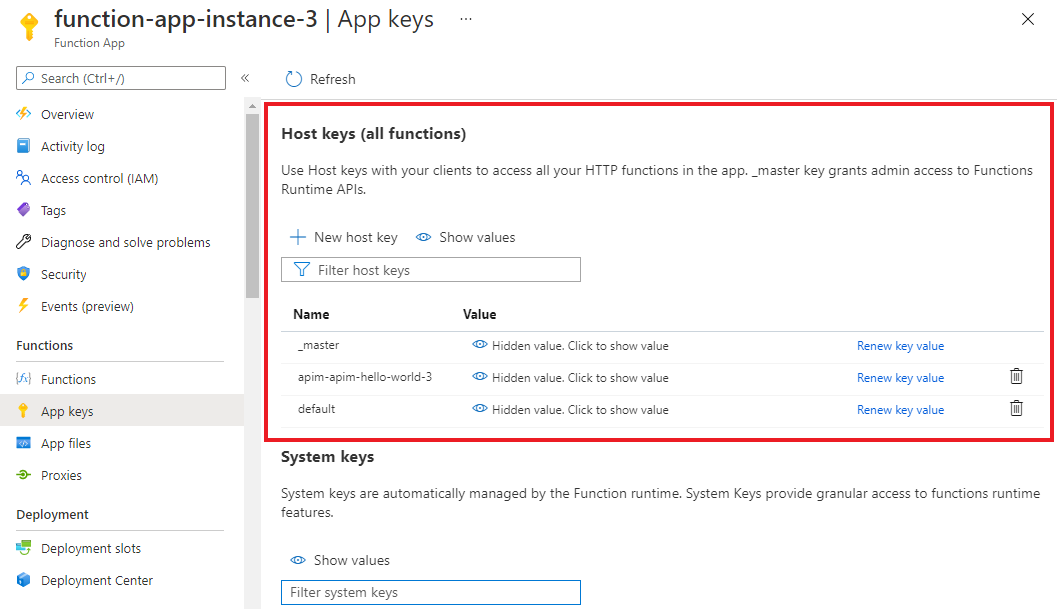
- Host key inside the Function App with the name apim-{your Azure API Management service instance name},
- Named value inside the Azure API Management instance with the name {your Azure Function App instance name}-key, which contains the created host key.
For APIs created after April 4th 2019, the host key is passed in HTTP requests from API Management to the Function App in a header. Older APIs pass the host key as a query parameter. You can change this behavior through the PATCH Backend REST API call on the Backend entity associated with the Function App.
Warning
Removing or changing either the Azure Function App host key value or the Azure API Management named value will break the communication between the services. The values do not sync automatically.
If you need to rotate the host key, make sure the named value in Azure API Management is also modified.
Access Azure Function App host key
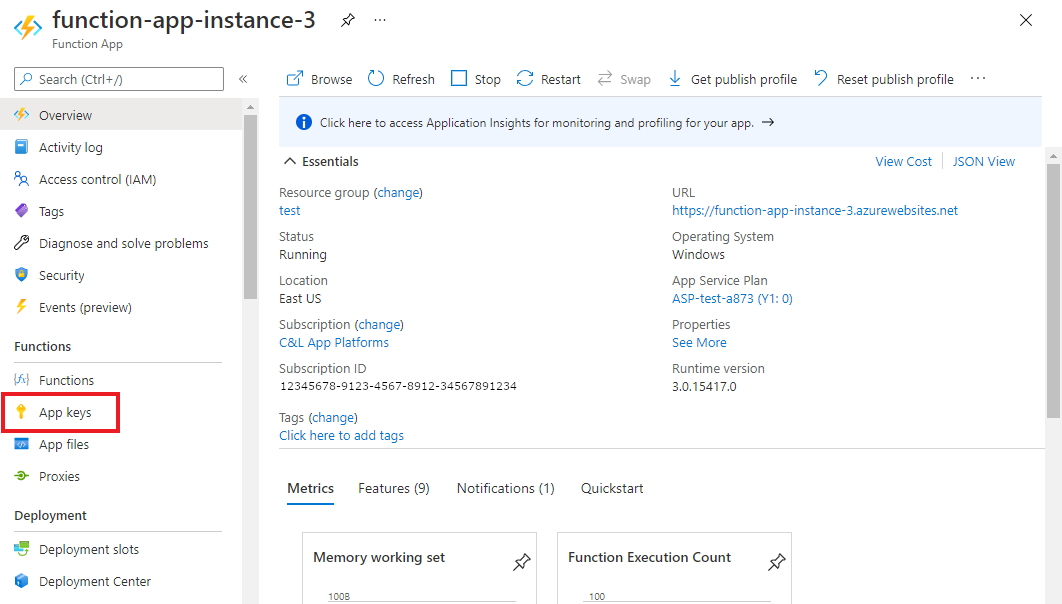
Navigate to your Azure Function App instance.
In the Functions section of the side navigation menu, select App keys.
Find the keys under the Host keys section.
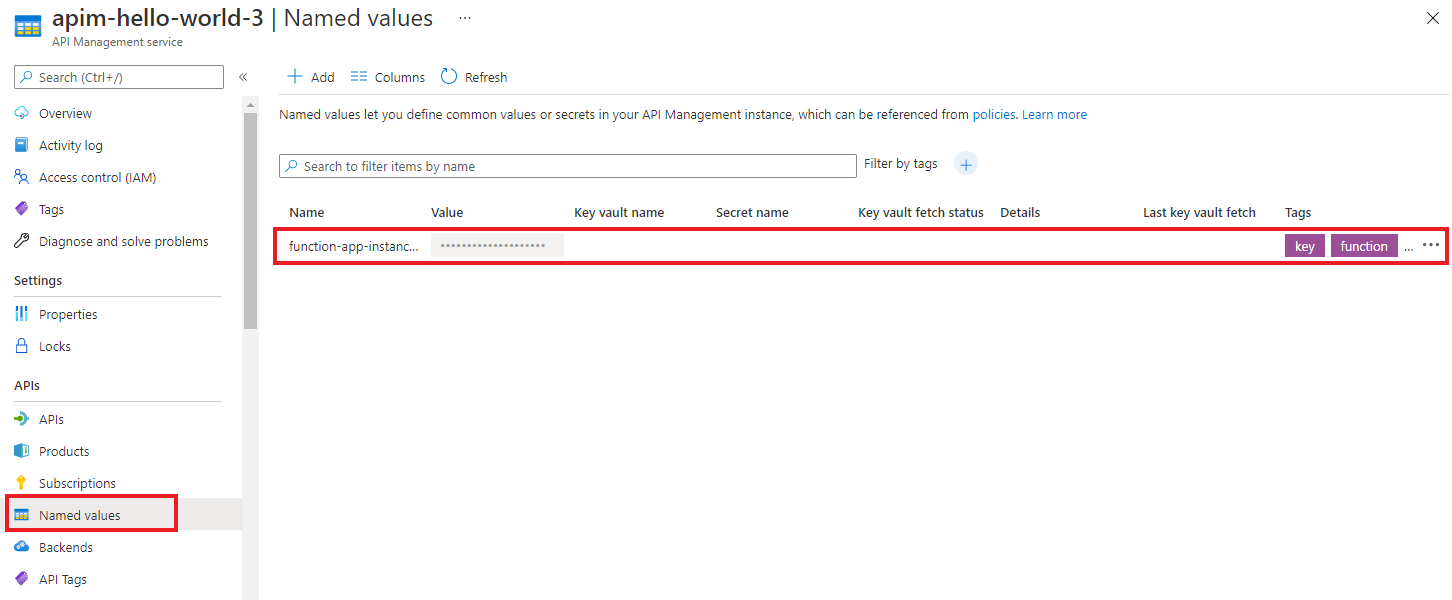
Access the named value in Azure API Management
Navigate to your Azure API Management instance and select Named values from the menu on the left. The Azure Function App key is stored there.
Test the new API in the Azure portal
You can call operations directly from the Azure portal. Using the Azure portal is a convenient way to view and test the operations of an API.

Select the API that you created in the preceding section.
Select the Test tab.
Select the operation you want to test.
- The page displays fields for query parameters and headers.
- One of the headers is "Ocp-Apim-Subscription-Key", for the product subscription key associated with this API.
- As creator of the API Management instance, you are an administrator already, so the key is filled in automatically.
Select Send.
- When the test succeeds, the back end responds with 200 OK and some data.
Related topics
- API import limitations
- Import an OpenAPI specification
- Import a SOAP API
- Import a SOAP API and convert to REST
- Import an App Service API
- Import a Container App API
- Import a WebSocket API
- Import a GraphQL API
- Import a GraphQL schema and set up field resolvers
- Import an Azure Function App
- Import an Azure Logic App
- Import a Service Fabric service
- Import an OData API
- Import SAP OData metadata
- Import a gRPC API
- Edit an API
Next steps
Feedback
Coming soon: Throughout 2024 we will be phasing out GitHub Issues as the feedback mechanism for content and replacing it with a new feedback system. For more information see: https://aka.ms/ContentUserFeedback.
Submit and view feedback for