Quickstart: Create a Python app using Azure App Service on Linux (Azure portal)
In this quickstart, you deploy a Python web app to App Service on Linux, Azure's highly scalable, self-patching web hosting service. You use the Azure portal to deploy a sample with either the Flask or Django frameworks. The web app you configure uses a basic App Service tier that incurs a small cost in your Azure subscription.
Configure accounts
If you don't yet have an Azure account with an active subscription, create an account for free.
If you don't have a GitHub account, visit github.com to create one.
Fork the sample GitHub repository
Open github.com and sign in.
Navigate to one of the following sample repositories:
On the upper right of the GitHub page, select Fork to make a copy of the repository in your own GitHub account:

Azure requires that you have access to the GitHub organization that contains the repository. By forking the sample to your own GitHub account, you automatically have the necessary access and can also make changes to the code.
Provision the App Service web app
An App Service web app is the web server to which you deploy your code.
Open the Azure portal at https://portal.azure.com and sign in if needed.
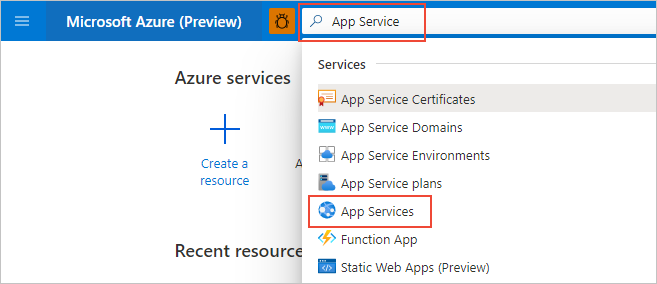
In the search bar at the top of the Azure portal, enter "App Service", then select App Services.
On the App Services page, select "+Add:

On the Create Web App page, do the following actions:
Field Action Subscription Select the Azure subscription you want to use. Resource Group Select Create New below the drop-down. In the popup, enter "AppService-PythonQuickstart" and select "OK. Name Enter a name that's unique across all of Azure, typically using a combination of your personal or company names, such as contoso-testapp-123. Publish Select Code. Runtime stack Select Python 3.8. Operating System Select Linux (Python is supported only on Linux). Region Select a region near you. Linux Plan Select an exiting App Service Plan or use Create new to create a new one. We recommend using the Basic B1 plan. 
At the bottom of the page, select Review + Create, review the details, then select Create.
When provisioning is complete, select Go to resource to navigate to the new App Service page. Your web app at this point contains only a default page, so the next step deploys sample code.
Having issues? Let us know.
Deploy the sample code
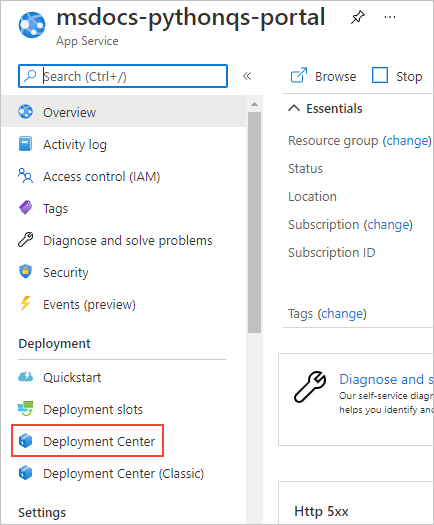
On the web app page on the Azure portal, select Deployment Center:
On the Deployment Center page, select the Settings tab if it's not already open:

Under Source, select GitHub, then on the GitHub form that appears, do the following actions:
Field Action Signed in as If you're not signed into GitHub already, sign in now or select *Change Account if needed. Organization Select your GitHub organization, if needed. Repository Select the name of the sample repository you forked earlier, either python-docs-hello-world (Flask) or python-docs-hello-django (Django). Branch Select main. 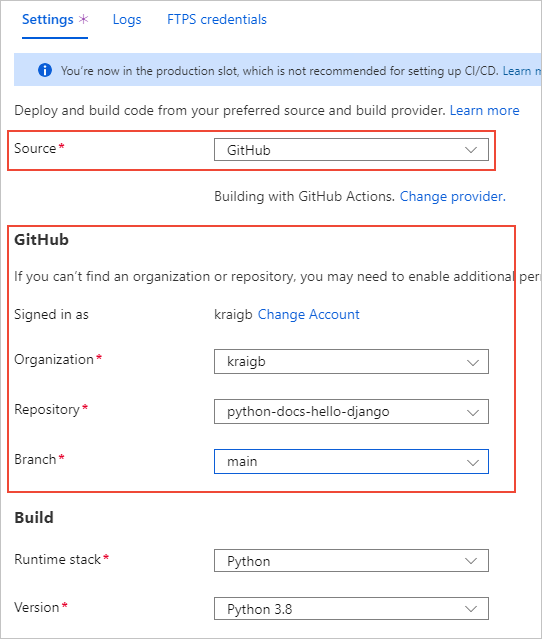
At the top of the page, select Save to apply the settings.:

Select the Logs tab to view the status of the deployment. It takes a few minutes to build and deploy the sample and additional logs appear during the process. Upon completion, the logs should reflect a Status of Success (Active):

Having issues? Let us know.
Browse to the app
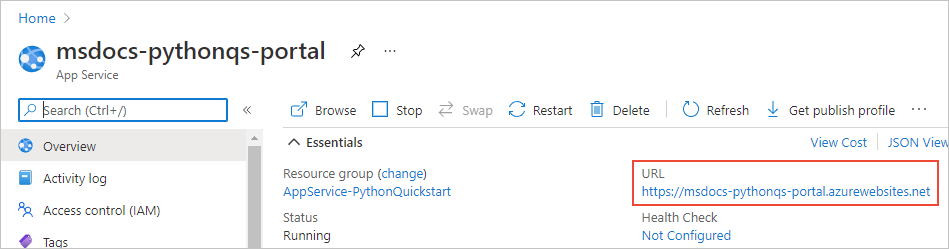
Once deployment is complete, select Overview on the left-hand menu to return to the main page for the web app.
Select the URL that contains address of the web app:
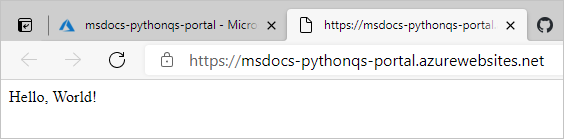
Verify that the output of the app is "Hello, World!":
Having issues? Refer first to the Troubleshooting guide, otherwise, let us know.
Make a change and redeploy
Because you connected App Service to your repository, changes that you commit to your source repository are automatically deployed to the web app.
You can make changes directly in your forked repository on GitHub, or you can clone the repository locally, make and commit changes, and then push those changes to GitHub. Either method results in a change to the repository that's connected to App Service.
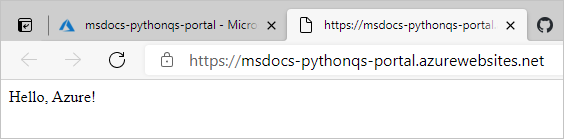
In your forked repository, change the app's message from "Hello, World!" to "Hello, Azure!" as follows:
- Flask (python-docs-hello-world sample): Change the text string on line 6 of the application.py file.
- Django (python-docs-hello-django sample): Change the text string on line 5 of the views.py file within the hello folder.
Commit the change to the repository.
If you're using a local clone, also push those changes to GitHub.
On the Azure portal for the web app, return to the Deployment Center, select the Logs tab, and note the new deployment activity that should be underway.
When the deployment is complete, return to the web app's Overview page, open the web app's URL again, and observe the changes in the app:
Having issues? Refer first to the Troubleshooting guide, otherwise, let us know.
Clean up resources
In the preceding steps, you created Azure resources in a resource group named "AppService-PythonQuickstart", which is shown on the web app's Overview* page. If you keep the web app running, you will incur some ongoing costs (see App Service pricing).
If you don't expect to need these resources in the future, select the name of the resource group on the web app Overview page to navigate to the resource groups overview. These select Delete resource group and follow the prompts.

Having issues? Let us know.
Next steps
Feedback
Coming soon: Throughout 2024 we will be phasing out GitHub Issues as the feedback mechanism for content and replacing it with a new feedback system. For more information see: https://aka.ms/ContentUserFeedback.
Submit and view feedback for