Tutorial: Access Microsoft Graph from a secured JavaScript app as the user
Learn how to access Microsoft Graph from a web app running on Azure App Service.

You want to add access to Microsoft Graph from your web app and perform some action as the signed-in user. This section describes how to grant delegated permissions to the web app and get the signed-in user's profile information from Microsoft Entra ID.
In this tutorial, you learn how to:
- Grant delegated permissions to a web app.
- Call Microsoft Graph from a web app for a signed-in user.
If you don't have an Azure subscription, create an Azure free account before you begin.
Prerequisites
- A web application running on Azure App Service that has the App Service authentication/authorization module enabled.
Grant front-end access to call Microsoft Graph
Now that you've enabled authentication and authorization on your web app, the web app is registered with the Microsoft identity platform and is backed by a Microsoft Entra application. In this step, you give the web app permissions to access Microsoft Graph for the user. (Technically, you give the web app's Microsoft Entra application the permissions to access the Microsoft Graph Microsoft Entra application for the user.)
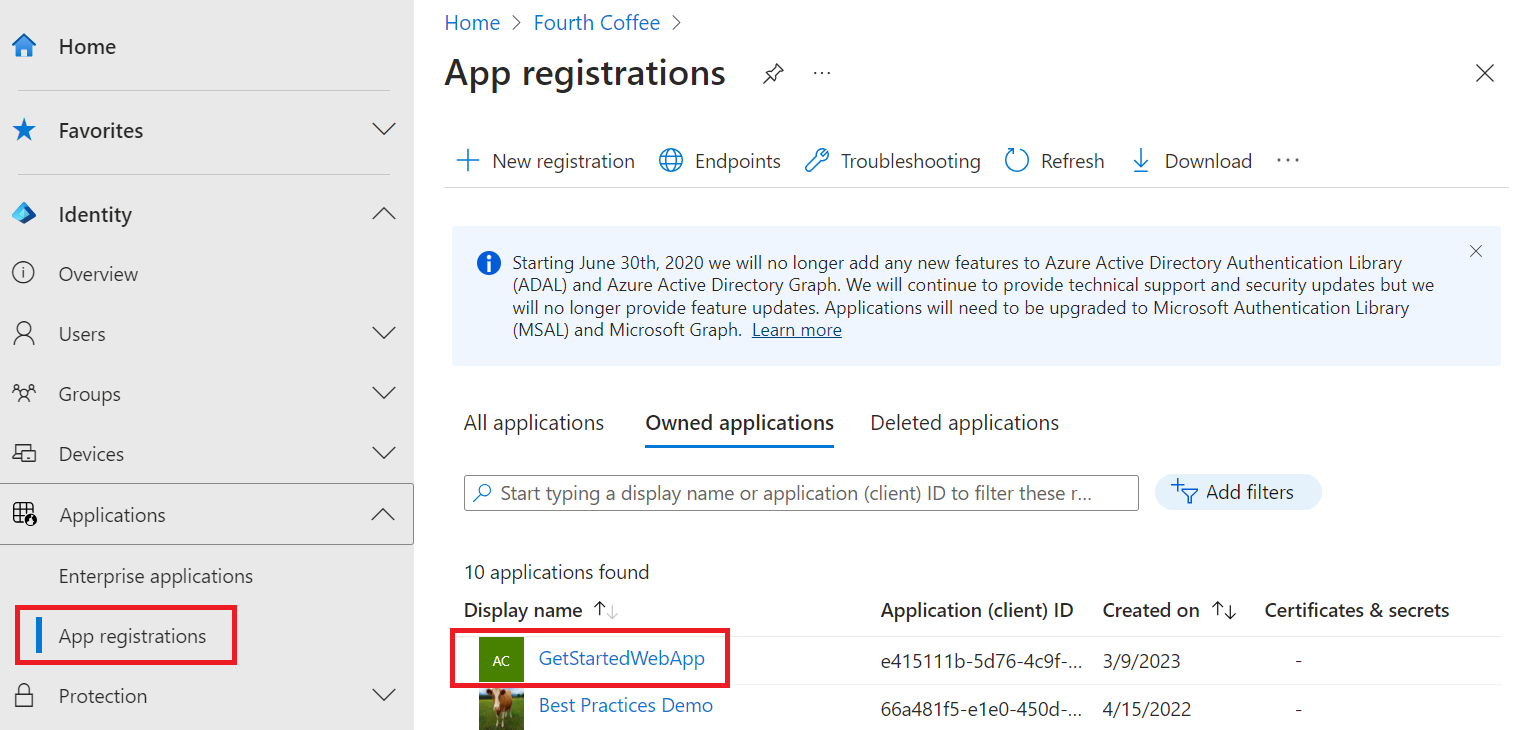
In the Microsoft Entra admin center, select Applications.
Select App registrations > Owned applications > View all applications in this directory. Select your web app name, and then select API permissions.
Select Add a permission, and then select Microsoft APIs and Microsoft Graph.
Select Delegated permissions, and then select User.Read from the list. Select Add permissions.
Configure App Service to return a usable access token
The web app now has the required permissions to access Microsoft Graph as the signed-in user. In this step, you configure App Service authentication and authorization to give you a usable access token for accessing Microsoft Graph. For this step, you need to add the User.Read scope for the downstream service (Microsoft Graph): https://graph.microsoft.com/User.Read.
Important
If you don't configure App Service to return a usable access token, you receive a CompactToken parsing failed with error code: 80049217 error when you call Microsoft Graph APIs in your code.
Go to Azure Resource Explorer and using the resource tree, locate your web app. The resource URL should be similar to https://resources.azure.com/subscriptions/subscriptionId/resourceGroups/SecureWebApp/providers/Microsoft.Web/sites/SecureWebApp20200915115914.
The Azure Resource Explorer is now opened with your web app selected in the resource tree.
At the top of the page, select Read/Write to enable editing of your Azure resources.
In the left browser, drill down to config > authsettingsV2.
In the authsettingsV2 view, select Edit.
Find the login section of identityProviders -> azureActiveDirectory and add the following loginParameters settings:
"loginParameters":[ "response_type=code id_token","scope=openid offline_access profile https://graph.microsoft.com/User.Read" ]."identityProviders": { "azureActiveDirectory": { "enabled": true, "login": { "loginParameters":[ "response_type=code id_token", "scope=openid offline_access profile https://graph.microsoft.com/User.Read" ] } } } },Save your settings by selecting PUT. This setting can take several minutes to take effect. Your web app is now configured to access Microsoft Graph with a proper access token. If you don't, Microsoft Graph returns an error saying that the format of the compact token is incorrect.
Call Microsoft Graph from Node.js
Your web app now has the required permissions and also adds Microsoft Graph's client ID to the login parameters.
To see this code as part of a sample application, see the:
Install client library packages
Install the @azure/identity and the @microsoft/microsoft-graph-client packages in your project with npm.
npm install @microsoft/microsoft-graph-client
Configure authentication information
Create an object to hold the authentication settings:
// partial code in app.js
const appSettings = {
    appCredentials: {
        clientId: process.env.WEBSITE_AUTH_CLIENT_ID, // Enter the client Id here,
        tenantId: "common", // Enter the tenant info here,
        clientSecret: process.env.MICROSOFT_PROVIDER_AUTHENTICATION_SECRET // Enter the client secret here,
    },
    authRoutes: {
        redirect: "/.auth/login/aad/callback", // Enter the redirect URI here
        error: "/error", // enter the relative path to error handling route
        unauthorized: "/unauthorized" // enter the relative path to unauthorized route
    },
    protectedResources: {
        graphAPI: {
            endpoint: "https://graph.microsoft.com/v1.0/me", // resource endpoint
            scopes: ["User.Read"] // resource scopes
        },
    },
}
Call Microsoft Graph on behalf of the user
The following code shows how to call Microsoft Graph controller as the app and get some user information.
// controllers/graphController.js

// get the name of the app service instance from environment variables
const appServiceName = process.env.WEBSITE_SITE_NAME;

const graphHelper = require('../utils/graphHelper');

exports.getProfilePage = async(req, res, next) => {

    try {
        // get user's access token scoped to Microsoft Graph from session
        // use token to create Graph client
        const graphClient = graphHelper.getAuthenticatedClient(req.session.protectedResources["graphAPI"].accessToken);

        // return user's profile
        const profile = await graphClient
            .api('/me')
            .get();

        res.render('profile', { isAuthenticated: req.session.isAuthenticated, profile: profile, appServiceName: appServiceName });
    } catch (error) {
        next(error);
    }
}
The previous code relies on the following getAuthenticatedClient function to return Microsoft Graph client.
// utils/graphHelper.js

const graph = require('@microsoft/microsoft-graph-client');

getAuthenticatedClient = (accessToken) => {
    // Initialize Graph client
    const client = graph.Client.init({
        // Use the provided access token to authenticate requests
        authProvider: (done) => {
            done(null, accessToken);
        }
    });

    return client;
}
Clean up resources
If you completed all the steps in this multipart tutorial, you created an app service, app service hosting plan, and a storage account in a resource group. You also created an app registration in Microsoft Entra ID. When no longer needed, delete these resources and app registration so that you don't continue to accrue charges.
In this tutorial, you learn how to:
- Delete the Azure resources created while following the tutorial.
Delete the resource group
In the Azure portal, select Resource groups from the portal menu and select the resource group that contains your app service and app service plan.
Select Delete resource group to delete the resource group and all the resources.

This command might take several minutes to run.
Delete the app registration
In the Microsoft Entra admin center, select Applications > App registrations. Then select the application you created.
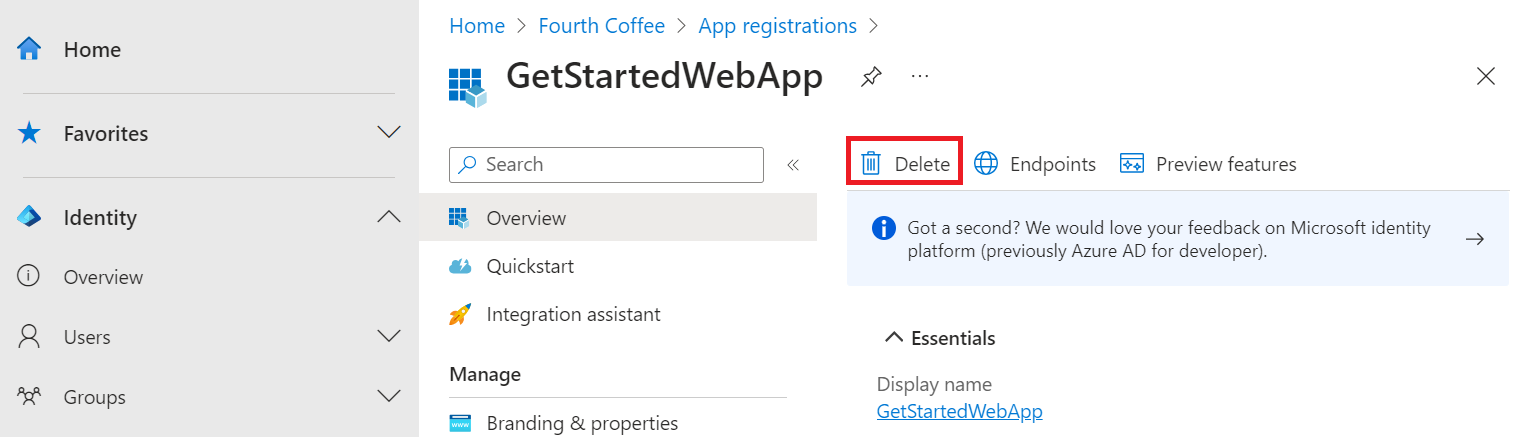
In the app registration overview, select Delete.
Next steps
In this tutorial, you learned how to:
- Grant delegated permissions to a web app.
- Call Microsoft Graph from a web app for a signed-in user.
Feedback
Coming soon: Throughout 2024 we will be phasing out GitHub Issues as the feedback mechanism for content and replacing it with a new feedback system. For more information see: https://aka.ms/ContentUserFeedback.
Submit and view feedback for