Integrate with a CI/CD pipeline
This article explains how to use data from Azure App Configuration in a continuous integration and continuous deployment system.
Use App Configuration in your Azure DevOps Pipeline
If you have an Azure DevOps Pipeline, you can fetch key-values from App Configuration and set them as task variables. The Azure App Configuration DevOps extension is an add-on module that provides this functionality. Follow its instructions to use the extension in a build or release task sequence.
Deploy App Configuration data with your application
Your application might fail to run if it depends on Azure App Configuration and can't reach it. Enhance the resiliency of your application by packaging configuration data into a file that's deployed with the application and loaded locally during application startup. This approach guarantees that your application has a default setting values on startup. These values are overwritten by any newer changes in an App Configuration store when it's available.
Using the Export function of Azure App Configuration, you can automate the process of retrieving current configuration data as a single file. You can then embed this file in a build or deployment step in your continuous integration and continuous deployment (CI/CD) pipeline.
The following example shows how to include App Configuration data as a build step for the web app introduced in the quickstarts. Before you continue, finish Create an ASP.NET Core app with App Configuration first.
You can use any code editor to do the steps in this tutorial. Visual Studio Code is an excellent option available on the Windows, macOS, and Linux platforms.
Prerequisites
If you build locally, download and install the Azure CLI if you haven’t already.
Export an App Configuration store
Open your .csproj file, and add the following script:
<Target Name="Export file" AfterTargets="Build">
    <Message Text="Export the configurations to a temp file. " />
    <Exec WorkingDirectory="$(MSBuildProjectDirectory)" Condition="$(ConnectionString) != ''" Command="az appconfig kv export -d file --path $(OutDir)\azureappconfig.json --format json --separator : --connection-string $(ConnectionString)" />
</Target>
Open Program.cs, and update the
CreateWebHostBuildermethod to use the exported JSON file by calling theconfig.AddJsonFile()method. Add theSystem.Reflectionnamespace as well.public static IWebHostBuilder CreateWebHostBuilder(string[] args) => WebHost.CreateDefaultBuilder(args) .ConfigureAppConfiguration((hostingContext, config) => { var directory = System.IO.Path.GetDirectoryName(Assembly.GetExecutingAssembly().Location); var settings = config.Build(); config.AddJsonFile(Path.Combine(directory, "azureappconfig.json")); config.AddAzureAppConfiguration(settings["ConnectionStrings:AppConfig"]); }) .UseStartup<Startup>();
Build and run the app locally
Set an environment variable named ConnectionString, and set it to the access key to your App Configuration store.
To build and run the app locally using the Windows command prompt, run the following command and restart the command prompt to allow the change to take effect:
setx ConnectionString "connection-string-of-your-app-configuration-store"To build the app by using the .NET CLI, run the following command in the command shell:
dotnet buildAfter the build completes successfully, run the following command to run the web app locally:
dotnet runOpen a browser window and go to
http://localhost:5000, which is the default URL for the web app hosted locally.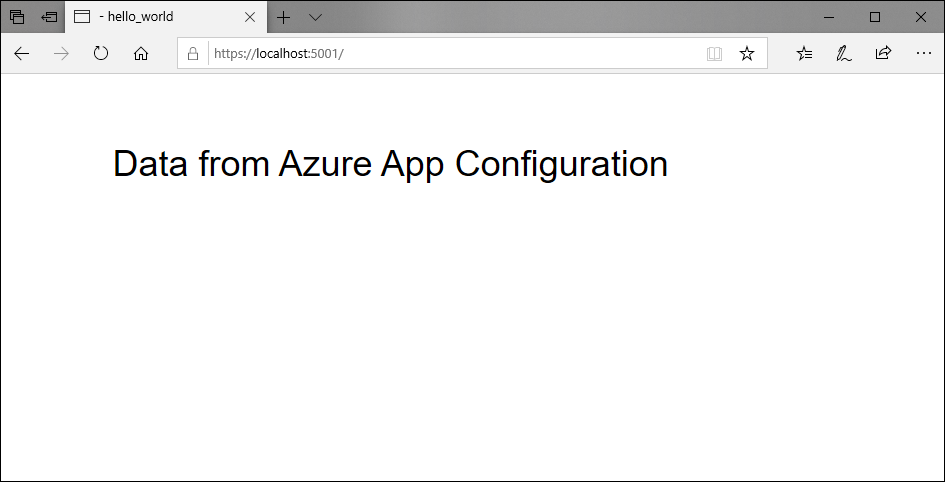
Next steps
In this tutorial, you exported Azure App Configuration data to be used in a deployment pipeline. To learn more about how to use App Configuration, continue to the Azure CLI samples.
Feedback
Coming soon: Throughout 2024 we will be phasing out GitHub Issues as the feedback mechanism for content and replacing it with a new feedback system. For more information see: https://aka.ms/ContentUserFeedback.
Submit and view feedback for