Tutorial: Use Key Vault references in a Java Spring app
In this tutorial, you learn how to use the Azure App Configuration service together with Azure Key Vault. App Configuration and Key Vault are complementary services used side by side in most application deployments.
App Configuration helps you use the services together by creating keys that reference values stored in Key Vault. When App Configuration creates such keys, it stores the URIs of Key Vault values rather than the values themselves.
Your application uses the App Configuration client provider to retrieve Key Vault references, just as it does for any other keys stored in App Configuration. In this case, the values stored in App Configuration are URIs that reference the values in the Key Vault. They are not Key Vault values or credentials. Because the client provider recognizes the keys as Key Vault references, it uses Key Vault to retrieve their values.
Your application is responsible for authenticating properly to both App Configuration and Key Vault. The two services don't communicate directly.
This tutorial shows you how to implement Key Vault references in your code. It builds on the web app introduced in the quickstarts. Before you continue, complete Create a Java Spring app with App Configuration first.
You can use any code editor to do the steps in this tutorial. For example, Visual Studio Code is a cross-platform code editor that's available for the Windows, macOS, and Linux operating systems.
In this tutorial, you learn how to:
- Create an App Configuration key that references a value stored in Key Vault.
- Access the value of this key from a Java Spring application.
Prerequisites
- Azure subscription - create one for free
- A supported Java Development Kit (JDK) with version 11.
- Apache Maven version 3.0 or above.
Create a vault
Select the Create a resource option in the upper-left corner of the Azure portal:
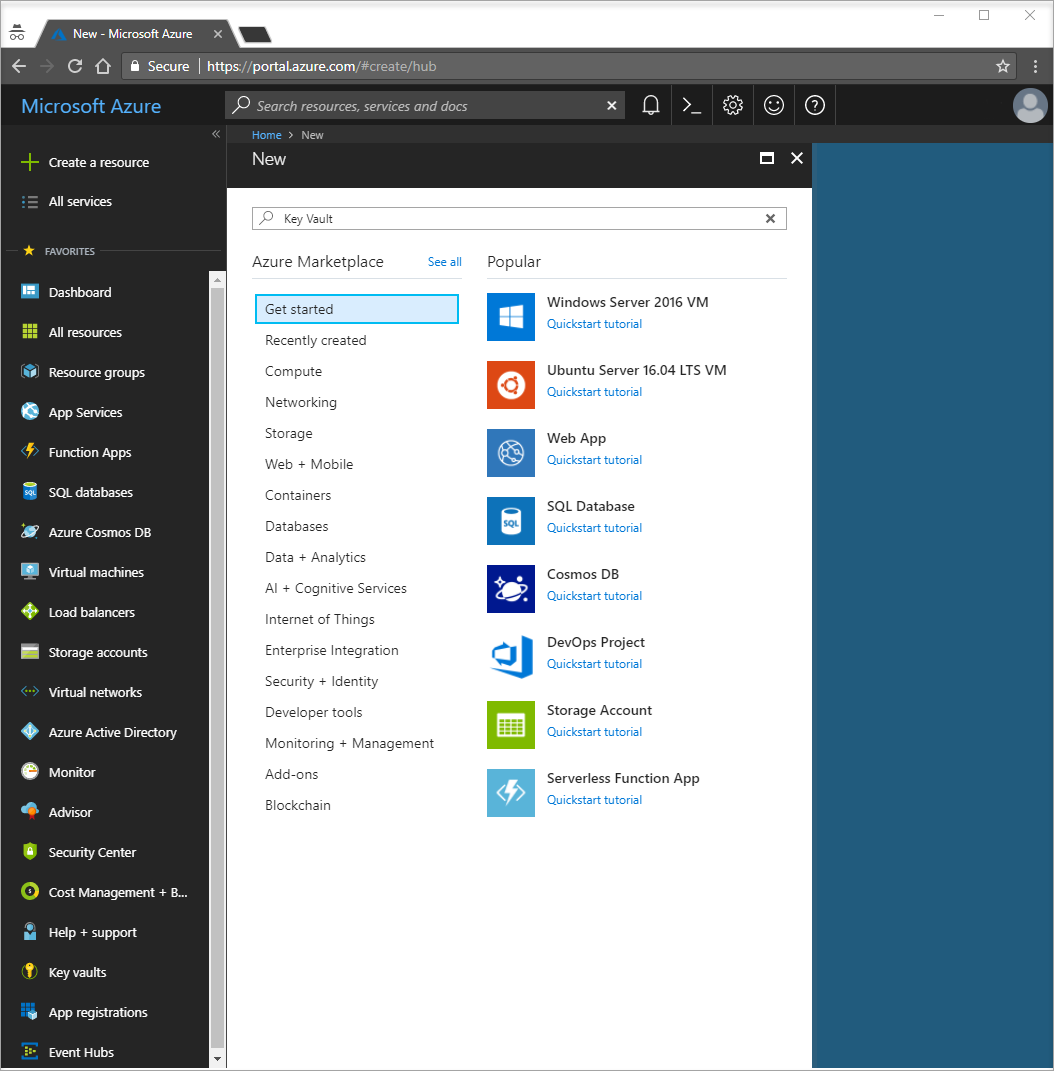
In the search box, enter Key Vault.
From the results list, select Key vaults on the left.
In Key vaults, select Add.
On the right in Create key vault, provide the following information:
- Select Subscription to choose a subscription.
- In Resource Group, select Create new and enter a resource group name.
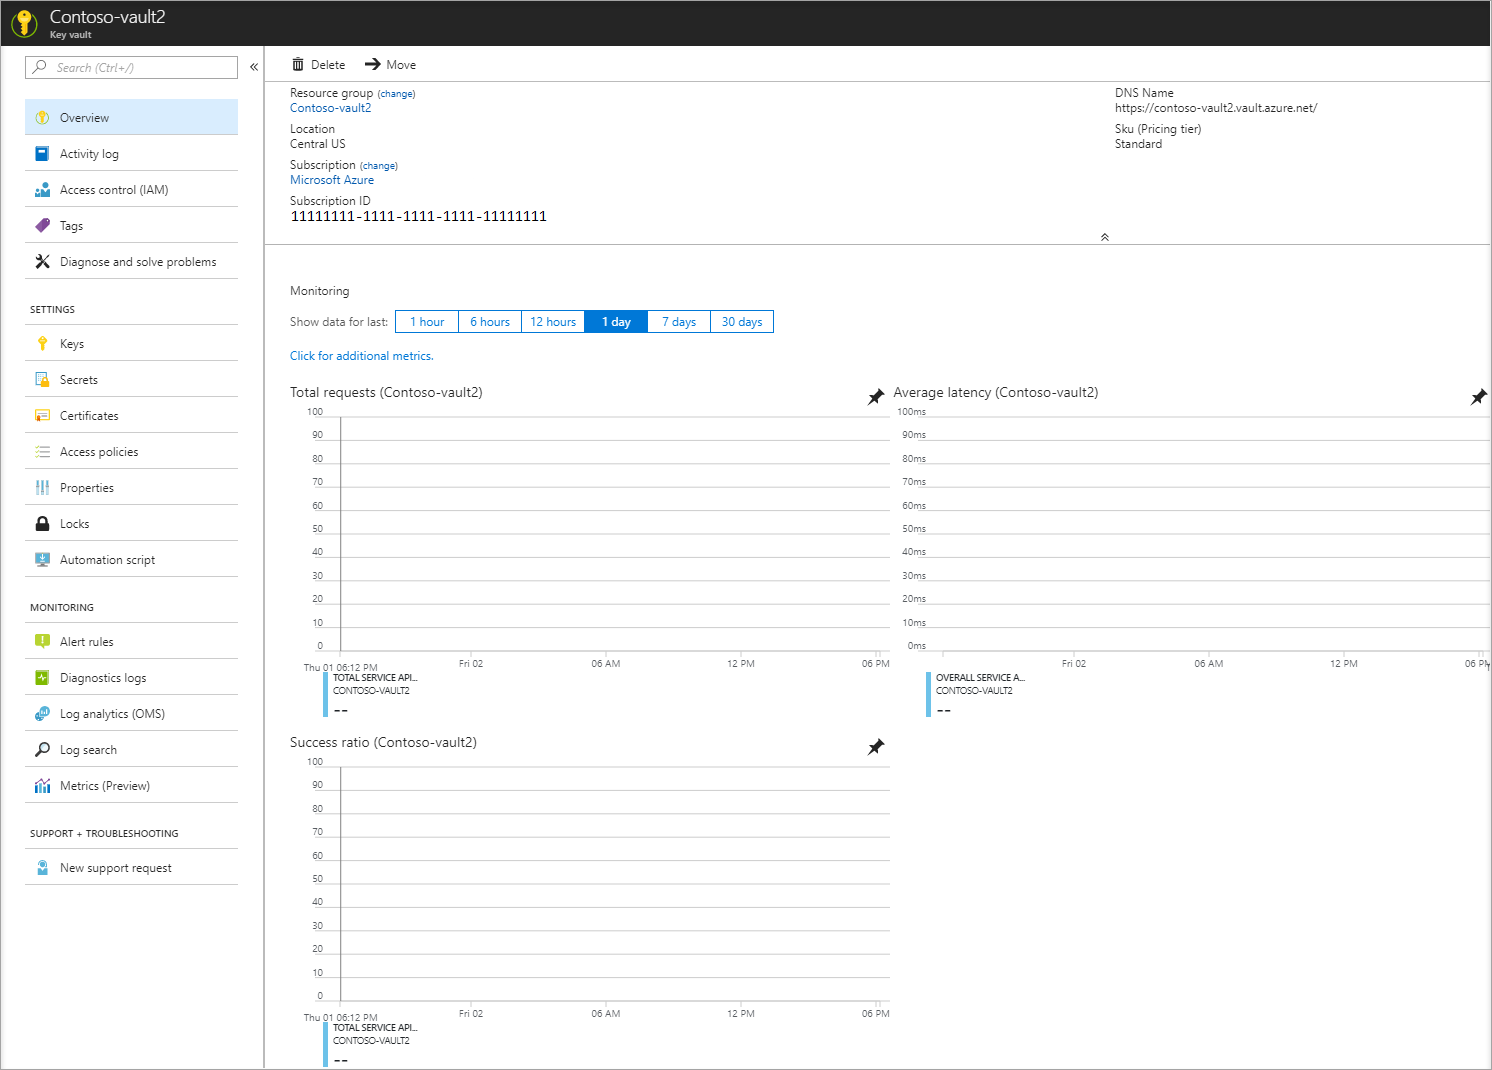
- In Key vault name, a unique name is required. For this tutorial, enter Contoso-vault2.
- In the Region drop-down list, choose a location.
Leave the other Create key vault options with their default values.
Select Create.
At this point, your Azure account is the only one authorized to access this new vault.
Add a secret to Key Vault
To add a secret to the vault, you need to take just a few additional steps. In this case, add a message that you can use to test Key Vault retrieval. The message is called Message, and you store the value "Hello from Key Vault" in it.
- From the Key Vault properties pages, select Secrets.
- Select Generate/Import.
- In the Create a secret pane, enter the following values:
- Upload options: Enter Manual.
- Name: Enter Message.
- Value: Enter Hello from Key Vault.
- Leave the other Create a secret properties with their default values.
- Select Create.
Add a Key Vault reference to App Configuration
Sign in to the Azure portal. Select All resources, and then select the App Configuration store instance that you created in the quickstart.
Select Configuration Explorer.
Select + Create > Key vault reference, and then specify the following values:
- Key: Select /application/config.keyvaultmessage
- Label: Leave this value blank.
- Subscription, Resource group, and Key vault: Enter the values corresponding to the values in the key vault you created in the previous section.
- Secret: Select the secret named Message that you created in the previous section.
Connect to Key Vault
In this tutorial, you use a service principal for authentication to Key Vault. To create this service principal, use the Azure CLI az ad sp create-for-rbac command:
az ad sp create-for-rbac -n "http://mySP" --role Contributor --scopes /subscriptions/{subscription-id} --sdk-authThis operation returns a series of key/value pairs:
{
"clientId": "7da18cae-779c-41fc-992e-0527854c6583",
"clientSecret": "b421b443-1669-4cd7-b5b1-394d5c945002",
"subscriptionId": "443e30da-feca-47c4-b68f-1636b75e16b3",
"tenantId": "35ad10f1-7799-4766-9acf-f2d946161b77",
"activeDirectoryEndpointUrl": "https://login.microsoftonline.com",
"resourceManagerEndpointUrl": "https://management.azure.com/",
"sqlManagementEndpointUrl": "https://management.core.windows.net:8443/",
"galleryEndpointUrl": "https://gallery.azure.com/",
"managementEndpointUrl": "https://management.core.windows.net/"
}
Run the following command to let the service principal access your key vault:
az keyvault set-policy -n <your-unique-keyvault-name> --spn <clientId-of-your-service-principal> --secret-permissions delete getRun the following command to get your object-id, then add it to App Configuration.
az ad sp show --id <clientId-of-your-service-principal>
az role assignment create --role "App Configuration Data Reader" --scope /subscriptions/<subscriptionId>/resourceGroups/<group-name> --assignee-principal-type --assignee-object-id <objectId-of-your-service-principal> --resource-group <your-resource-group>
Create the environment variables AZURE_CLIENT_ID, AZURE_CLIENT_SECRET, and AZURE_TENANT_ID. Use the values for the service principal that were displayed in the previous steps. At the command line, run the following commands and restart the command prompt to allow the change to take effect:
setx AZURE_CLIENT_ID "clientId"
setx AZURE_CLIENT_SECRET "clientSecret"
setx AZURE_TENANT_ID "tenantId"
If you use Windows PowerShell, run the following command:
$Env:AZURE_CLIENT_ID = "clientId"
$Env:AZURE_CLIENT_SECRET = "clientSecret"
$Env:AZURE_TENANT_ID = "tenantId"
If you use macOS or Linux, run the following command:
export AZURE_CLIENT_ID ='clientId'
export AZURE_CLIENT_SECRET ='clientSecret'
export AZURE_TENANT_ID ='tenantId'
Note
These Key Vault credentials are only used within your application. Your application authenticates directly with Key Vault using these credentials without involving the App Configuration service. The Key Vault provides authentication for both your application and your App Configuration service without sharing or exposing keys.
Update your code to use a Key Vault reference
Create an environment variable called APP_CONFIGURATION_ENDPOINT. Set its value to the endpoint of your App Configuration store. You can find the endpoint on the Access Keys blade in the Azure portal. Restart the command prompt to allow the change to take effect.
Open your configuration file in the resources folder. Update this file to use the APP_CONFIGURATION_ENDPOINT value. Remove any references to a connection string in this file.
spring:
    cloud:
        azure:
            appconfiguration:
                stores:
                    - endpoint: ${APP_CONFIGURATION_ENDPOINT}
Note
You can also use the Spring Cloud Azure global configurations to connect to Key Vault.
Open MessageProperties.java. Add a new variable called keyVaultMessage:
private String keyVaultMessage;

public String getKeyVaultMessage() {
    return keyVaultMessage;
}

public void setKeyVaultMessage(String keyVaultMessage) {
    this.keyVaultMessage = keyVaultMessage;
}
Open HelloController.java. Update the getMessage method to include the message retrieved from Key Vault.
@GetMapping
public String getMessage() {
    return "Message: " + properties.getMessage() + "\nKey Vault message: " + properties.getKeyVaultMessage();
}
Build your Spring Boot application with Maven and run it, for example:
mvn clean package
mvn spring-boot:run
After your application is running, use curl to test your application, for example:
curl -X GET http://localhost:8080/You see the message that you entered in the App Configuration store. You also see the message that you entered in Key Vault.
Clean up resources
If you don't want to continue using the resources created in this article, delete the resource group you created here to avoid charges.
Important
Deleting a resource group is irreversible. The resource group and all the resources in it are permanently deleted. Ensure that you don't accidentally delete the wrong resource group or resources. If you created the resources for this article inside a resource group that contains other resources you want to keep, delete each resource individually from its respective pane instead of deleting the resource group.
- Sign in to the Azure portal, and select Resource groups.
- In the Filter by name box, enter the name of your resource group.
- In the result list, select the resource group name to see an overview.
- Select Delete resource group.
- You're asked to confirm the deletion of the resource group. Enter the name of your resource group to confirm, and select Delete.
After a few moments, the resource group and all its resources are deleted.
Next steps
In this tutorial, you created an App Configuration key that references a value stored in Key Vault. For further questions see the reference documentation, it has all of the details on how the Spring Cloud Azure App Configuration library works. To learn how to use feature flags in your Java Spring application, continue to the next tutorial.
Feedback
Coming soon: Throughout 2024 we will be phasing out GitHub Issues as the feedback mechanism for content and replacing it with a new feedback system. For more information see: https://aka.ms/ContentUserFeedback.
Submit and view feedback for