Filters in Azure Monitor views
Important
Views in Azure Monitor are being retired and transitioned to workbooks, which provide more functionality.
A filter in an Azure Monitor view allows users to filter the data in the view by the value of a particular property without modifying the view itself. For example, you could allow users of your view to filter the view for data only from a particular computer or set of computers. You can create multiple filters on a single view to allow users to filter by multiple properties. This article describes how to use a filter and add one to a custom view.
Use a filter
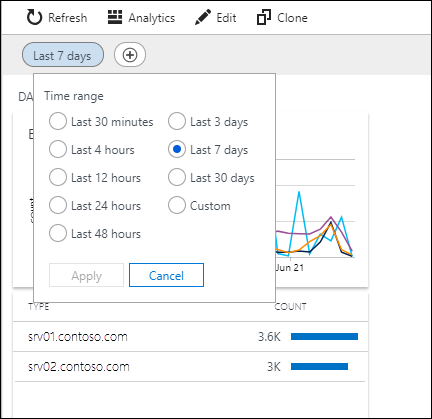
Select the date time range at the top of a view to open the dropdown where you can change the date time range for the view.
Select + to add a filter by using custom filters that are defined for the view. Either select a value for the filter from the dropdown or enter a value. Continue to add filters by selecting +.

If you remove all the values for a filter, that filter will no longer be applied.
Create a filter
Create a filter from the Filters tab when you edit a view. The filter is global for the view and applies to all parts in the view.

The following table describes the settings for a filter.
| Setting | Description |
|---|---|
| Field Name | Name of the field used for filtering. This field must match the summarize field in Query for Values. |
| Query for Values | Query to run to populate the Filter dropdown for the user. This query must use either summarize or distinct to provide unique values for a particular field. It must match the Field Name. You can use sort to sort the values that are displayed to the user. |
| Tag | Name for the field that's used in queries supporting the filter and is also displayed to the user. |
Examples
The following table includes examples of common filters.
| Field name | Query for values | Tag |
|---|---|---|
| Computer | Heartbeat | distinct Computer | sort by Computer asc | Computers |
| EventLevelName | Event | distinct EventLevelName | Severity |
| SeverityLevel | Syslog | distinct SeverityLevel | Severity |
| SvcChangeType | ConfigurationChange | distinct svcChangeType | ChangeType |
Modify view queries
For a filter to have any effect, you must modify any queries in the view to filter on the selected values. If you don't modify any queries in the view, any values the user selects will have no effect.
The syntax for using a filter value in a query is:
where ${filter name}
For example, if your view has a query that returns events and uses a filter called Computers, you could use the following query:
Event | where ${Computers} | summarize count() by EventLevelName
If you added another filter called Severity, you could use the following query to use both filters:
Event | where ${Computers} | where ${Severity} | summarize count() by EventLevelName
Next steps
Learn more about the visualization parts you can add to your custom view.