Quickstart: Create a dashboard in the Azure portal by using a Bicep file
A dashboard in the Azure portal is a focused and organized view of your cloud resources. This quickstart shows how to deploy a Bicep file to create a dashboard. The example dashboard shows the performance of a virtual machine (VM), along with some static information and links.
Bicep is a domain-specific language (DSL) that uses declarative syntax to deploy Azure resources. It provides concise syntax, reliable type safety, and support for code reuse. Bicep offers the best authoring experience for your infrastructure-as-code solutions in Azure.
Prerequisites
- An Azure account with an active subscription. Create an account for free.
- Azure PowerShell or Azure CLI.
Review the Bicep file
The Bicep file used in this quickstart is from Azure Quickstart Templates. This Bicep file is too long to show here. To view the Bicep file, see main.bicep.
The Bicep file defines one Azure resource, a Microsoft.Portal dashboards resource that displays data about the VM that you'll create as part of the deployment.
The dashboard created by deploying this Bicep file requires an existing virtual machine. Before deploying the Bicep file, the script deploys an ARM template called prereq.azuredeploy.json that creates a virtual machine.
The virtual machine name is hard-coded as SimpleWinVM in the ARM template, to match what's used in the main.bicep file that creates the dashboard. You'll need to create your own administration username and password for this VM. This is a new username and password (not the account you use to sign in to Azure). The password must be complex. For more information, see username requirements
and password requirements.
Deploy the Bicep file
Save the Bicep file as main.bicep to your local computer.
Deploy the Bicep file using either Azure CLI or Azure PowerShell, using the script shown here. Replace the following values in the script:
- <admin-user-name>: specify an administrator username.
- <admin-password>: specify an administrator password.
- <dns-label-prefix>: specify a DNS prefix.
$resourceGroupName = 'SimpleWinVmResourceGroup'
$location = 'eastus'
$adminUserName = '<admin-user-name>'
$adminPassword = '<admin-password>'
$dnsLabelPrefix = '<dns-label-prefix>'
$virtualMachineName = 'SimpleWinVM'
$vmTemplateUri = 'https://raw.githubusercontent.com/Azure/azure-quickstart-templates/master/quickstarts/microsoft.portal/azure-portal-dashboard/prereqs/prereq.azuredeploy.json'

az group create --name $resourceGroupName --location $location
az deployment group create --resource-group $resourceGroupName --template-uri $vmTemplateUri --parameters adminUsername=$adminUserName adminPassword=$adminPassword dnsLabelPrefix=$dnsLabelPrefix
az deployment group create --resource-group $resourceGroupName --template-file main.bicep --parameters virtualMachineName=$virtualMachineName virtualMachineResourceGroup=$resourceGroupName
After the deployment finishes, you should see a message indicating the deployment succeeded.
Review deployed resources
Verify that you can see data about your virtual machine in the Azure portal dashboard.
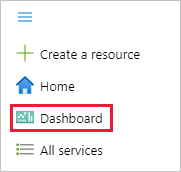
In the Azure portal menu, select Dashboard.
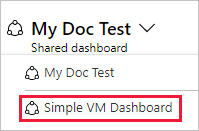
On the dashboard page, select Simple VM Dashboard.
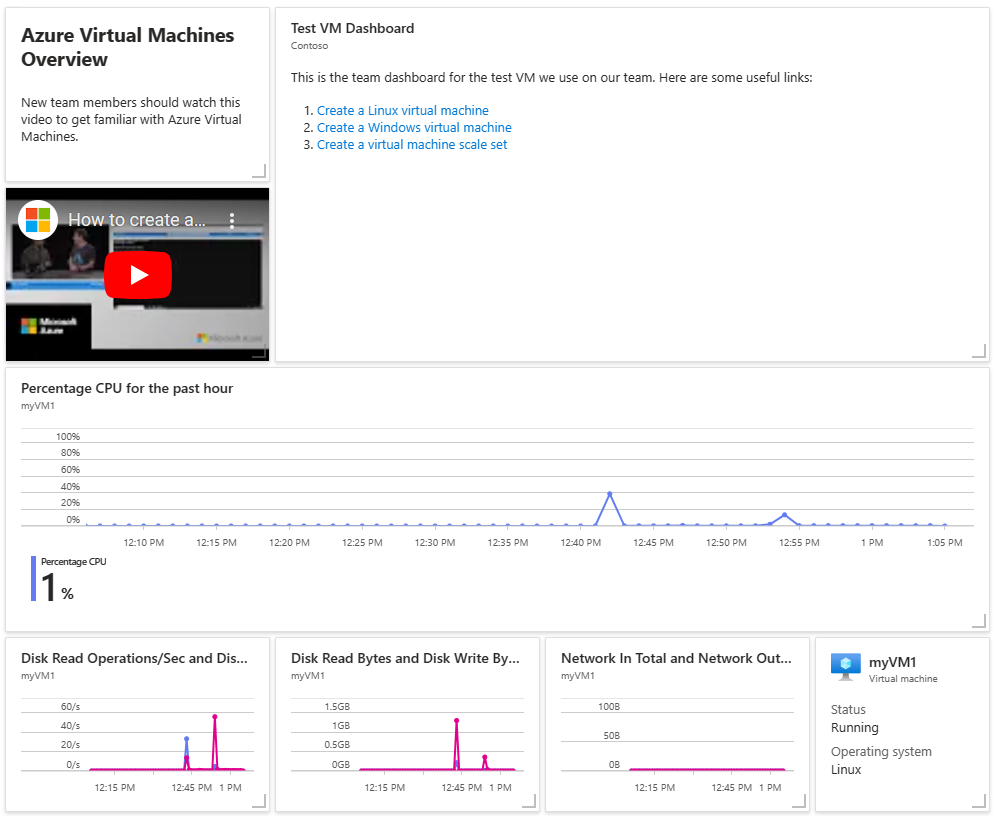
Review the dashboard, which should look similar to the one shown here. While some of the content is static, there are also charts that show the performance of the VM you created at the beginning.
Clean up resources
If you want to remove the VM and associated dashboard, delete the resource group that contains them.
In the Azure portal, search for SimpleWinVmResourceGroup, then select it in the search results.
On the SimpleWinVmResourceGroup page, select Delete resource group, enter the resource group name to confirm, then select Delete.
Caution
Deleting a resource group will delete all of the resources contained within it. If the resource group contains additional resources aside from your virtual machine and dashboard, those resources will also be deleted.
Next steps
For more information about dashboards in the Azure portal, see:
Feedback
Coming soon: Throughout 2024 we will be phasing out GitHub Issues as the feedback mechanism for content and replacing it with a new feedback system. For more information see: https://aka.ms/ContentUserFeedback.
Submit and view feedback for