Quickstart: Deploy an Azure Marketplace managed application
In this quickstart, you deploy an Azure Marketplace managed application and verify the resource deployments in Azure. A Marketplace managed application publisher charges a fee to maintain the application, and during the deployment, the publisher is given permissions to your application's managed resource group. As a customer, you have limited access to the deployed resources, but can delete the managed application from your Azure subscription.
To avoid unnecessary costs for the managed application's Azure resources, go to clean up resources when you're finished.
Prerequisites
An Azure account with an active subscription. If you don't have an account, create a free account before you begin.
Find a managed application
To get a managed application from the Azure portal, use the following steps.
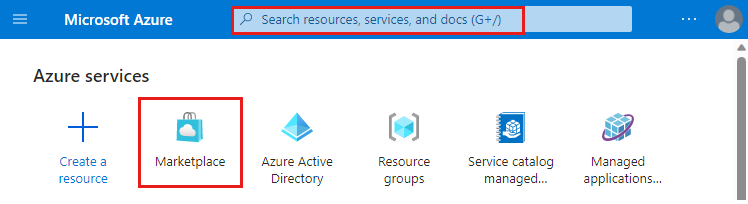
Sign in to the Azure portal.
Search for Marketplace and select it from the available options. Or if you've recently used Marketplace, select it from the list.
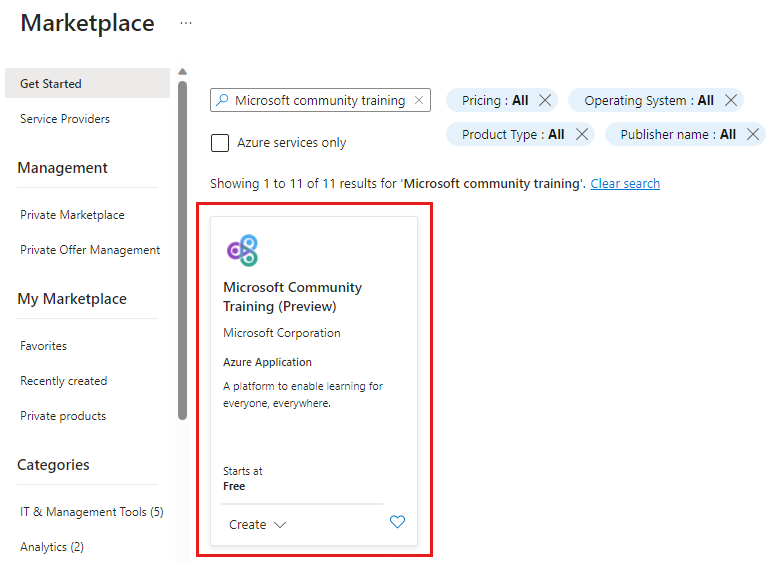
On the Marketplace page, search for Microsoft community training.
Select Microsoft Community Training (Preview).
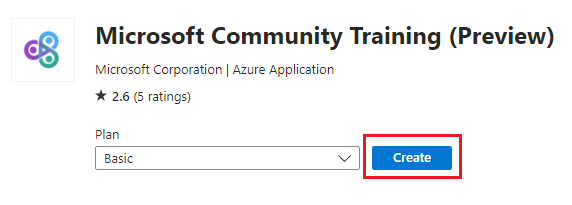
Select the Basic plan and then select Create.
Deploy the managed application
On the Basics tab, enter the required information.

- Subscription: Select your Azure subscription.
- Resource group: Create a new resource group. For this example use demo-marketplace-app.
- Region: Select a region, like West US.
- Application Name: Enter a name, like demotrainingapp.
- Managed Resource Group: Use the default name for this example. The format is
mrg-microsoft-community-training-<dateTime>. But you can change the name if you want.
Select Next: Setup your portal.
On the Setup your portal tab, enter the required information.
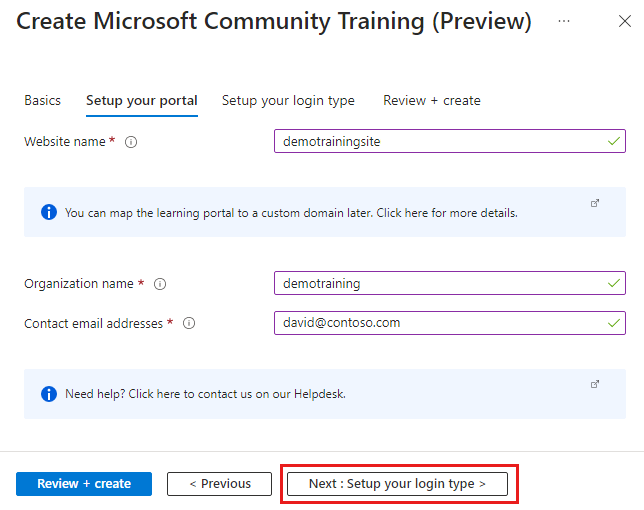
- Website name: Enter a name that meets the criteria specified on the form, like demotrainingsite. Your website name should be globally unique across Azure.
- Organization name: Enter your organization's name.
- Contact email addresses: Enter at least one valid email address.
Select Next: Setup your login type.
On the Setup your login type tab, enter the required information.
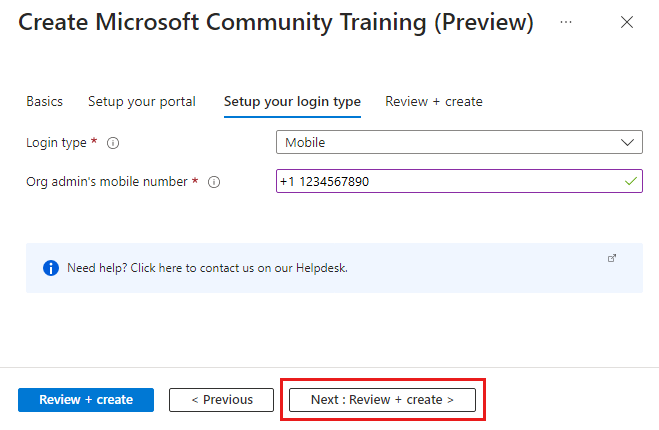
- Login type: For this example, select Mobile.
- Org admin's mobile number: Enter a valid mobile phone number including the country/region code, in the format +1 1234567890. The phone number is used to sign in to the training site.
Select Next: Review + create.
After Validation passed is displayed, verify the information is correct.
Read Co-Admin Access Permission and check the box to agree to the terms.
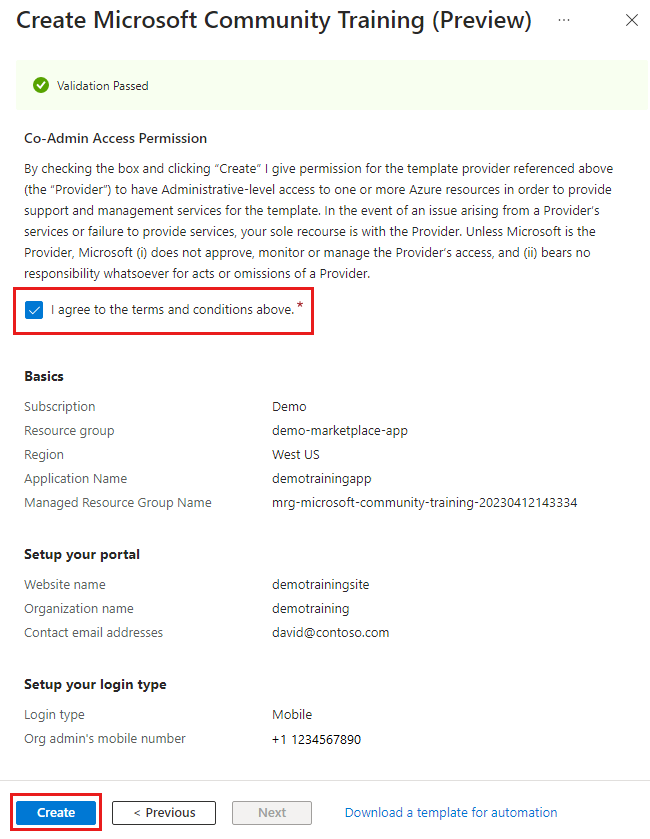
Select Create.
The deployment begins and because many resources are created, the Azure deployment takes about 20 minutes to finish. You can verify the Azure deployments before the website becomes available.
Verify the managed application deployment
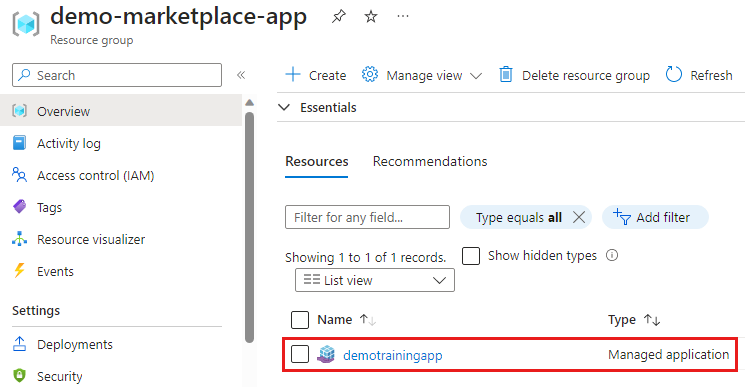
After the managed application deployment is finished, you can verify the resources.
Go to resource group demo-marketplace-app and select the managed application.
Select the Overview tab to display the managed application and link to the managed resource group.
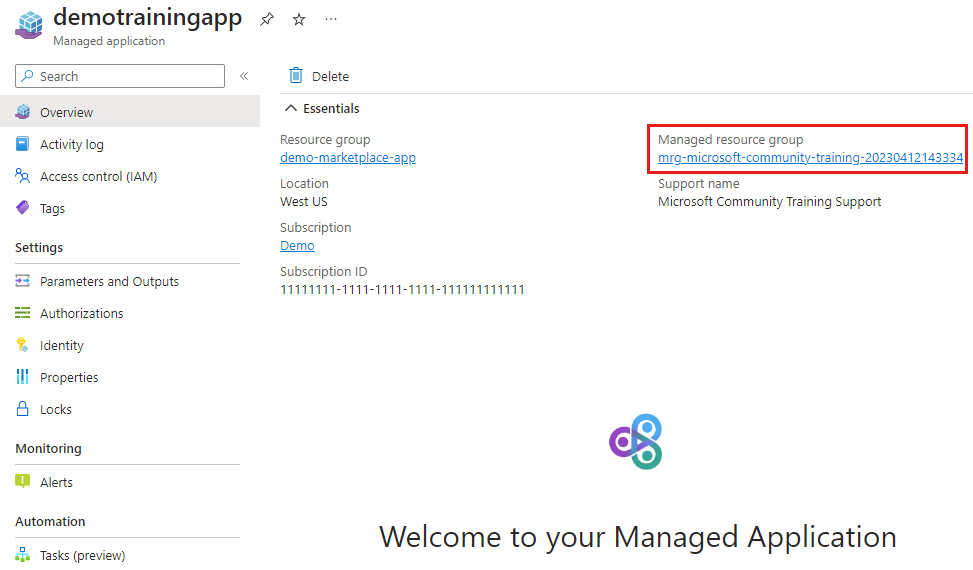
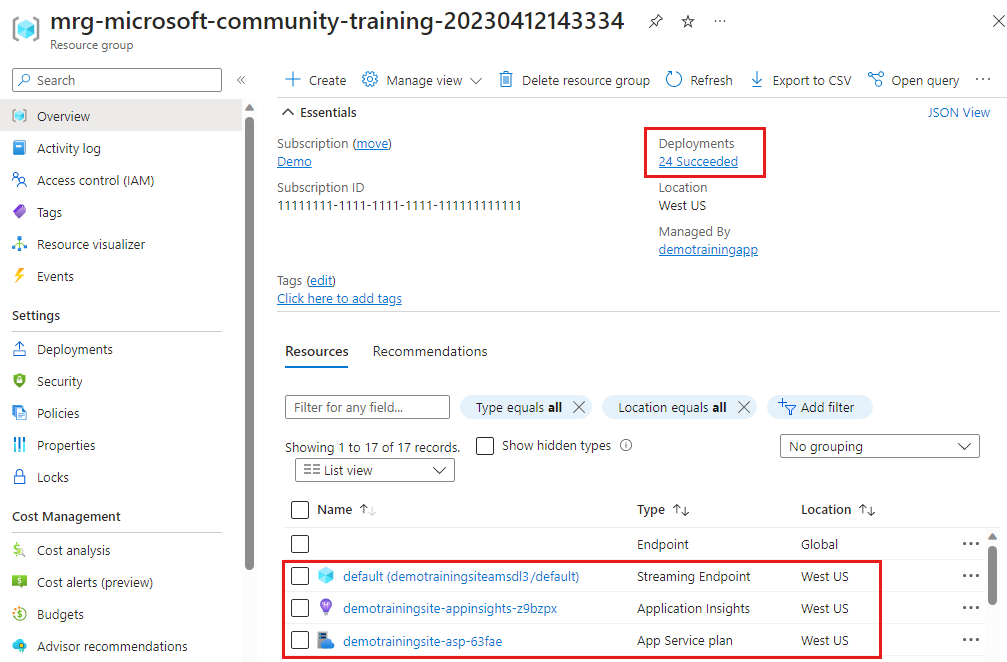
The managed resource group shows the resources that were deployed and the deployments that created the resources.
To review the publisher's permissions in the managed resource group, select Access Control (IAM) > Role assignments.
You can also verify the Deny assignments.
For this example, the website's availability isn't necessary. The article's purpose is to show how to deploy an Azure Marketplace managed application and verify the resources. To avoid unnecessary costs, go to clean up resources when you're finished.
Launch the website (optional)
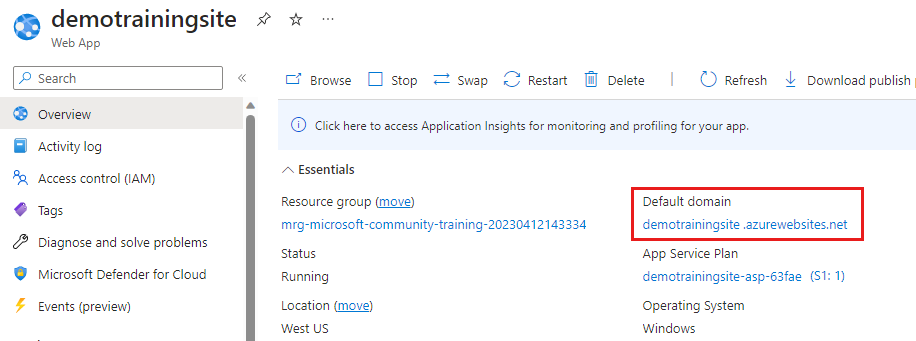
After the deployment is completed, from the managed resource group, you can go to the App Service resource and launch your website.
The site might respond with a page that the deployment is still processing.

When your website is available, a default sign-in page is displayed. You can sign-in with the mobile phone number that you used during the deployment and you'll receive a text message confirmation. When you're finished, be sure to sign out of your training website.
Clean up resources
When you're finished with the managed application, you can delete the resource groups and that removes all the Azure resources you created. For example, in this quickstart you created the resource groups demo-marketplace-app and a managed resource group with the prefix mrg-microsoft-community-training.
When you delete the demo-marketplace-app resource group, the managed application, managed resource group, and all the Azure resources are deleted.
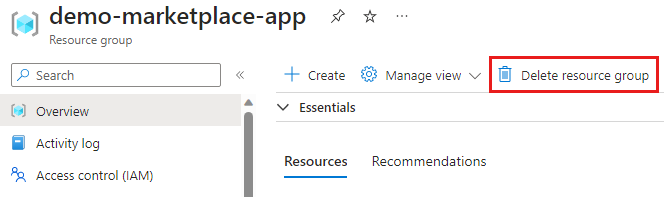
Go to the demo-marketplace-app resource group and Delete resource group.
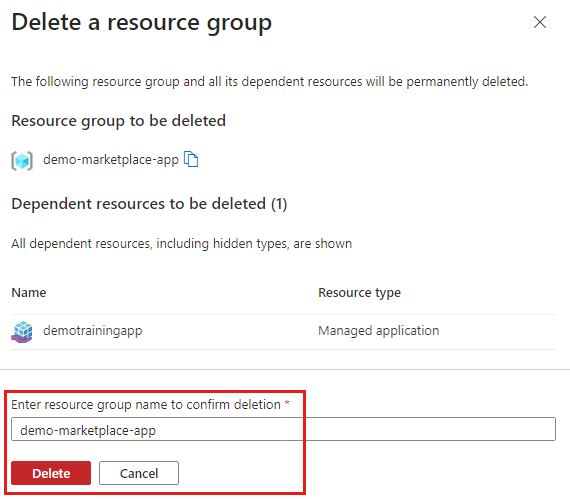
To confirm the deletion, enter the resource group name and select Delete.
Next steps
- To learn how to create and publish the definition files for a managed application, go to Quickstart: Create and publish an Azure Managed Application definition.
- To learn how to deploy a managed application, go to Quickstart: Deploy a service catalog managed application
- To use your own storage to create and publish the definition files for a managed application, go to Quickstart: Bring your own storage to create and publish an Azure Managed Application definition.
Feedback
Coming soon: Throughout 2024 we will be phasing out GitHub Issues as the feedback mechanism for content and replacing it with a new feedback system. For more information see: https://aka.ms/ContentUserFeedback.
Submit and view feedback for