Quickstart: Create a local development environment for Azure SQL Database
Applies to: ![]() Azure SQL Database
Azure SQL Database
The Azure SQL Database local development experience provides a way to design, edit, build/validate, publish and run database schemas in a local Azure SQL Database emulator. With the Database Projects feature, developers are able to easily publish Database Projects to the Azure SQL Database public service from their local environment, as well as manage the entire lifecycle of their databases (for example, manage schema drifts and such). This Quickstart teaches you the entire workflow that leverages the Azure SQL Database local development experience.
Prerequisites
To complete this Quickstart, you must first Set up a local development environment for Azure SQL Database.
Create a blank project
To get started, either create a blank Database Project, or open an existing project. The steps in this section help you create a new blank project, but you can also:
- Open an existing project by going to the Database Projects view or by searching for Database Projects: Open Existing in the command palette.
- Start from an existing database by selecting Create Project from Database from the command palette or database context menu.
- Start from an OpenAPI/Swagger spec by using the Database Projects: Generate SQL Project from OpenAPI/Swagger spec (Preview) command in the command palette.
The steps for creating a new project using Visual Studio Code, or Azure Data Studio are the same. To create a blank project, follow these steps:
Open your choice of developer tool, either Azure Data Studio, or Visual Studio Code.
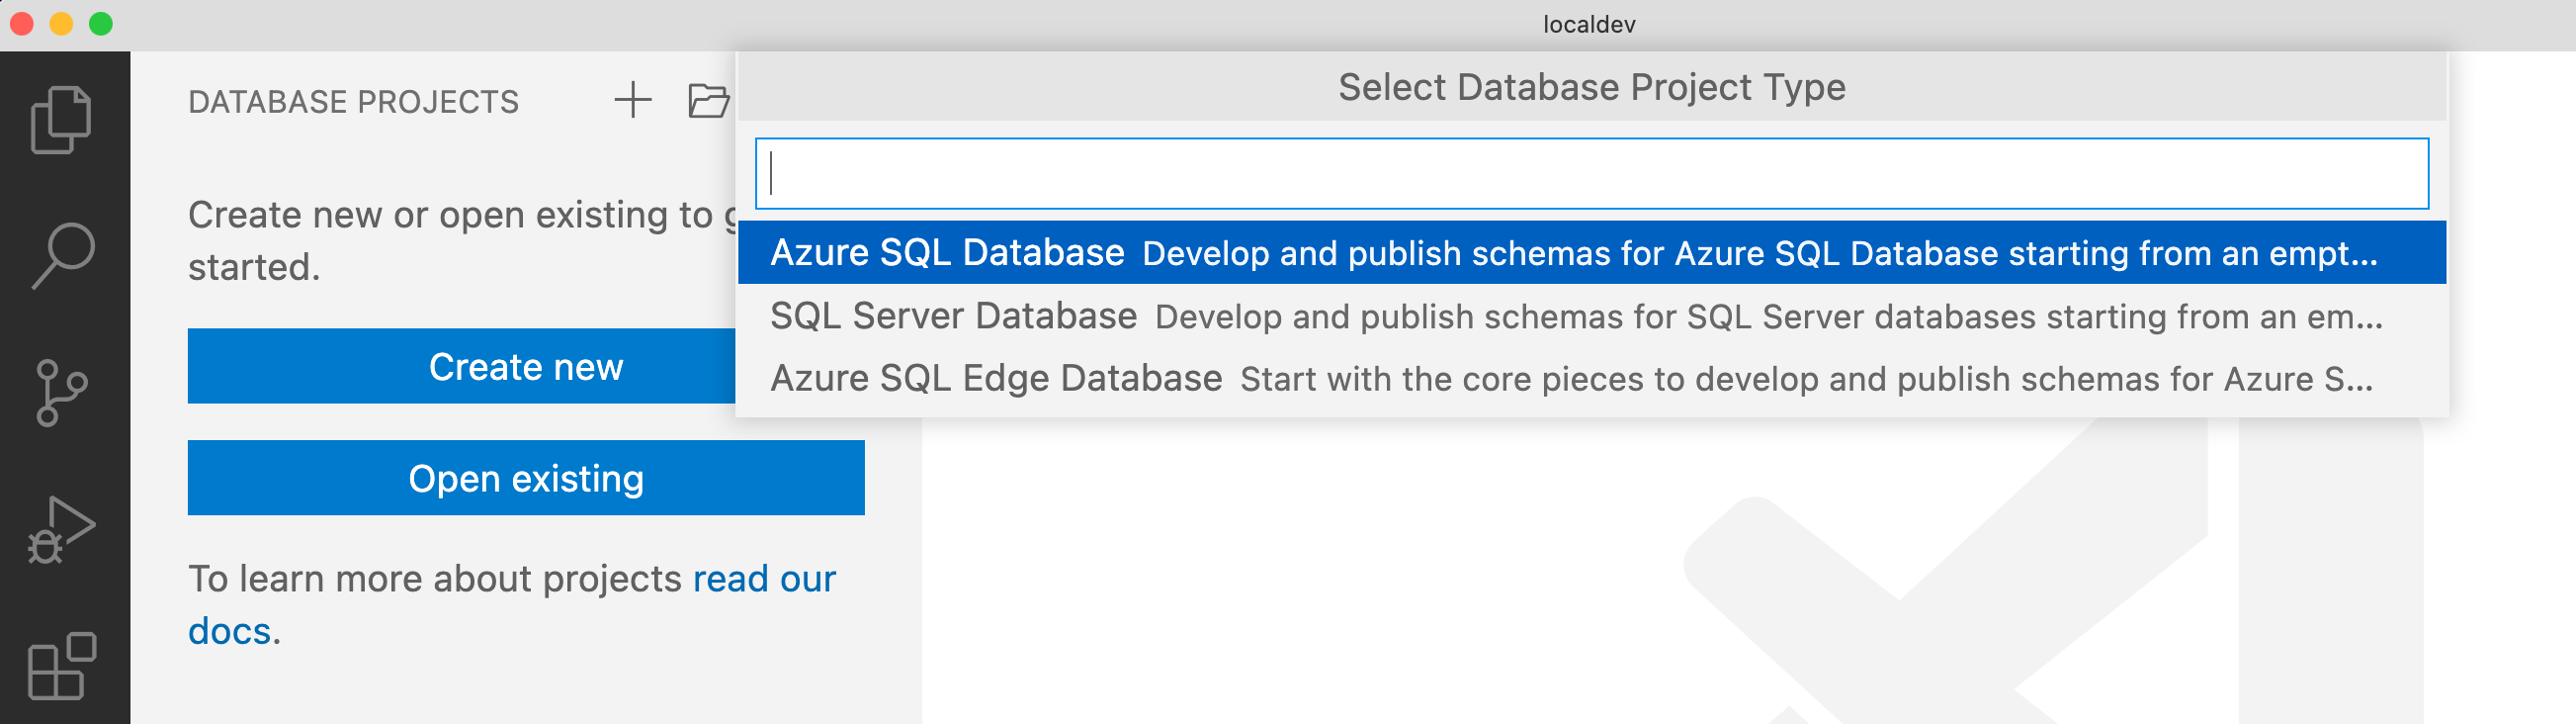
Select Projects and then choose to create a new Database Project. Alternatively, search for Database Projects: New in the command palette.
Choose SQL Database as your project type.
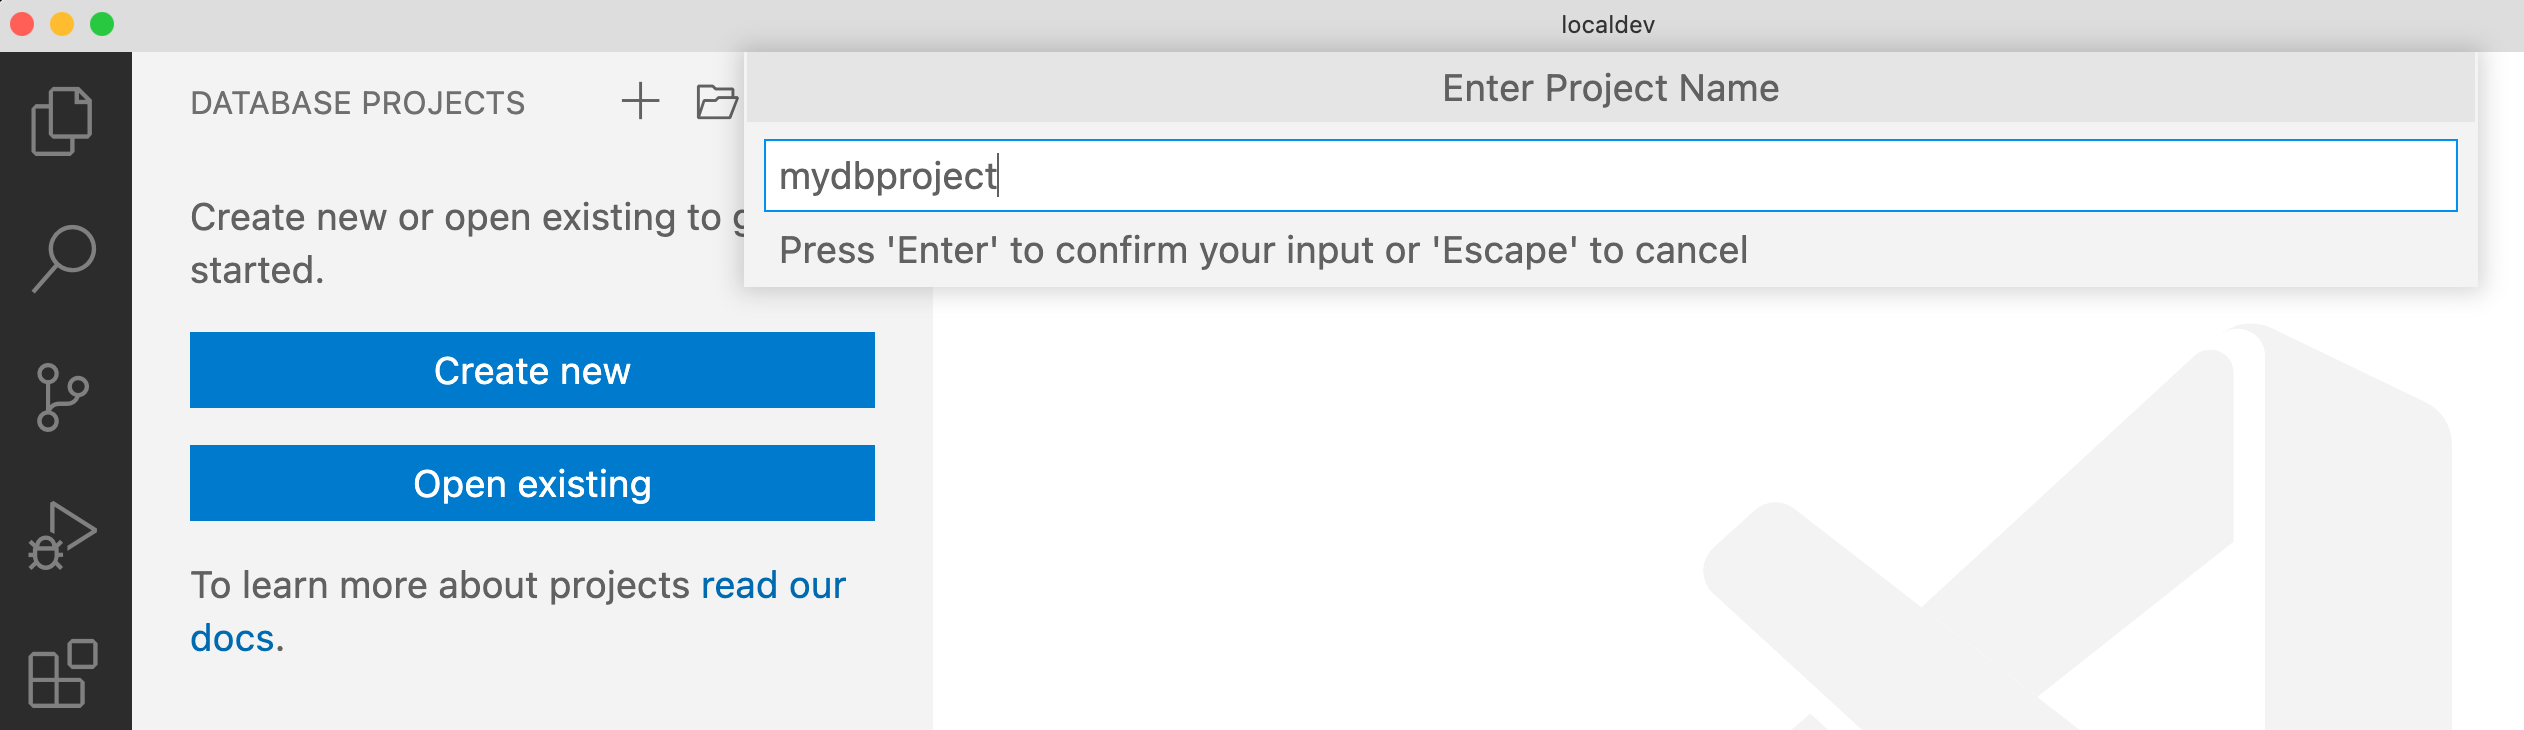
Provide a name for the new SQL Database Project.
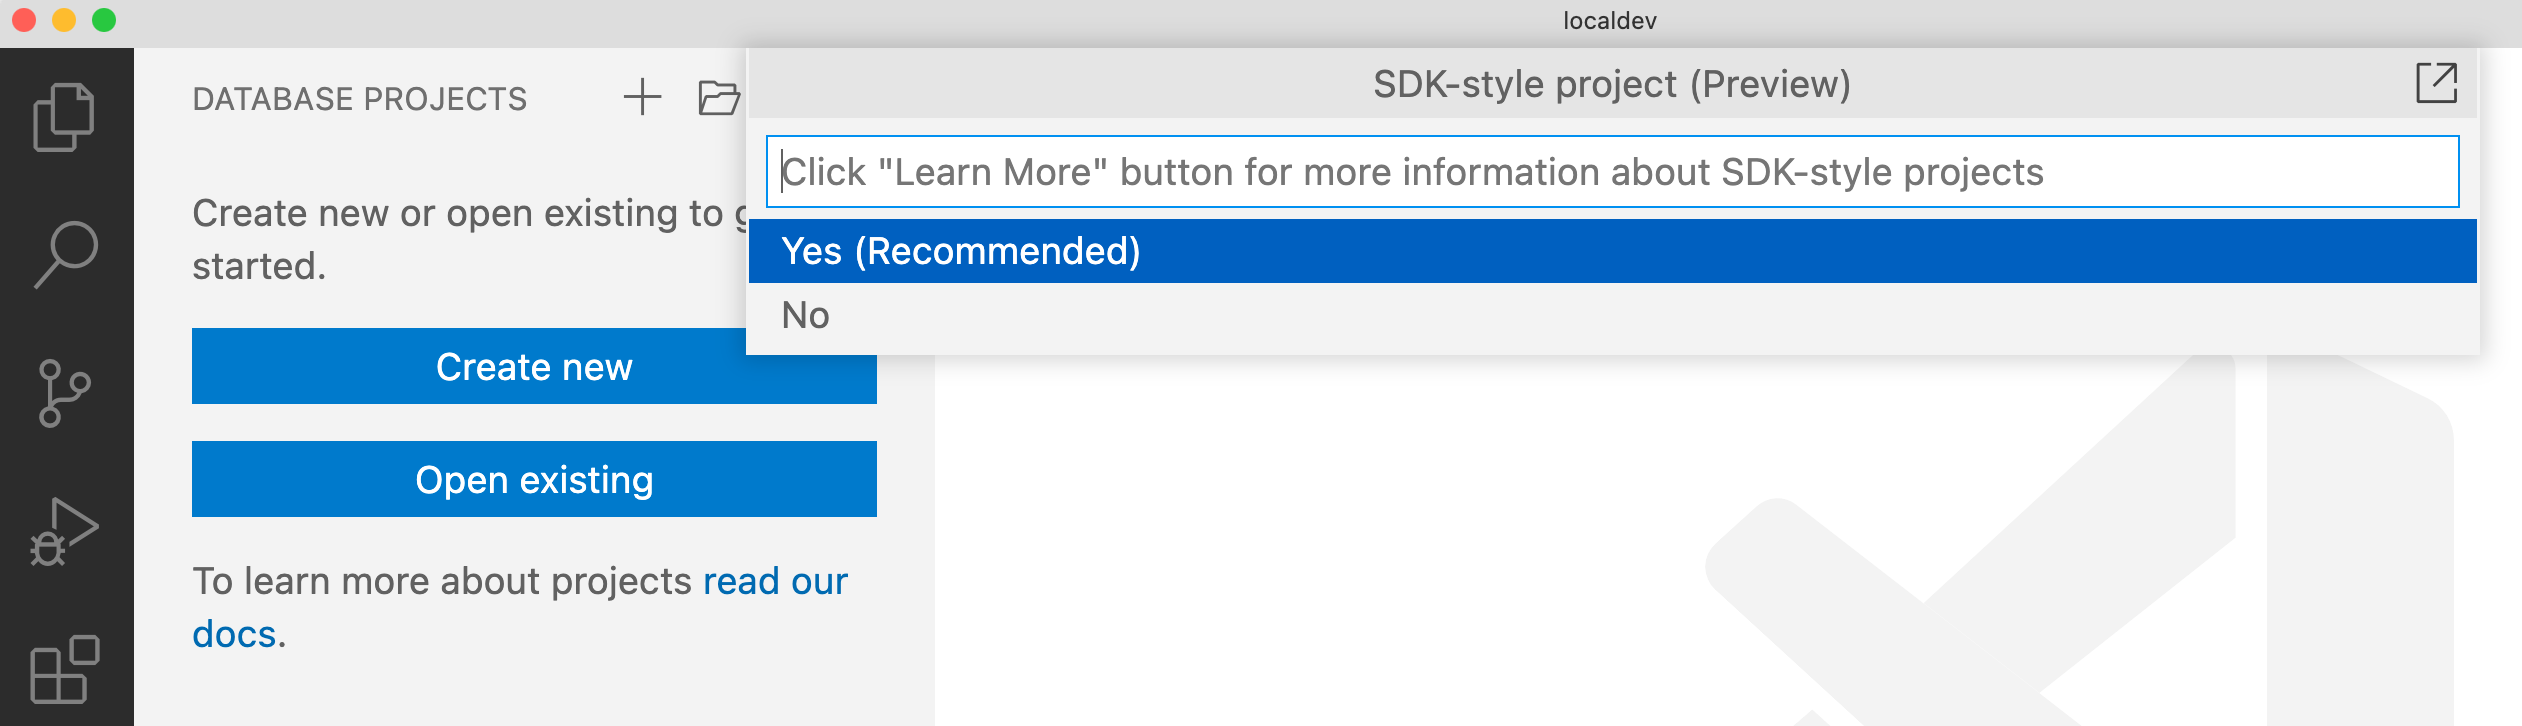
Select the SDK-style SQL Database Project project. (The SDK-style SQL project is recommended for being more concise and manageable when working with multiple developers on a team's repository.)
To set the target platform for your project, right-click the Database Project name and choose Change Target Platform. Select Azure SQL Database as the target platform for your project.
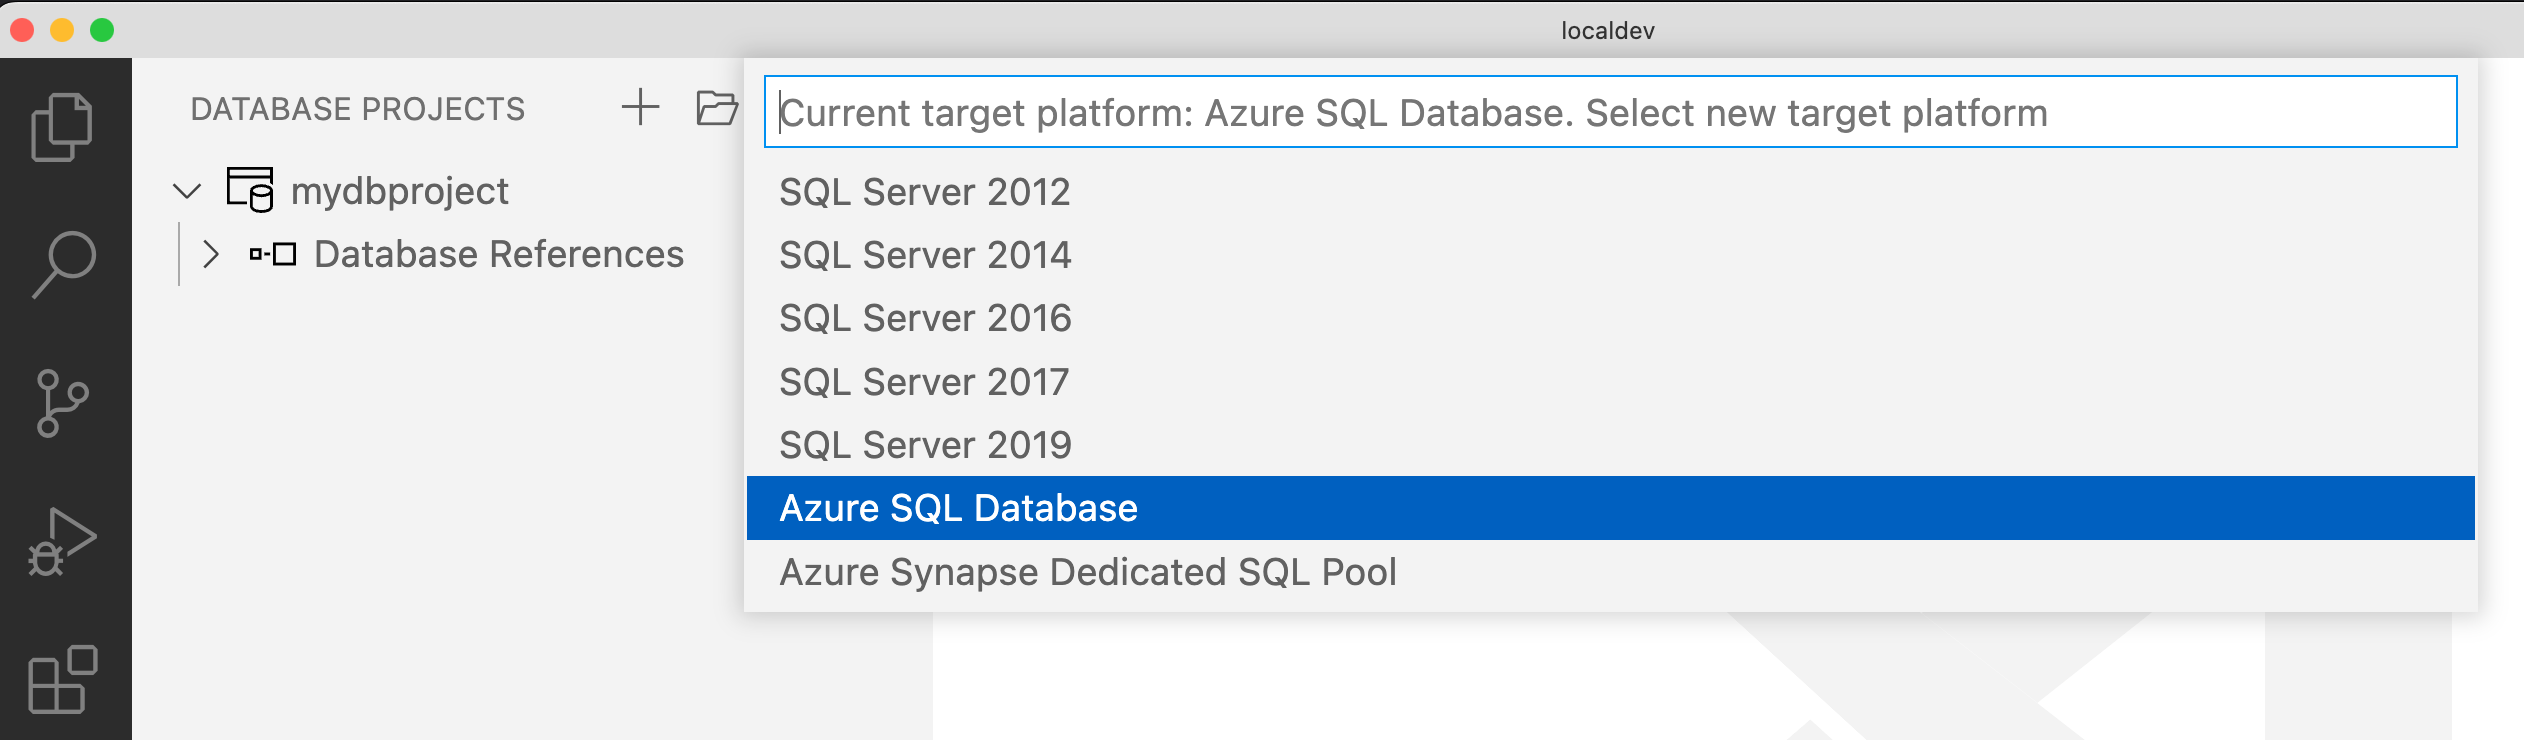
Setting your target platform provides editing and build time support for your SQL Database Project objects and scripts. After selecting your target platform, Visual Studio Code highlights syntax issues or indicates the select platform is using unsupported features.
Optionally, SQL Database Project files can be put under source control together with your application projects.
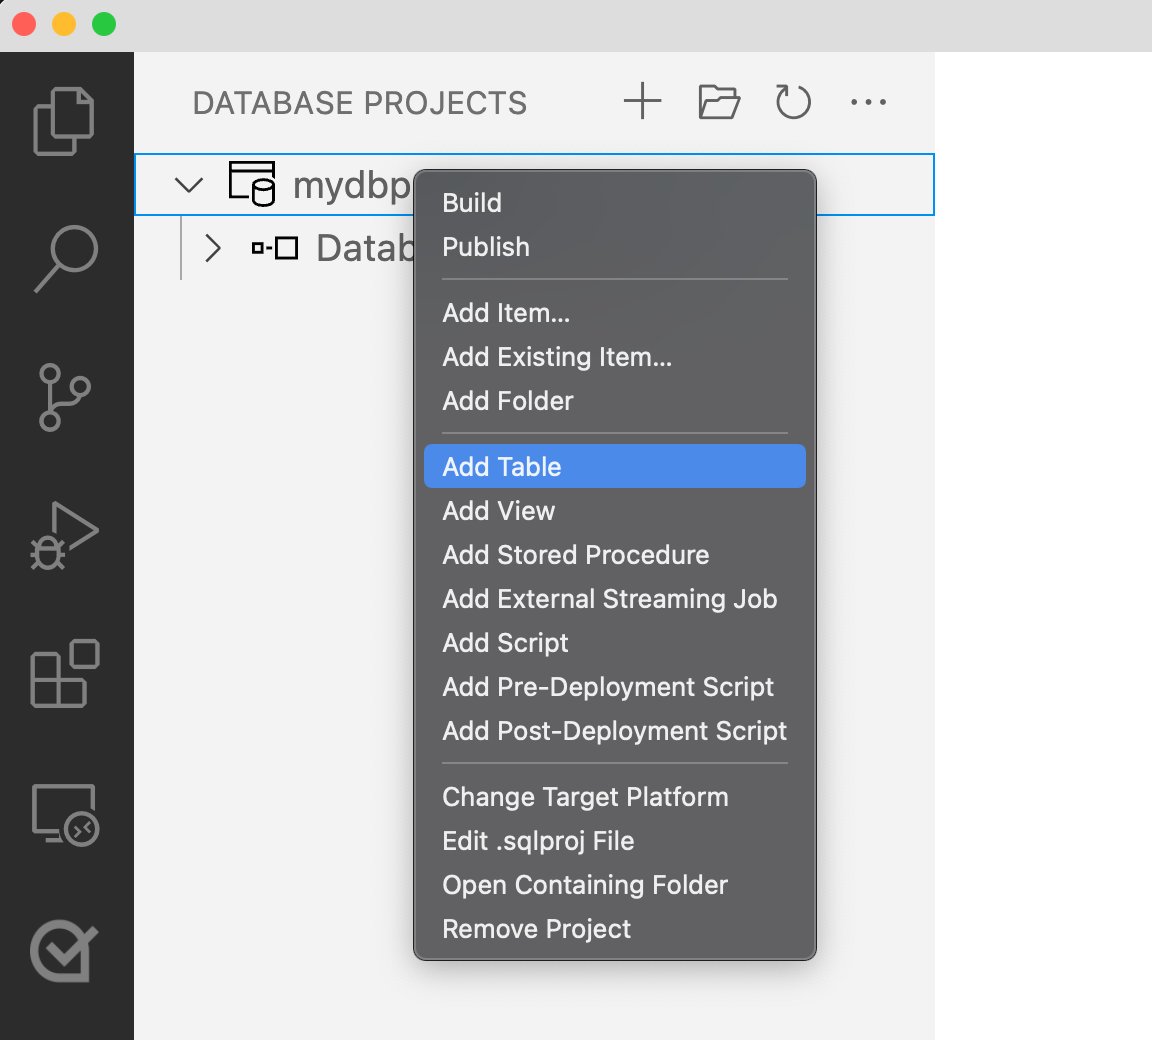
Add objects to your Database Project. You can create or alter database objects such as tables, views, stored procedures and scripts. For example, right-click the Database Project name and select Add Table to add a table.
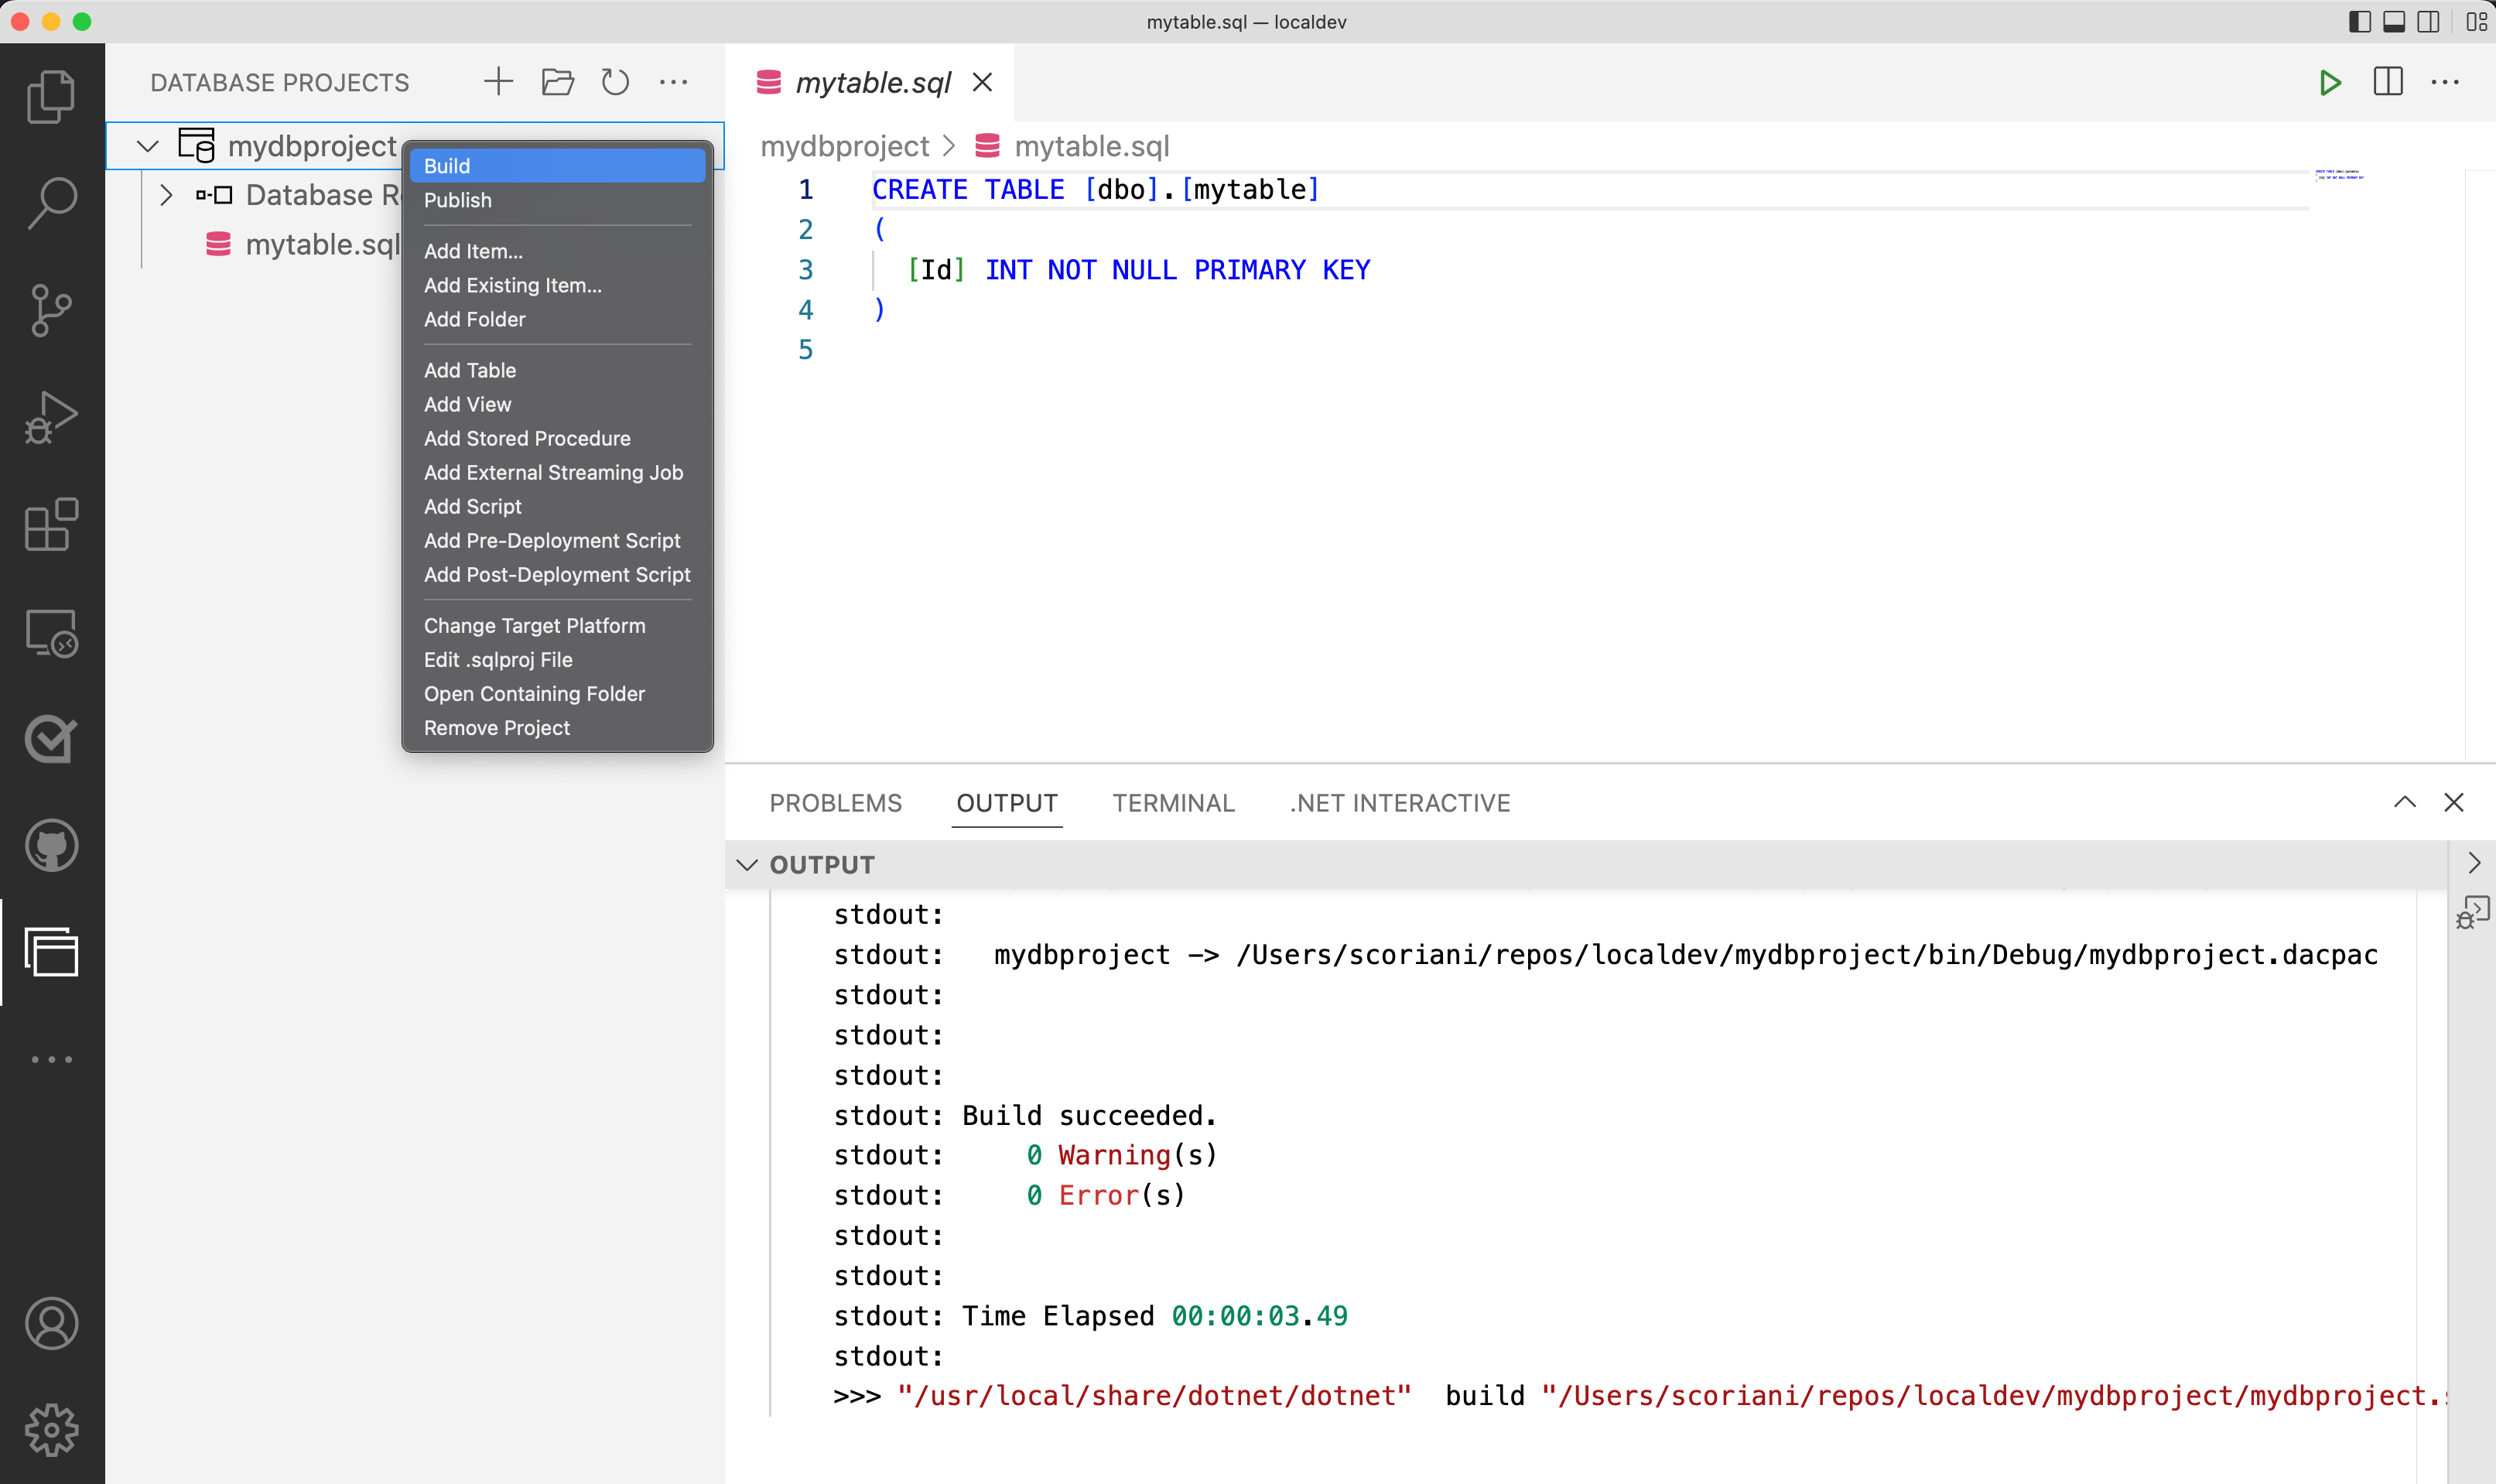
Build your Database Project to validate that it will work against the Azure SQL Database platform. To build your project, right-click the Database Project name and select Build.
Once your Database Project is ready to be tested, publish it to a target. To begin the publishing process, right-click on the name of your Database Project and select Publish.

When publishing, you can choose to publish to either a new or existing server. In this example, we choose Publish to a new Azure SQL Database emulator.

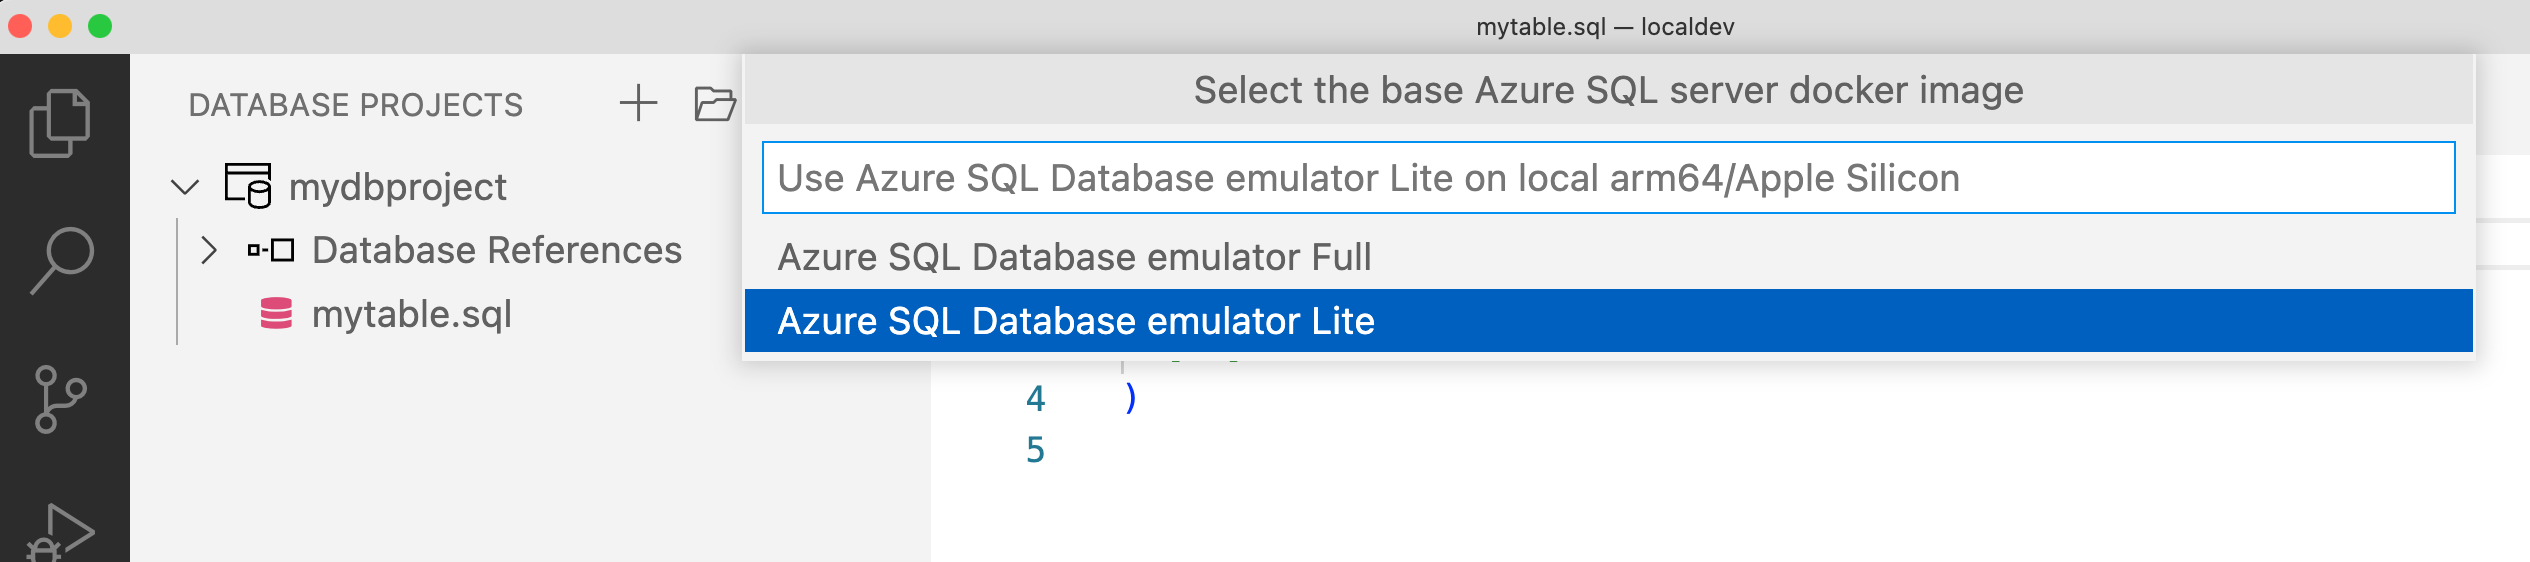
When publishing to a new Azure SQL Database emulator, you are prompted to choose between Lite and Full images. The Lite image has compatibility with most Azure SQL Database capabilities and is a lightweight image that takes less to download and instantiate. The Full image gives you access to advanced features like in-memory optimized tables, geo-spatial data types and more, but requires more resources.
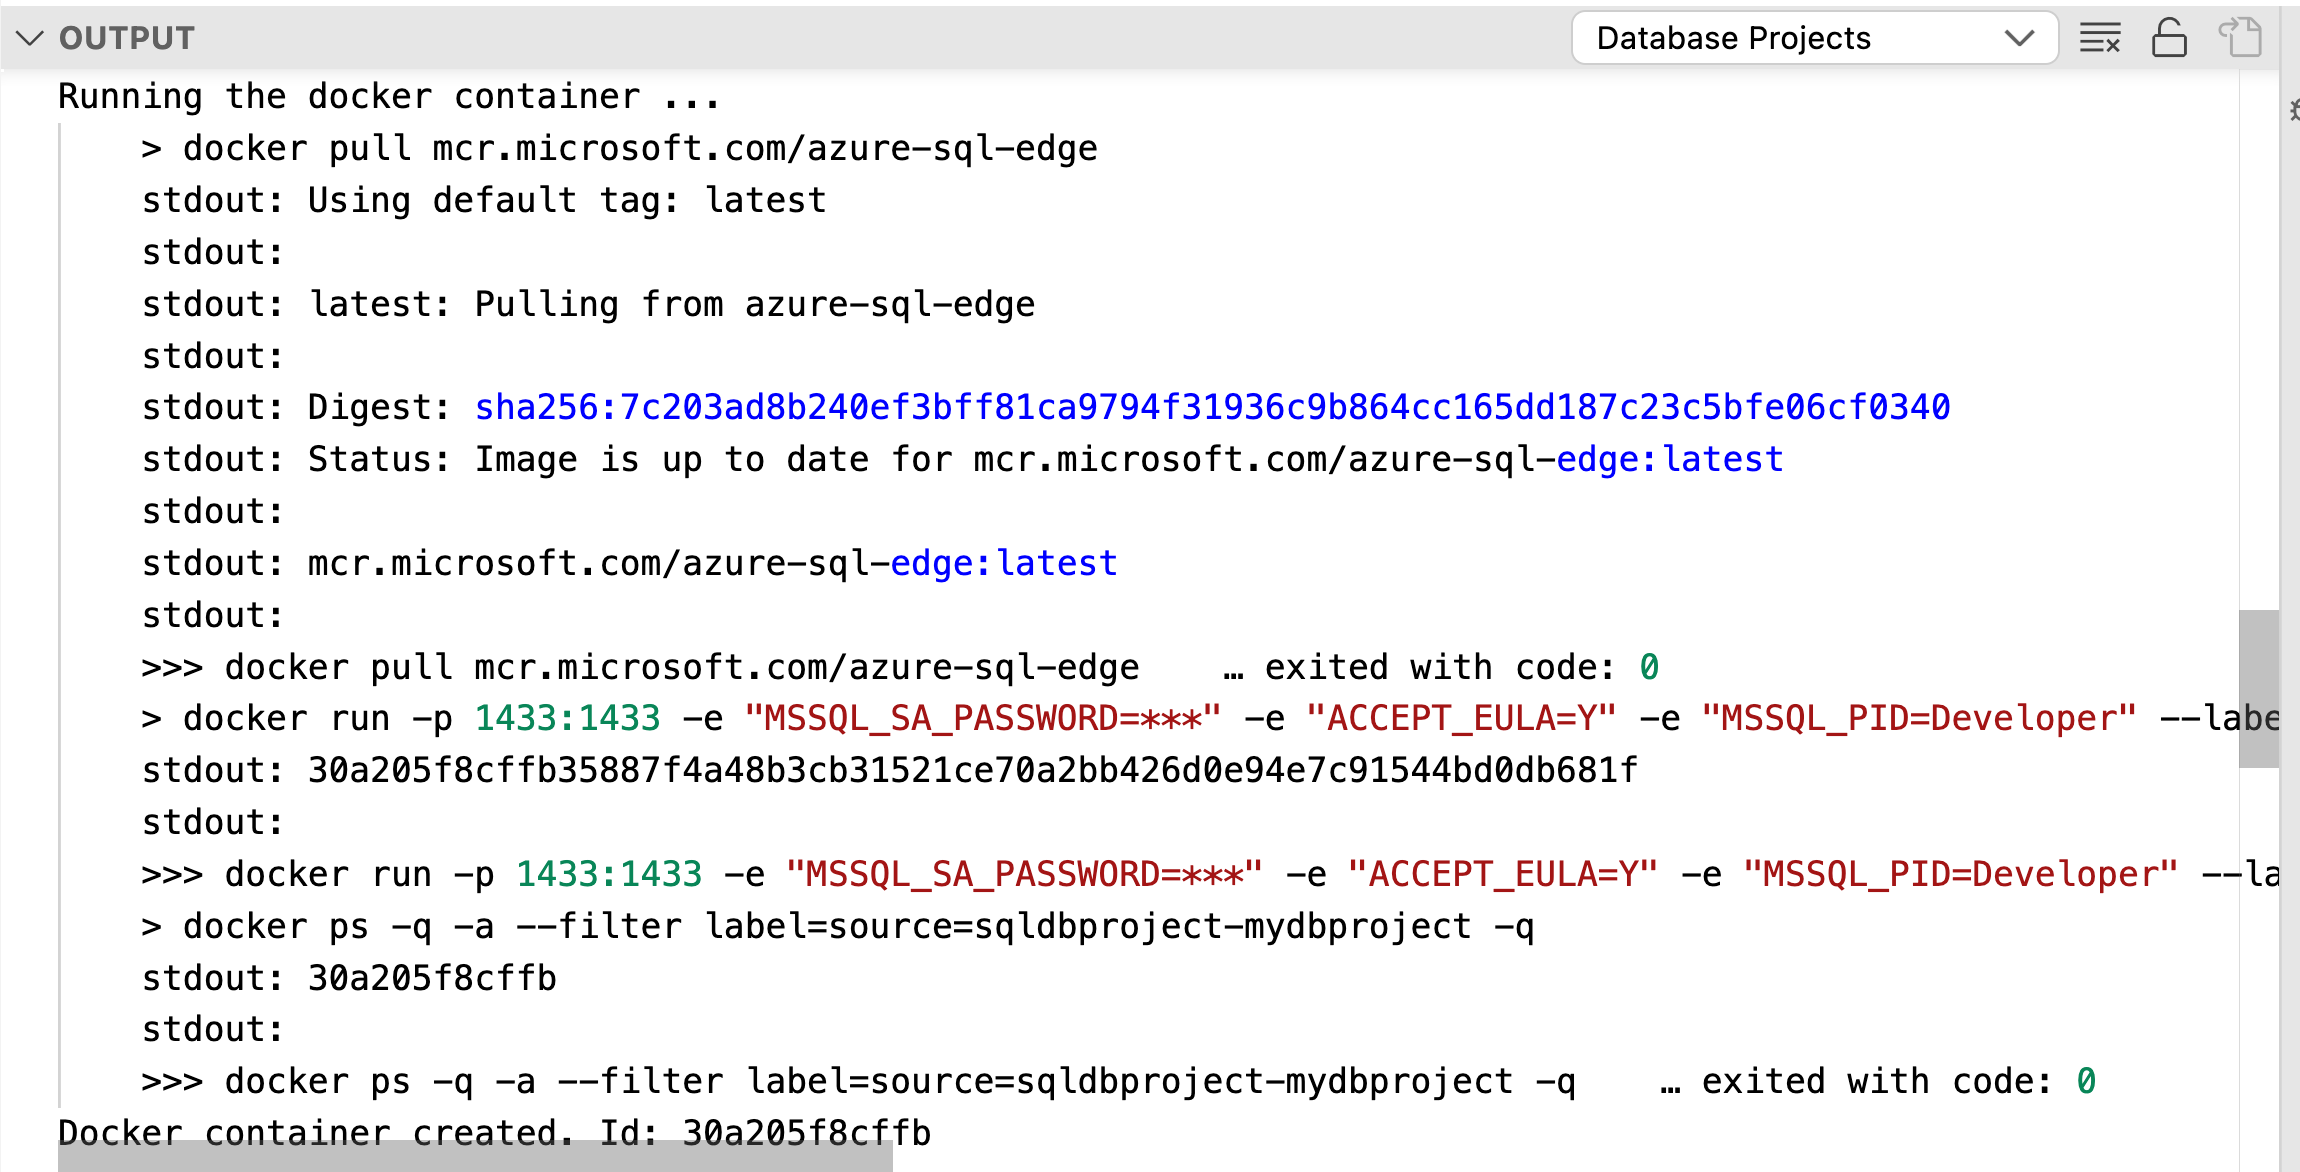
You can create as many local instances as necessary based on available resources, and manage their lifecycle through the Visual Studio Code Docker Extension or CLI commands.
Once instances of your Database Projects are running, you can connect from the Visual Studio Code mssql extension and test your scripts and queries, like any regular database in Azure SQL Database.
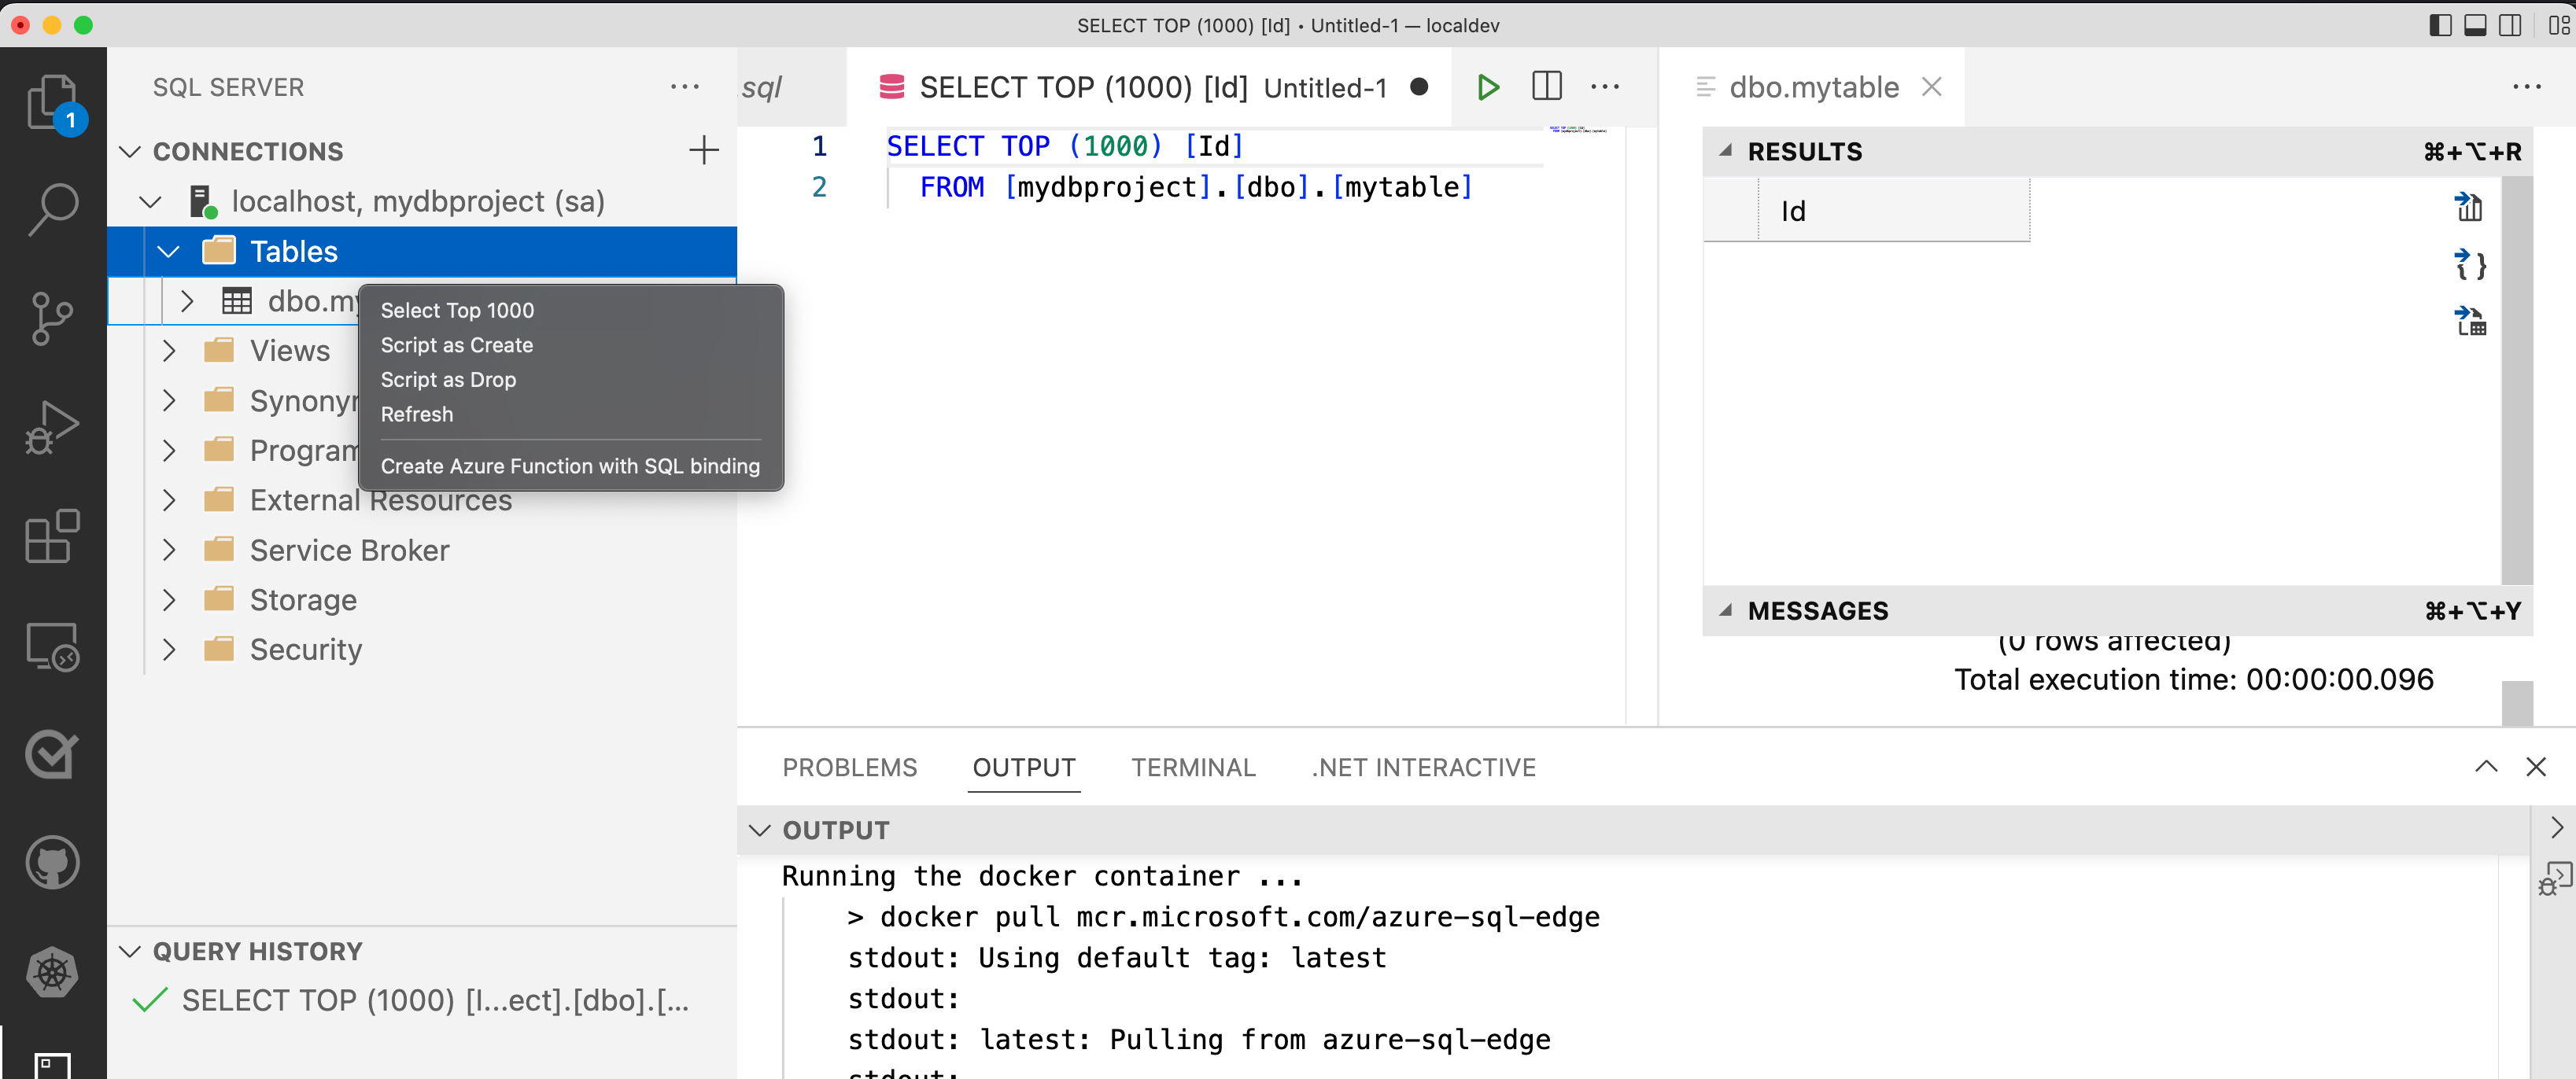
Rebuild and deploy your Database project to one of the containerized instances running on your local machine with each iteration of adding or modifying objects in your Database Project, until it's ready.
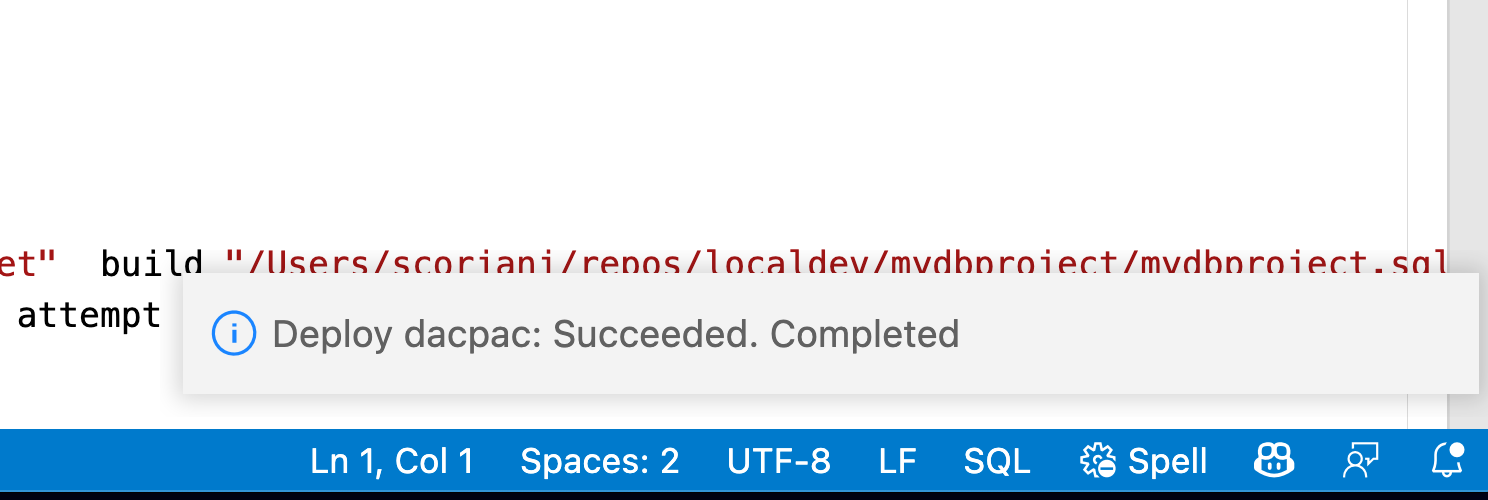
The final step of the Database Project lifecycle is to publish the finished artifact to a new or existing database in Azure SQL Database using the mssql extension. Right-click the Database Project name and choose to Publish. Then select the destination where you want to publish your project, such as a new or existing logical server in Azure.

Next steps
Learn more about the local development experience for Azure SQL Database:
- Set up a local development environment for Azure SQL Database
- Create a Database Project for a local Azure SQL Database development environment
- Publish a Database Project for Azure SQL Database to the local emulator
- Quickstart: Create a local development environment for Azure SQL Database
- Introducing the Azure SQL Database emulator
Feedback
Coming soon: Throughout 2024 we will be phasing out GitHub Issues as the feedback mechanism for content and replacing it with a new feedback system. For more information see: https://aka.ms/ContentUserFeedback.
Submit and view feedback for