Customize a speech model in the website
Important
Due to the Azure Media Services retirement announcement, Azure AI Video Indexer announces Azure AI Video Indexer features adjustments. See Changes related to Azure Media Service (AMS) retirement to understand what this means for your Azure AI Video Indexer account. See the Preparing for AMS retirement: VI update and migration guide.
Note
Speech model customization, including pronunciation training, is only supported in Video Indexer Azure trial accounts and Resource Manager accounts. It is not supported in classic accounts. For guidance on how to update your account type at no cost, see the Update your Azure AI Video Indexer account. For guidance on using the custom language experience, see Customize a Language model.
Azure AI Video Indexer lets you create custom speech models to customize speech recognition by uploading datasets that are used to create a speech model. This article goes through the steps to do so through the Video Indexer website. You can also use the API, as described in Customize speech model using API.
For a detailed overview and best practices for custom speech models, see Customize a speech model with Azure AI Video Indexer.
Create a dataset
As all custom models must contain a dataset, we'll start with the process of how to create and manage datasets.
Go to the Azure AI Video Indexer website and sign in.
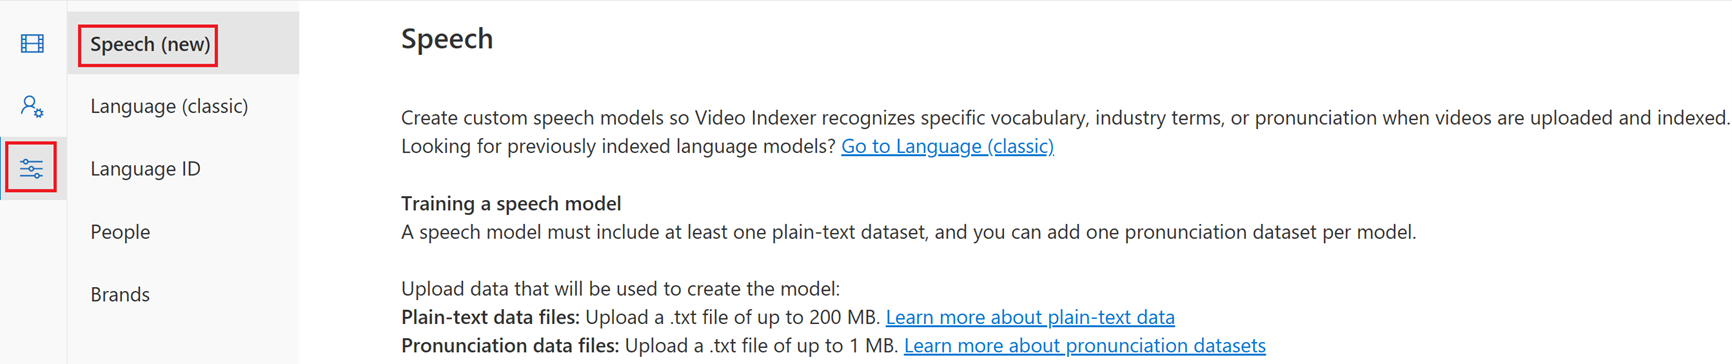
Select the Model customization button on the left of the page.
Select the Speech (new) tab. Here you'll begin the process of uploading datasets that are used to train the speech models.
Select Upload dataset.
Select either Plain text or Pronunciation from the Dataset type dropdown menu. Every speech model must have a plain text dataset and can optionally have a pronunciation dataset. To learn more about each type, see Customize a speech model with Azure AI Video Indexer.
Select Browse which will open the File Explorer. You can only use one file in each dataset. Choose the relevant text file.
Select a Language for the model. Choose the language that is spoken in the media files you plan on indexing with this model.
The Dataset name is pre-populated with the name of the file but you can modify the name.
You can optionally add a description of the dataset. This could be helpful to distinguish each dataset if you expect to have multiple datasets.

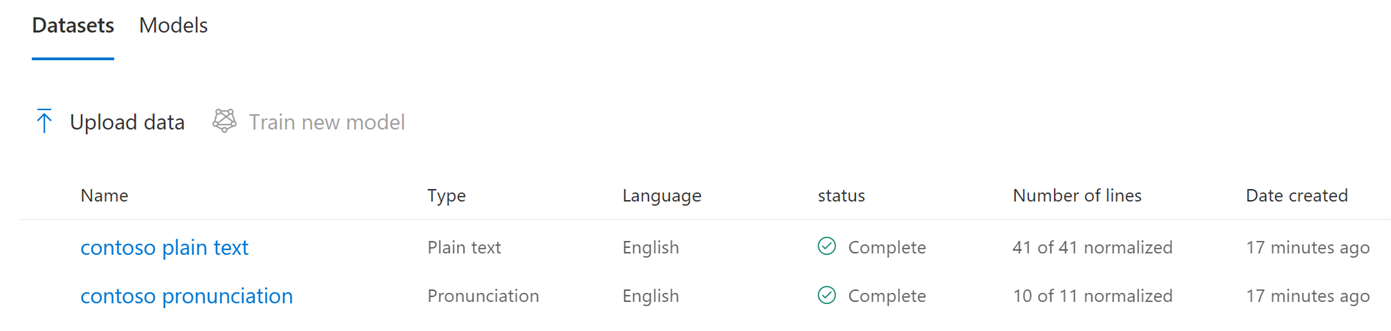
Once you're ready, select Upload. You'll then see a list of all of your datasets and their properties, including the type, language, status, number of lines, and creation date. Once the status is complete, it can be used in the training and creation or new models.
Review and update a dataset
Once a Dataset has been uploaded, you might need to review it or perform any number of updates to it. This section covers how to view, download, troubleshoot, and delete a dataset.
View dataset: You can view a dataset and its properties by either clicking on the dataset name or when hovering over the dataset or clicking on the ellipsis and selecting View Dataset.

You'll then view the name, description, language and status of the dataset plus the following properties:
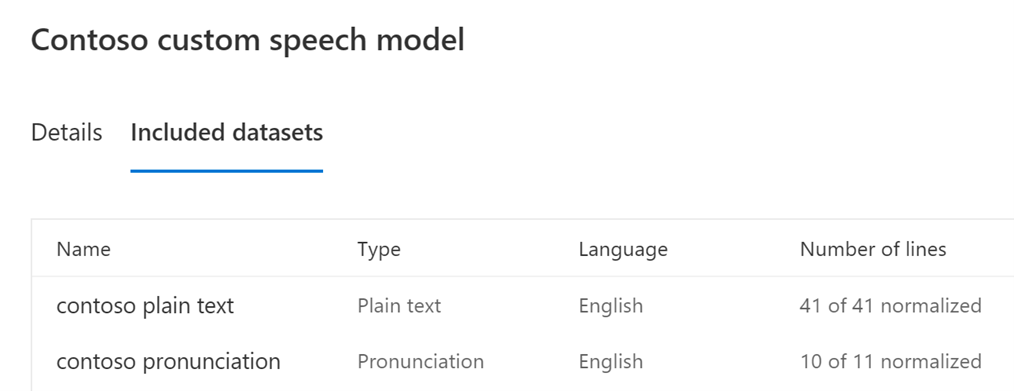
Number of lines: indicates the number of lines successfully loaded out of the total number of lines in the file. If the entire file is loaded successfully the numbers will match (for example, 10 of 10 normalized). If the numbers don't match (for example, 7 of 10 normalized), this means that only some of the lines successfully loaded and the rest had errors. Common causes of errors are formatting issues with a line, such as not spacing a tab between each word in a pronunciation file. Reviewing the plain text and pronunciation data for training articles should be helpful in finding the issue. To troubleshoot the cause, review the error details, which are contained in the report. Select View report to view the error details regarding the lines that didn't load successfully (errorKind). This can also be viewed by selecting the Report tab.
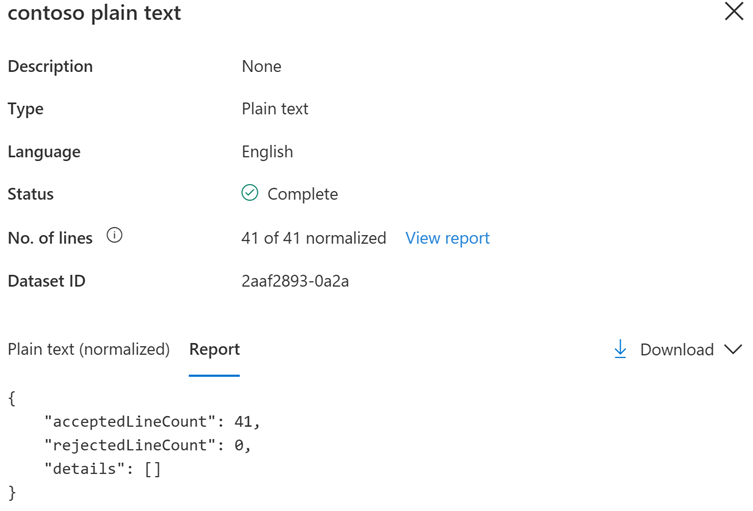
Dataset ID: Each dataset has a unique GUID, which is needed when using the API for operations that reference the dataset.
Plain text (normalized): This contains the normalized text of the loaded dataset file. Normalized text is the recognized text in plain form without formatting.
Edit Details: To edit a dataset's name or description, when hovering over the dataset, click on the ellipsis and then select Edit details. You're then able to edit the dataset name and description.
Note
The data in a dataset can't be edited or updated once the dataset has been uploaded. If you need to edit or update the data in a dataset, download the dataset, perform the edits, save the file, and upload the new dataset file.
Download: To download a dataset file, when hovering over the dataset, click on the ellipsis and then select Download. Alternatively, when viewing the dataset, you can select Download and then have the option of downloading the dataset file or the upload report in JSON form.
Delete: To delete a dataset, when hovering over the dataset, click on the ellipsis and then select Delete.
Create a custom speech model
Datasets are used in the creation and training of models. Once you have created a plain text dataset, you are now able to create and start using a custom speech model.
Keep in mind the following when creating and using custom speech models:
- A new model must include at least one plain text dataset and can have multiple plain text datasets.
- It's optional to include a pronunciation dataset and no more than one can be included.
- Once a model is created, you can't add additional datasets to it or perform any modifications to its datasets. If you need to add or modify datasets, create a new model.
- If you have indexed a video using a custom speech model and then delete the model, the transcript is not impacted unless you perform a re-index.
- If you deleted a dataset that was used to train a custom model, as the speech model was already trained by the dataset, it continues to use it until the speech model is deleted.
- If you delete a custom model, it has no impact of the transcription of videos that were already indexed using the model.
The following are instructions to create and manage custom speech models. There are two ways to train a model – through the dataset tab and through the model tab.
Train a model through the Datasets tab
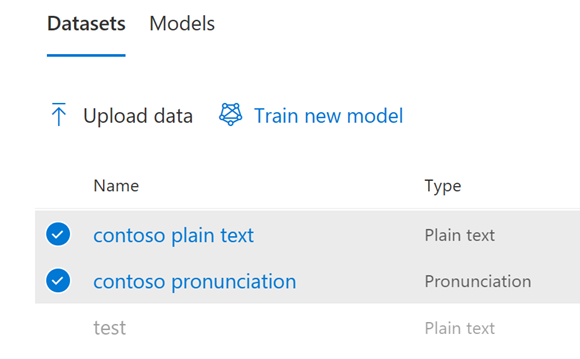
When viewing the list of datasets, if you select a plain text dataset by clicking on the circle to the left of a plain text dataset’s name, the Train new model icon above the datasets will now turn from greyed out to blue and can be selected. Select Train new model.
In the Train a new model popup, enter a name for the model, a language, and optionally add a description. A model can only contain datasets of the same language.
Select the Datasets tab and then select from the list of your datasets the datasets you would like to be included in the model. Once a model is created, datasets can't be added.
Select Create ad train.
Train a model through the Models tab
- Select the Models tab and then the Train new model icon. If no plain text datasets have been uploaded, the icon is greyed out. Select all the datasets that you want to be part of the model by clicking on the circle to the left of a plain text dataset’s name.
- In the Train a new model pop-up, enter a name for the model, a language, and optionally add a description. A model can only contain datasets of the same language.
- Select the Datasets tab and then select from the list of your datasets the datasets you would like to be included in the model. Once a model is created, datasets can't be added.
- Select Create and train.
Model review and update
Once a Model has been created, you might need to review its datasets, edits its name, or delete it.
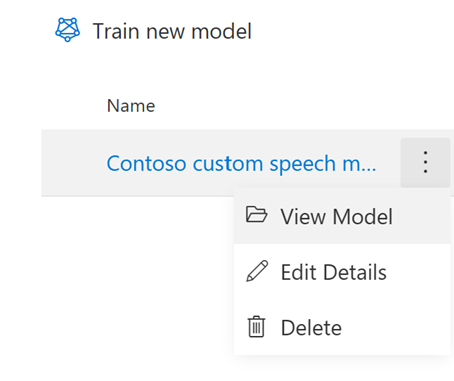
View Model: You can view a model and its properties by either clicking on the model’s name or when hovering over the model, clicking on the ellipsis and then selecting View Model.
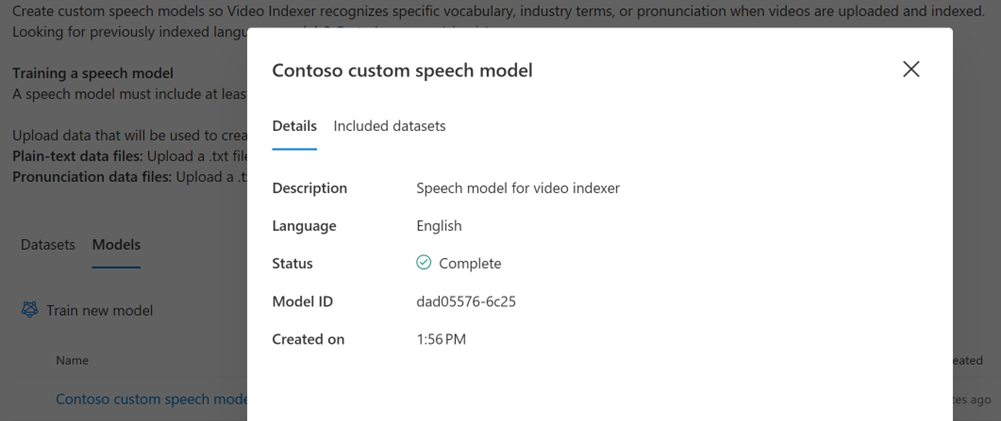
You'll then see in the Details tab the name, description, language and status of the model plus the following properties:
Model ID: Each model has a unique GUID, which is needed when using the API for operations that reference the model.
Created on: The date the model was created.
Edit Details: To edit a model’s name or description, when hovering over the model, click on the ellipsis and then select Edit details. You're then able to edit the model’s name and description.
Note
Only the model’s name and description can be edited. If you want to make any changes to its datasets or add datasets, a new model must be created.
Delete: To delete a model, when hovering over the dataset, click on the ellipsis and then select Delete.
Included datasets: Click on the Included datasets tab to view the model’s datasets.
How to use a custom language model when indexing a video
A custom language model isn't used by default for indexing jobs and must be selected during the index upload process. To learn how to index a video, see Upload and index videos with Azure AI Video Indexer - Azure AI Video Indexer | Microsoft Learn.
During the upload process, you can select the source language of the video. In the Video source language drop-down menu, you'll see your custom model among the language list. The naming of the model is the language of your Language model and the name that you gave it in parentheses. For example:
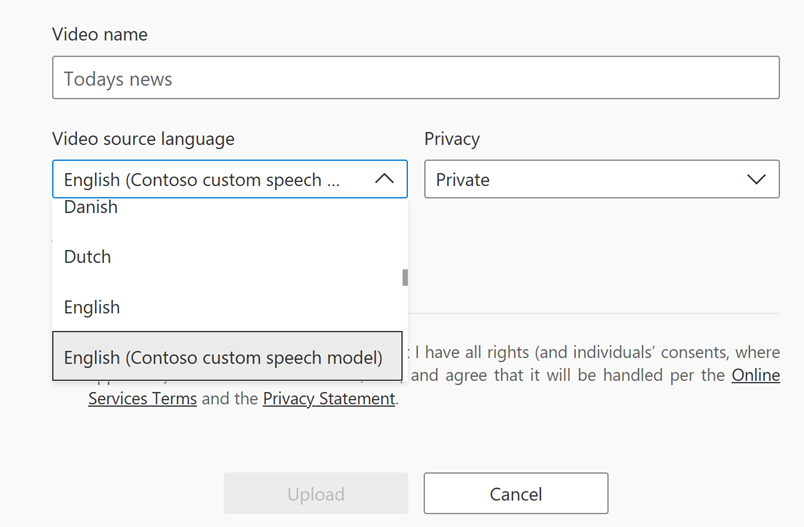
Select the Upload option in the bottom of the page, and your new video will be indexed using your Language model. The same steps apply when you want to re-index a video with a custom model.
Feedback
Coming soon: Throughout 2024 we will be phasing out GitHub Issues as the feedback mechanism for content and replacing it with a new feedback system. For more information see: https://aka.ms/ContentUserFeedback.
Submit and view feedback for