Create a content library to deploy VMs in Azure VMware Solution
A content library stores and manages content in the form of library items. A single library item consists of files you use to deploy virtual machines (VMs).
In this article, learn how to create a content library in the vSphere Client and deploy a VM using an ISO image from the content library.
Prerequisites
An NSX-T Data Center segment and a managed DHCP service are required to complete this tutorial. For more information, see Configure DHCP for Azure VMware Solution.
Create a content library
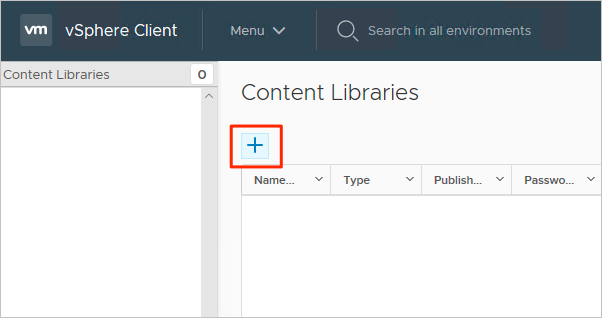
From the on-premises vSphere Client, select Menu > Content Libraries.

Select Add to create a new content library.
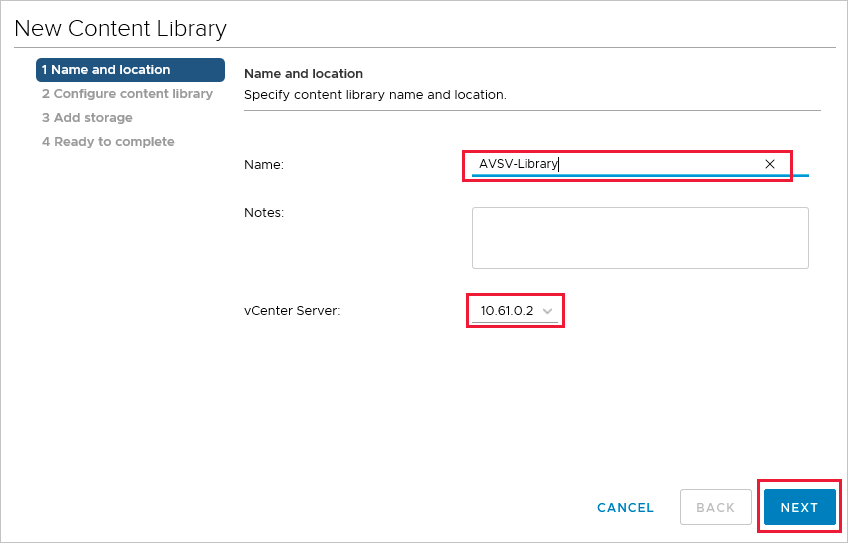
Provide a name and confirm the IP address of the vCenter Server and select Next.
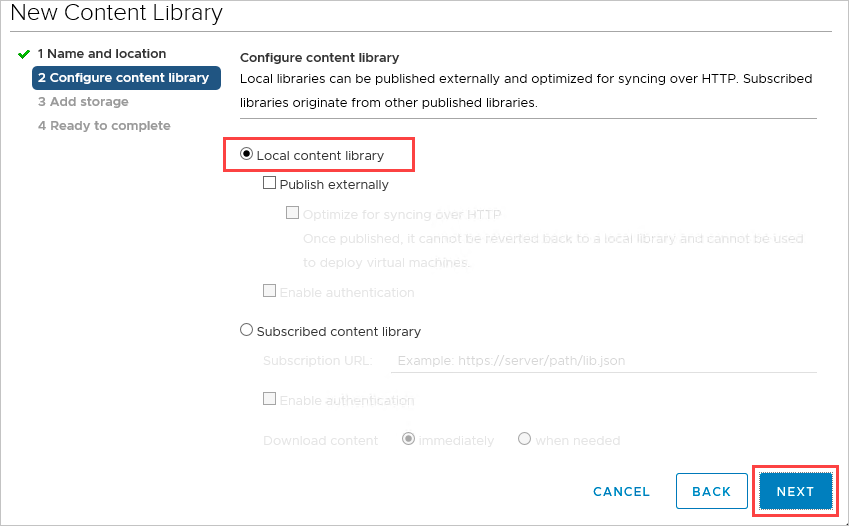
Select the Local content library and select Next.
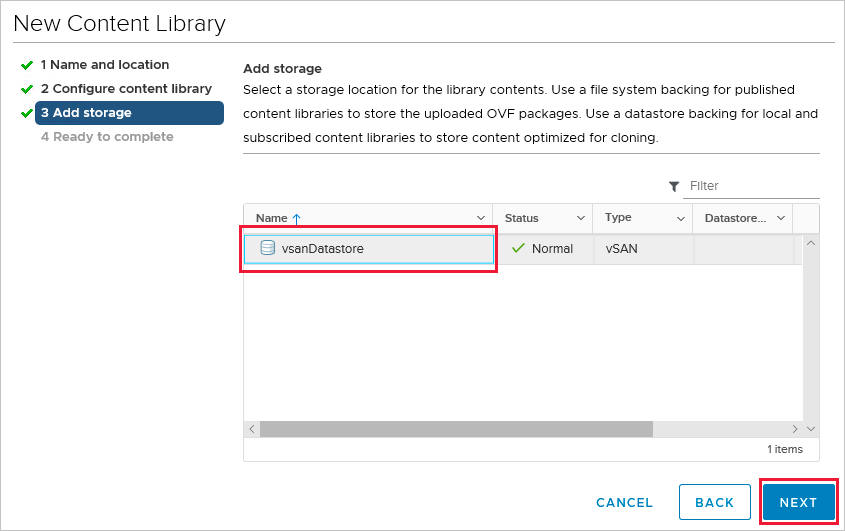
Select the datastore for storing your content library, and then select Next.
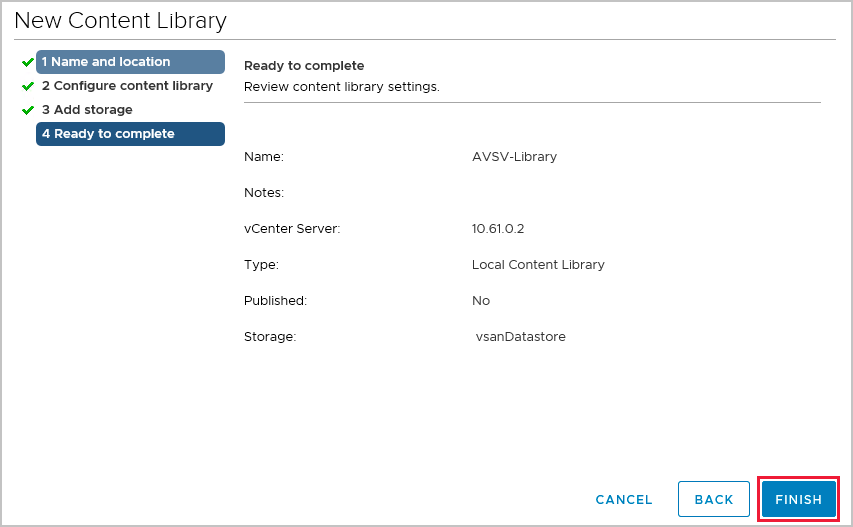
Review the content library settings and select Finish.
Upload an ISO image to the content library
Now that you created the content library, you can add an ISO image to deploy a VM to a private cloud cluster.
From the vSphere Client, select Menu > Content Libraries.
Right-click the content library you want to use for the new ISO and select Import Item.
Import a library item for the Source by doing one of the following, and then select Import:
Select URL and provide a URL to download an ISO.
Select Local File to upload from your local system.
Tip
Optional, you can define a custom item name and notes for the Destination.
Open the library and select the Other Types tab to verify that your ISO was uploaded successfully.
Deploy a VM to a private cloud cluster
From the vSphere Client, select Menu > Hosts and Clusters.
In the left panel, expand the tree and select a cluster.
Select Actions > New Virtual Machine.
Go through the wizard and modify the settings you want.
Select New CD/DVD Drive > Client Device > Content Library ISO File.
Select the ISO uploaded in the previous section and then select OK.
Select the Connect check box so the ISO is mounted at power-on time.
Select New Network > Select dropdown > Browse.
Select the logical switch (segment) and select OK.
Modify any other hardware settings and select Next.
Verify the settings and select Finish.
Next steps
Now that you created a content library to deploy VMs in Azure VMware Solution, learn more about:
Feedback
Coming soon: Throughout 2024 we will be phasing out GitHub Issues as the feedback mechanism for content and replacing it with a new feedback system. For more information see: https://aka.ms/ContentUserFeedback.
Submit and view feedback for