Back up Windows system state to Azure
This article describes how to back up your Windows Server system state to Azure. It's intended to walk you through the basics.
For more information about Azure Backup, see the overview article. If you don't have an Azure subscription, create a free account that lets you access any Azure service.
Create a Recovery Services vault
A Recovery Services vault is a management entity that stores recovery points that are created over time, and it provides an interface to perform backup-related operations. These operations include taking on-demand backups, performing restores, and creating backup policies.
To create a Recovery Services vault:
Sign in to the Azure portal.
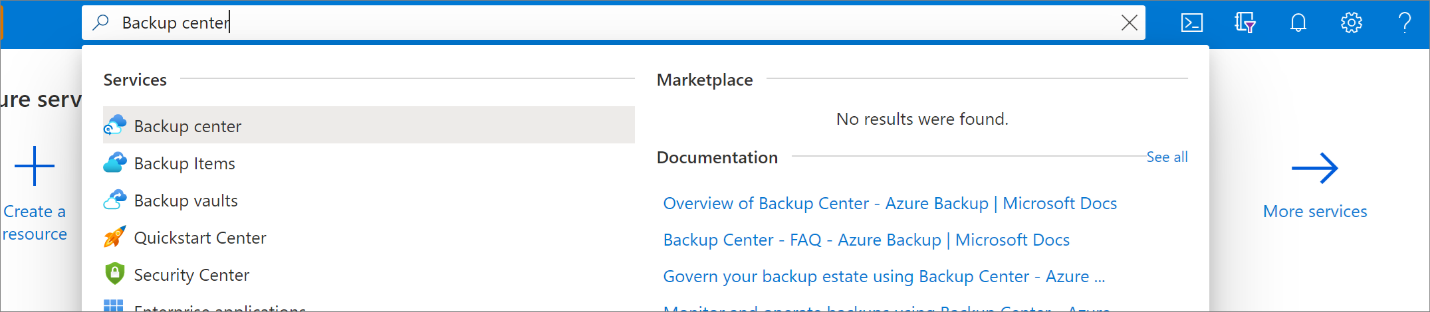
Search for Backup center, and then go to the Backup center dashboard.
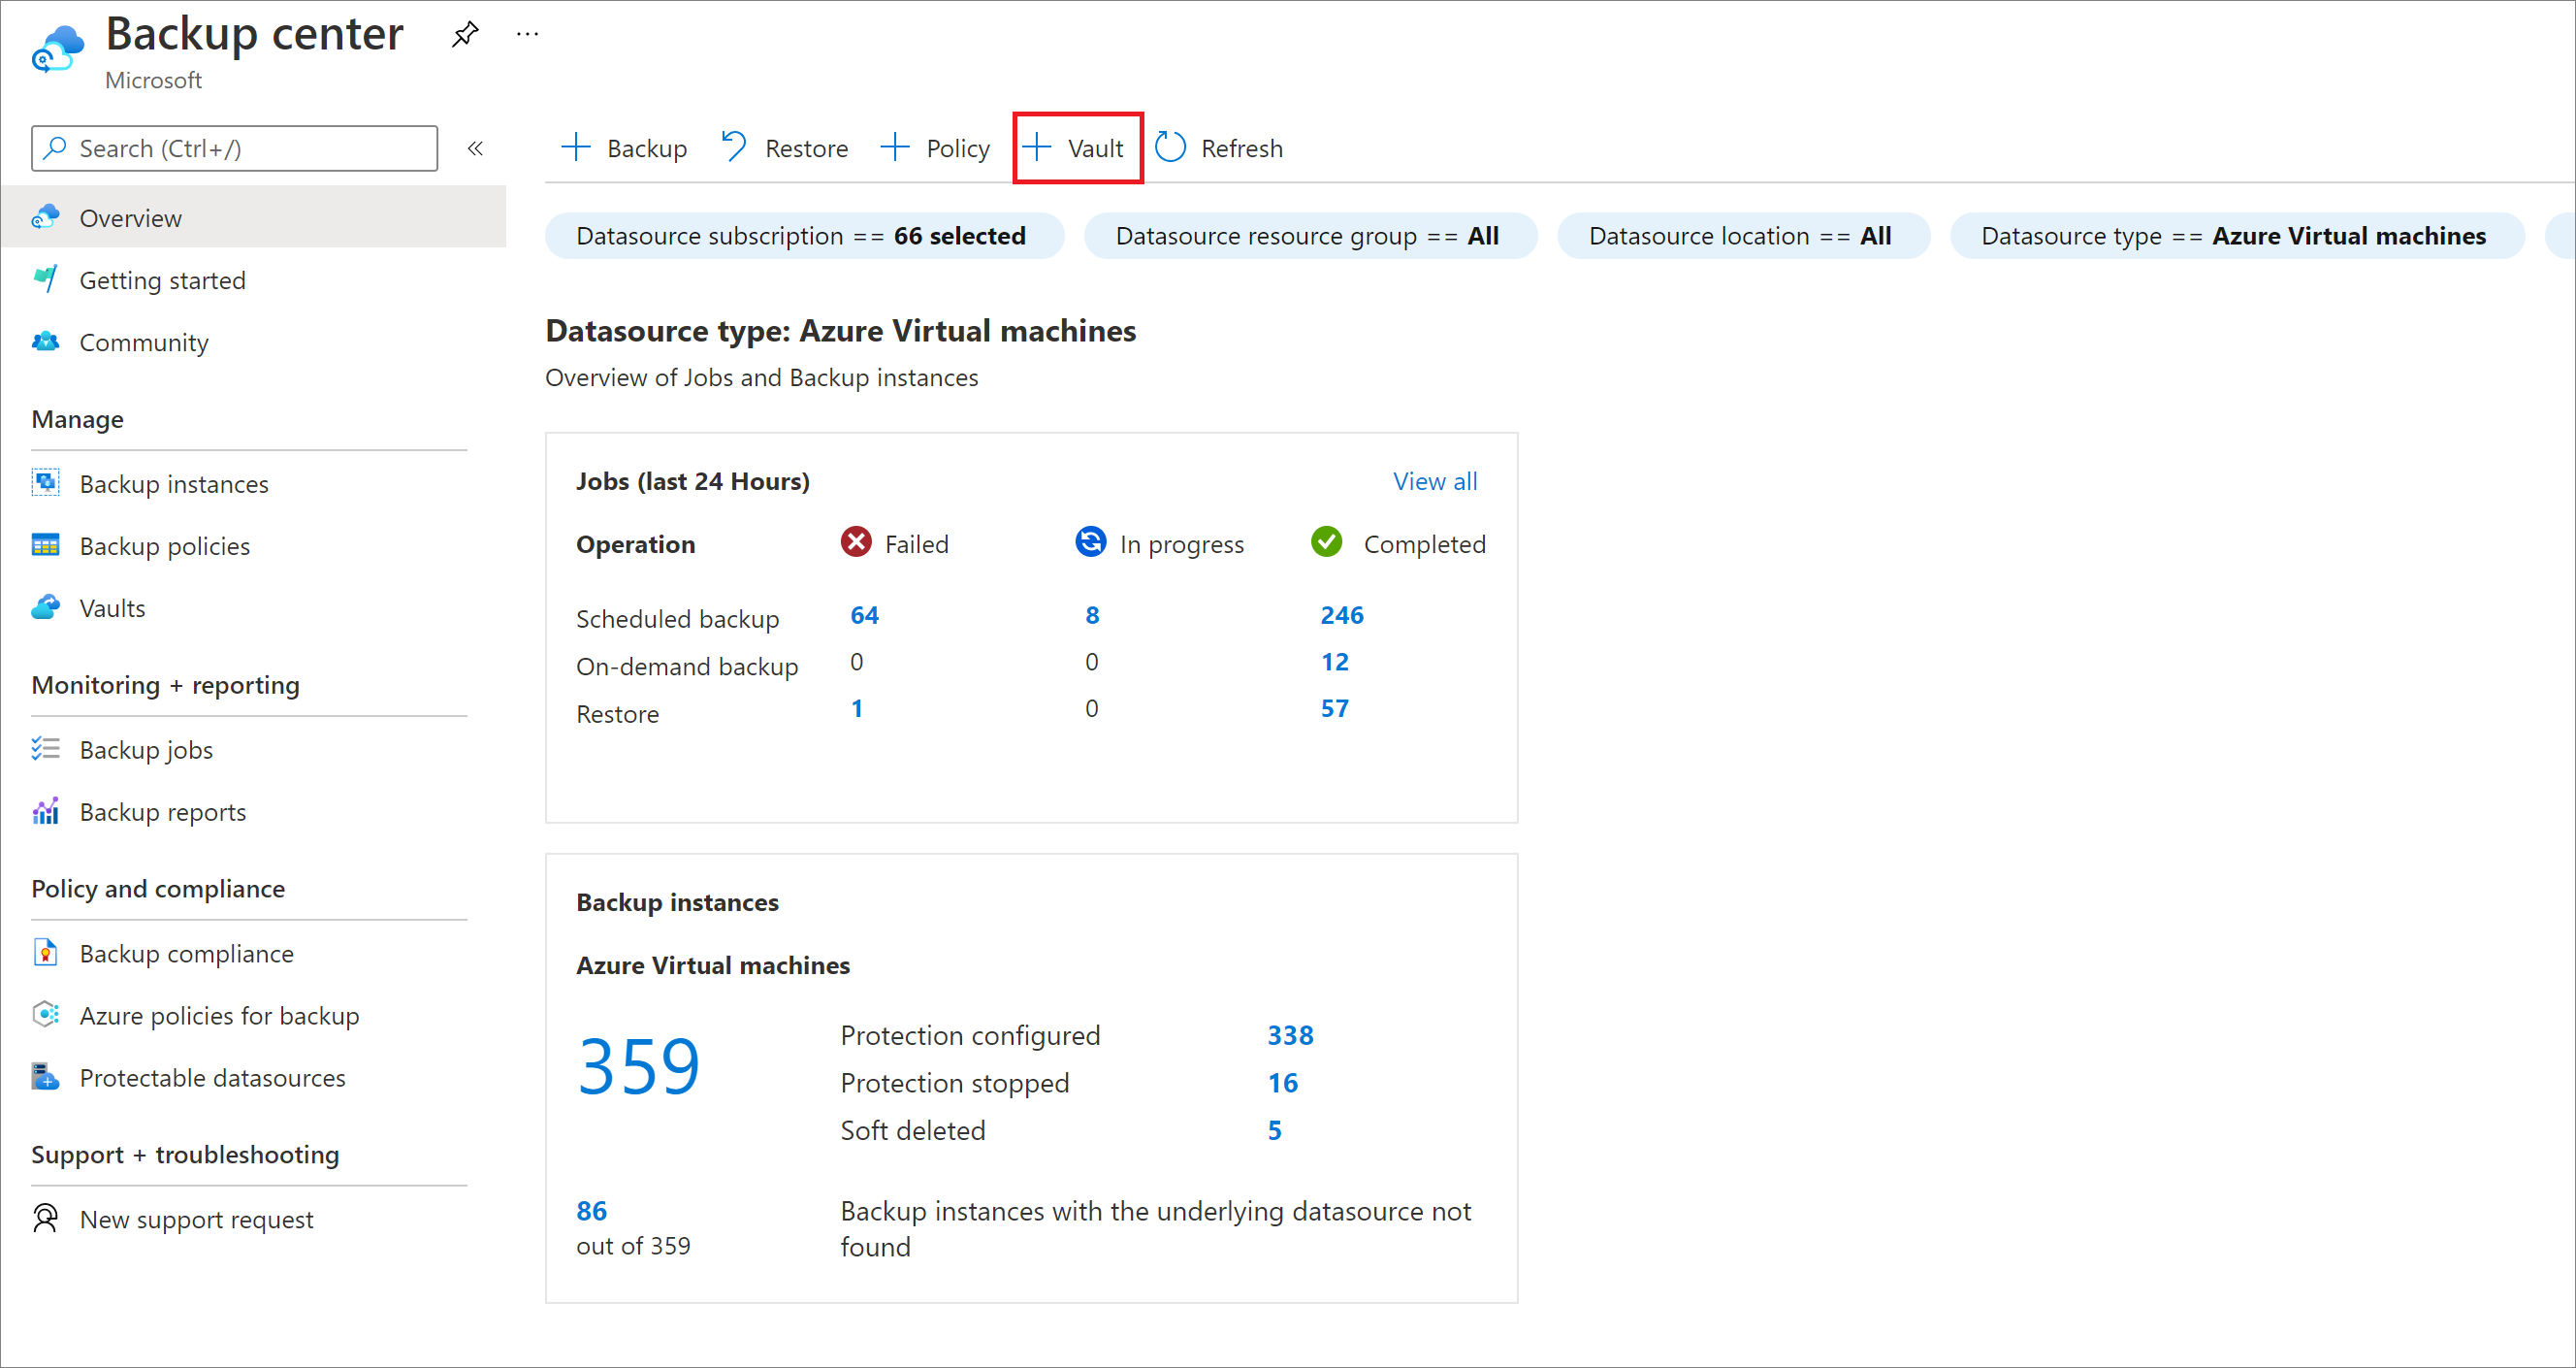
On the Overview pane, select Vault.
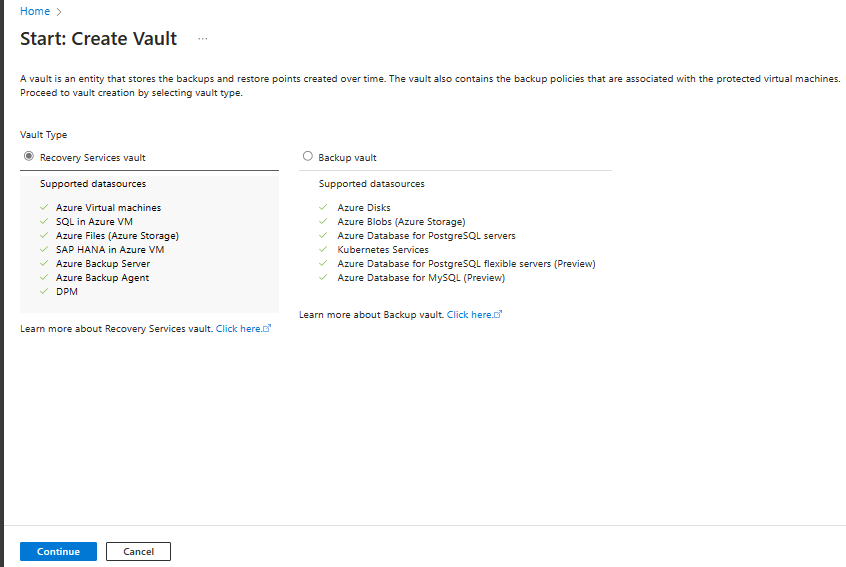
Select Recovery Services vault > Continue.
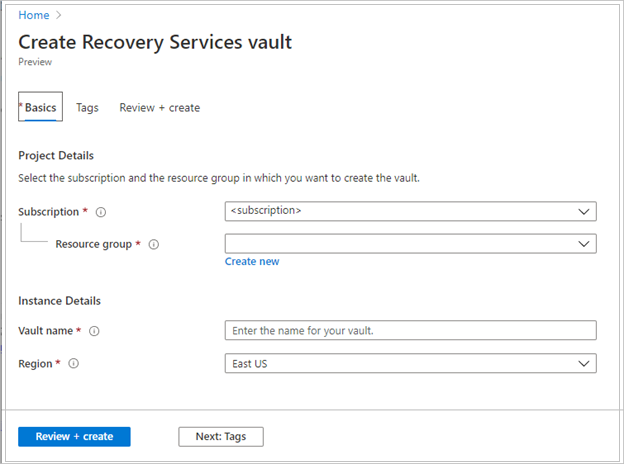
On the Recovery Services vault pane, enter the following values:
Subscription: Select the subscription to use. If you're a member of only one subscription, you'll see that name. If you're not sure which subscription to use, use the default subscription. There are multiple choices only if your work or school account is associated with more than one Azure subscription.
Resource group: Use an existing resource group or create a new one. To view a list of available resource groups in your subscription, select Use existing, and then select a resource in the dropdown list. To create a new resource group, select Create new, and then enter the name. For more information about resource groups, see Azure Resource Manager overview.
Vault name: Enter a friendly name to identify the vault. The name must be unique to the Azure subscription. Specify a name that has at least 2 but not more than 50 characters. The name must start with a letter and consist only of letters, numbers, and hyphens.
Region: Select the geographic region for the vault. For you to create a vault to help protect any data source, the vault must be in the same region as the data source.
Important
If you're not sure of the location of your data source, close the window. Go to the list of your resources in the portal. If you have data sources in multiple regions, create a Recovery Services vault for each region. Create the vault in the first location before you create a vault in another location. There's no need to specify storage accounts to store the backup data. The Recovery Services vault and Azure Backup handle that automatically.
After providing the values, select Review + create.
To finish creating the Recovery Services vault, select Create.
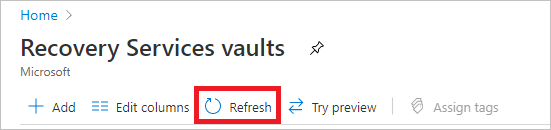
It can take a while to create the Recovery Services vault. Monitor the status notifications in the Notifications area at the upper right. After the vault is created, it appears in the list of Recovery Services vaults. If the vault doesn't appear, select Refresh.
Note
Azure Backup now supports immutable vaults that help you ensure that recovery points once created can't be deleted before their expiry as per the backup policy. You can make the immutability irreversible for maximum protection to your backup data from various threats, including ransomware attacks and malicious actors. Learn more.
Set storage redundancy for the vault
When you create a Recovery Services vault, ensure that you configure the storage redundancy as per the organization requirements.
To set the storage redundancy for the vault, follow these steps:
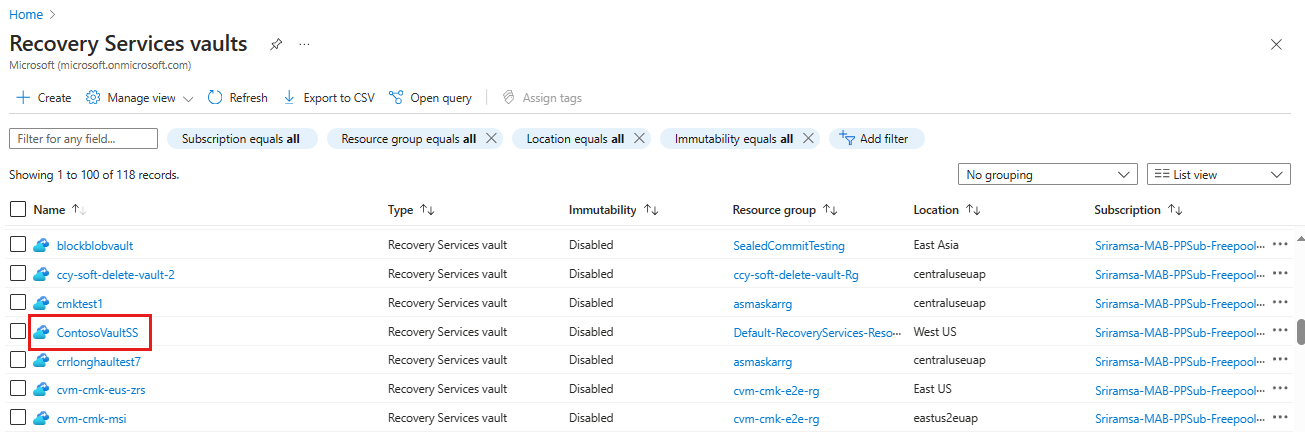
From the Recovery Services vaults blade, select the new vault.
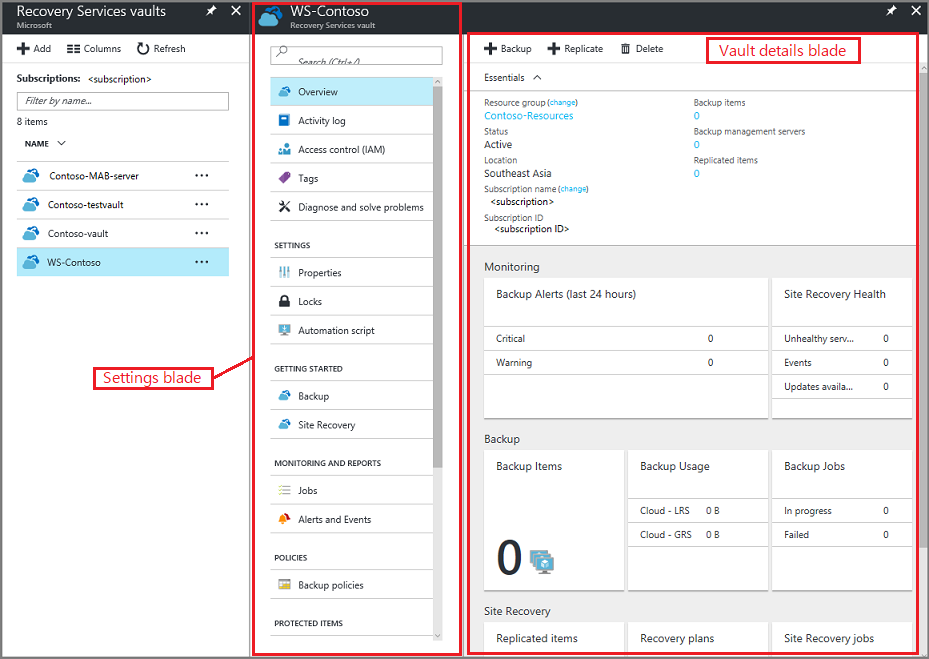
When you select the vault, the Recovery Services vault blade narrows, and the Settings blade (which has the name of the vault at the top) and the vault details blade open.
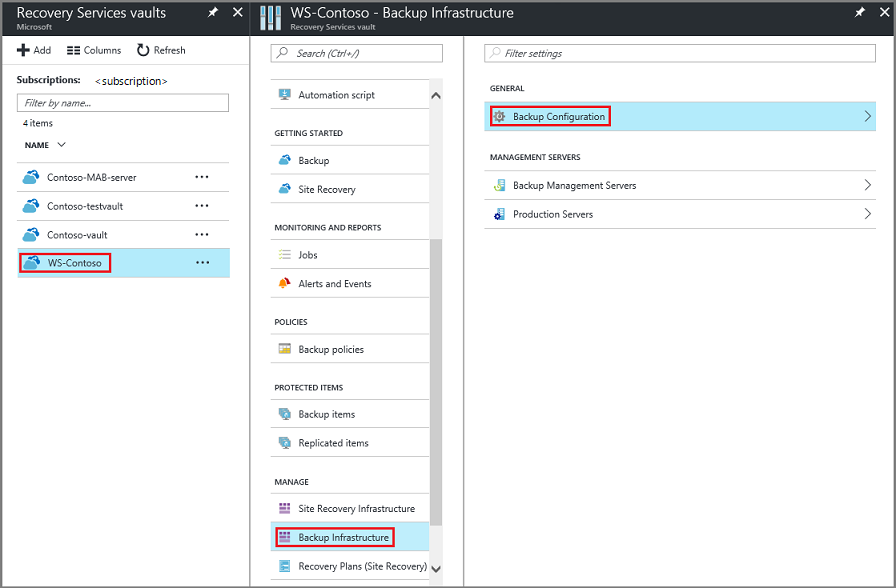
On the new vault's Settings blade, use the vertical slide to scroll down to the Manage section, and select Backup Infrastructure.
On the Backup Infrastructure blade, select Backup Configuration to open the Backup Configuration blade.
Choose the appropriate storage replication option for your vault.
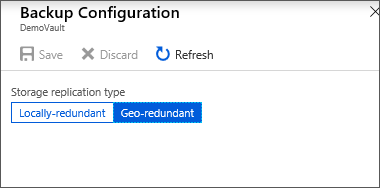
By default, your vault has geo-redundant storage. If you use Azure as a primary backup storage endpoint, continue to use Geo-redundant. If you don't use Azure as a primary backup storage endpoint, then choose Locally-redundant, which reduces the Azure storage costs. Read more about geo-redundant, locally redundant and zone-redundant storage options in this Storage redundancy overview.
Now that you've created a vault, configure it for backing up Windows System State.
Configure the vault
To configure the vault, follow these steps:
On the Recovery Services vault blade (for the vault you just created), in the Getting Started section, select Backup, then on the Getting Started with Backup blade, select Backup goal.
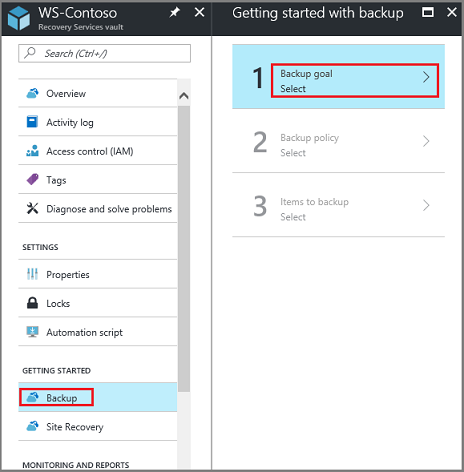
The Backup Goal blade opens.
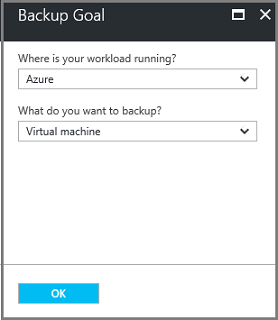
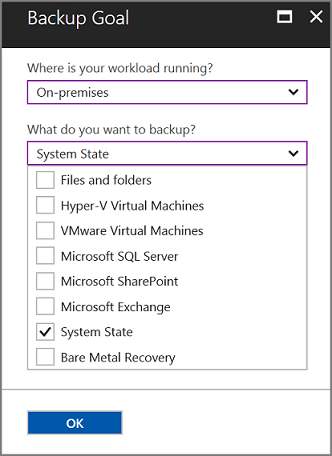
From the Where is your workload running? drop-down menu, select On-premises.
You choose On-premises because your Windows Server or Windows computer is a physical machine that isn't in Azure.
From the What do you want to back up? menu, select System State, and select OK.
After you select OK, a checkmark appears next to Backup goal, and the Prepare infrastructure blade opens.

On the Prepare infrastructure blade, select Download Agent for Windows Server or Windows Client.

If you're using Windows Server Essential, then choose to download the agent for Windows Server Essential. A pop-up menu prompts you to run or save MARSAgentInstaller.exe.

In the download pop-up menu, select Save.
By default, the MARSagentinstaller.exe file is saved to your Downloads folder. When the installer completes, you'll see a pop-up asking if you want to run the installer, or open the folder.

You don't need to install the agent yet. You can install the agent after you've downloaded the vault credentials.
On the Prepare infrastructure blade, select Download.

The vault credentials download to your Downloads folder. After the vault credentials finish downloading, you'll see a pop-up asking if you want to open or save the credentials. Select Save. If you accidentally select Open, let the dialog that attempts to open the vault credentials, fail. You won't be able to open the vault credentials. Continue to the next step. The vault credentials are in the Downloads folder.

Note
The vault credentials must be saved only to a location that's local to the Windows Server on which you intend to use the agent.
Upgrade the MARS Agent
Versions of the Microsoft Azure Recovery Services (MARS) Agent below 2.0.9083.0 have a dependency on the Azure Access Control service. The MARS Agent is also referred to as the Azure Backup Agent.
In 2018, Microsoft deprecated the Azure Access Control service. Beginning March 19, 2018, all versions of the MARS Agent below 2.0.9083.0 will experience backup failures. To avoid or resolve backup failures, upgrade your MARS Agent to the latest version. To identify servers that require a MARS Agent upgrade, follow the steps in Upgrade the Microsoft Azure Recovery Services (MARS) agent.
The MARS Agent is used to back up files and folders and system state data to Azure. System Center DPM and Azure Backup Server use the MARS Agent to back up data to Azure.
Install and register the agent
To install and register the agent, follow these steps:
Locate and double-click the MARSagentinstaller.exe from the Downloads folder (or other saved location).
The installer provides a series of messages as it extracts, installs, and registers the Recovery Services agent.
Complete the Microsoft Azure Recovery Services Agent Setup Wizard. To complete the wizard, you need to:
Choose a location for the installation and cache folder.
Provide your proxy server info if you use a proxy server to connect to the internet.
Provide your user name and password details if you use an authenticated proxy.
Provide the downloaded vault credentials
Save the encryption passphrase in a secure location.
Note
If you lose or forget the passphrase, Microsoft can't help recover the backup data. Save the file in a secure location. It's required to restore a backup.
The agent is now installed and your machine is registered to the vault. You're ready to configure and schedule your backup.
Note
Enabling backup through the Azure portal isn't available. Use the Microsoft Azure Recovery Services Agent to back up Windows Server System State.
Back up Windows Server System State
The initial backup includes two tasks:
- Schedule the backup
- Back up System State for the first time
To complete the initial backup, use the Microsoft Azure Recovery Services agent.
Note
You can back up System State on Windows Server 2008 R2 through Windows Server 2016. System State back up isn't supported on client SKUs. System State isn't shown as an option for Windows clients, or Windows Server 2008 SP2 machines.
Schedule the backup job
To schedule the backup job, follow these steps:
Open the Microsoft Azure Recovery Services agent. You can find it by searching your machine for Microsoft Azure Backup.
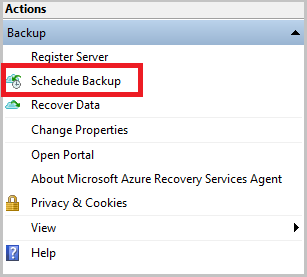
On the Recovery Services agent, select Schedule Backup.
On the Getting started blade of the Schedule Backup Wizard, select Next.
On the Select Items to Backup blade, select Add Items.
Select System State and then select OK.
Select Next.
Select the required Backup frequency and the retention policy for your System State backups in the subsequent blades.
On the Confirmation blade, review the information, and then select Finish.
After the wizard finishes creating the backup schedule, select Close.
Back up Windows Server System State for the first time
To back up Windows Server System State for the first time, follow these steps:
Ensure that there are no pending updates for Windows Server that require a reboot.
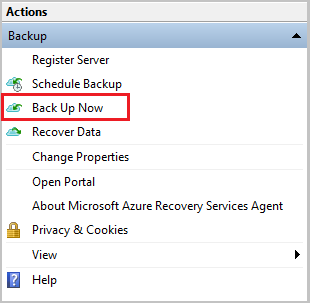
On the Recovery Services agent, select Back Up Now to complete the initial seeding over the network.
Select System State on the Select Backup Item blade that appears and select Next.
On the Confirmation blade, review the settings that the Back Up Now Wizard will use to back up the machine. Then select Back Up.
Select Close to close the wizard. If you close the wizard before the backup process finishes, the wizard continues to run in the background.
Note
The MARS Agent triggers
SFC /verifyonlyas part of the prechecks before every system state backup. This is to ensure that files backed up as part of System State have the correct versions corresponding to the Windows version. Learn more about System File Checker (SFC) in this article.
After the initial backup is completed, the Job completed status appears in the Backup console.

Next steps
- Get more details about backing up Windows machines.
- Now that you've backed up your Windows Server System State, you can manage your vaults and servers.
- If you need to restore a backup, use this article to restore files to a Windows machine.
Feedback
Coming soon: Throughout 2024 we will be phasing out GitHub Issues as the feedback mechanism for content and replacing it with a new feedback system. For more information see: https://aka.ms/ContentUserFeedback.
Submit and view feedback for