Back up SAP HANA System Replication databases on Azure VMs
SAP HANA databases are critical workloads that require a low recovery-point objective (RPO) and long-term retention. This article describes how you can back up SAP HANA databases that are running on Azure virtual machines (VMs) to an Azure Backup Recovery Services vault by using Azure Backup.
You can also switch the protection of SAP HANA database on Azure VM (standalone) on Azure Backup to HSR. Learn more.
Note
- The support for HSR + DR scenario is currently not available because there is a restriction to have VM and Vault in the same region.
- For more information about the supported configurations and scenarios, see SAP HANA backup support matrix.
Prerequisites
- Identify/create a Recovery Services vault in the same region and subscription as the two VMs/nodes of the HANA System Replication (HSR) database.
- Allow connectivity from each of the VMs/nodes to the internet for communication with Azure.
- Run the preregistration script on both VMs or nodes that are part of HANA System Replication (HSR). You can download the latest preregistration script from here. You can also download it from the link under Recovery Services vault > Backup > Discover DBs in VMs > Start Discovery.
Important
Ensure that the combined length of the SAP HANA Server VM name and the resource group name doesn't exceed 84 characters for Azure Resource Manager VMs and 77 characters for classic VMs. This limitation is because some characters are reserved by the service.
Create a Recovery Services vault
A Recovery Services vault is a management entity that stores recovery points that are created over time, and it provides an interface to perform backup-related operations. These operations include taking on-demand backups, performing restores, and creating backup policies.
To create a Recovery Services vault:
Sign in to the Azure portal.
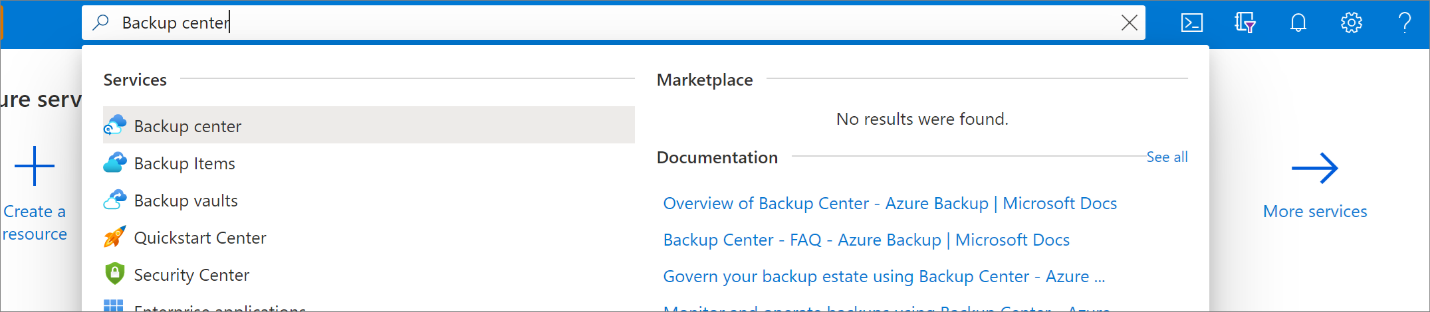
Search for Backup center, and then go to the Backup center dashboard.
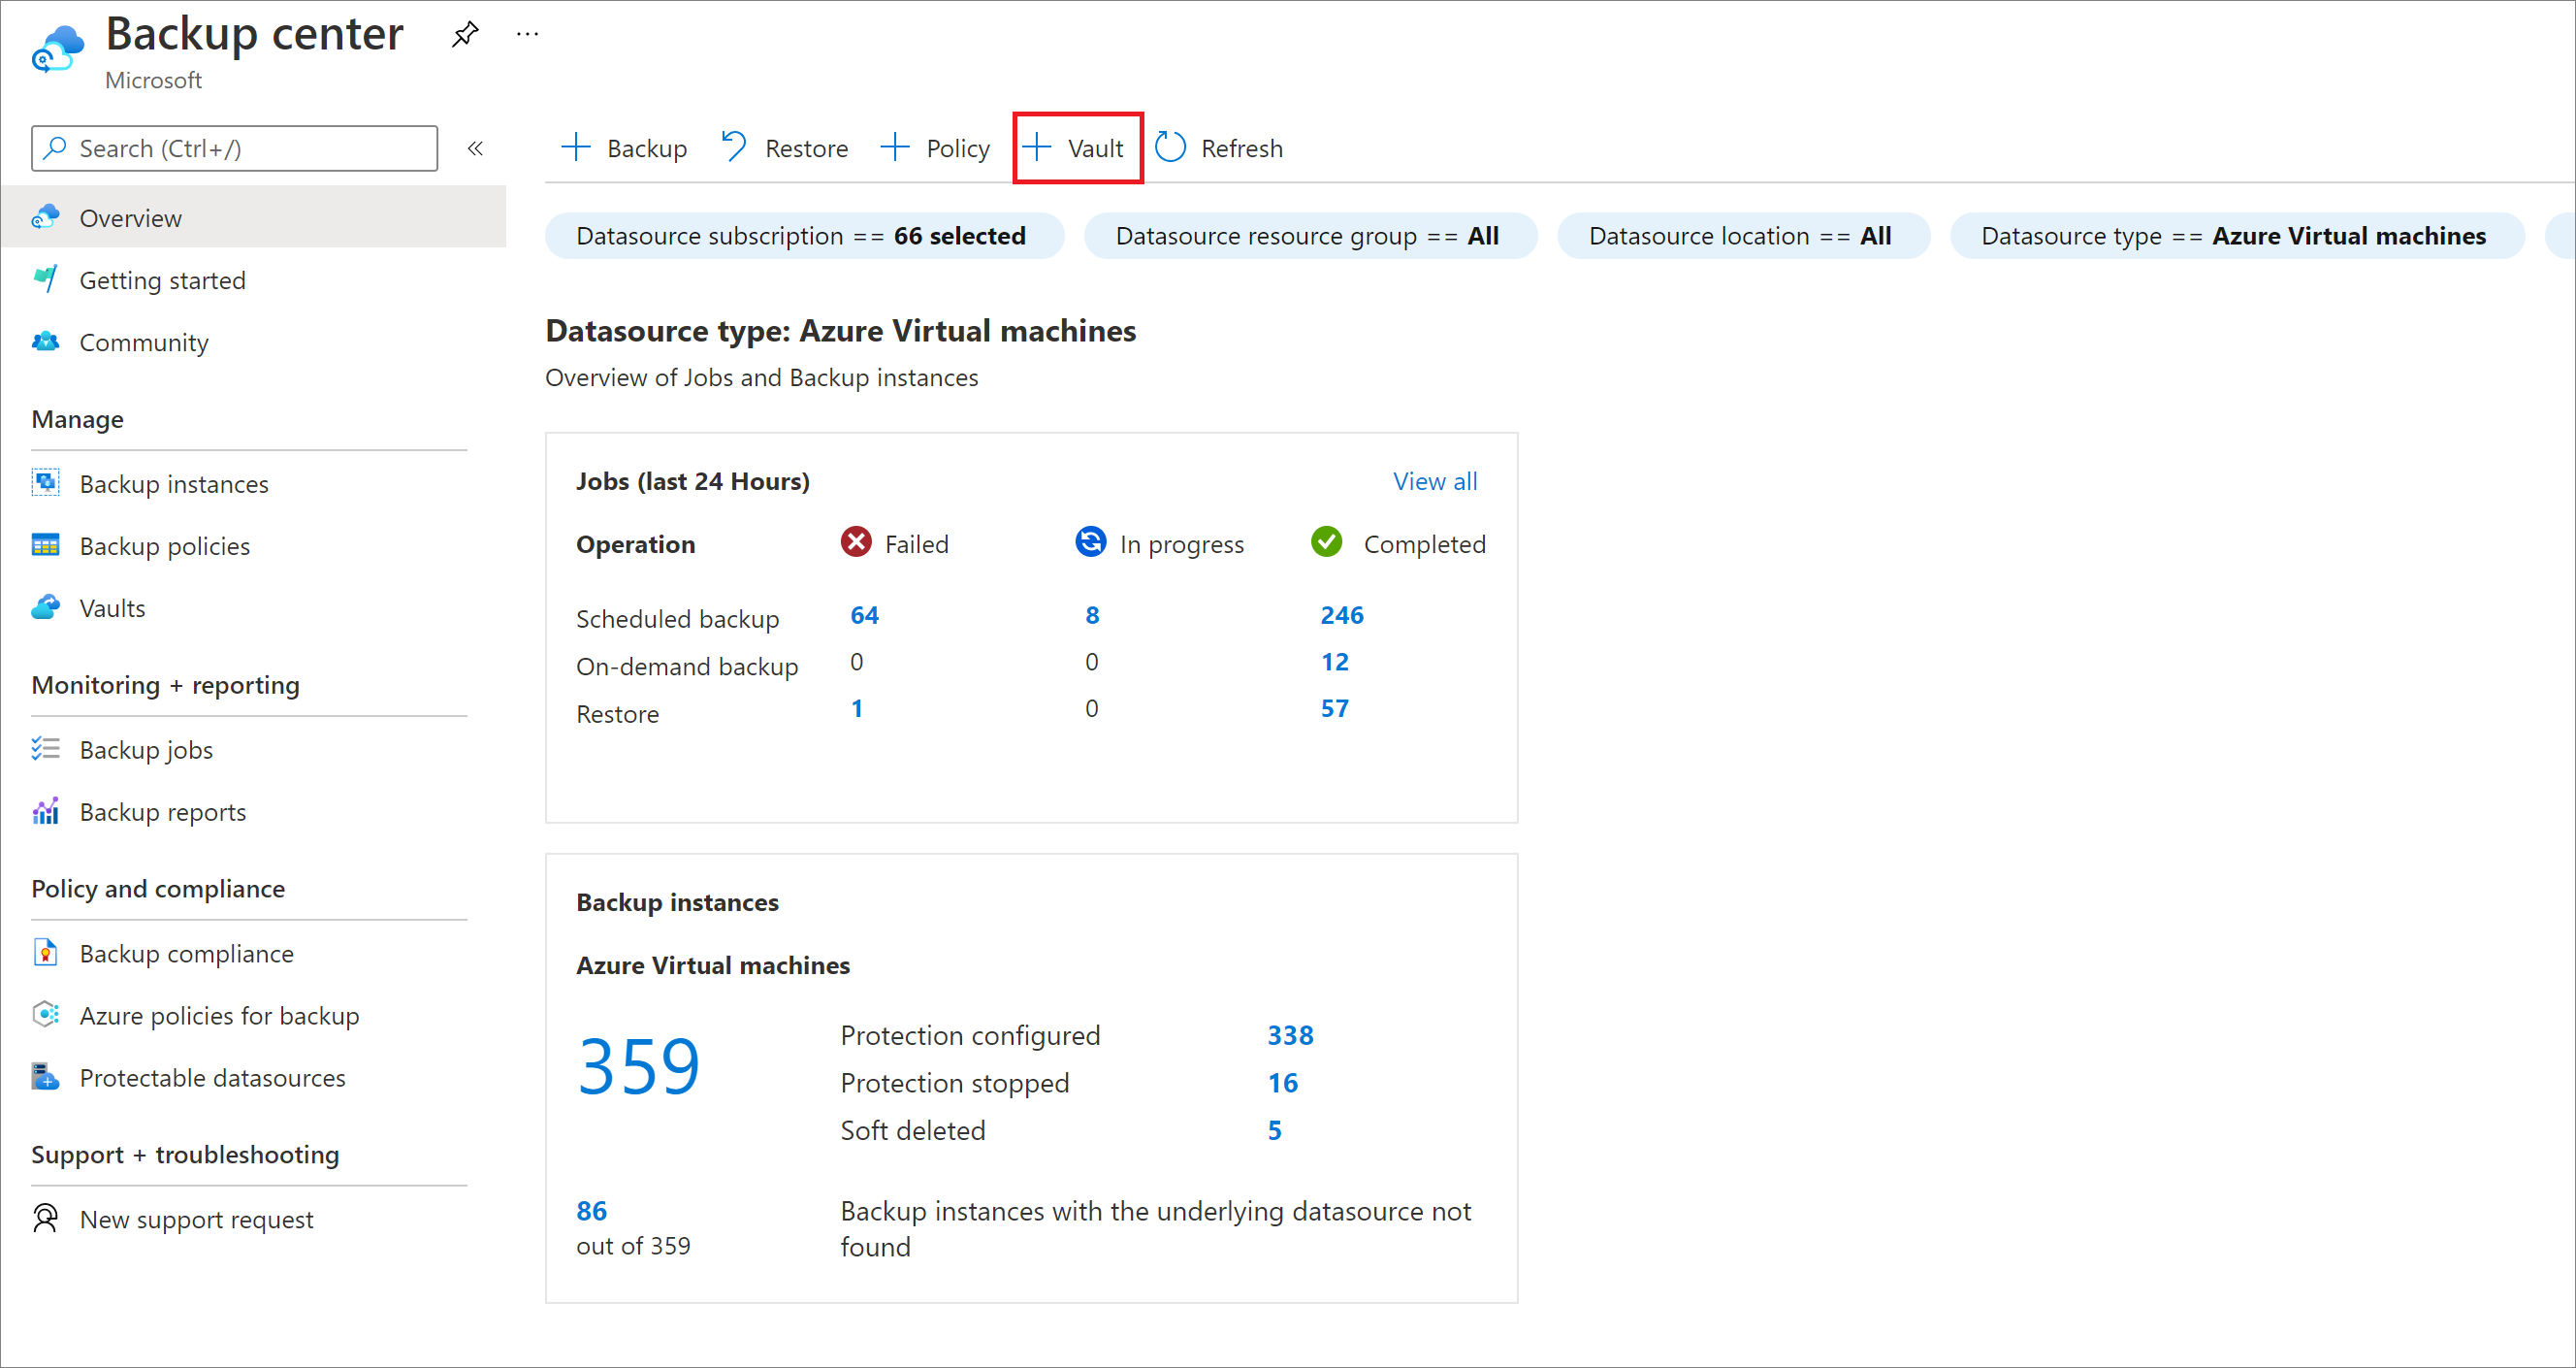
On the Overview pane, select Vault.
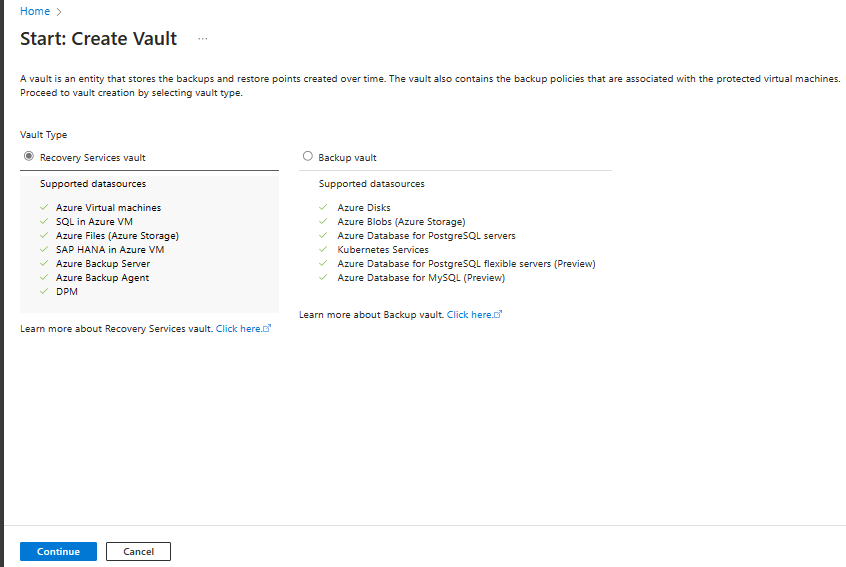
Select Recovery Services vault > Continue.
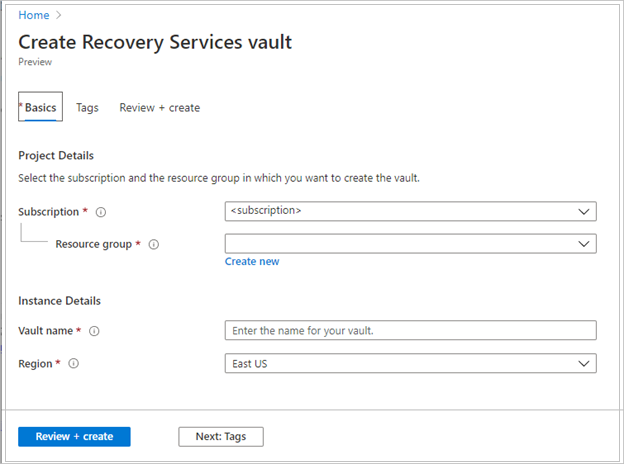
On the Recovery Services vault pane, enter the following values:
Subscription: Select the subscription to use. If you're a member of only one subscription, you'll see that name. If you're not sure which subscription to use, use the default subscription. There are multiple choices only if your work or school account is associated with more than one Azure subscription.
Resource group: Use an existing resource group or create a new one. To view a list of available resource groups in your subscription, select Use existing, and then select a resource in the dropdown list. To create a new resource group, select Create new, and then enter the name. For more information about resource groups, see Azure Resource Manager overview.
Vault name: Enter a friendly name to identify the vault. The name must be unique to the Azure subscription. Specify a name that has at least 2 but not more than 50 characters. The name must start with a letter and consist only of letters, numbers, and hyphens.
Region: Select the geographic region for the vault. For you to create a vault to help protect any data source, the vault must be in the same region as the data source.
Important
If you're not sure of the location of your data source, close the window. Go to the list of your resources in the portal. If you have data sources in multiple regions, create a Recovery Services vault for each region. Create the vault in the first location before you create a vault in another location. There's no need to specify storage accounts to store the backup data. The Recovery Services vault and Azure Backup handle that automatically.
After providing the values, select Review + create.
To finish creating the Recovery Services vault, select Create.
It can take a while to create the Recovery Services vault. Monitor the status notifications in the Notifications area at the upper right. After the vault is created, it appears in the list of Recovery Services vaults. If the vault doesn't appear, select Refresh.
Note
Azure Backup now supports immutable vaults that help you ensure that recovery points once created can't be deleted before their expiry as per the backup policy. You can make the immutability irreversible for maximum protection to your backup data from various threats, including ransomware attacks and malicious actors. Learn more.
Run the preregistration script
When a failover occurs, the users are replicated to the new primary, but hdbuserstore isn't replicated. So, you need to create the same key in all nodes of the HSR setup, which allows the Azure Backup service to connect to any new primary node automatically, without any manual intervention.
Create a custom backup user in the HANA system with the following roles and permissions:
Role Permission Description MDC Database Admin and Backup Admin (HANA 2.0 SPS05 and later) Creates new databases during restore. SDC Backup Admin Reads the backup catalog. SAP_INTERNAL_HANA_SUPPORT Accesses a few private tables.
Required only for single container database (SDC) and multiple container database (MDC) versions earlier than HANA 2.0 SPS04 Rev 46. It isn't required for HANA 2.0 SPS04 Rev 46 versions and later, because we receive the required information from public tables now after the fix from HANA team.Add the key to hdbuserstore for your custom backup user that enables the HANA backup plug-in to manage all operations (database queries, restore operations, configuring, and running backup).
Pass the custom backup user key to the script as a parameter:
-bk CUSTOM_BACKUP_KEY_NAME` or `-backup-key CUSTOM_BACKUP_KEY_NAMEIf the password of this custom backup key expires, the backup and restore operations will fail.
Example:
hdbuserstore set SYSTEMKEY localhost:30013@SYSTEMDB <custom-user> '<some-password>'
hdbuserstore set SYSTEMKEY <load balancer host/ip>:30013@SYSTEMDB <custom-user> '<some-password>'
Note
You can create a custom backup key using the load balancer host/IP instead of local host to use Virtual IP (VIP).
Diagram shows the creation of the custom backup key using local host/IP.

Diagram shows the creation of the custom backup key using Virtual IP (Load Balancer Frontend IP/Host).

Create the same Custom backup user (with the same password) and key (in hdbuserstore) on both VMs/nodes.
Provide a unique HSR ID as input to the script:
-hn HSR_UNIQUE_VALUEor--hsr-unique-value HSR_Unique_Value.You must provide the same HSR ID on both VMs/nodes. This ID must be unique within a vault. It should be an alphanumeric value containing at least one digit, one lowercase letter, and one uppercase character, and it should contain from 6 to 35 characters.
While you're running the preregistration script on the secondary node, you must specify the SDC/MDC port as input. This is because SQL commands to identify the SDC/MDC setup can't be run on the secondary node. You must provide the port number as a parameter, as shown here:
-p PORT_NUMBERor–port_number PORT_NUMBER.- For MDC, use the format
3<instancenumber>13. - For SDC, use the format
3<instancenumber>15.
- For MDC, use the format
If your HANA setup uses private endpoints, run the preregistration script with the
-snor--skip-network-checksparameter. Ater the preregistration script has run successfully, proceed to the next steps.Run the SAP HANA backup configuration script (preregistration script) in the VMs where HANA is installed as the root user. This script sets up the HANA system for backup. For more information about the script actions, see the What the preregistration script does section.
There's no HANA-generated unique ID for an HSR setup. So, you need to provide a unique ID that helps the backup service to group all nodes of an HSR as a single data source.


To set up the database for backup, see the prerequisites and the What the preregistration script does sections.
Discover the databases
To discover the HSR database, follow these steps:
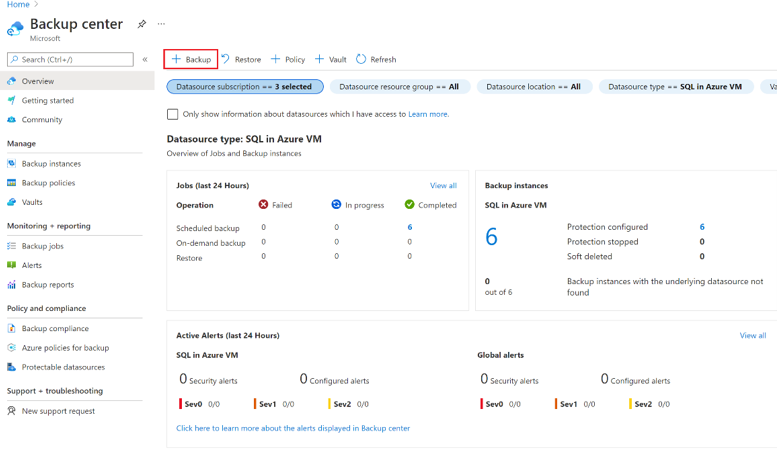
In the Azure portal, go to Backup center, and then select + Backup.
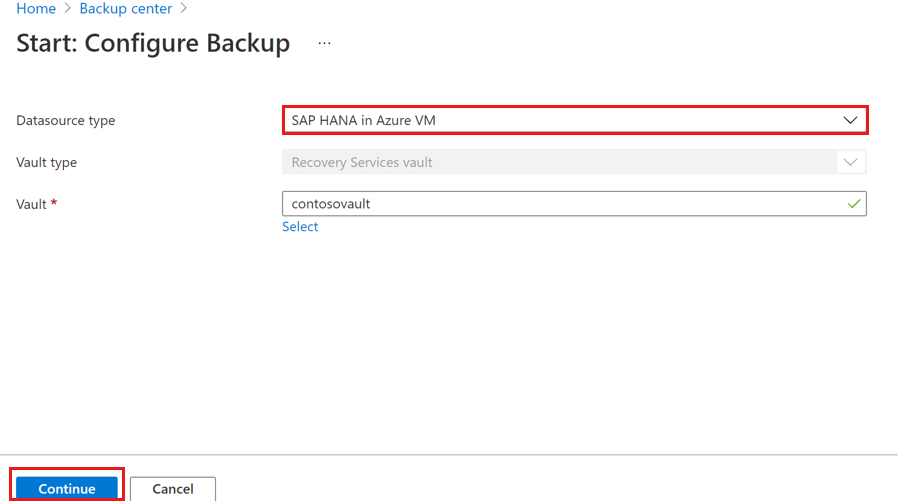
Select SAP HANA in Azure VM as the data source type, select the Recovery Services vault to use for the backup, and then select Continue.
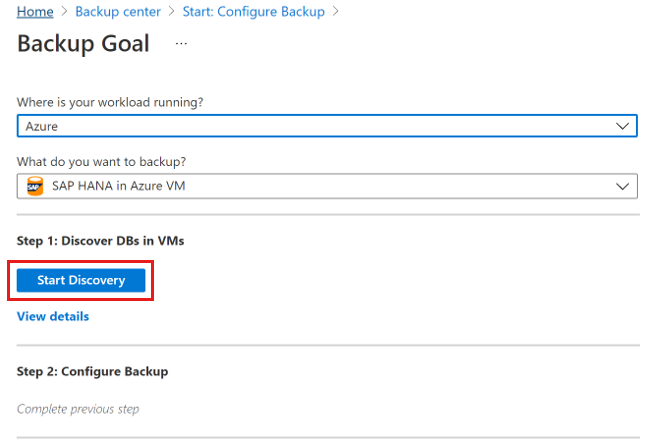
Select Start Discovery to initiate the discovery of unprotected Linux VMs in the vault region.
- After discovery, unprotected VMs appear in the portal, listed by name and resource group.
- If a VM isn't listed as expected, check to see whether it's already backed up in a vault.
- Multiple VMs can have the same name, but they must belong to different resource groups.
On the Select Virtual Machines pane, at the bottom, select the this link in Run this script on the SAP HANA VMs to provide these permissions to Azure Backup service.

Run the script on each VM that hosts SAP HANA databases that you want to back up.
On the Select Virtual Machines pane, after you run the script on the VMs, select the VMs, and then select Discover DBs.
Azure Backup discovers all SAP HANA databases on the VM. During discovery, Azure Backup registers the VM with the vault and installs an extension on the VM. It doesn't install any agent on the database.
To view the details about all the databases of each discovered VM, select View details under the Step 1: Discover DBs in VMs section.

Note
During discovery or configuration of backup on the secondary node, ignore the status if the Backup Readiness state appears Not Ready as this is an expected state for the secondary node on HSR.

Configure backup
To enable the backup, follow these steps:
On the Backup Goal pane, in Step 2, select Configure Backup.

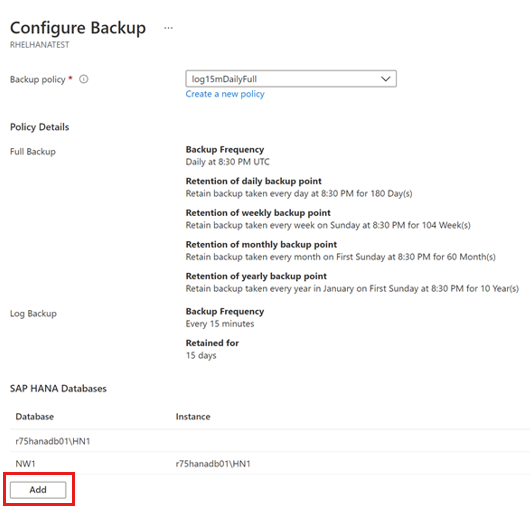
On the Select items to back up pane, select all the databases you want to protect, and then select OK.

In the Backup policy dropdown list, select the policy you want to use, and then select Add.
After you've created the policy, on the Backup pane, select Enable backup.

To track the backup configuration progress, go to Notifications in the Azure portal.

Note
During the Configure system DB backup stage, you need to set this parameter [inifile_checker]/replicate on the primary node. This enables to replicate parameters from the primary to secondary node or vm.
Create a backup policy
A backup policy defines the backup schedules and the backup retention duration.
Note
- A policy is created at the vault level.
- Multiple vaults can use the same backup policy, but you must apply the backup policy to each vault.
- Azure Backup doesn’t automatically adjust for daylight saving time changes when you're backing up an SAP HANA database that's running in an Azure VM. Modify the policy manually as needed.
To configure the policy settings, follow these steps:
On the Backup policy pane, in the Policy name box, enter a name for the new policy.
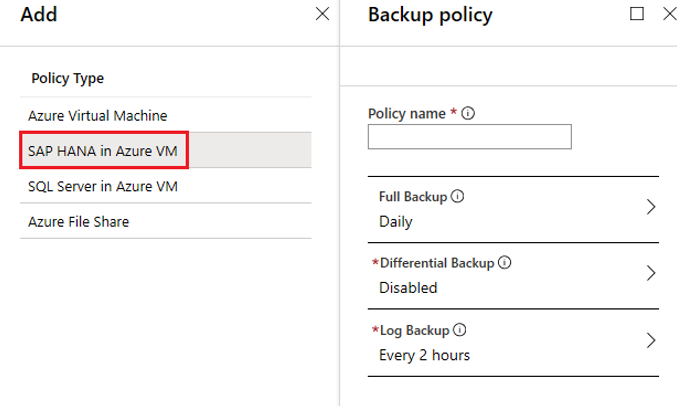
Under Full Backup, for Backup Frequency, select Daily or Weekly.
Daily: Select the hour and time zone in which the backup job must begin.
- You must run a full backup. You can't turn off this option.
- Select Full Backup to view the policy.
- You can't create differential backups for daily full backups.
Weekly: Select the day of the week, hour, and time zone in which the backup job must run.
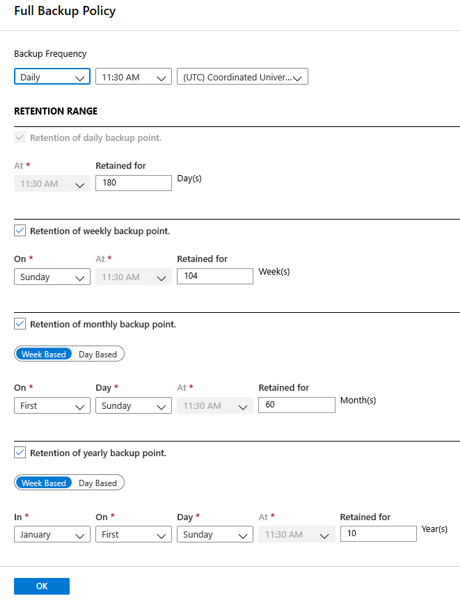
On the Full Backup Policy pane, under Retention Range, configure the retention settings for the full backup.
- By default, all options are selected. Clear any retention range limits that you don't want to use, and then set them as required.
- The minimum retention period for any type of backup (full/differential/log) is 7 days.
- Recovery points are tagged for retention based on their retention range. For example, if you select a daily full backup, only one full backup is triggered each day.
- The backup data for a specific day is tagged and retained based on the weekly retention range and settings.
Select OK to save the policy settings.
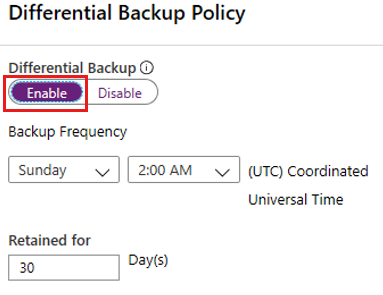
Select Differential Backup to add a differential policy.
In Differential Backup policy, select Enable to open the frequency and retention controls.
- You can trigger a maximum of one differential backup per day.
- You can retain differential backups for a maximum of 180 days. If you need a longer retention, you must use full backups.
Note
You can choose either a differential or an incremental backup as a daily backup at a specified time.
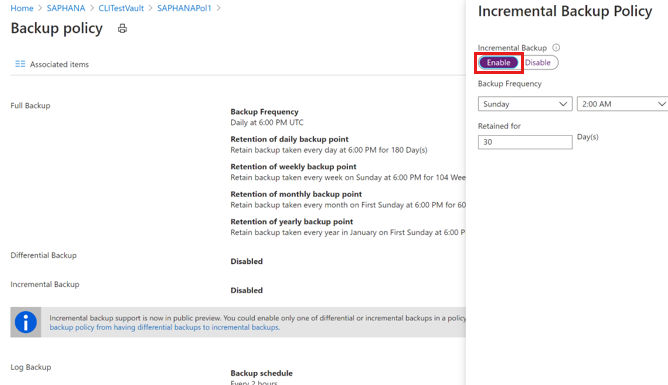
On the Incremental Backup Policy pane, select Enable to open the frequency and retention controls.
- You can trigger a maximum of one incremental backup per day.
- You can retain incremental backups for a maximum of 180 days. If you need a longer retention, you must use full backups.
Select OK to save the policy and return to the main Backup policy menu.
Select Log Backup to add a transactional log backup policy.
In Log Backup, select Enable.
You can't disable this option, because SAP HANA manages all log backups.
Set the frequency and retention controls.
Note
Streaming of log backups begins only after a successful full backup is complete.
Select OK to save the policy and return to the main Backup policy menu.
After the backup policy configuration is complete, select OK.
All log backups are chained to the previous full backup to form a recovery chain. A full backup is retained until the expiration of the last log backup. So, the full backup is retained for an extra period to ensure that all logs can be recovered.
For example, let's say that you have a weekly full backup, daily differential, and 2 hour logs. All of them are retained for 30 days. But the weekly full backup is deleted only after the next full backup is available (that is, after 30 + 7 days).
If a weekly full backup happens on November 16, it should be retained, as per the retention policy, until December 16. The last log backup for this full backup happens before the next scheduled full backup, on November 22. Until this log becomes available on December 22, the November 16 full backup isn't deleted. So, the November 16 full backup is retained until December 22.
Run an on-demand backup
Backups run in accordance with the policy schedule. Learn how to run an on-demand backup.
Note
Before a planned failover, ensure that both VMs/Nodes are registered to the vault (physical and logical registration). Learn more.
Run SAP HANA native clients backup on a database with Azure Backup
You can run an on-demand backup using SAP HANA native clients to local file-system instead of Backint. Learn more how to manage operations using SAP native clients.
Scenarios to protect HSR nodes on Azure Backup
You can now switch the protection of SAP HANA database on Azure VM (standalone) on Azure Backup to HSR. If you’ve already configured HSR and protecting only the primary node using Azure Backup, you can modify the configuration to protect both primary and secondary nodes.
Two standalone/HSR nodes never protected using SAP HANA Database backup on Azure VM
(Mandatory) Run the latest preregistration script on both primary and secondary VM nodes.
Note
HSR-based attributes are added to the latest preregistration script.
Configure HSR manually or using any clustering tools, such as pacemaker,
Skip to the next step if HSR configuration is already complete.
Discover and configure backup for those VMs.
Note
For HSR deployments, Protected Instance cost is charged to HSR logical container (two nodes - primary and secondary) will form a single HSR logical container.
Before a planned failover, ensure that both VMs/Nodes are registered to the vault (physical and logical registration).
Two standalone VMs/ One standalone VM already protected using SAP HANA Database backup on Azure VM
To stop backup and retain data, go to the vault > Backup Items > SAP HANA in Azure VM, and then select View Details > Stop backup > Retain backup data > Stop backup.
(Mandatory) Run the latest preregistration script on both primary and secondary VM nodes.
Note
HSR-based attributes are added to the latest preregistration script.
Configure HSR manually or using any clustering tools like pacemaker.
Discover the VMs and configure backup on HSR logical instance.
Note
For HSR deployments, Protected Instance cost will be charged to HSR logical container (two nodes - primary and / secondary) will form a single HSR logical container.
Before a planned failover, ensure that both VMs/Nodes are registered to the vault (physical and logical registration).
Next steps
Feedback
Coming soon: Throughout 2024 we will be phasing out GitHub Issues as the feedback mechanism for content and replacing it with a new feedback system. For more information see: https://aka.ms/ContentUserFeedback.
Submit and view feedback for