Deploy a key phrase extraction container to Azure Kubernetes Service
Learn how to deploy a key phrase extraction Docker container image to Azure Kubernetes Service (AKS). This procedure shows how to create a Language resource, how to associate a container image, and how to exercise this orchestration of the two from a browser. Using containers can shift your attention away from managing infrastructure to instead focusing on application development. While this article uses the key phrase extraction container as an example, you can use this process for other containers offered by Azure AI Language
Prerequisites
This procedure requires several tools that must be installed and run locally. Don't use Azure Cloud Shell. You need the following:
- An Azure subscription. If you don't have an Azure subscription, create a free account before you begin.
- A text editor, for example, Visual Studio Code.
- The Azure CLI installed.
- The Kubernetes CLI installed.
- An Azure resource with the correct pricing tier. Not all pricing tiers work with this container:
- Azure AI Language resource with F0 or standard pricing tiers only.
- Azure AI services resource with the S0 pricing tier.
Create an Azure AI Language resource
Sign in to the Azure portal.
Select Create a resource, and then go to AI + Machine Learning > Language. Or, go to Create a Language resource.
Enter all the required settings:
Setting Value Name Enter a name (2-64 characters). Subscription Select the appropriate subscription. Location Select a nearby location. Pricing tier Enter S, the standard pricing tier. Resource group Select an available resource group. Select Create, and wait for the resource to be created. Your browser automatically redirects to the newly created resource page.
Collect the configured
endpointand an API key:Resource tab in portal Setting Value Overview Endpoint Copy the endpoint. It appears similar to https://my-resource.cognitiveservices.azure.com/text/analytics/v3.0.Keys API Key Copy one of the two keys. It's a 32-character alphanumeric string with no spaces or dashes: < xxxxxxxxxxxxxxxxxxxxxxxxxxxxxxxx>.
Create an Azure Kubernetes Service cluster resource
Go to Azure Kubernetes Service, and select Create.
On the Basics tab, enter the following information:
Setting Value Subscription Select an appropriate subscription. Resource group Select an available resource group. Kubernetes cluster name Enter a name (lowercase). Region Select a nearby location. Kubernetes version Whatever value is marked as (default). DNS name prefix Created automatically, but you can override. Node size Standard DS2 v2: 2 vCPUs,7 GBNode count Leave the slider at the default value. On the Node pools tab, leave Virtual nodes and VM scale sets set to their default values.
On the Authentication tab, leave Service principal and Enable RBAC set to their default values.
On the Networking tab, enter the following selections:
Setting Value HTTP application routing No Networking configuration Basic On the Integrations tab, make sure that Container monitoring is set to Enabled, and leave Log Analytics workspace as the default value.
On the Tags tab, leave the name/value pairs blank for now.
Select Review and Create.
After validation passes, select Create.
Note
If validation fails, it might be because of a "Service principal" error. Go back to the Authentication tab and then go back to Review + create, where validation should run and then pass.
Deploy the Key Phrase Extraction container to an AKS cluster
Open the Azure CLI, and sign in to Azure.
az loginSign in to the AKS cluster. Replace
your-cluster-nameandyour-resource-groupwith the appropriate values.az aks get-credentials -n your-cluster-name -g -your-resource-groupAfter this command runs, it reports a message similar to the following:
Merged "your-cluster-name" as current context in /home/username/.kube/configWarning
If you have multiple subscriptions available to you on your Azure account and the
az aks get-credentialscommand returns with an error, a common problem is that you're using the wrong subscription. Set the context of your Azure CLI session to use the same subscription that you created the resources with and try again.az account set -s subscription-idOpen the text editor of choice. This example uses Visual Studio Code.
code .Within the text editor, create a new file named keyphrase.yaml, and paste the following YAML into it. Be sure to replace
billing/valueandapikey/valuewith your own information.apiVersion: apps/v1beta1 kind: Deployment metadata: name: keyphrase spec: template: metadata: labels: app: keyphrase-app spec: containers: - name: keyphrase image: mcr.microsoft.com/azure-cognitive-services/keyphrase ports: - containerPort: 5000 resources: requests: memory: 2Gi cpu: 1 limits: memory: 4Gi cpu: 1 env: - name: EULA value: "accept" - name: billing value: # {ENDPOINT_URI} - name: apikey value: # {API_KEY} --- apiVersion: v1 kind: Service metadata: name: keyphrase spec: type: LoadBalancer ports: - port: 5000 selector: app: keyphrase-app
Important
Remember to remove the key from your code when you're done, and never post it publicly. For production, use a secure way of storing and accessing your credentials like Azure Key Vault. See the Azure AI services security article for more information.
Save the file, and close the text editor.
Run the Kubernetes
applycommand with the keyphrase.yaml file as its target:kubectl apply -f keyphrase.yamlAfter the command successfully applies the deployment configuration, a message appears similar to the following output:
deployment.apps "keyphrase" created
service "keyphrase" created
Verify that the pod was deployed:
kubectl get podsThe output for the running status of the pod:
NAME                         READY     STATUS    RESTARTS   AGE
keyphrase-5c9ccdf575-mf6k5   1/1       Running   0          1m
Verify that the service is available, and get the IP address.
kubectl get servicesThe output for the running status of the keyphrase service in the pod:
NAME         TYPE           CLUSTER-IP    EXTERNAL-IP      PORT(S)          AGE
kubernetes   ClusterIP      10.0.0.1      <none>           443/TCP          2m
keyphrase    LoadBalancer   10.0.100.64   168.61.156.180   5000:31234/TCP   2m
Verify the Key Phrase Extraction container instance
Select the Overview tab, and copy the IP address.
Open a new browser tab, and enter the IP address. For example, enter
http://<IP-address>:5000 (http://55.55.55.55:5000). The container's home page is displayed, which lets you know the container is running.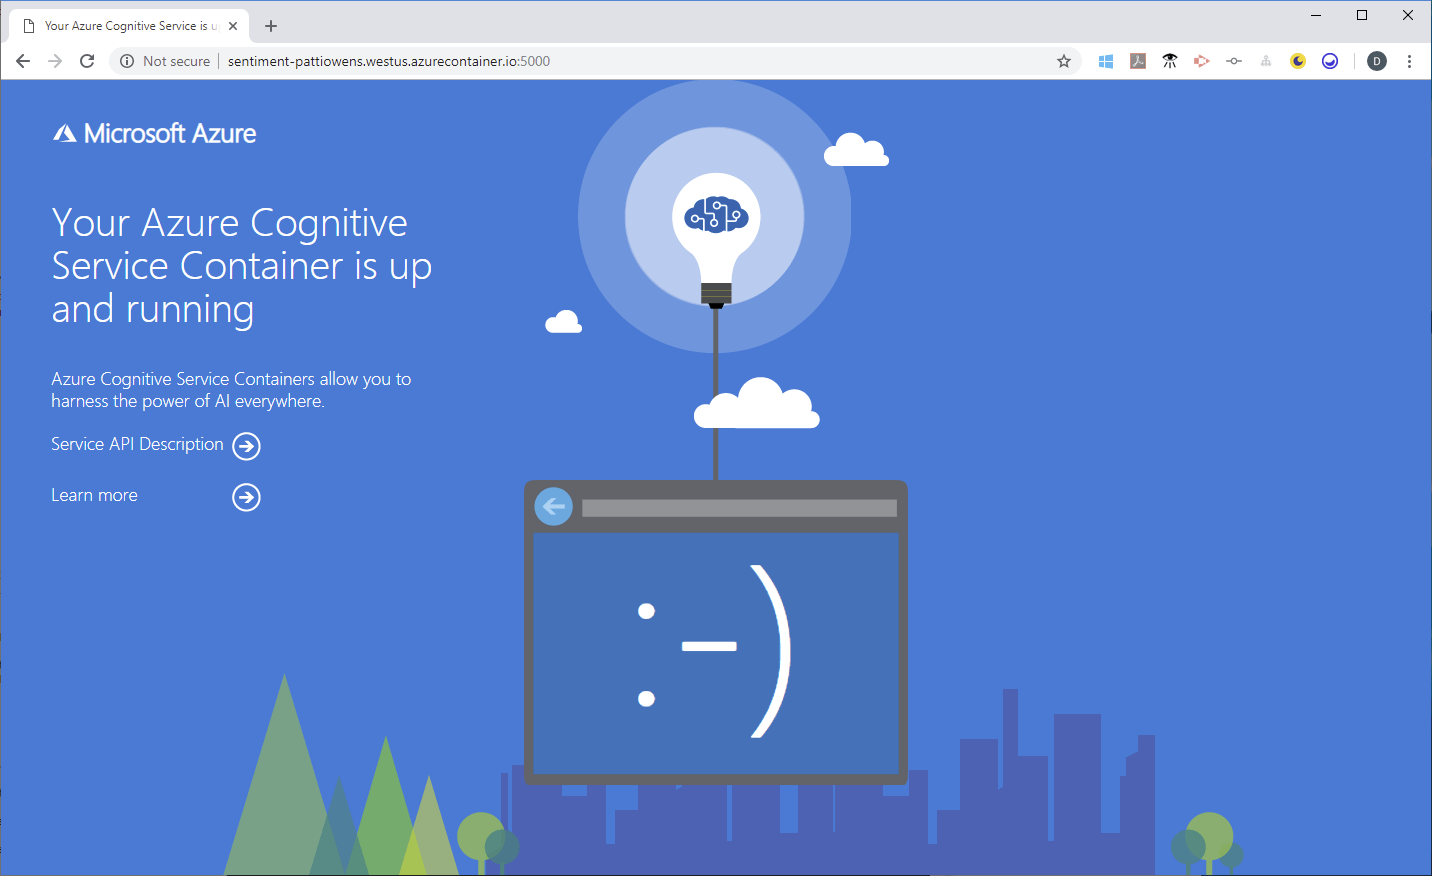
Select the Service API Description link to go to the container's Swagger page.
Choose any of the POST APIs, and select Try it out. The parameters are displayed, which includes this example input:
{
  "documents": [
    {
      "id": "1",
      "text": "Hello world"
    },
    {
      "id": "2",
      "text": "Bonjour tout le monde"
    },
    {
      "id": "3",
      "text": "La carretera estaba atascada. Había mucho tráfico el día de ayer."
    },
    {
      "id": "4",
      "text": ":) :( :D"
    }
  ]
}
Replace the input with the following JSON content:
{
  "documents": [
    {
      "language": "en",
      "id": "7",
      "text": "I was fortunate to attend the KubeCon Conference in Barcelona, it is one of the best conferences I have ever attended. Great people, great sessions and I thoroughly enjoyed it!"
    }
  ]
}
Set showStats to
true.Select Execute to determine the sentiment of the text.
The model that's packaged in the container generates a score that ranges from 0 to 1, where 0 is negative and 1 is positive.
The JSON response that's returned includes sentiment for the updated text input:
{
  "documents": [
    {
      "id": "7",
      "keyPhrases": [
        "Great people",
        "great sessions",
        "KubeCon Conference",
        "Barcelona",
        "best conferences"
      ],
      "statistics": {
        "charactersCount": 176,
        "transactionsCount": 1
      }
    }
  ],
  "errors": [],
  "statistics": {
    "documentsCount": 1,
    "validDocumentsCount": 1,
    "erroneousDocumentsCount": 0,
    "transactionsCount": 1
  }
}
We can now correlate the document id of the response payload's JSON data to the original request payload document id. The resulting document has a keyPhrases array, which contains the list of key phrases that have been extracted from the corresponding input document. Additionally, there are various statistics such as characterCount and transactionCount for each resulting document.
Next steps
Feedback
Coming soon: Throughout 2024 we will be phasing out GitHub Issues as the feedback mechanism for content and replacing it with a new feedback system. For more information see: https://aka.ms/ContentUserFeedback.
Submit and view feedback for