Running CycleCloud using an ARM template
Azure CycleCloud can be installed on Azure resources using an Azure Resource Manager (ARM) template that is stored on GitHub. The ARM template handles the majority of the CycleCloud setup. The ARM template:
- Deploys a virtual network with three separate subnets:
- cycle: The subnet in which the CycleCloud server is started in
- compute: A /22 subnet for the HPC clusters
- user: The subnet for creating user logins
- Provisions a VM in the cycle subnet and installs Azure CycleCloud on it.
The recommended method of installing CycleCloud is via the CycleCloud Marketplace Image. Please follow the CycleCloud Marketplace Installation Quickstart. CycleCloud can also be installed manually, providing greater control over the installation and configuration process. For more information, see the Manual CycleCloud Installation Quickstart.
Prerequisites
You will need:
- An Azure account with an active subscription.
- A Shell session in a terminal.
- If you are using a Windows machine, use the browser-based Bash shell.
- For non-Windows machines, install and use Azure CLI v2.0.20 or later. Run
az --versionto find your current version. If you need to install or upgrade, see Install Azure CLI 2.0.
Open Azure Cloud Shell
Azure Cloud Shell is a free, interactive shell that you can use to run the steps in this article. Common Azure tools are preinstalled and configured in Cloud Shell for you to use with your account. Just select the Copy button to copy the code, paste it in Cloud Shell, and then press Enter to run it. There are a few ways to open Cloud Shell:
| Click the green "Try It" button in the upper right corner of a code block. |  |
|---|---|
| Open Cloud Shell in your browser. |  |
| Select the Cloud Shell button on the menu in the upper-right corner of the Azure portal. |  |
Service Principal
Azure CycleCloud requires a service principal with contributor access to your Azure subscription. If you do not have a service principal available, you can create one now. Note that your service principal name must be unique - in the example below, CycleCloudApp can be replaced with whatever you like:
az ad sp create-for-rbac --name CycleCloudApp --years 1
The output will display a number of parameters. You will need to save the appId, password, and tenant:
"appId": "xxxxxxxx-xxxx-xxxx-xxxx-xxxxxxxxxxxx",
"displayName": "CycleCloudApp",
"name": "http://CycleCloudApp",
"password": "xxxxxxxx-xxxx-xxxx-xxxx-xxxxxxxxxxxx",
"tenant": "xxxxxxxx-xxxx-xxxx-xxxx-xxxxxxxxxxxx"
SSH Keypair
An SSH key is needed to log into the CycleCloud VM and clusters. Generate an SSH keypair:
ssh-keygen -f ~/.ssh/id_rsa -m pem -t rsa -N "" -b 4096
Note
The Python cryptography library used by the CycleCloud CLI does not support the newer OpenSSH serialization format. One must use ssh-keygen -m pem to generate the key with the older standard format.
Retrieve the SSH public key with:
cat ~/.ssh/id_rsa.pub
The output will begin with ssh-rsa followed by a long string of characters. Copy and save this key now.
On Linux, follow these instructions on GitHub to generate a new SSH keypair.
Deploy Azure CycleCloud
Click the button below to deploy Azure CycleCloud into your subscription:

Enter the required information.
Basics:
- Subscription: If you have more than one active Azure subscription, select the one to use here
- Resource Group: Enter the name of a (new) resource group that will hold everything generated by this quickstart (e.g. MyQuickstart)
- Location: Select a region in which to store your instance
Settings:
- Tenant ID: The
tenantfrom the service principal above - Application ID: The
appIdfrom the service principal above - Application Secret: The
passwordfrom the service principal above - SSH Public Key: The public key used to log into the CycleCloud VM
- Username: The username for the CycleCloud VM. Use your Azure Portal username without the domain (e.g. johnsmith instead of johnsmith@domain.com)
The remaining fields can be left as is. Agree to the terms and conditions, and click Purchase. Note that the CycleCloud product is free but you are still paying for the core hours used in Azure.
The deployment process runs an installation script as a custom script extension, which installs and sets up CycleCloud. This process takes between 5 and 8 minutes.
Log into the CycleCloud Application Server
To connect to the CycleCloud webserver, retrieve the Fully Qualified Domain Name (FQDN) of the CycleServer VM from either the Azure Portal or using the CLI:
# Replace "MyQuickstart" with the resource group you created above.
export RESOURCE_GROUP="MyQuickstart"
az network public-ip show -g ${RESOURCE_GROUP?} -n cycle-ip --query dnsSettings.fqdn
Browse to https://<FQDN>/. The installation uses a self-signed SSL certificate, which may show up with a warning in your browser.
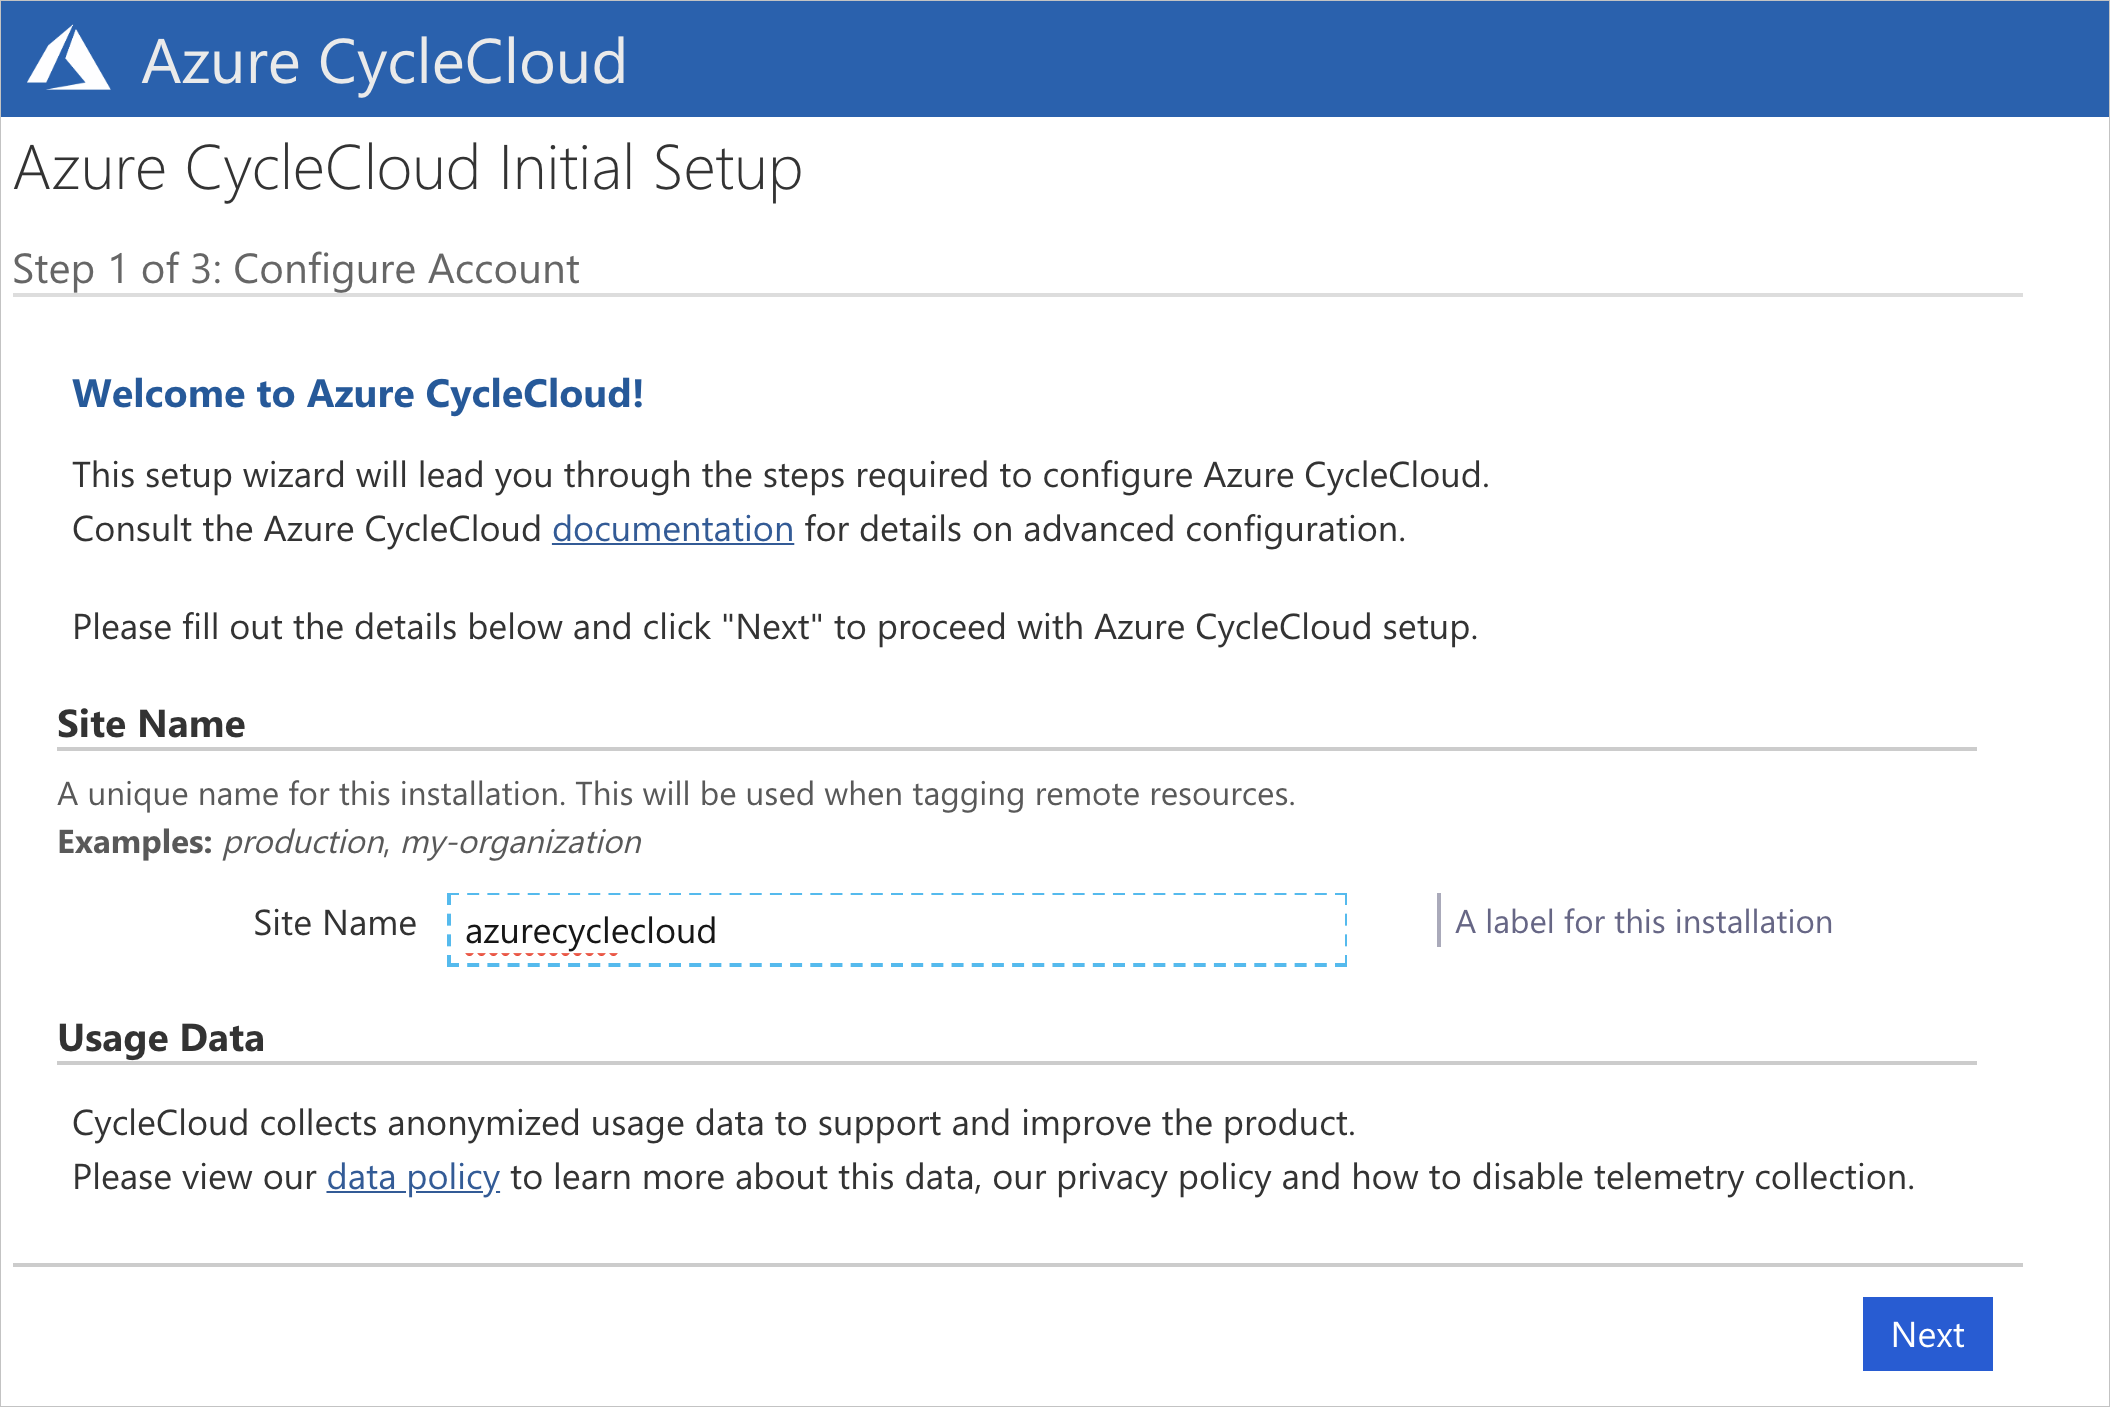
Create a Site Name for your installation. You can use any name here:
The Azure CycleCloud End User License Agreement will be displayed - click to accept it. You will then need to create a CycleCloud admin user for the application server. We recommend using the same username used above. Ensure the password you enter meets the requirements listed. Click Done to continue.

Once you have created your user, you may want to set your SSH key so that you can more easily access any Linux VMs created by CycleCloud. To add an SSH key, edit your profile by clicking on your name in the upper right hand corner of the screen.
You should now have a running CycleCloud application that allows you to create and run clusters.
Note
The default CycleCloud configuration may be customized for specific environments using settings in the $CS_HOME/config/cycle_server.properties file.