Tutorial: Share data using Azure Data Share
In this tutorial, you'll learn how to set up a new Azure Data Share and start sharing your data with customers and partners outside of your Azure organization.
In this tutorial, you'll learn how to:
- Create a Data Share.
- Add datasets to your Data Share.
- Enable a snapshot schedule for your Data Share.
- Add recipients to your Data Share.
Prerequisites
- Azure Subscription: If you don't have an Azure subscription, create a free account before you begin.
- Your recipient's Azure e-mail address (using their e-mail alias won't work).
- If the source Azure data store is in a different Azure subscription than the one you'll use to create Data Share resource, register the Microsoft.DataShare resource provider in the subscription where the Azure data store is located.
Share from a storage account
- An Azure Storage account: If you don't already have one, you can create an Azure Storage account
- Permission to write to the storage account, which is present in Microsoft.Storage/storageAccounts/write. This permission exists in the Storage Account Contributor role.
- Permission to add role assignment to the storage account, which is present in Microsoft.Authorization/role assignments/write. This permission exists in the Owner role.
Share from a SQL-based source
Below is the list of prerequisites for sharing data from SQL source.
Prerequisites for sharing from Azure SQL Database or Azure Synapse Analytics (formerly Azure SQL DW)
- An Azure SQL Database or Azure Synapse Analytics (formerly Azure SQL DW) with tables and views that you want to share.
- Permission to write to the databases on SQL server, which is present in Microsoft.Sql/servers/databases/write. This permission exists in the Contributor role.
- Microsoft Entra Admin of the SQL server
- SQL Server Firewall access. This can be done through the following steps:
- In Azure portal, navigate to SQL server. Select Firewalls and virtual networks from left navigation.
- Select Yes for Allow Azure services and resources to access this server.
- Select +Add client IP. Client IP address is subject to change. This process might need to be repeated the next time you're sharing SQL data from Azure portal. You can also add an IP range.
- Select Save.
Prerequisites for sharing from Azure Synapse Analytics (workspace) SQL pool
-
- An Azure Synapse Analytics (workspace) dedicated SQL pool with tables that you want to share. Sharing of view isn't currently supported. Sharing from serverless SQL pool isn't currently supported.
Permission to write to the SQL pool in Synapse workspace, which is present in Microsoft.Synapse/workspaces/sqlPools/write. This permission exists in the Contributor role.
Permission for the Data Share resource's managed identity to access Synapse workspace SQL pool. This can be done through the following steps:
In Azure portal, navigate to Synapse workspace. Select SQL Active Directory admin from left navigation and set yourself as the Microsoft Entra admin.
Open Synapse Studio, select Manage from the left navigation. Select Access control under Security. Assign yourself SQL admin or Workspace admin role.
In Synapse Studio, select Develop from the left navigation. Execute the following script in SQL pool to add the Data Share resource Managed Identity as a db_datareader.
create user "<share_acct_name>" from external provider;
exec sp_addrolemember db_datareader, "<share_acct_name>";
The <share_acc_name> is the name of your Data Share resource. If you haven't created a Data Share resource as yet, you can come back to this prerequisite later.
Synapse workspace Firewall access. This can be done through the following steps:
- In Azure portal, navigate to Synapse workspace. Select Firewalls from left navigation.
- Select ON for Allow Azure services and resources to access this workspace.
- Select +Add client IP. Client IP address is subject to change. This process might need to be repeated the next time you're sharing SQL data from Azure portal. You can also add an IP range.
- Select Save.
Share from Azure Data Explorer
- An Azure Data Explorer cluster with databases you want to share.
- Permission to write to Azure Data Explorer cluster, which is present in Microsoft.Kusto/clusters/write. This permission exists in the Contributor role.
Sign in to the Azure portal
Sign in to the Azure portal.
Create a Data Share Account
Create an Azure Data Share resource in an Azure resource group.
Select the menu button in the upper-left corner of the portal, then select Create a resource (+).
Search for Data Share.
Select Data Share and Select Create.
Fill out the basic details of your Azure Data Share resource with the following information.
Setting Suggested value Field description Subscription Your subscription Select the Azure subscription that you want to use for your data share account. Resource group testresourcegroup Use an existing resource group or create a new resource group. Location East US 2 Select a region for your data share account. Name datashareaccount Specify a name for your data share account. Select Review + create, then Create to create your data share account. Creating a new data share account typically takes about 2 minutes or less.
When the deployment is complete, select Go to resource.


Create a share
Navigate to your Data Share Overview page.
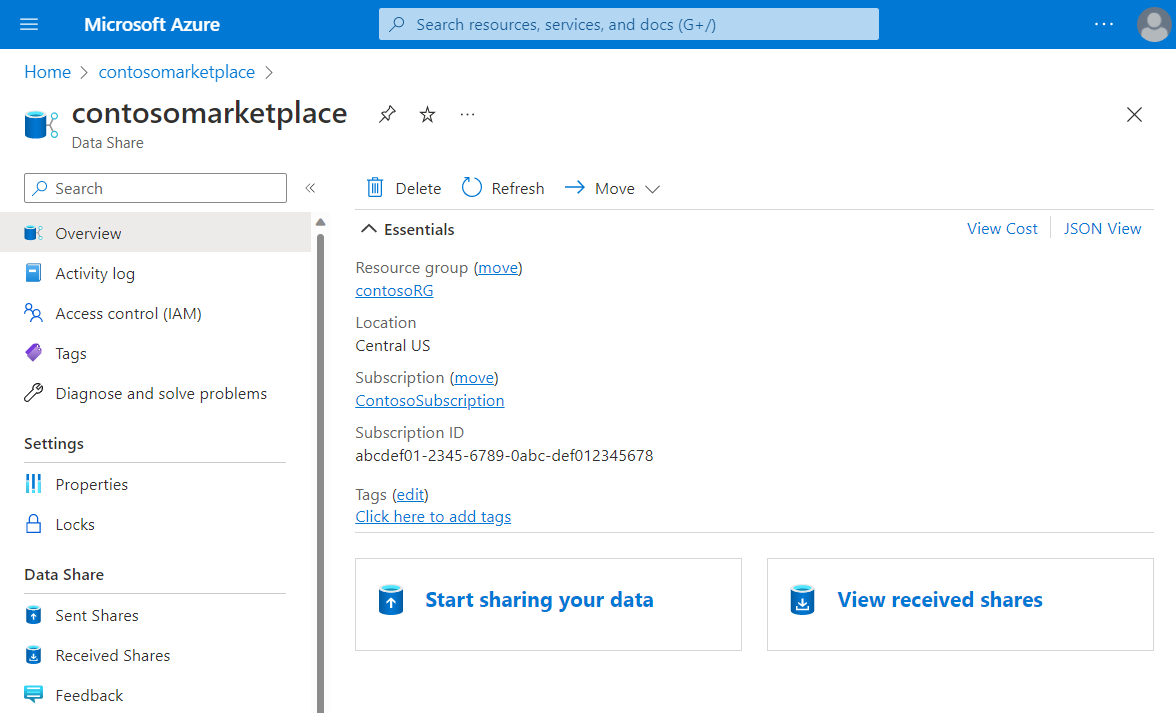
Select Start sharing your data.
Select Create.
Fill out the details for your share. Specify a name, share type, description of share contents, and terms of use (optional).
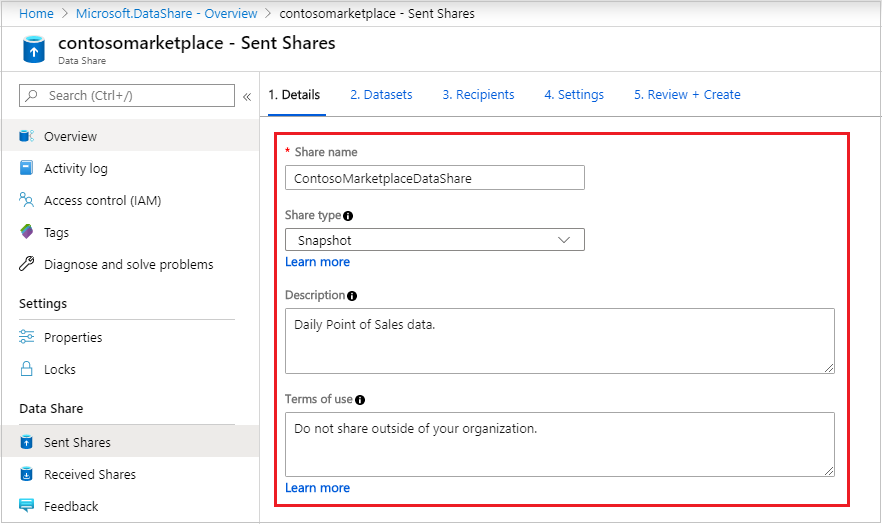
Select Continue.
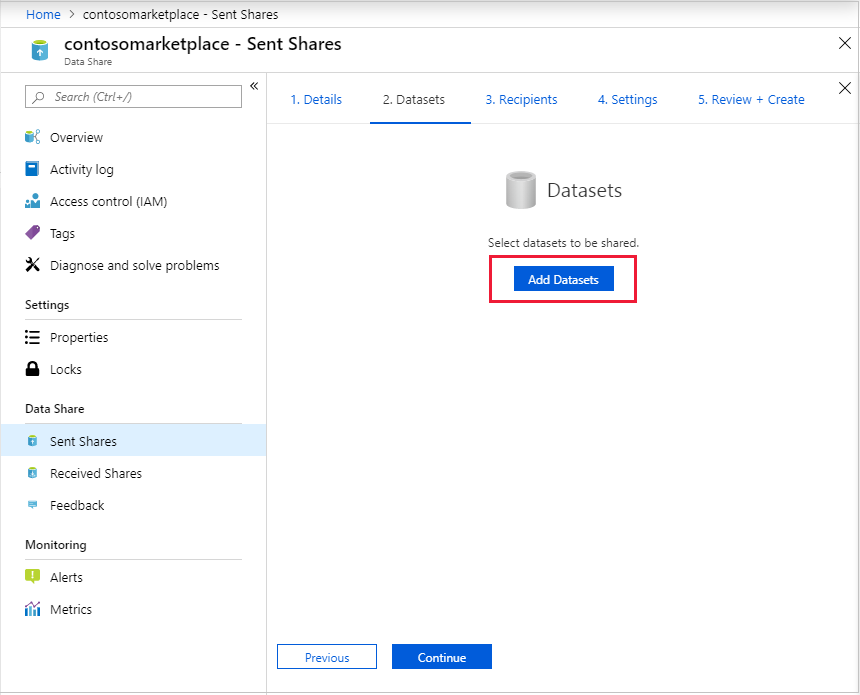
To add Datasets to your share, select Add Datasets.
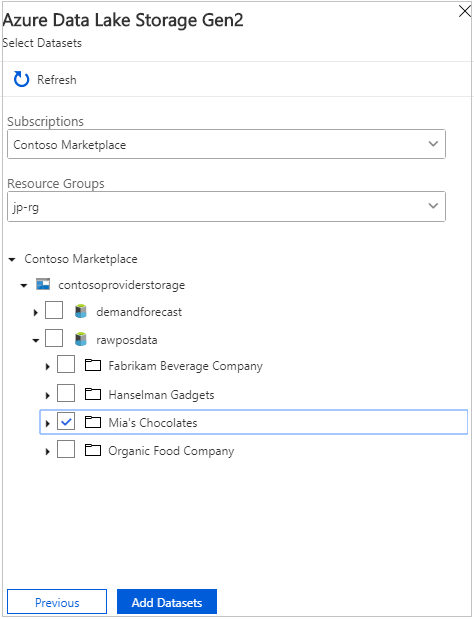
Select the dataset type that you would like to add. You'll see a different list of dataset types depending on the share type (snapshot or in-place) you've selected in the previous step. If sharing from an Azure SQL Database or Azure Synapse Analytics (formerly Azure SQL DW), you'll be prompted for authentication method to list tables. Select Microsoft Entra authentication, and check the checkbox Allow Data Share to run the above 'create user' script on my behalf.

Navigate to the object you would like to share and select 'Add Datasets'.
In the Recipients tab, enter in the email addresses of your Data Consumer by selecting '+ Add Recipient'.
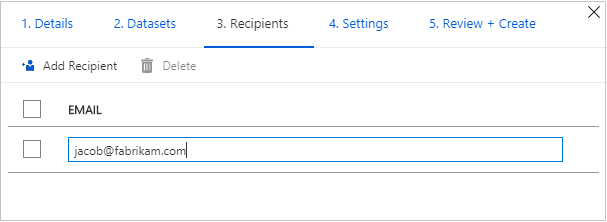
Select Continue.
If you have selected snapshot share type, you can configure snapshot schedule to provide updates of your data to your data consumer.
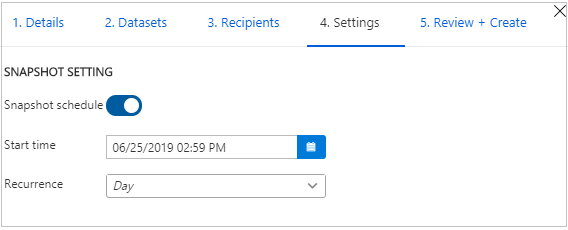
Select a start time and recurrence interval.
Select Continue.
In the Review + Create tab, review your Package Contents, Settings, Recipients, and Synchronization Settings. Select Create.
Your Azure Data Share has now been created and the recipient of your Data Share is now ready to accept your invitation.
Clean up resources
When the resource is no longer needed, go to the Data Share Overview page and select Delete to remove it.
Next steps
In this tutorial, you learned how to create an Azure Data Share and invite recipients. To learn about how a Data Consumer can accept and receive a data share, continue to the accept and receive data tutorial.
Feedback
Coming soon: Throughout 2024 we will be phasing out GitHub Issues as the feedback mechanism for content and replacing it with a new feedback system. For more information see: https://aka.ms/ContentUserFeedback.
Submit and view feedback for