Manage a dev box pool in Microsoft Dev Box
In this article, you learn how to manage a dev box pool in Microsoft Dev Box by using the Azure portal.
A dev box pool is a collection of dev boxes that have the same settings, such as the dev box definition and network connection. A dev box pool is associated with a Microsoft Dev Box project.
Dev box pools define the location of the dev boxes through the network connection. You can choose to deploy dev boxes to a Microsoft-hosted network or to a network that you manage. If you choose to deploy dev boxes to a network that you manage, you must first configure a network connection. Organizations that support developers in multiple geographical locations can create dev box pools for each location by specifying a nearby region.
Developers that have access to the project in the dev center can create a dev box from a dev box pool.
Permissions
To manage a dev box pool, you need the following permissions:
| Action | Permissions required |
|---|---|
| Create, delete, or update a dev box pool | - Owner or Contributor permissions on an Azure subscription or a specific resource group. - DevCenter Project Admin permissions for the project. |
Create a dev box pool
In Microsoft Dev Box, a dev box pool is a collection of dev boxes that you manage together. You must have at least one dev box pool before users can create a dev box.
The following steps show you how to create a dev box pool associated with a project. You use an existing dev box definition and network connection in the dev center to configure the pool.
If you don't have an available dev center with an existing dev box definition and network connection, follow the steps in Quickstart: Configure Microsoft Dev Box to create them.
Sign in to the Azure portal.
In the search box, enter projects. In the list of results, select Projects.

Open the Dev Box project with which you want to associate the new dev box pool.

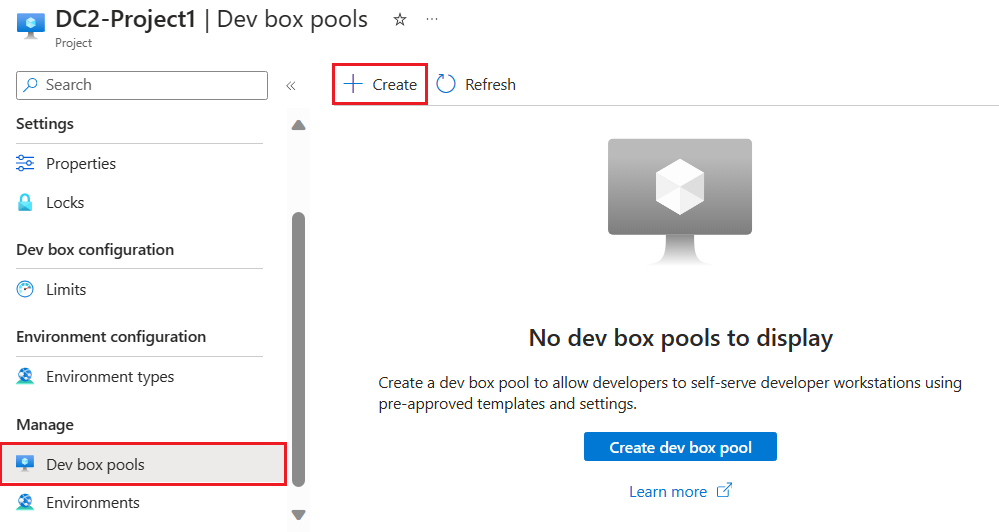
Select Dev box pools, and then select Create.
On the Create a dev box pool pane, enter the following values:
Setting Value Name Enter a name for the pool. The pool name is visible to developers to select when they're creating dev boxes. It must be unique within a project. Dev box definition Select an existing dev box definition. The definition determines the base image and size for the dev boxes that are created in this pool. Network connection 1. Select Deploy to a Microsoft hosted network, or use an existing network connection. 2. Select the region where the dev boxes should be deployed. Be sure to select a region that is close to where your developers are physically located to ensure the lowest latency experience with dev box. Dev box Creator Privileges Select Local Administrator or Standard User. Enable Auto-stop Yes is the default. Select No to disable an auto-stop schedule. You can configure an auto-stop schedule after the pool is created. Stop time Select a time to shut down all the dev boxes in the pool. Time zone Select the time zone that the stop time is in. Licensing Select this checkbox to confirm that your organization has Azure Hybrid Benefit licenses that you want to apply to the dev boxes in this pool. 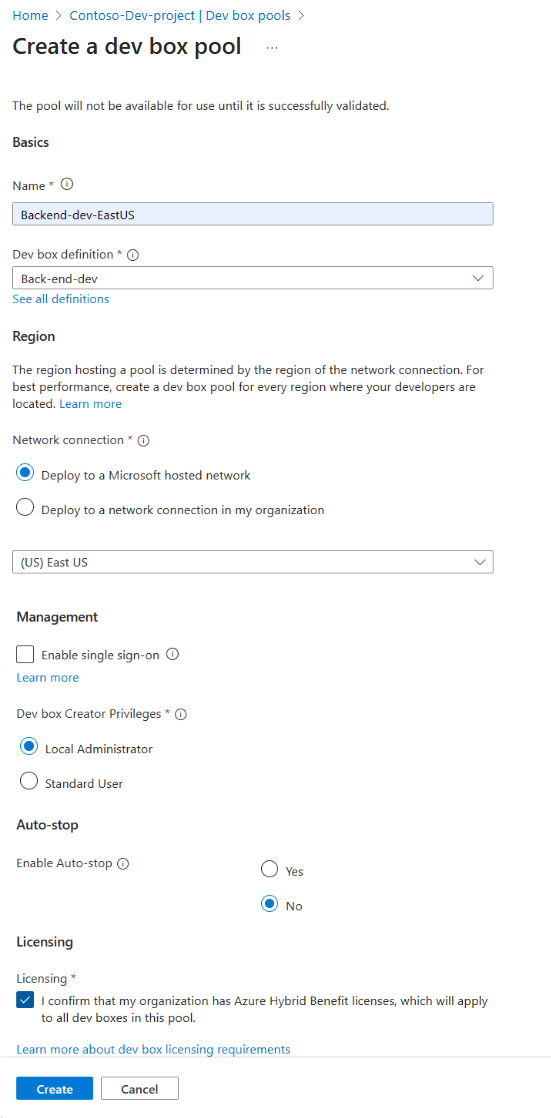
Select Create.
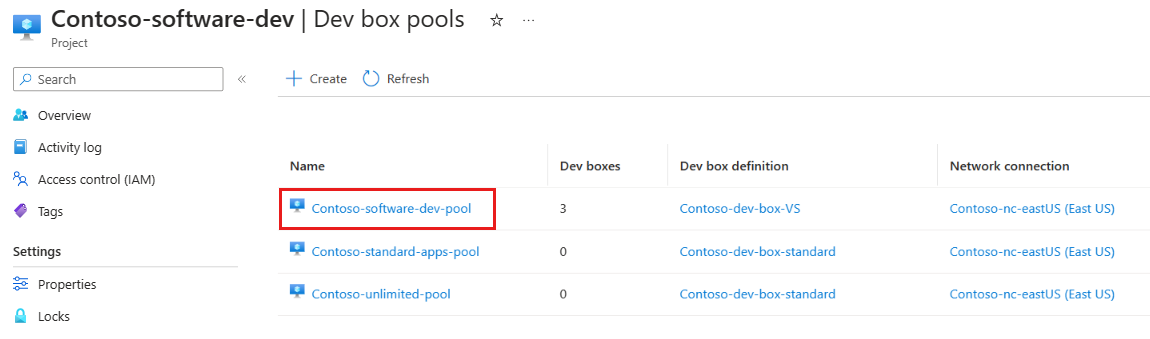
Verify that the new dev box pool appears in the list. You might need to refresh the screen.


The Azure portal deploys the dev box pool and runs health checks to ensure that the image and network pass the validation criteria for dev boxes. The following screenshot shows four dev box pools, each with a different status.

Manage dev boxes in a pool
You can manage existing dev boxes in a dev box pool through the Azure portal. You can start, stop, or delete dev boxes. You must be a member of the Project Admin role at the project level to manage dev boxes in pools.
Sign in to the Azure portal.
In the search box, enter projects, in the list of results, select Projects.
Select the project that contains the dev box pool that you want to manage.
Select Dev box pools.
Select the pool that contains the dev box that you want to manage.
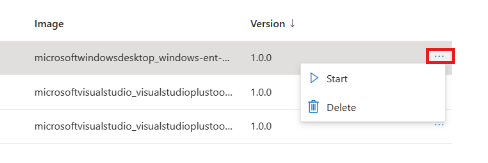
Scroll to the right, and select more actions (...) for the dev box that you want to manage.

Depending on the current state of the dev box, you can select Start, Stop, or Delete.


Delete a dev box pool
You can delete a dev box pool when you're no longer using it.
Caution
When you delete a dev box pool, all existing dev boxes within the pool are permanently deleted.
To delete a dev box pool in the Azure portal:
Sign in to the Azure portal.
In the search box, enter projects. In the list of results, select Projects.
Open the project from which you want to delete the dev box pool.
Scroll to the right, and select more actions (...) for the dev box pool that you want to delete.
Select Delete.
In the confirmation message, confirm the deletion by entering the name of the dev box pool that you want to delete, and then select Delete.


Related content
Feedback
Coming soon: Throughout 2024 we will be phasing out GitHub Issues as the feedback mechanism for content and replacing it with a new feedback system. For more information see: https://aka.ms/ContentUserFeedback.
Submit and view feedback for