Create a project in Azure DevOps
Azure DevOps Services | Azure DevOps Server 2022 - Azure DevOps Server 2019
Create an Azure DevOps project to establish a repository for source code and to plan and track work. You can manage and structure your project to support your business needs. Each project provides boundaries to isolate data from other projects. For more information, see About projects and scaling your organization.
Important
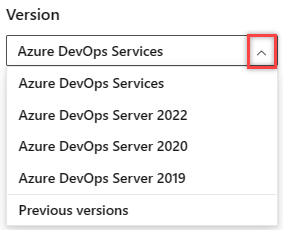
Select the version of this article that corresponds to your platform and version. The version selector is above the table of contents. Look up your Azure DevOps platform and version.
Note
If you don't want to manage an on-premises server, sign up for Azure DevOps Services and create a project.
Prerequisites
- You need an organization before you can create a project. If you don't have an organization, create an organization.
- You must be a member of the Project Collection Administrators group or have the collection-level "Create new projects" permission set to Allow. If you're the Organization owner, you're automatically added to the Project Collection Administrators group. For more information, see Change project collection-level permissions.
- You need a project collection before you can create a project. If you don't have one, create a project collection now.
- You must be a member of the Project Collection Administrators group or have the "Create new projects permission" set to Allow. For more information, see Change project collection-level permissions.
Important
To create a public project or to make a private project public, see the information in Make a private project public. You must enable additional policy settings to work with public projects. Then, return to this article to create your project.
Create a project
You can create up to 1000 projects within an organization in Azure DevOps. For more information, see Work tracking, process, and project limits.
Important
When you create a project from the web portal, Azure DevOps ignores several process template files. Specifically, the files that would create a Report Manager site aren't supported. You can add reports later by following the instructions provided in Add reports to a teams project.
There isn't a limit on the number of projects that you can create within a project collection, however for performance purposes, we recommend you limit the number to 300 or fewer. For more information, see Work tracking, process, and project limits.
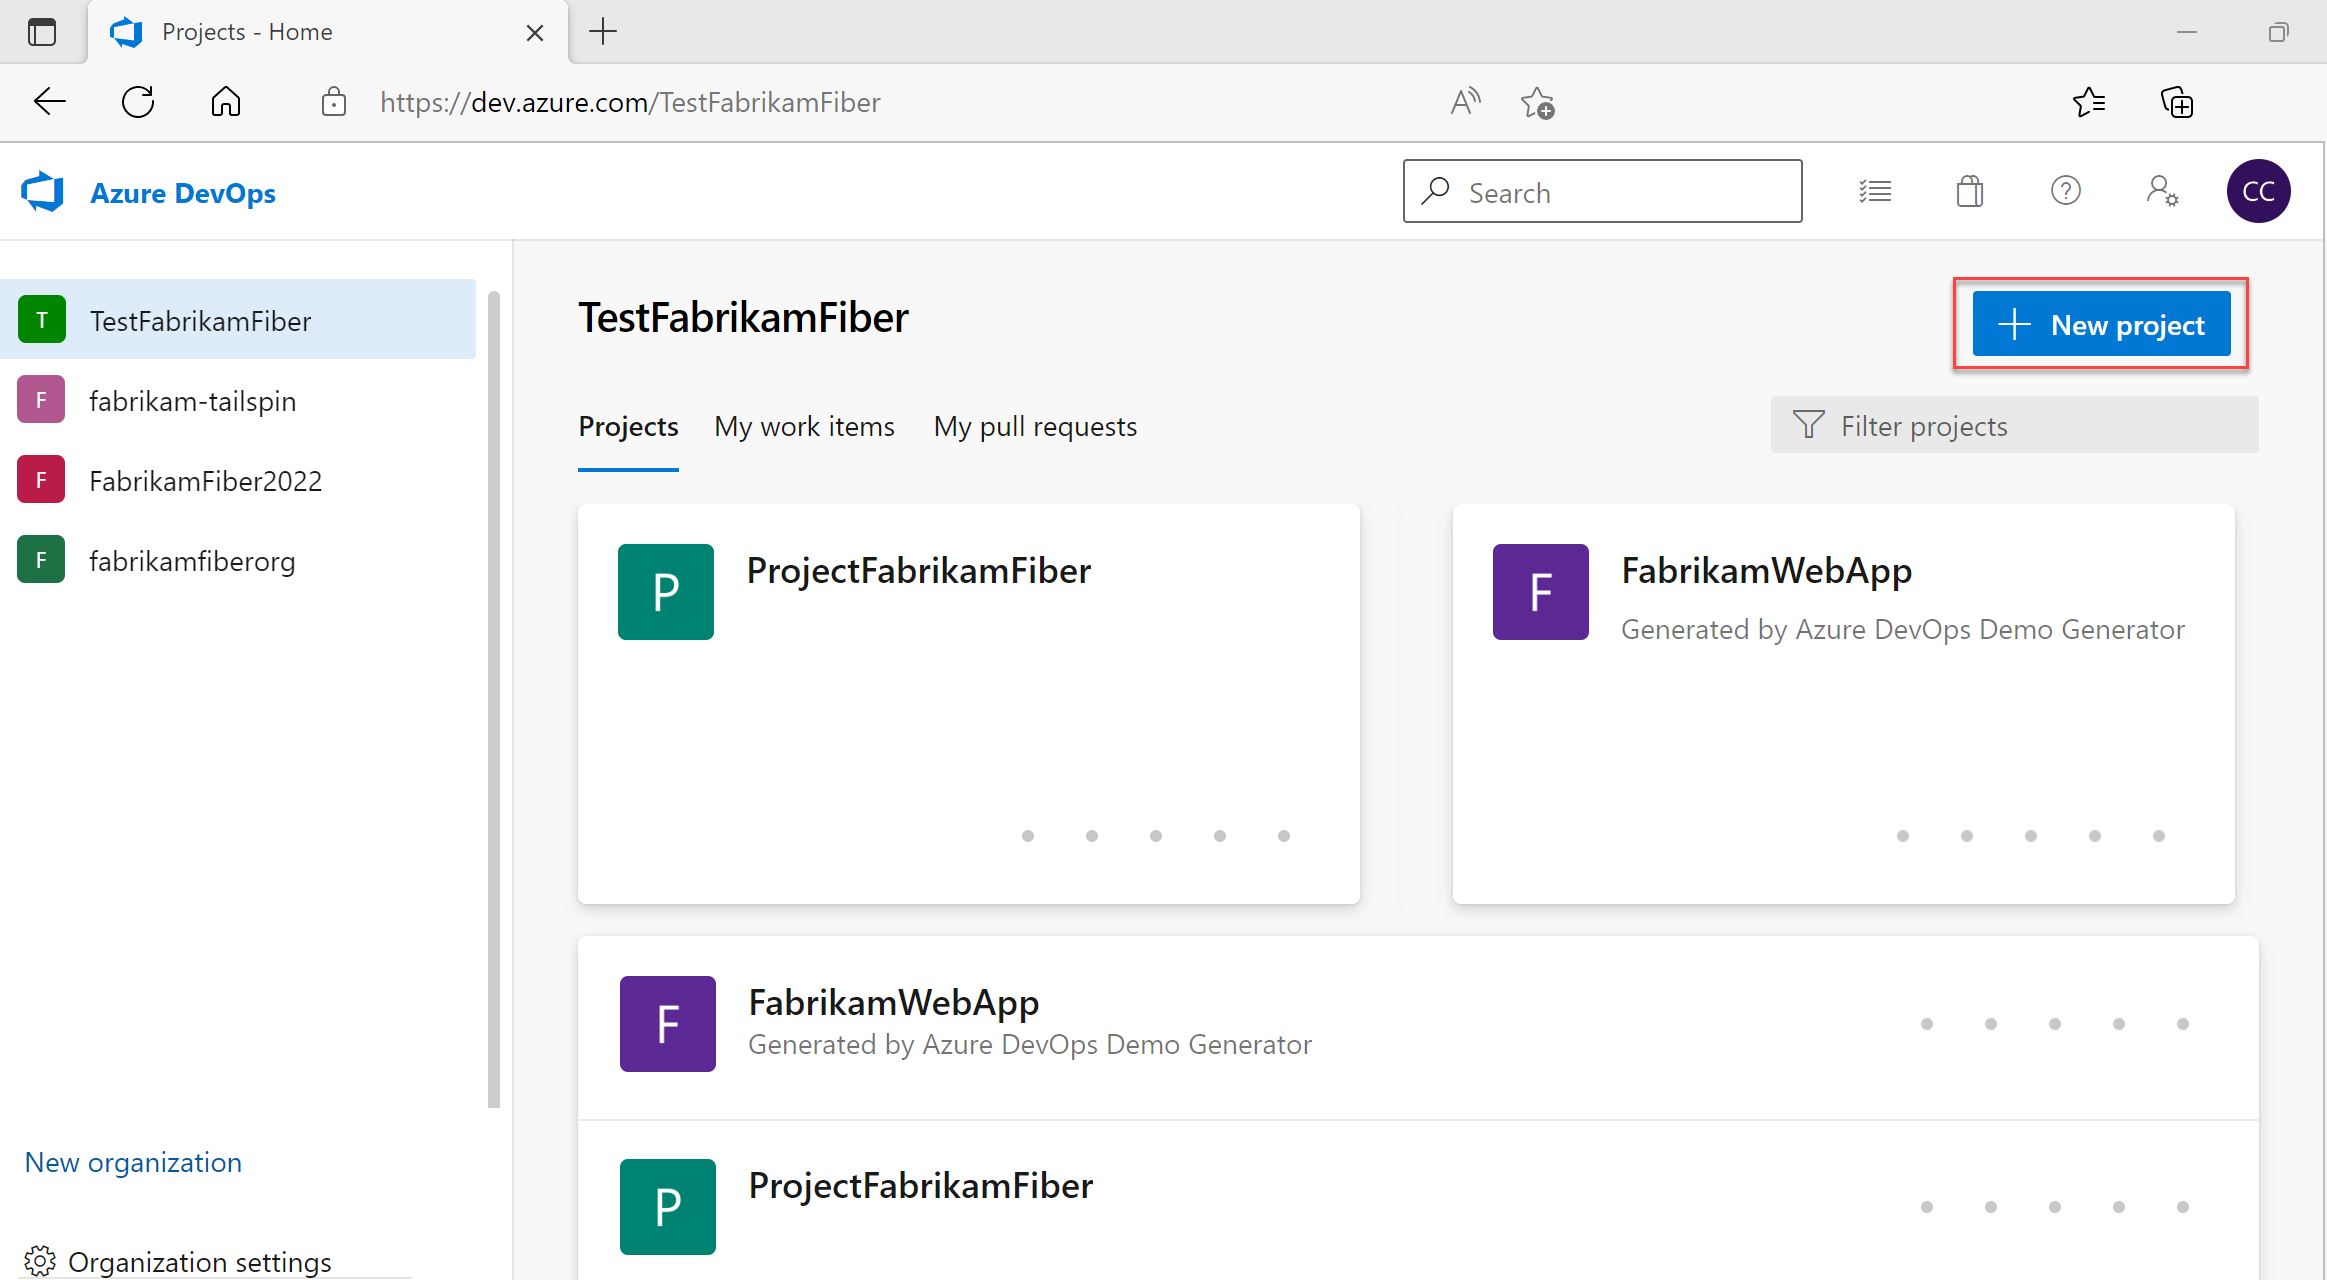
Sign in to your organization (
https://dev.azure.com/{yourorganization}).Select New project.
Enter information into the form provided.
- Provide a name for your project. Your project name can't contain special characters, such as
/ : \ ~ & % ; @ ' " ? < > | # $ * } { , + = [ ], can't begin with an underscore, can't begin or end with a period, and must be 64 or fewer characters. - Enter an optional description.
- Choose the visibility, initial source control type, and work item process. For more information, see Choosing the right version control for your project and Choose a process.

When you choose public visibility, anyone on the internet can view your project. With private visibility, only users you give access to can view your project. For more information about features and access levels for public projects, see Make a private project public. If the Public option isn't available, you need to change the policy.
- Provide a name for your project. Your project name can't contain special characters, such as
Select Create. Azure DevOps displays the project welcome page.
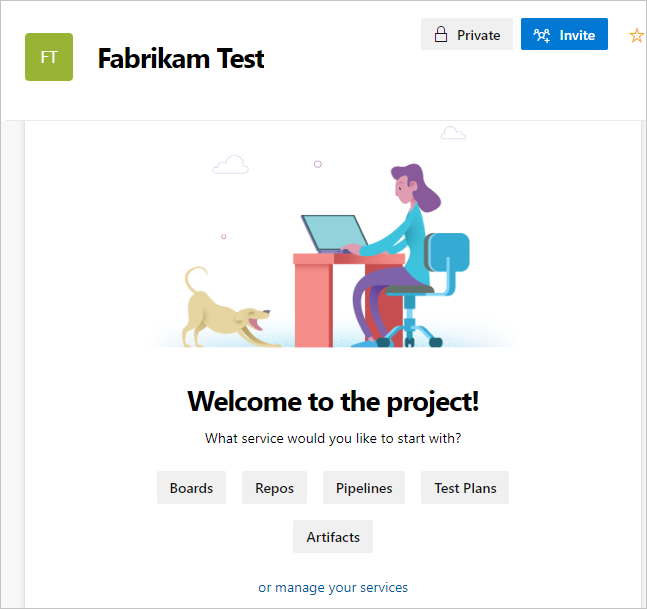
Select one of the following options to continue:
- Invite: Add others to your project. See Add users to a project or team. You can only invite users who are already in your organization. For more information, see Add users to a project.
- Boards: Add work items. See View and add work items using the Work Items page.
- Repos: Clone or import a repository or initialize a README file for your project summary page. See Clone an existing Git repo.
- Pipelines: Define a pipeline. See Azure Pipelines documentation.
- Test Plans: Define test plans and test suites. See Create test plans and test suites.
- Artifacts: Discover, install, and publish NuGet, npm, and Maven packages. See the Azure Artifacts overview.
- manage your services: Disable the visibility of services. See Turn a service on or off.
Sign in to your DevOps Server collection (
https://<your-devops-server>/<your-organization>).Select New project.
Enter information into the form provided.
- Provide a name for your project. Your project name can't contain special characters, such as
/ : \ ~ & % ; @ ' " ? < > | # $ * } { , + = [ ], can't begin with an underscore, can't begin or end with a period, and must be 64 or fewer characters. - Enter an optional description.
- Choose the visibility, initial source control type, and work item process. For more information, see Choosing the right version control for your project and About processes and process templates.
When you choose public visibility, anyone on the internet can view your project. With private visibility, only people who you give access to can view your project. For more information about public projects, see Create a public project in your organization. If the Public option isn't available, you need to change the policy.
- Provide a name for your project. Your project name can't contain special characters, such as
Select Create. Azure DevOps displays the welcome page.
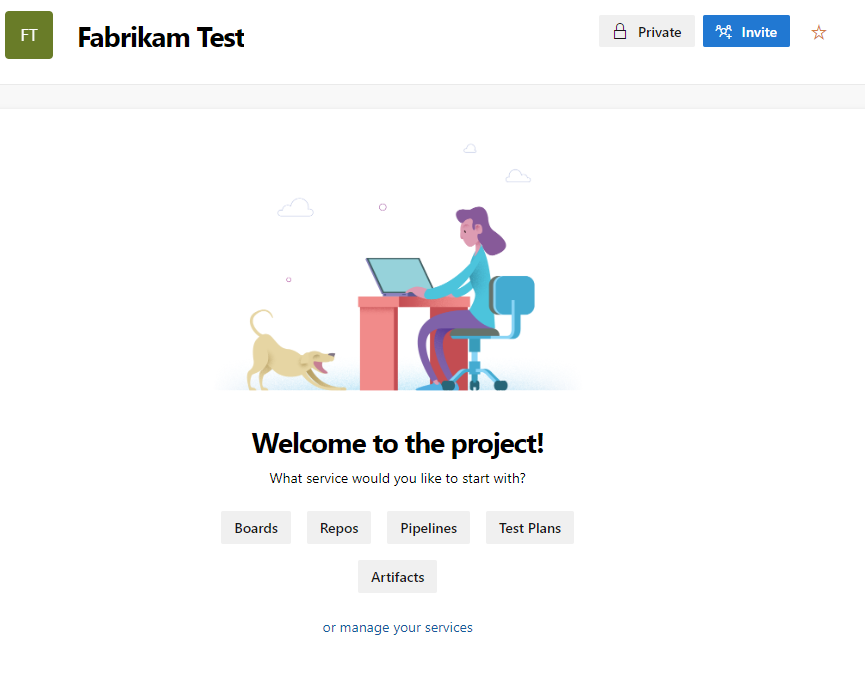
Select one of the following options to continue:
- Invite: add others to your project. See Add users to a project or team. You can only invite users who are already in your organization. For more information, see Add users to a project.
- Boards: add work items. See View and add work items using the Work Items page.
- Repos: clone or import a repository, or initialize a README file for your project summary page. See Clone an existing Git repo.
- Pipelines: define a pipeline. See Azure Pipelines documentation.
- Test Plans: define test plans and test suites. See Create test plans and test suites.
- Manage your services: disable the visibility of services. See Turn a service on or off.
List projects
View a list of projects from your web browser.
Sign in to your organization (
https://dev.azure.com/{yourorganization}).Select Organization settings and then select Projects.

Open your desired project. For more information, see About settings at the user, team, project, or organization-level.
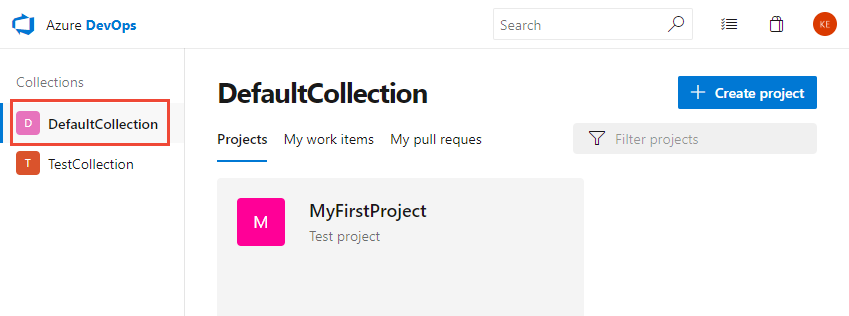
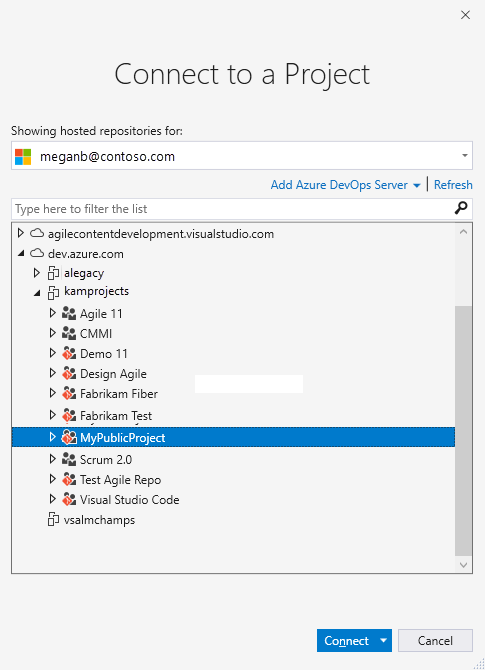
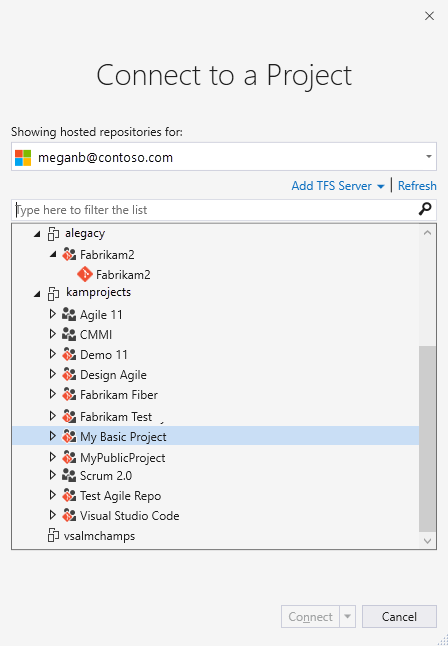
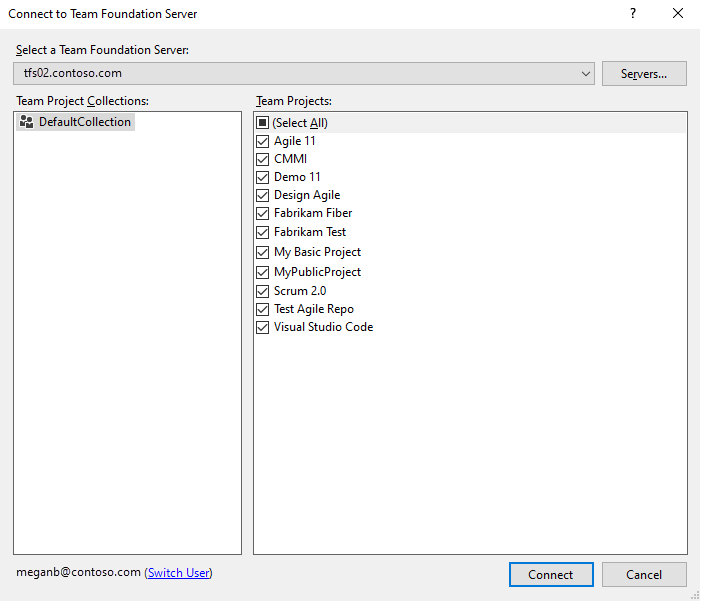
To view the projects defined for a collection, select
 Azure DevOps to open the Projects page.
Choose the collection to view the list of projects. The page lists the last two or three projects you connected to at the upper screen. Choose any project to connect to that project.
Or
Select Admin settings and then choose Projects to list all projects.

You can choose a project to open project settings for that project on this page. For more information, see About settings at the user, team, project, or organization-level. Or, you can rename a project or delete a project.
Add a repository to your project
You can add Git (distributed) or TFVC (centralized) repositories to your project. You can create many Git repositories, but only a single TFVC repository for a project. More steps to address permissions might be required. For more information, see Use Git and TFVC repos in the same project.
Next steps
Related articles
Frequently asked questions (FAQs)
Q: How do I resolve permission-related errors?
A: If you receive an error message that states you don't have permission to create a project, you need to request organization-level permissions. See Change permissions at the organization- or collection-level.
A: If you receive an error message that states you don't have permission to create a project, you need to request collection-level permissions. See Change permissions at the organization or collection-level. If you have SQL Reporting Services installed in the collection, you also need permissions for reports to the Team Foundation Content Managers group.
Q: How do I resolve Error TF30321?
A: Error TF30321: The name you entered is already used for another project on the Team Foundation Server indicates that you should use a different name for your project. The name you entered is either in active use or is partially deleted, but not fully deleted.
Even when you deleted a project, you might get the same name error. Some components could be created or deleted even though others aren't. In this event, you can't reuse the name associated with the project.
Q: How do I add my custom process template to the list?
A: Upload your template using the Process Template Manager. For more information, see Customize process.
Q: Where is the log file located?
A: The log file is stored in $:\Users\user name\AppData\Local\Temp and labeled vso_TeamProjectCreation_yyyy_mm_dd_hh_mm_ss.log.
The log shows each action taken by the wizard at the time of the failure and might include more details about the error. You can review the log entries to find network or file related issues by searching for Exception or Error.
Q: How do I add SQL Server Reporting services?
A: See Add reports to a project.
Feedback
Coming soon: Throughout 2024 we will be phasing out GitHub Issues as the feedback mechanism for content and replacing it with a new feedback system. For more information see: https://aka.ms/ContentUserFeedback.
Submit and view feedback for