Add a custom field to a work item type (Inheritance process)
Azure DevOps Services | Azure DevOps Server 2022 - Azure DevOps Server 2019
You add a custom field to support tracking data requirements you have that aren't met with the existing set of fields. For example, you can add a custom field to track a customer ticket number. For a list of all fields defined for your organization—which includes all fields defined for system and inherited processes—see View work item fields and attributes. For a description of each field defined with a system process, see Work item field index.
Important
This article applies to Azure DevOps Services and Azure DevOps Server 2019 and later versions. To customize any project defined on a collection for TFS 2018 or earlier, see On-premises XML process model.
Important
You can only use the Inheritance process model for projects defined on a project collection configured to support the Inheritance process model. If your on-premises collection is configured to use the On-premises XML process model, you can only use that process model to customize the work tracking experience. To learn more, see Customize work tracking, Choose the process model for your project collection.
To customize any project defined on a collection for TFS 2018 or earlier, see On-premises XML process model.
To learn more about what you can customize, see About process customization and inherited processes.
Tip
To customize a single project, always start by creating an inherited process and updating your project to that process. Then, all the customizations that you make to the inherited process automatically appear for the project you migrated.
Prerequisites
Prior to customizing a process, we recommend that you review Configure and customize Azure Boards, which provides guidance on how to customize Azure Boards to meet your business needs. For a description of the different backlogs and boards, see Tasks supported by Backlogs, Boards, Taskboards, and Plans.
- You must have an organization created in Azure DevOps Services. If you haven't created one yet, do that now.
- To create, edit, and manage processes, you must be a member of the Project Collection Administrators group, or have the corresponding collection-level permissions Create process, Delete process, Edit process, or Delete a field from organization set to Allow. See Set permissions and access for work tracking, Customize an inherited process.
- You must have selected the Inheritance process model for the project collection where the project is created. To learn more, see Choose the process model for your project collection.
- To create, edit, and manage processes, you must be a member of the Project Collection Administrators group, or have the corresponding permissions Create process, Delete process, Edit process, or Delete a field from organization set to Allow. See Set permissions and access for work tracking, Customize an inherited process.
Open Settings>Process
You create, manage, and make customizations to processes from Organization settings>Process.
Choose the
 Azure DevOps logo to open Projects. Then choose Organization settings.
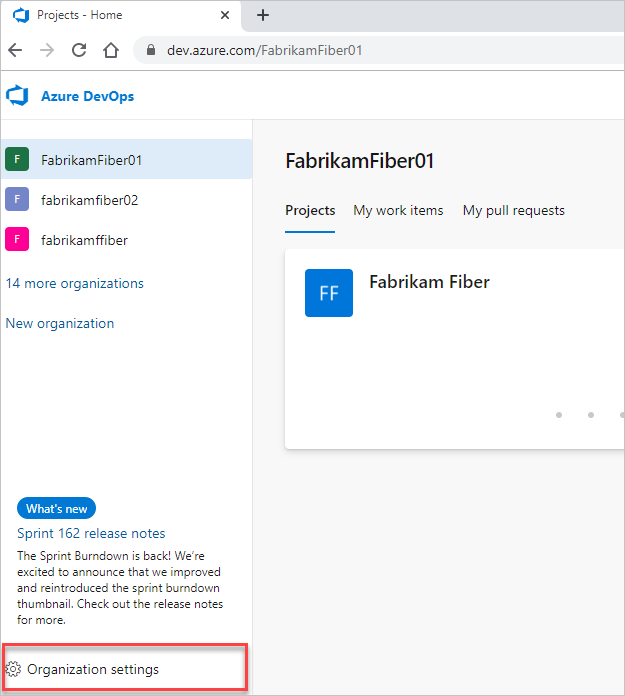
Then, choose Process.
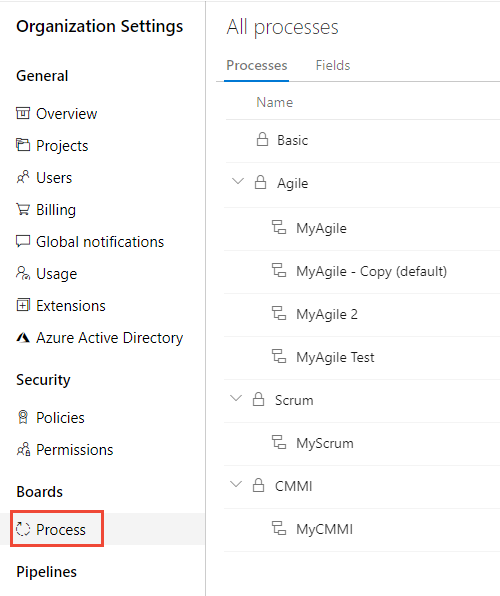
Important
If you don't see Process, then you're working from TFS-2018 or earlier version. The Process page isn't supported. You must use the features supported for the On-premises XML process model.
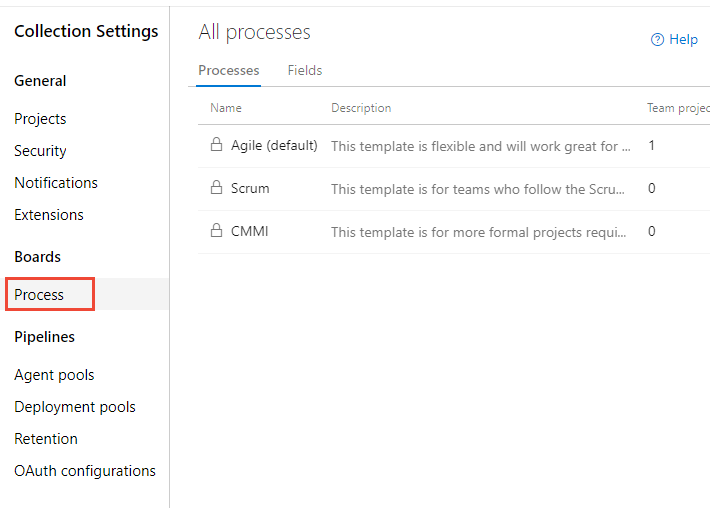
You create, manage, and make customizations to processes from Collection Settings>Process.
Choose the
Azure DevOps logo to open Projects. Choose the project collection whose processes you want to customize, and then choose Collection Settings.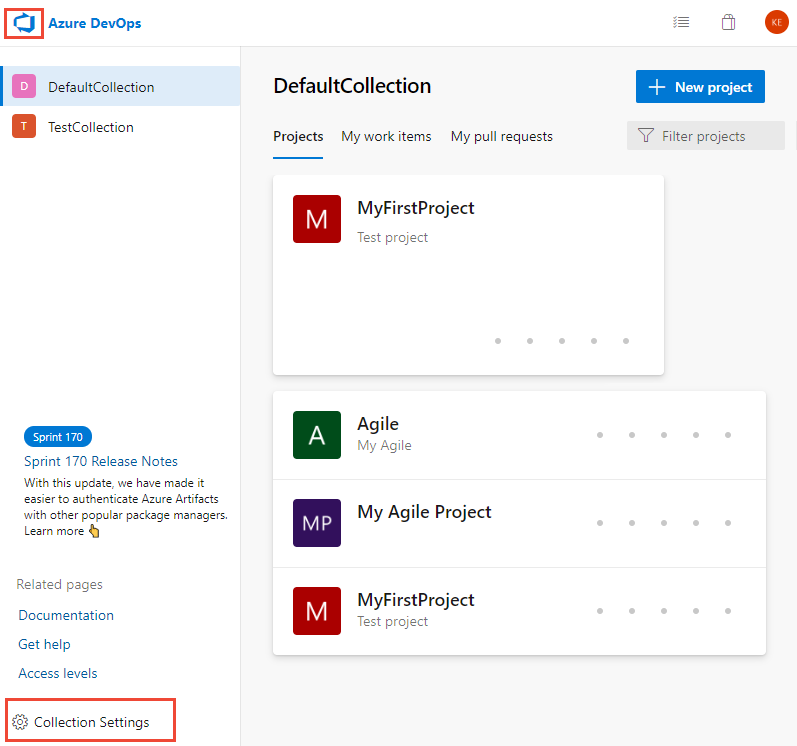
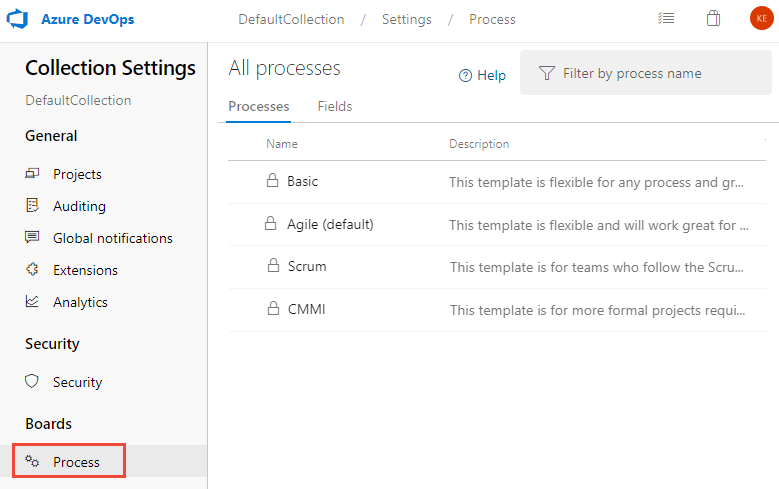
Then, choose Process.
You create, manage, and make customizations to processes from Admin settings>Process.
Choose the
Azure DevOps logo to open Projects. Then choose Admin settings.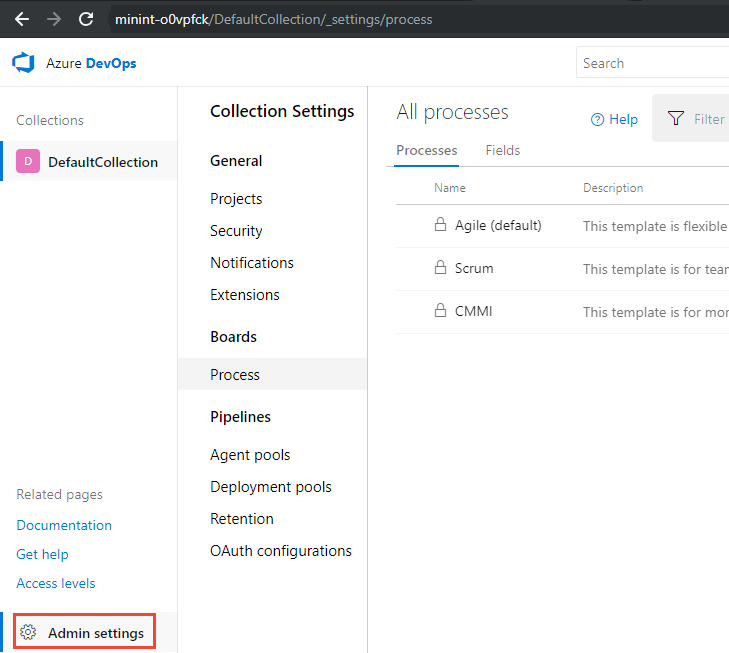
Then, choose Process.
Create an inherited process
The first step is to create an inherited process that you can customize. The default, system processes are locked from being customized.
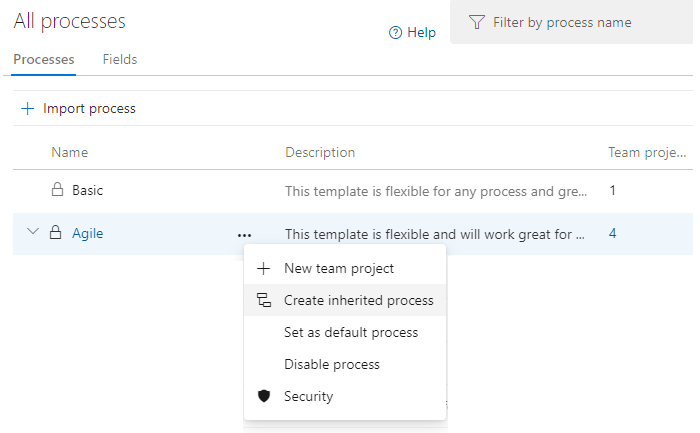
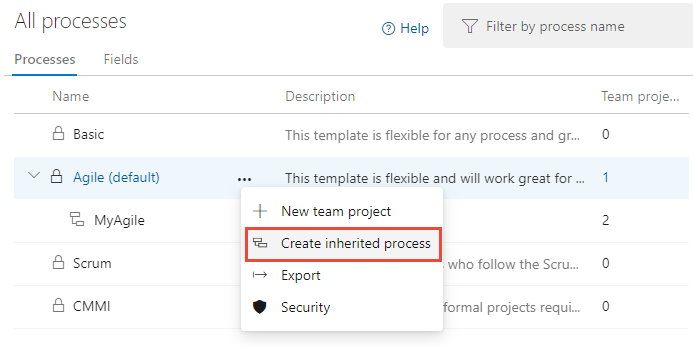
From the Process page, open the … context menu of the process you'll use to create an inherited process, and then choose Create inherited process. Choose the same system process—Agile, Basic, Scrum, or CMMI—that was used to create the project that you want to customize.
Here, we create an inherited process from the Agile system process.
Important
If you don't see the Create inherited process menu option, then the collection you've selected is set to work with the On-premises XML process model. You can import and export process templates and use the features supported for the On-premises XML process model.
Enter a name for your process and optionally a description. Process names must be unique and no more than 128 characters. For additional restrictions, see Create and manage inheritance processes, Process name restrictions. Optionally, add a description.

Add a field
You always add a field to an existing work item type.
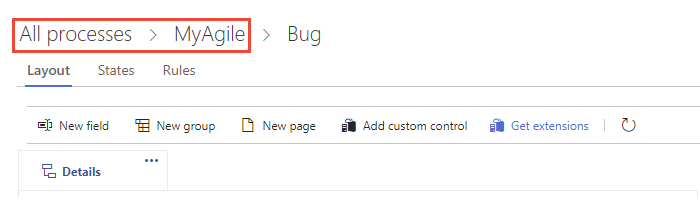
From the Process page of the selected inherited process, choose the work item type you want to add the custom field to.
Here we choose the Bug WIT. Note the breadcrumb links that allow you to move back to the All Processes and MyAgile process page.
If the New field and other options are disabled, you don't have the necessary permissions to edit the process. See Set permissions and access for work tracking, Customize an inherited process.
With the WIT selected, choose the
 New field.
Name the field and select the field type from one of the supported data types. Field names must be unique and no more than 128 characters. For additional restrictions, see What is a field? How are field names used?. Optionally, add a Description.
Note
Once created, you can't change the field name or data type.
Here we add an Integer field labeled Customer Ticket.
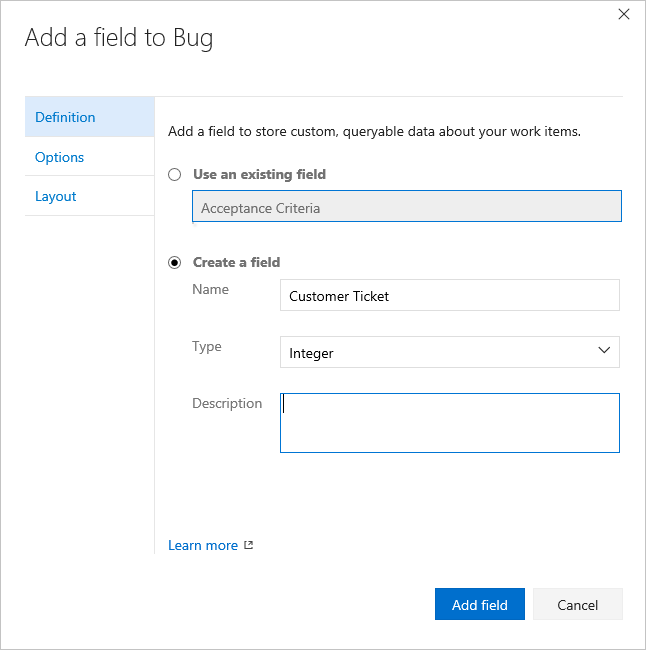
Additional data types you can add include: Picklist, Identity, Rich-text, HTML, and Checkbox.
(Optional) On the Options tab, indicate if the field is required and specify a default value. Or leave these blank.
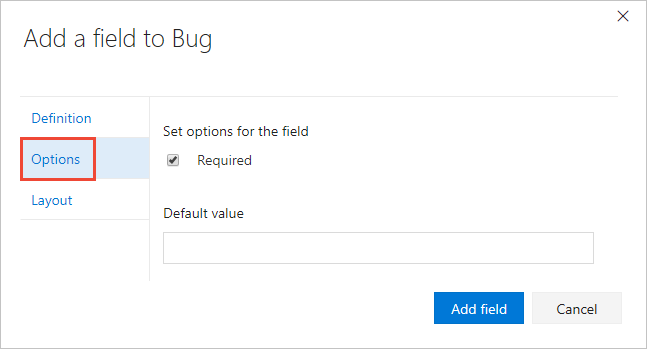
By making a field Required, users must specify a value for the field in order to save it. The default value you specify is set when you create a work item as well as every time a work item is opened and the field is empty.
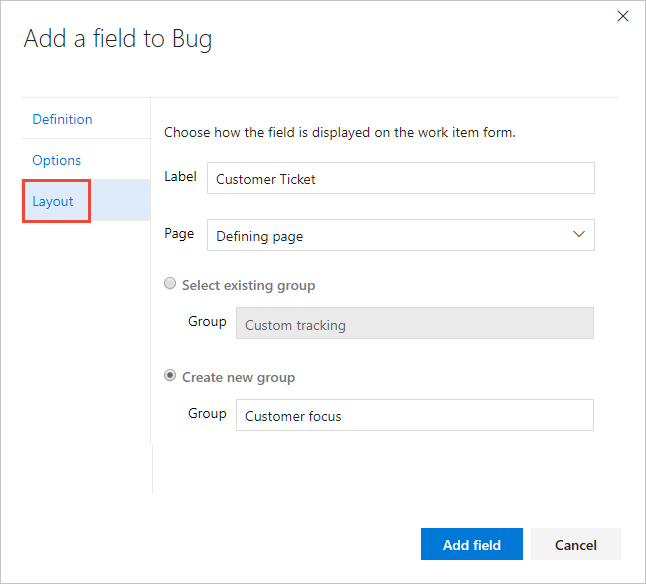
(Optional) On the Layout tab, you can enter a different form label than the name of the field. Also, you can choose the page and group where the field appears on the form.
Here, we add the Customer Ticket field to a new group labeled Customer focus.
Choose Add field to complete adding the field. If you haven't specified its layout location, it is added to the first group of fields on the layout form.
Tip
Once you've added a field, you can drag-and-drop it within a page to relocate it on the form. If you have several fields you want to add to a custom page or group, then you may want to add those elements first and then add your fields. You can't add a field to the gray area within the form where the Assigned To, State, and Reason fields are located.
Verify the customization you made
We recommend that you create a test project and apply your customized inherited process to it to verify the changes you've made.
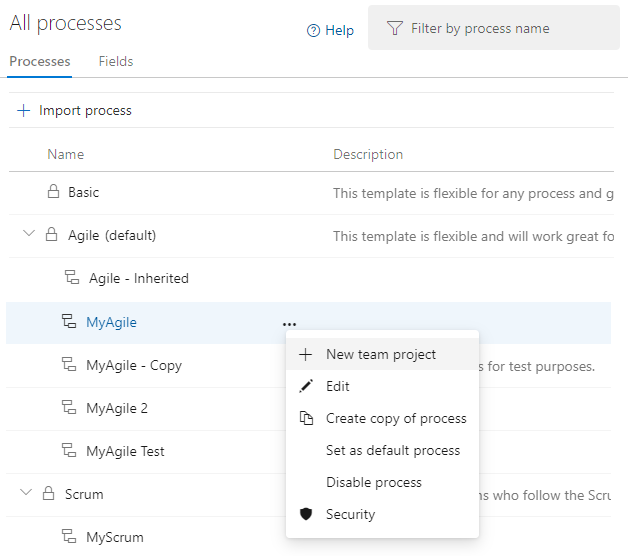
Open the All processes page, and choose the … context menu for the process you want to use, and then select New team project.


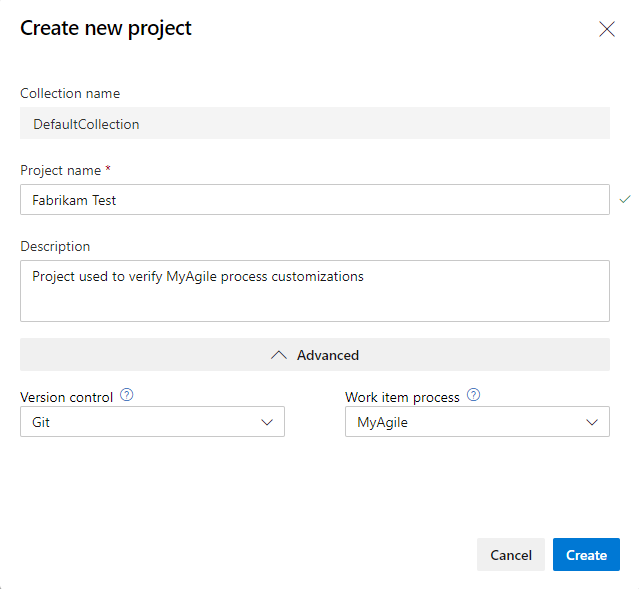
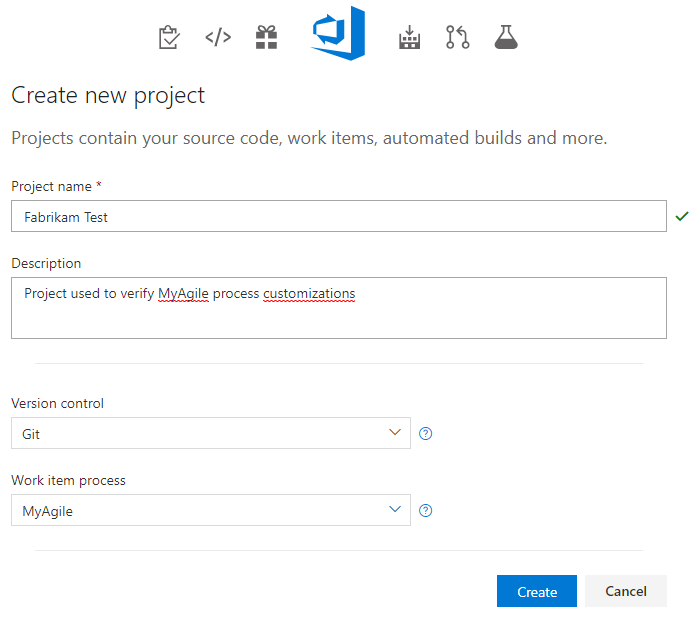
The Create new project page opens. Fill out the form.

Open Work Items. (1) Check that you have selected the right project, then (2) choose Work>Work Items.

Select the WIT you customized. Here we choose Bug.

Verify that the field you added appears on the form. Note that the
 (exclamation mark) icon indicates the field is required.
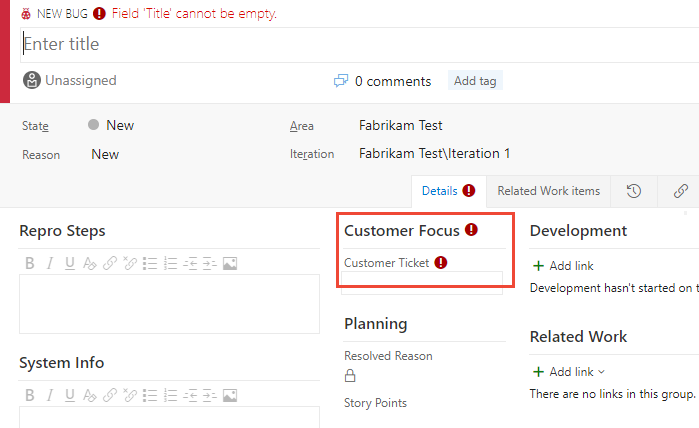
Apply the customized process to your project
After you've verified your customizations, you can now apply the process to your existing project.
Tip
As you customize a WIT, all projects that reference the inherited process that you're customizing automatically updates to reflect the custom WITs you've added. To view your customizations, refresh your web browser.
For the process currently used by the project, choose the number of projects.
Here we open the menu for the Agile default process.

Open the … context menu for the project you want to change, and choose the Change process option.
Here we open the menu for the MyFirstProject1.

From the Change the project process dialog, choose the process from the menu of options. And, then choose Save.

Open the … context menu for the process and choose the Change team projects… option.
Here we open the menu for the MyAgile inherited process.

Check the check box of those projects you want to change to use the Agile process. The system lists only those projects that are valid for the current process.
Here we choose to use the Agile process for the Fabrikam Fiber A and Fabrikam Fiber projects. Only those projects created from the Agile process or one that inherits from Agile appears under the Available projects column.
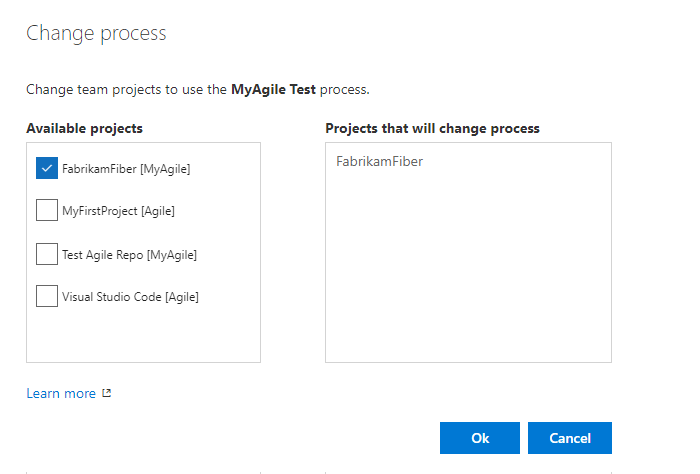
After you've confirmed that the projects you want to change are correct, choose Ok.
Q & A
Q: Are there some fields that can't be used?
A: Yes, the Steps control that is available on the Test Case work item type can't be used on a custom work item type.
Try this next
Related articles
Note
You can review changes made to an inherited process through the audit log. To learn more, see Access, export, and filter audit logs.
Feedback
Coming soon: Throughout 2024 we will be phasing out GitHub Issues as the feedback mechanism for content and replacing it with a new feedback system. For more information see: https://aka.ms/ContentUserFeedback.
Submit and view feedback for