YAML pipeline editor
Azure DevOps Services | Azure DevOps Server 2022 - Azure DevOps Server 2019
Azure Pipelines provides a YAML pipeline editor that you can use to author and edit your pipelines. The YAML editor is based on the Monaco Editor. The editor provides tools like Intellisense support and a task assistant to provide guidance while you edit a pipeline.
This article shows you how to edit your pipelines using the YAML Pipeline editor, but you can also edit pipelines by modifying the azure-pipelines.yml file directly in your pipeline's repository using a text editor of your choice, or by using a tool like Visual Studio Code and the Azure Pipelines for VS Code extension.
Important
The YAML pipeline editor was introduced in Azure DevOps Server 2019 Update 1. If you're using Azure DevOps Server 2019 RTW, the YAML pipeline editor described in this article isn't available, but you can edit your YAML using the text editor of your choice and check it into your pipeline's repository.
Edit a YAML pipeline
To access the YAML pipeline editor, do the following steps.
Sign in to your organization (
https://dev.azure.com/{yourorganization}).Select your project, choose Pipelines > Pipelines, and then select the pipeline you want to edit.
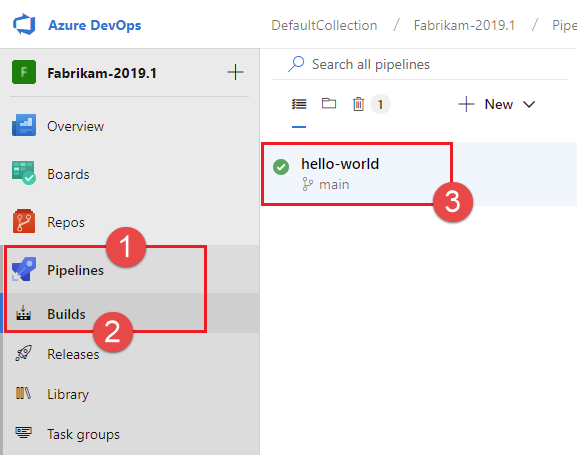
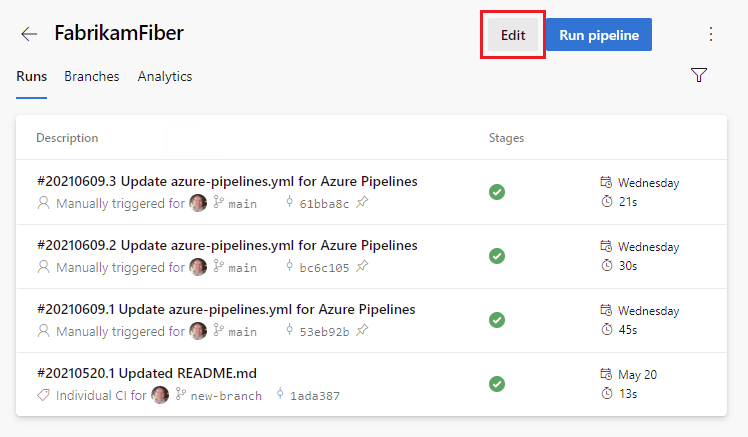
Choose Edit.
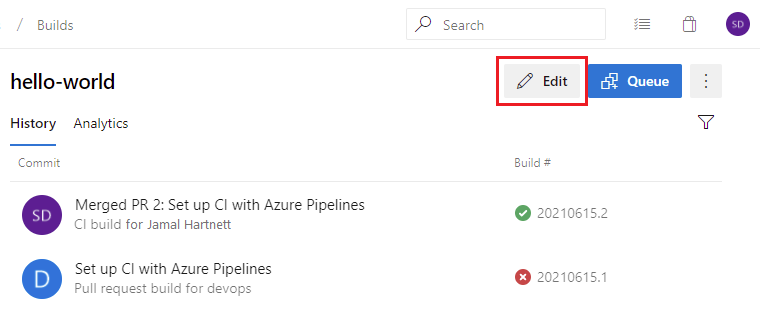
Make edits to your pipeline using Intellisense keyboard shortcuts and the task assistant for guidance.
To access the YAML pipeline editor, do the following steps.
Sign in to your organization (
https://dev.azure.com/{yourorganization}).Select your project, choose Pipelines, and then select the pipeline you want to edit. You can browse pipelines by Recent, All, and Runs. For more information, see view and manage your pipelines.

Choose Edit.
Make edits to your pipeline using Intellisense and the task assistant for guidance.
Choose Save. You can commit directly to your branch, or create a new branch and optionally start a pull request.

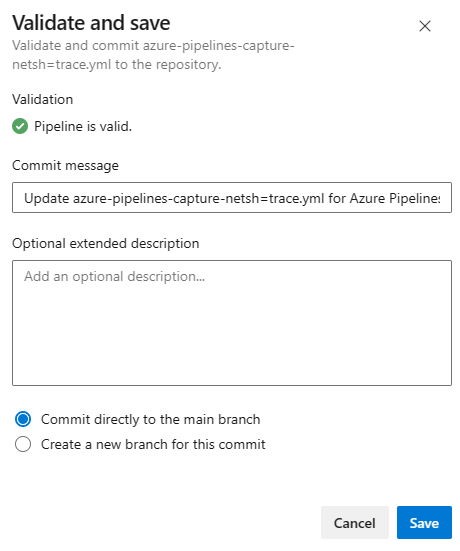
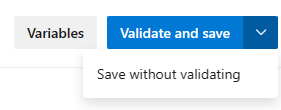
Choose Validate and save. You can commit directly to your branch, or create a new branch and optionally start a pull request.
Use keyboard shortcuts
The YAML pipeline editor provides several keyboard shortcuts, which we show in the following examples.
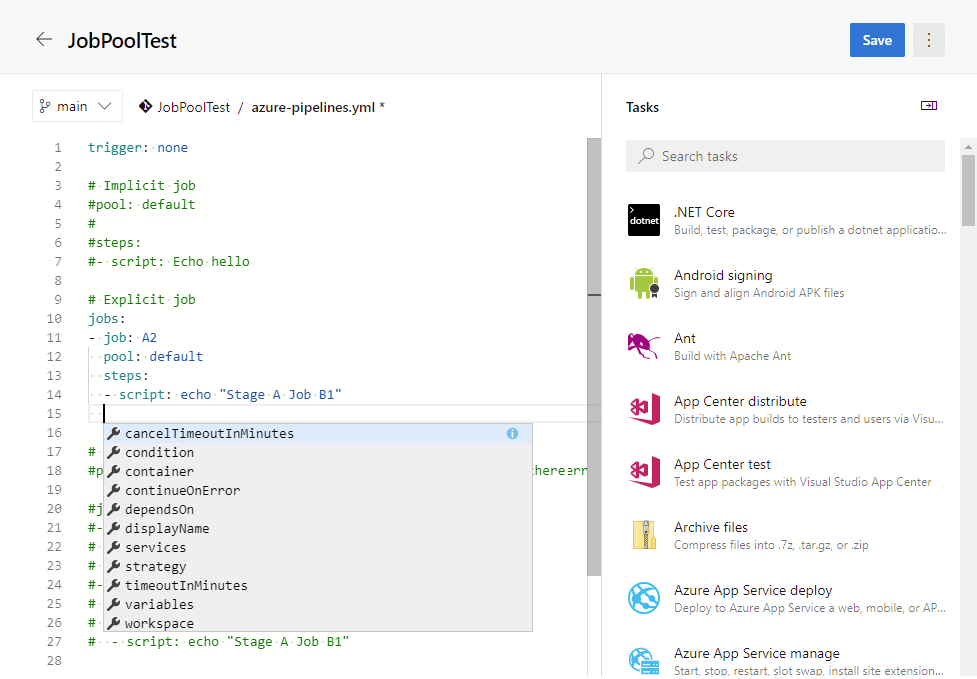
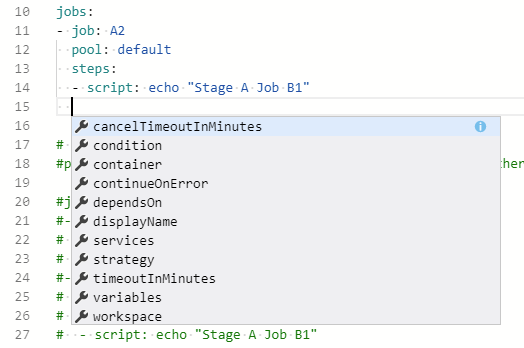
Choose Ctrl+Space for Intellisense support while you're editing the YAML pipeline.
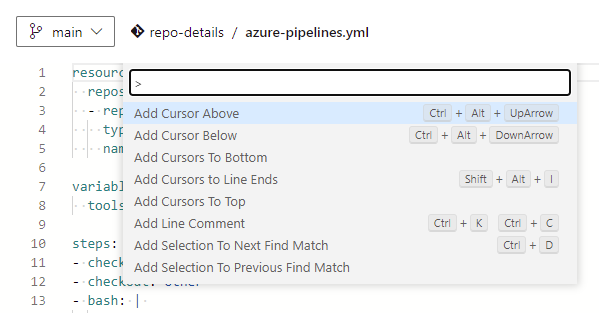
Choose F1 (Fn+F1 on Mac) to display the command palette and view the available keyboard shortcuts.
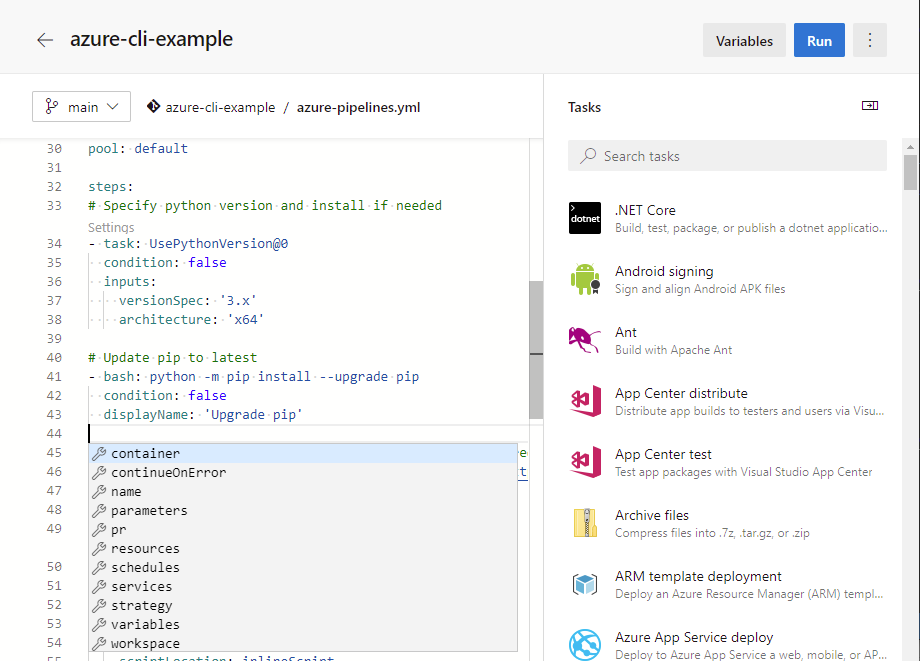
Use task assistant
The task assistant provides a method for adding tasks to your YAML pipeline.
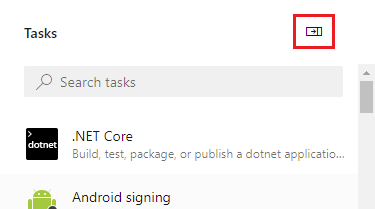
To display the task assistant, edit your YAML pipeline and choose Show assistant.

To hide the task assistant, choose Hide assistant.
To use the task assistant, browse or search for tasks in the Tasks pane.
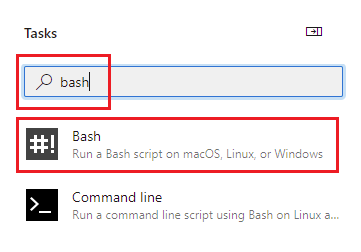
Select the desired task and configure its inputs.
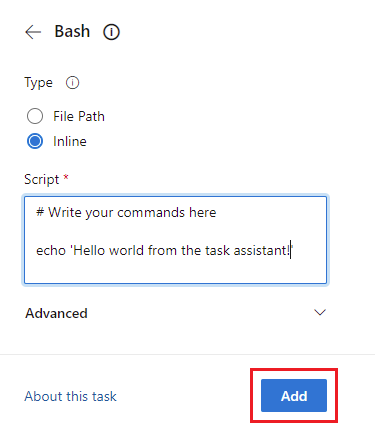
Choose Add to insert the task YAML into your pipeline.
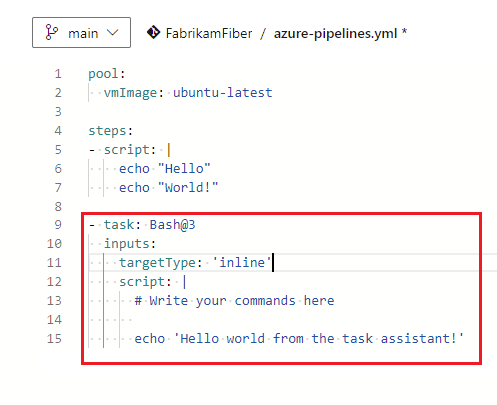
- Edit the inserted YAML to make more configuration changes to the task.

- You can edit the YAML to make more configuration changes to the task, or you can choose Settings above the task in the YAML pipeline editor to configure the inserted task in the task assistant.
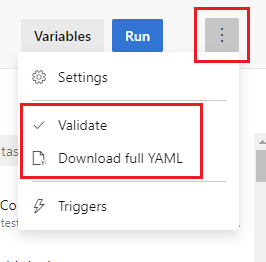
Validate
Validate your changes to catch syntax errors in your pipeline that prevent it from starting. Choose More actions > Validate.
Azure Pipelines validates your pipelines each time you save. Choose Validate and save to validate your pipeline before saving. If there are any errors, you can Cancel or Save anyway. To save your pipeline without validating, choose Save without validating.
Azure Pipelines detects incorrect variable definitions defined at the pipeline, stage, and job level and detects incorrect YAML conditions defined at the pipeline, stage, and job level.
Download full YAML
You can preview the fully parsed YAML document without committing or running the pipeline. Choose More actions > Download full YAML.
Download full YAML Runs the Azure DevOps REST API for Azure Pipelines and initiates a download of the rendered YAML from the editor.
Manage pipeline variables
You can manage pipeline variables both from within your YAML pipeline and from the pipeline settings UI.
With Azure DevOps 2019 Update 1, you can manage your pipeline variables using the pipeline settings UI.
To manage pipeline variables, do the following steps.
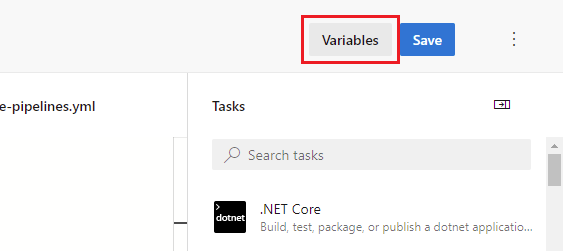
Edit your YAML pipeline and choose Variables to manage pipeline variables.
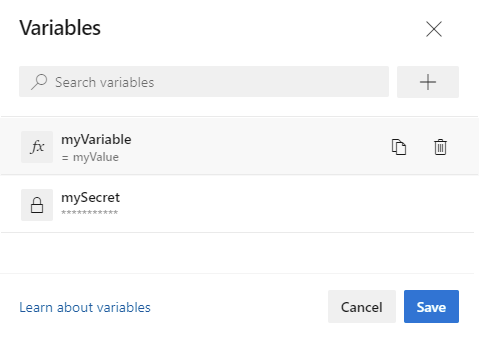
Choose from the following functions:
- New variable: to add your first variable.
- Add
 : to add subsequent variables.
 - Variable name to edit a variable.
- Delete
 : to delete a variable.
To manage pipelines variables in the pipeline settings UI, do the following steps.
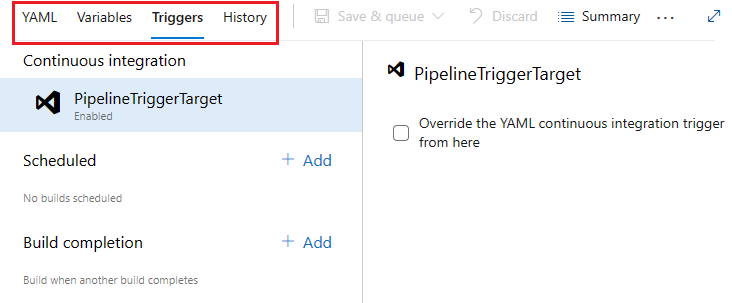
Edit the pipeline and choose More actions > Triggers.
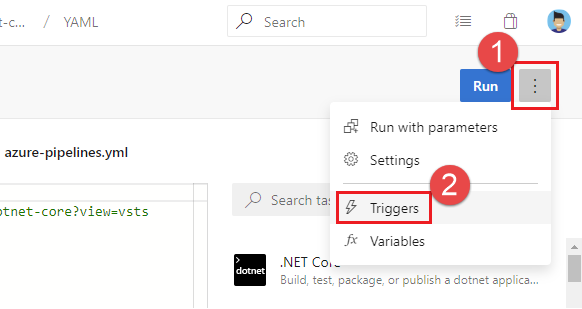
Choose Variables.

For more information on working with pipeline variables, see Define variables.
Configure the default agent pool
If a YAML pipeline doesn't specify an agent pool, the agent pool configured in the Default agent pool for YAML setting is used. This pool is also used for post-run cleanup tasks.
To view and configure the Default agent pool for YAML setting:
Edit the pipeline and choose More actions > Triggers.
Choose YAML, and select the desired agent pool using the Default agent pool for YAML dropdown list.
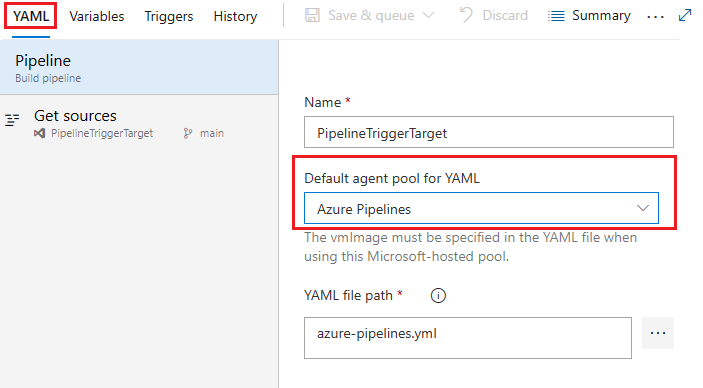
Default agent pool for YAML is configured on a per-pipeline basis.
Manage settings using the pipeline settings UI
Some YAML pipeline settings are configured using the pipeline settings UI instead of in the YAML file.
Edit the pipeline and choose More actions > Triggers.
From the pipeline settings UI, choose the tab of the setting to configure.
View and edit templates
Note
This feature is available starting in Azure DevOps Server 2022.1.
Templates are a commonly used feature in YAML pipelines. They're an easy way to share pipeline snippets and are a powerful mechanism for verifying and enforcing security and governance in your pipeline. Previously, the editor didn't support templates, so authors of YAML pipelines couldn't get intellisense assistance. Now Azure Pipelines supports a YAML editor, for which we're previewing support. To enable this preview, go to preview features in your Azure DevOps organization, and enable YAML templates editor.
Important
This feature has the following limitations.
If the template has required parameters that aren't provided as inputs in the main YAML file, then the validation fails and prompts you to provide those inputs.
You can't create a new template from the editor. You can only use or edit existing templates.
As you edit your main Azure Pipelines YAML file, you can either include or extend a template. As you enter the name of your template, you may be prompted to validate your template. Once validated, the YAML editor understands the schema of the template, including the input parameters.
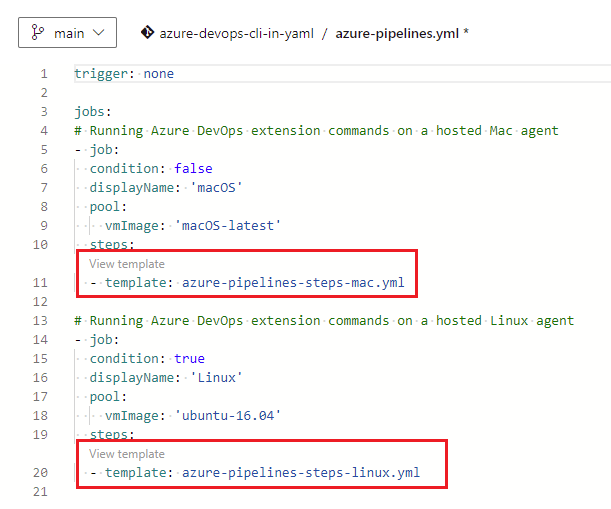
Post validation, you can go into the template by choosing View template, which opens the template in a new browser tab. You can make changes to the template using all the features of the YAML editor.
Next steps
Related articles
Feedback
Coming soon: Throughout 2024 we will be phasing out GitHub Issues as the feedback mechanism for content and replacing it with a new feedback system. For more information see: https://aka.ms/ContentUserFeedback.
Submit and view feedback for