Do a dry run of your upgrade in a pre-production environment
Azure DevOps Server 2022 | Azure DevOps Server 2020 | Azure DevOps Server 2019
Do I need to bother?
Doing a dry run of your upgrade in a pre-production environment is strongly recommended, but it doesn't always make sense. If you are debating whether or not to do a pre-production upgrade, weigh the costs of doing so against the costs of not doing so. In particular, if something goes wrong with your production upgrade the primary cost will be the downtime involved while you roll back to the old version of TFS. Depending on the specifics of your upgrade, this could be a fast and straightforward process, or it could take a very long time and involve a lot of moving parts. Just as with upgrade, the complexity of the rollback will depend on things like the size of your databases, the number of machines involved, etc.
The basics
If you decide to move forward with a pre-production upgrade, the general process consists of:
- Standing up a pre-production environment that is similar to your production environment.
- Protecting your production environment.
- Restoring databases from backups.
- Doing the upgrade.
Standing up an environment
In an ideal world, your pre-production environment would look exactly like your production environment – this way you would get as accurate as possible a picture of how long your upgrade will take, whether you will encounter any issues along the way, etc. In the real world, however, this is not always possible or desirable. The costs of provisioning a second set of identical machines for pre-production testing can be prohibitive. Don't let these discrepancies dissuade you, however – almost any pre-production environment is better than nothing.
Protecting production
TFS databases contain a number of settings which point to various resources in their deployment environment. For example, the collection database connection strings are stored in the configuration database, as is the network share used by the scheduled backups feature. As a result, it is possible for a pre-production environment to cause problems in a production environment, and it is a best practice when standing up a pre-production environment to take steps to prevent this.
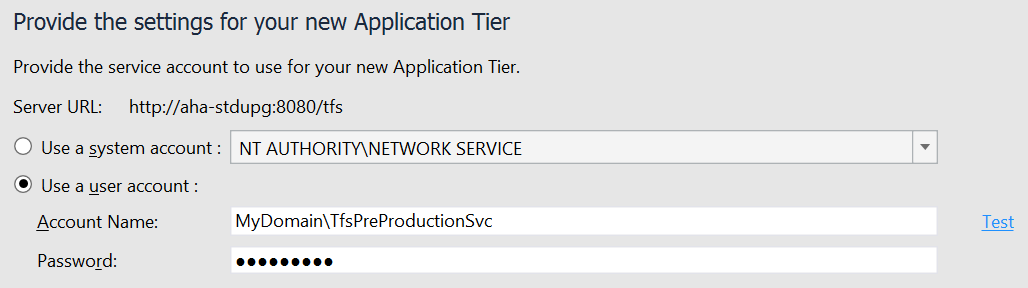
The most important step you can take is to use a service account in your pre-production environment that does not have any permissions to your production environment. Ideally it should not have any permissions in TFS, in SQL, on network shares, etc. Options here include Network Service (assuming your pre-production machine account does not need permissions in production) or a dedicated pre-production domain account, as in the example below.
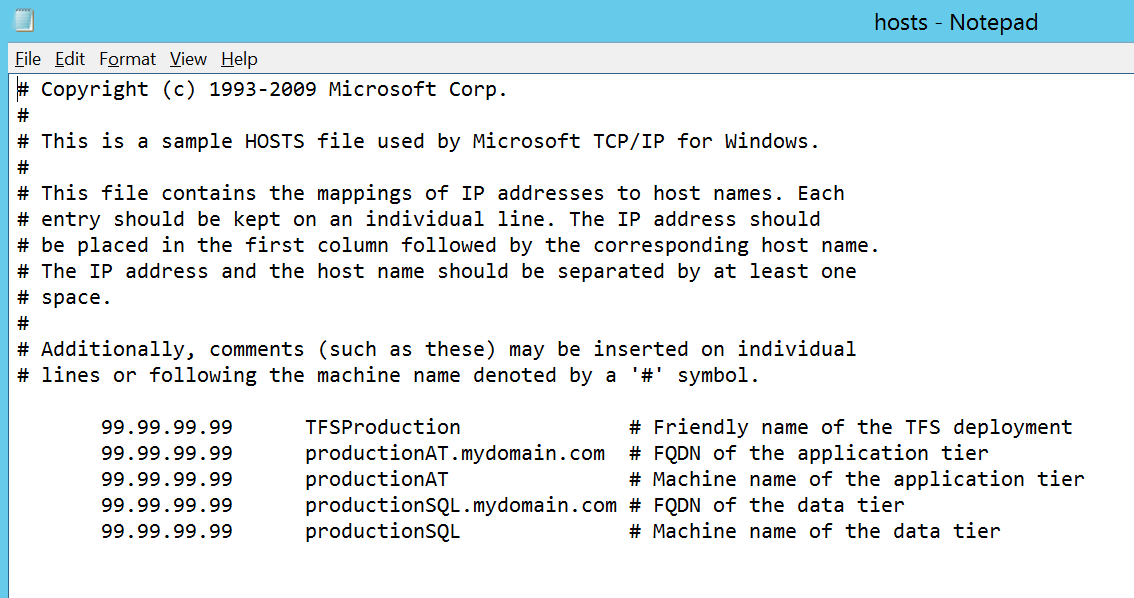
Another optional step is to add entries to your pre-production machine(s)' hosts files to map your production machine names to invalid IP addresses. See the Wikipedia entry here if you are unsure what a hosts file is. This can prevent outbound communication to your production machines from your pre-production machines.
Restoring databases
If you use the scheduled backups wizard to generate database backups from your production deployment, you can also use it to restore backups on your pre-production deployment. If not, you can of course follow standard SQL procedures to restore backups as well. Your list of databases to backup and restore should always include your configuration database and all your collection databases. If your pre-production environment will include reporting features, you should also include the warehouse and report server databases.
Doing the upgrade
Install the new version of TFS on your application tier machines. Prior to running the upgrade wizard, run the ChangeServerId command. This will ensure that you don't run into problems if you access both your production and pre-production environments from the same clients, and should be done any time you are cloning either a collection or a complete deployment.
Once you are ready, upgrade your pre-production environment using the same steps you will use to upgrade production. Make sure you remember to use a service account which has no permissions in your production environment.
Configure new features
Some upgrades introduce new features which take additional steps to configure, since they involve process changes to your existing projects. Depending on the specifics of your projects and the version of TFS you are upgrading from, this could be more or less complicated. See here for details.
Try things out
Take the pre-production server out for a spin! Poke around a bit, try out some of the new features... Note that some things, like running builds, will require some additional configuration.
If you discover any issues, try to work through them here in order to avoid hitting them again in production. When you are satisfied, call it a day and move on to your production upgrade.