Publish app for testing on an Azure DevTest Labs VM
In this article, you learn how to publish an application for testing on an Azure DevTest Labs virtual machine (VM). As a developer, you may need to validate that your application build runs correctly on another operating system than your developer workstation. You might also distribute an application build for installation and testing by the test team.
This article uses an app from Visual Studio as an example. Visual Studio enables you to deploy an application, service, or component to other computers, devices, servers, or in the cloud. To deploy an application to a lab VM in Azure DevTest Labs, you first publish the application files to an Azure file share. You then access the application on the file share from within the lab VM.

Learn more about the deployment options in Visual Studio.
Instead of deploying the application directly from the developer workstation, you might integrate the lab creation and application deployment into your CI/CD pipeline.
Prerequisites
- An Azure account with an active subscription. Create an account for free.
- A Windows-based DevTest Labs VM to use for testing the app.
- Visual Studio installed on a different workstation.
Create an Azure file share
To access the application from your lab VM, you use an Azure file share to store the application files. You publish the application with Visual Studio, and then access the file share in the Lab VM.
Azure DevTest Labs creates an Azure storage account when you create a lab. To create an Azure file share in this storage account:
- In the Azure portal, go to the resource group that contains your lab.
- Follow these steps to select the storage account linked to your lab.
- Follow these steps to create a file share.
Publish your app from Visual Studio
In Visual Studio you can publish your application to other computers, or devices. Publish your application to the Azure file share you created previously.
To publish your app to your Azure file share from Visual Studio:
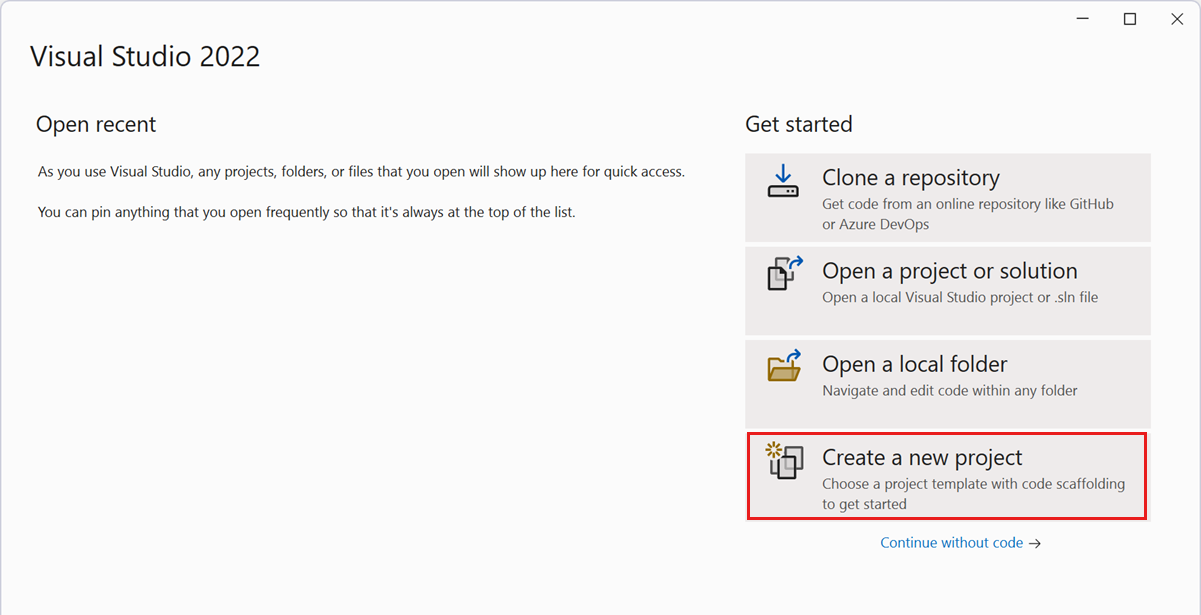
Open Visual Studio, and choose Create a new project in the Start window.
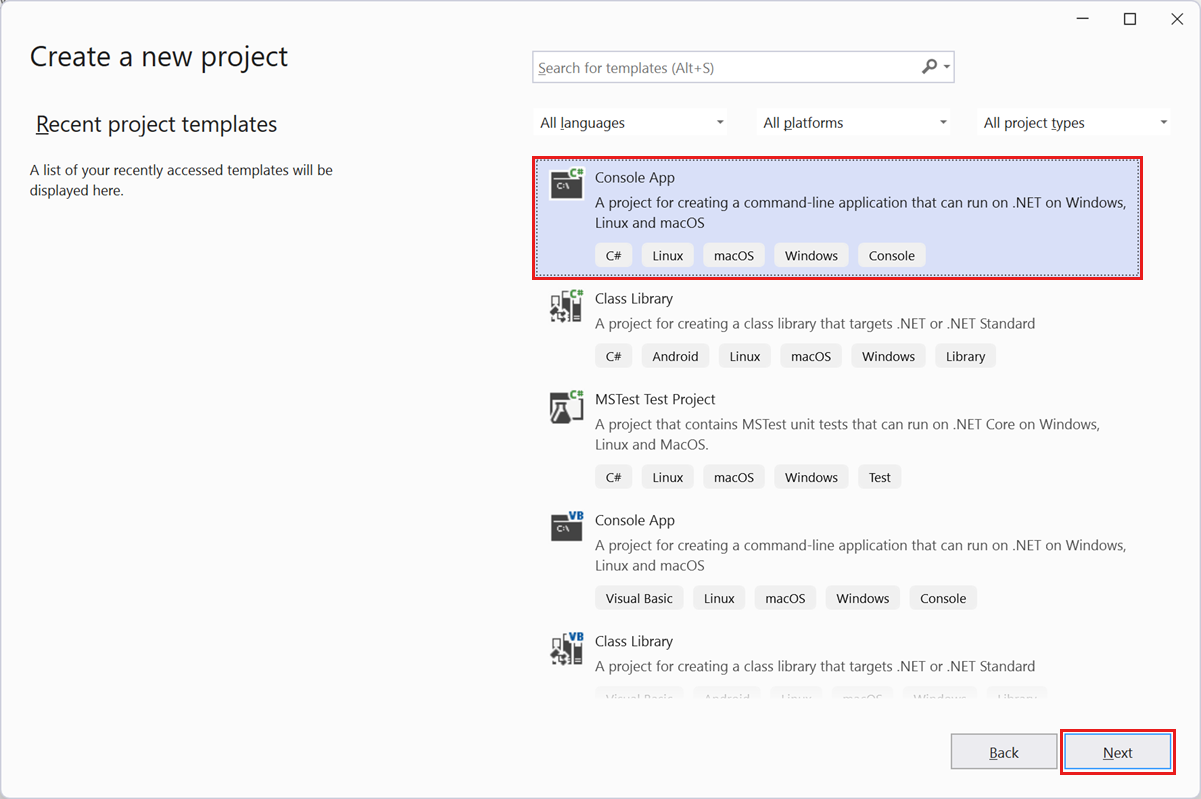
On the Create a new project screen, select Console Application, and then select Next.
On the Configure your new project page, keep the defaults and select Next.
On the Additional information page, keep the defaults and select Create.
In Visual Studio Solution Explorer, select and hold your project name, and select Build.
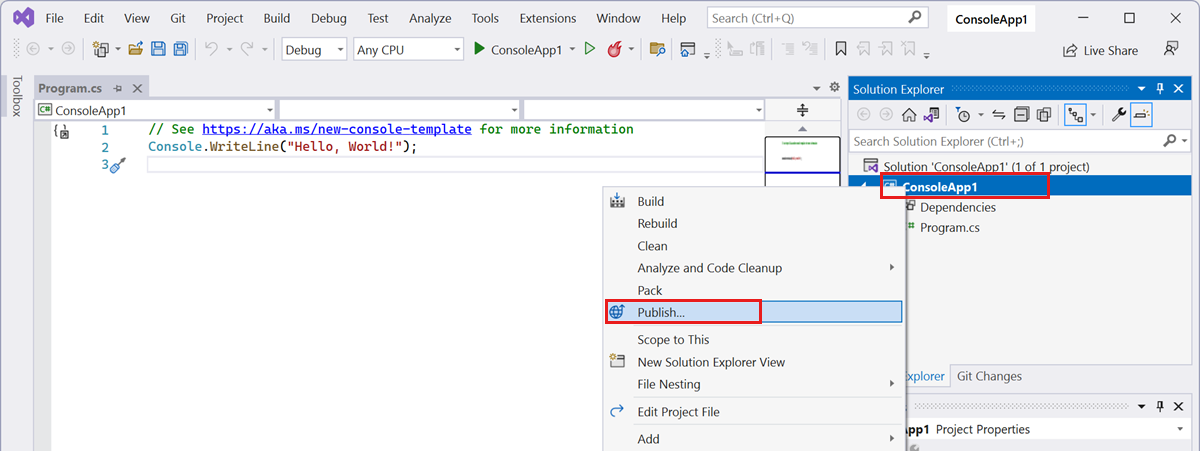
When the build succeeds, in Solution Explorer, select and hold your project name, and select Publish.
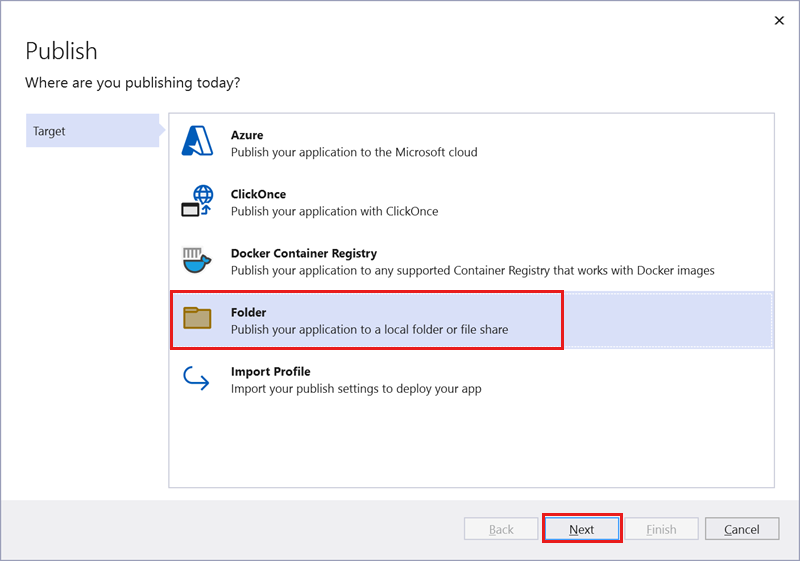
On the Publish screen, select Folder, and then select Next.
For Specific target, select Folder, and then select Next.
For the Location option, select Browse, and then select the file share you mounted earlier.

Select OK, and then select Finish.
Select Publish.
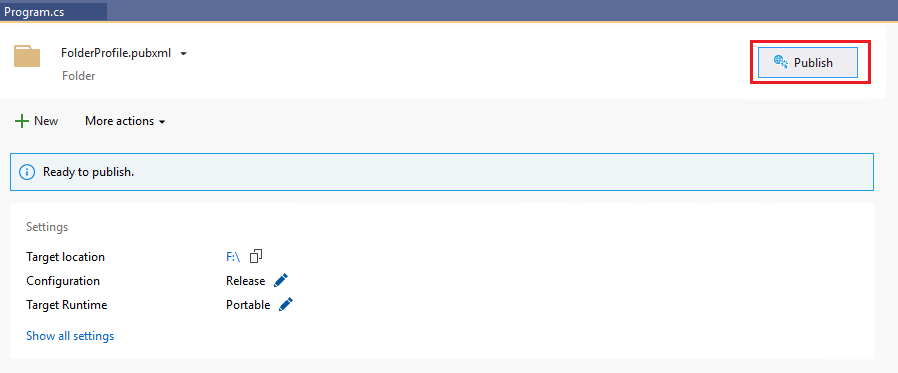


When the publish operation finishes, the application files are available on the Azure file share. You can now mount the file share from another computer, server, or lab VM, to access the application.
Mount the file share to your lab VM
To access the application files in the Azure file share, you need to first mount the share to your lab VM.
Follow these steps to mount the Azure file share to your lab VM.
Access the app on your lab VM
When you connect to your lab VM, you can now access the application files from the mounted file share.
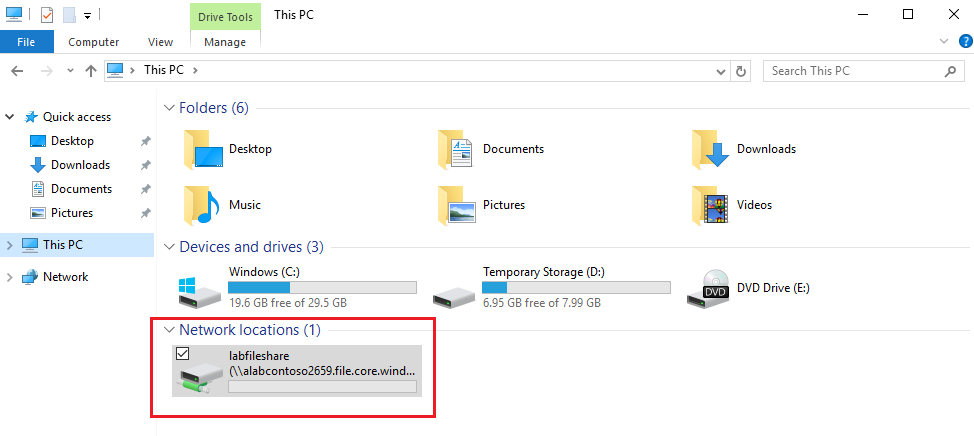
On the lab VM, start File Explorer, select This PC, and find the file share you mounted earlier.
Open the file share, and confirm that you see the app you deployed from Visual Studio.
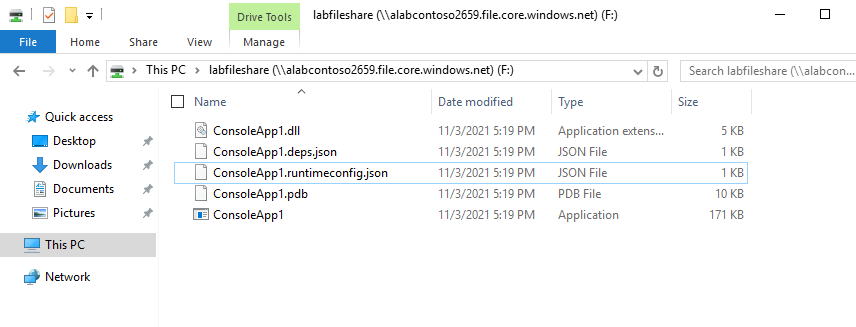


You can now run and test your app on your lab VM.
Next steps
You've published an application directly from Visual Studio on your developer workstation into your lab VM.
- Learn how you can integrate the lab creation and application deployment into your CI/CD pipeline.
- Learn more about deploying an application to a folder with Visual Studio.
Feedback
Coming soon: Throughout 2024 we will be phasing out GitHub Issues as the feedback mechanism for content and replacing it with a new feedback system. For more information see: https://aka.ms/ContentUserFeedback.
Submit and view feedback for