Quickstart: Set up a lab
This quickstart explains how to set up a lab in the Microsoft Azure Education Hub, including subscription details.
Prerequisites
- An academic grant with an approved credit amount
Subscriptions
Each student is given a subscription tied to a monetary cap of credit allocated by the professor. The term monetary cap describes the US$ amount of an academic sponsorship. For example, a $1,000 monetary cap provides the recipient with a USD$1,000 Azure credit using published WebDirect rates.
The educator can choose to allocate a cap to the subscriptions to prevent unintended use, and then set an expiration date. For example:
- Flat amount per class: Each student gets $x to manage for the entire quarter or semester.
At the subscription level, you can increase or decrease the cap and changes will take effect with minimal latency. When the class or project ends, you can reallocate unused cap to other subscriptions prior to the expiration date.
Create a lab
Follow these steps to create a lab by using one of two different methods:
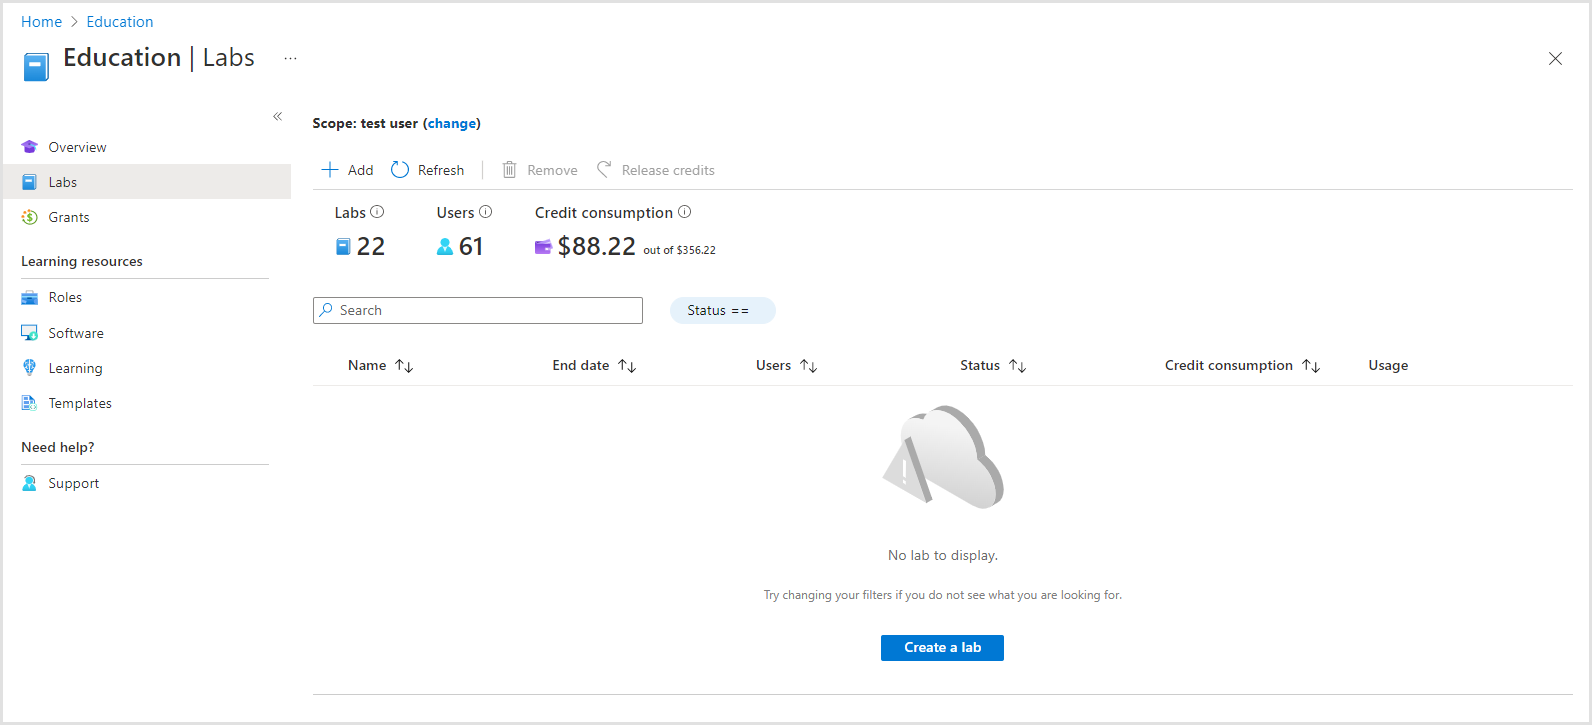
Select the Labs page in the Azure Education Hub to open the tool you use to create and manage courses. A table opens showing all your existing labs.
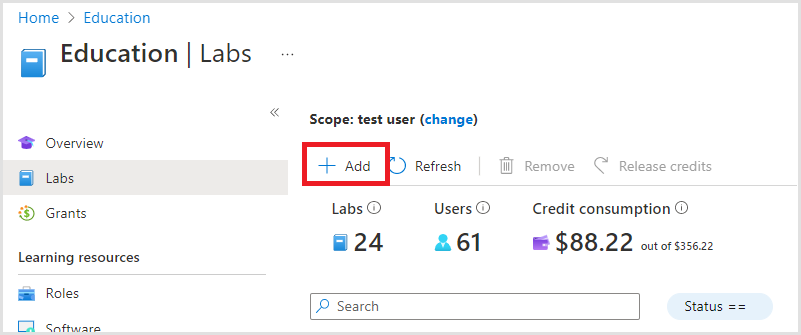
Select the + Add icon in the upper-left corner of the table to start the creation workflow.
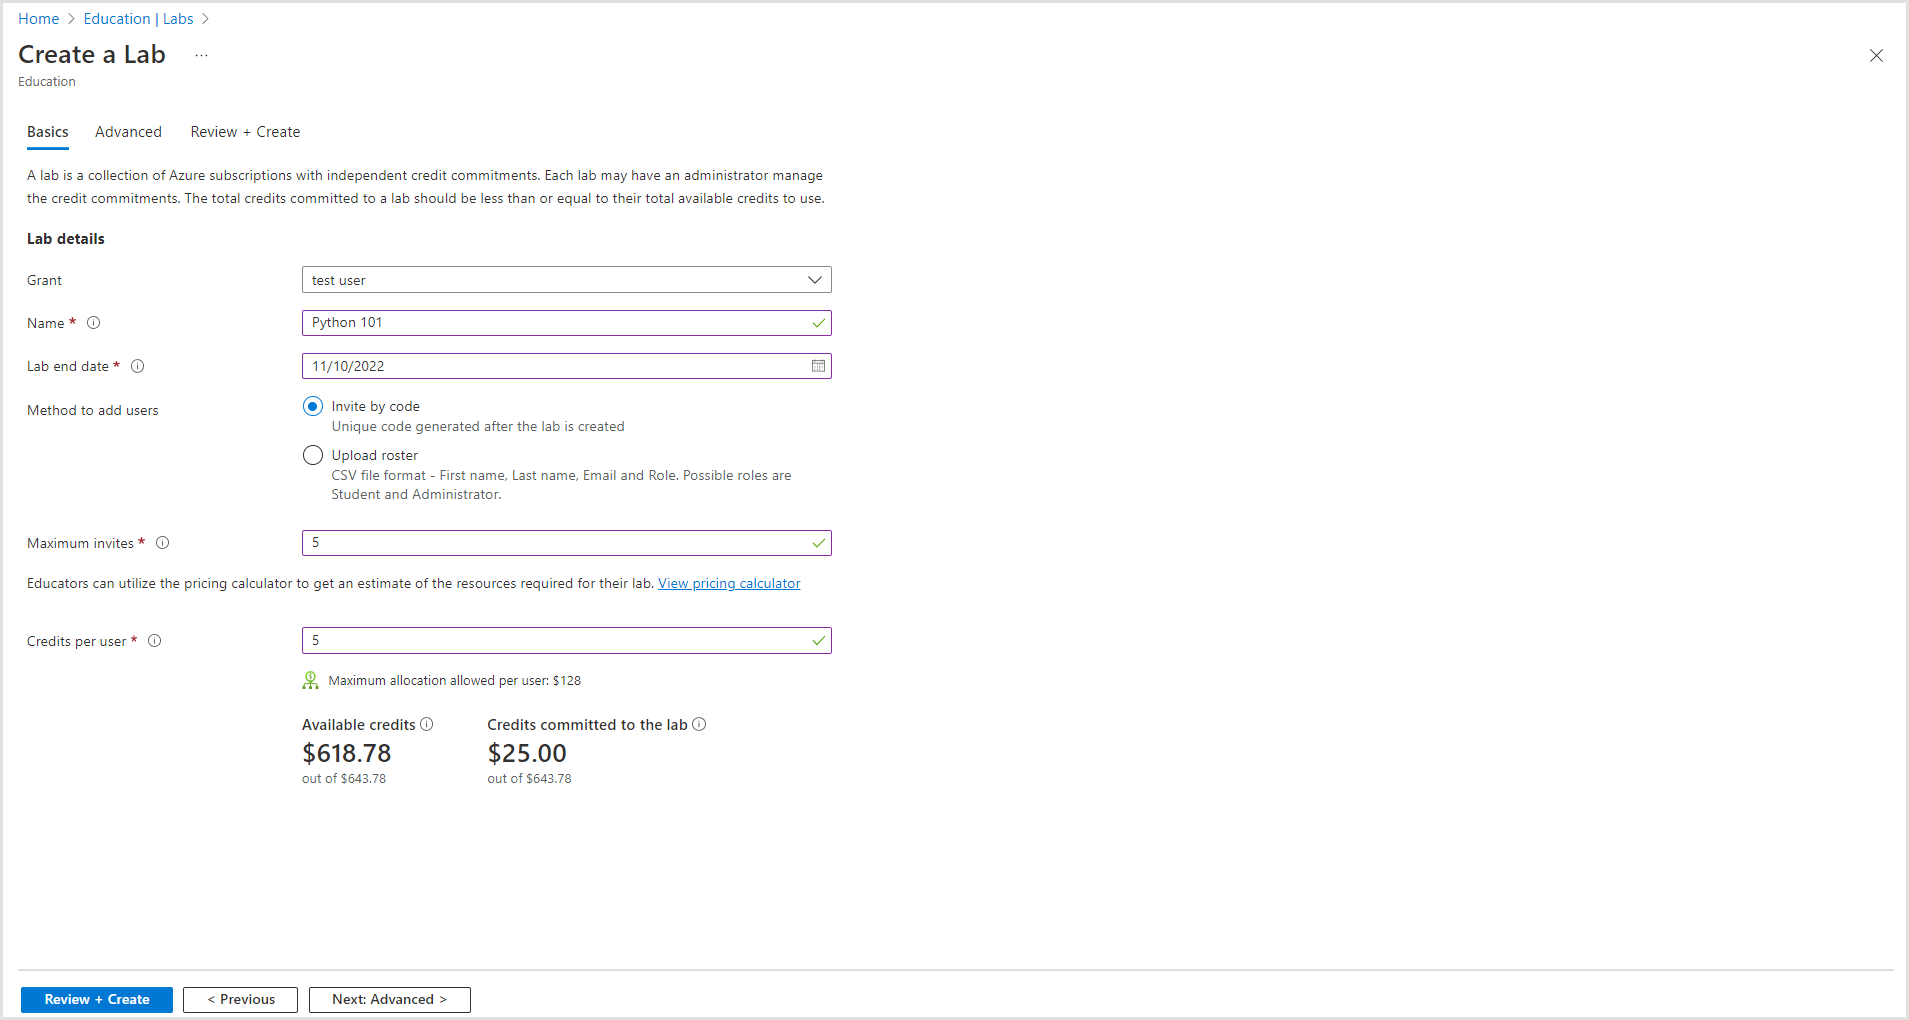
You can create a course roster by using two methods: by uploading a roster, or by using an invitation code.
Roster: If you already have the names and logins of all students, you can populate and upload a roster file. To download a sample file of the .csv file needed to upload the roster, select the Download sample file link in the upper-right corner.
Invitation code: If you choose to use an invitation code, decide how many codes can be redeemed and when they will expire. You'll send your students the following link to redeem the code: https://aka.ms/JoinEduLab.
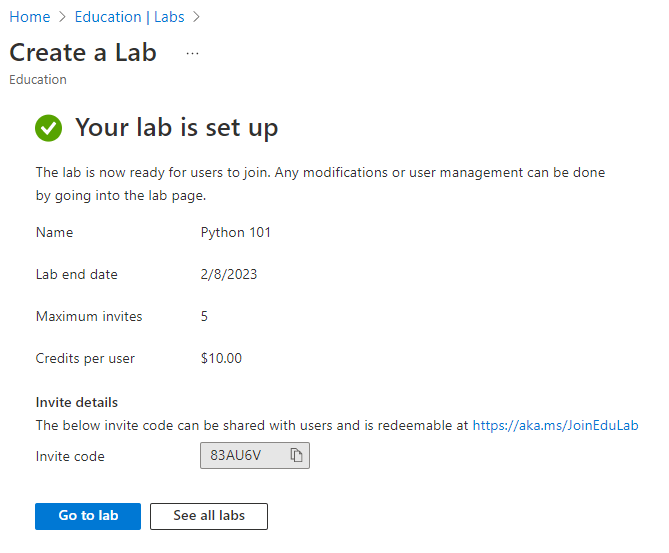
Select Create in the bottom-right corner. This might take a few moments to complete.
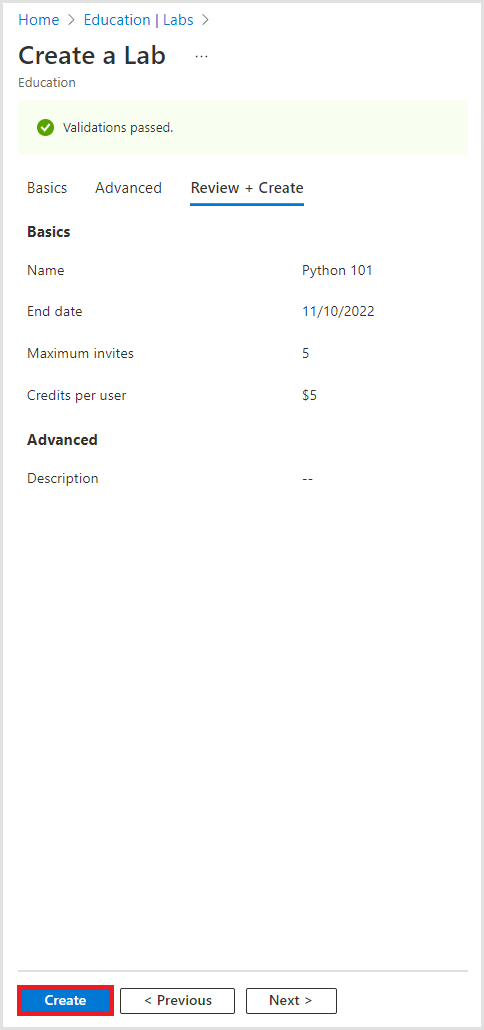
Your lab should now be created. If you are using the invitation code method, share the invite code with who you would like to be in the lab.
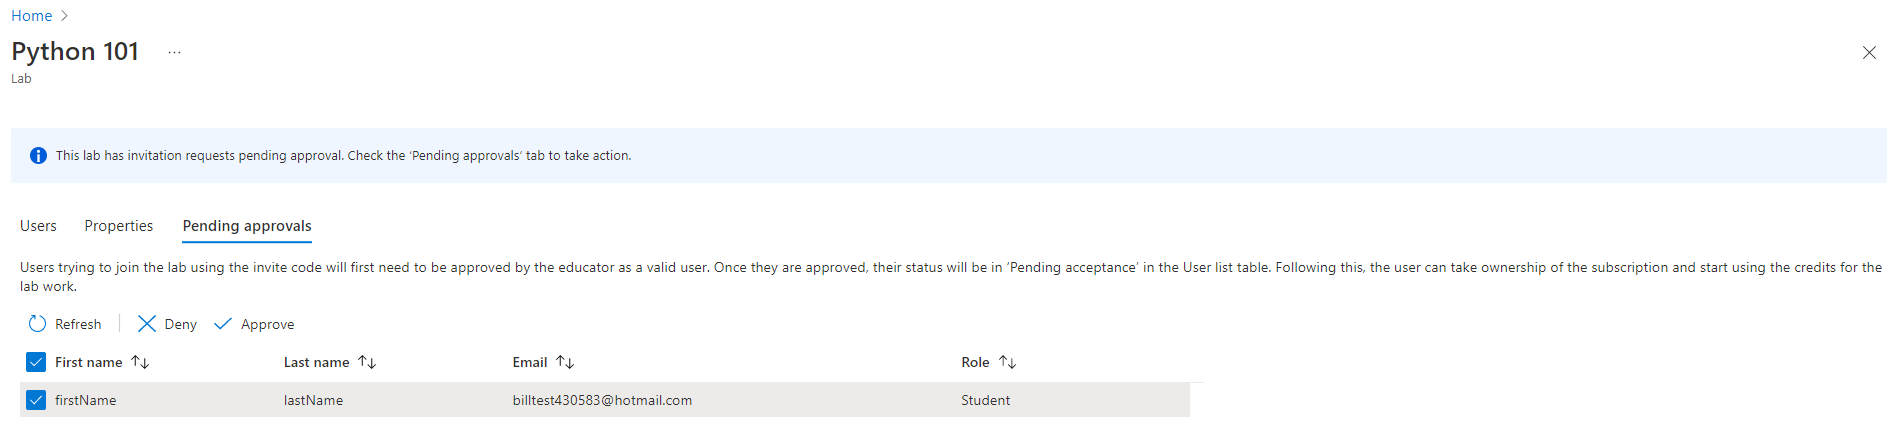
Finally, after a student has entered the invitation code, you must visit the Pending approvals section of the lab to finalize the student which will send them an invite to accept a subscription with the specified credit attached to it.
Next steps
Feedback
Coming soon: Throughout 2024 we will be phasing out GitHub Issues as the feedback mechanism for content and replacing it with a new feedback system. For more information see: https://aka.ms/ContentUserFeedback.
Submit and view feedback for