Tutorial: Add Security headers with Rules Engine
Important
Azure Front Door (classic) will be retired on March 31, 2027. To avoid any service disruption, it is important that you migrate your Azure Front Door (classic) profiles to Azure Front Door Standard or Premium tier by March 2027. For more information, see Azure Front Door (classic) retirement.
This tutorial shows how to implement security headers to prevent browser-based vulnerabilities like HTTP Strict-Transport-Security (HSTS), X-XSS-Protection, Content-Security-Policy, or X-Frame-Options. Security-based attributes can also be defined with cookies.
The following example shows you how to add a Content-Security-Policy header to all incoming requests that match the path defined in the route your Rules Engine configuration is associated with. Here, we only allow scripts from our trusted site, https://apiphany.portal.azure-api.net to run on our application.
In this tutorial, you learn how to:
- Configure a Content-Security-Policy within Rules Engine.
Prerequisites
- An Azure subscription.
- An Azure Front Door. To complete the steps in this tutorial, you must have a Front Door configured with rules engine. For more information, see Quickstart: Create a Front Door and Configure your Rules Engine.
Add a Content-Security-Policy header in Azure portal
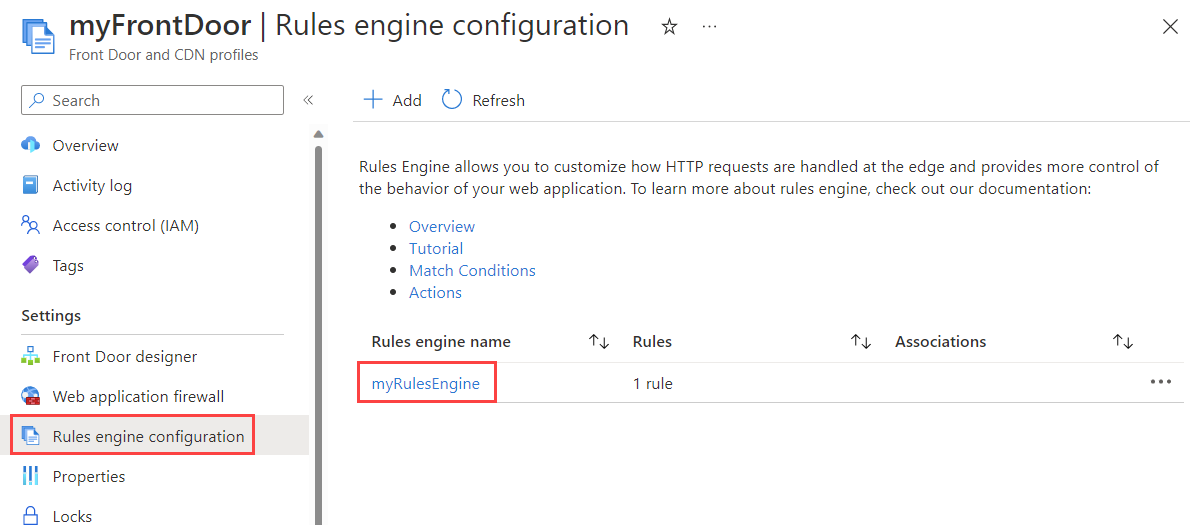
Within your Front door resource, select Rules engine configuration under Settings, and then select the rules engine that you want to add the security header to.
Select Add rule to add a new rule. Provide the rule a name and then select Add an Action > Response Header.
Set the Operator to Append to add this header as a response to all of the incoming requests to this route.
Add the header name: Content-Security-Policy and define the values this header should accept, then select Save. In this scenario, we choose
script-src 'self' https://apiphany.portal.azure-api.net.
Note
Header values are limited to 640 characters.
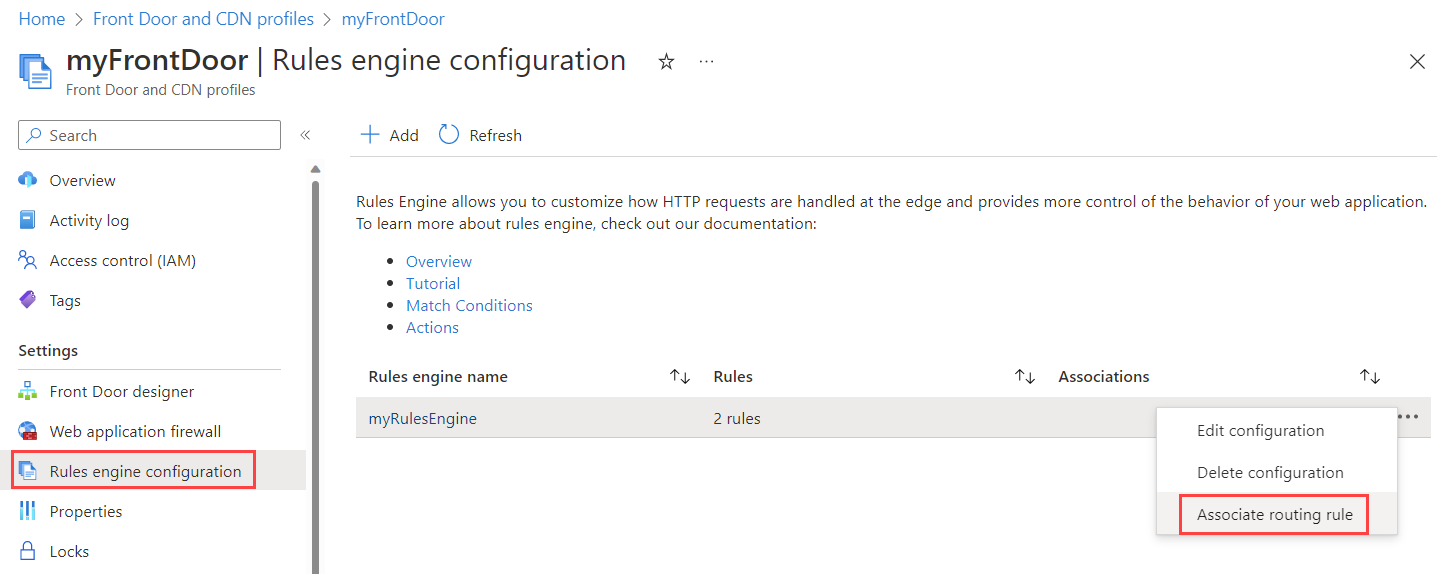
After you have completed adding the rules to your configuration, make sure to associate your Rules engine configuration with the Route Rule of your chosen route. This step is required to enable the rule to work.
Note
In this scenario, we did not add match conditions to the rule. All incoming requests that match the path defined in the Route Rule will have this rule applied. If you would like it to only apply to a subset of those requests, be sure to add your specific match conditions to this rule.
Clean up resources
In the previous steps, you configured security headers with rules engine of your Front Door. If you no longer want the rule, you can remove it by selecting Delete rule within the rules engine.

Next steps
To learn how to configure a Web Application Firewall for your Front Door, continue to the next tutorial.
Feedback
Coming soon: Throughout 2024 we will be phasing out GitHub Issues as the feedback mechanism for content and replacing it with a new feedback system. For more information see: https://aka.ms/ContentUserFeedback.
Submit and view feedback for