Migrate Azure Front Door (classic) to Standard/Premium tier
Important
Azure Front Door (classic) will be retired on March 31, 2027. To avoid any service disruption, it is important that you migrate your Azure Front Door (classic) profiles to Azure Front Door Standard or Premium tier by March 2027. For more information, see Azure Front Door (classic) retirement.
Azure Front Door Standard and Premium tier bring the latest cloud delivery network features to Azure. With enhanced security features and an all-in-one service, your application content is secured and closer to your end users using the Microsoft global network. This article will guide you through the migration process to move your Azure Front Door (classic) profile to either a Standard or Premium tier profile.
Prerequisites
- Review the About Front Door tier migration article.
- Ensure your Front Door (classic) profile can be migrated:
- Azure Front Door Standard and Premium requires all custom domains to use HTTPS. If you don't have your own certificate, you can use an Azure Front Door managed certificate. The certificate is free of charge and gets managed for you.
- Session affinity gets enabled in the origin group settings for an Azure Front Door Standard or Premium profile. In Azure Front Door (classic), session affinity is set at the domain level. As part of the migration, session affinity is based on the Front Door (classic) profile settings. If you have two domains in your classic profile that shares the same backend pool (origin group), session affinity has to be consistent across both domains in order for migration validation to pass.
Note
You don't need to make any DNS changes before or during the migration process. However, once the migration completes and traffic is flowing through your new Azure Front Door profile, you need to update your DNS records. For more information, see Update DNS records.
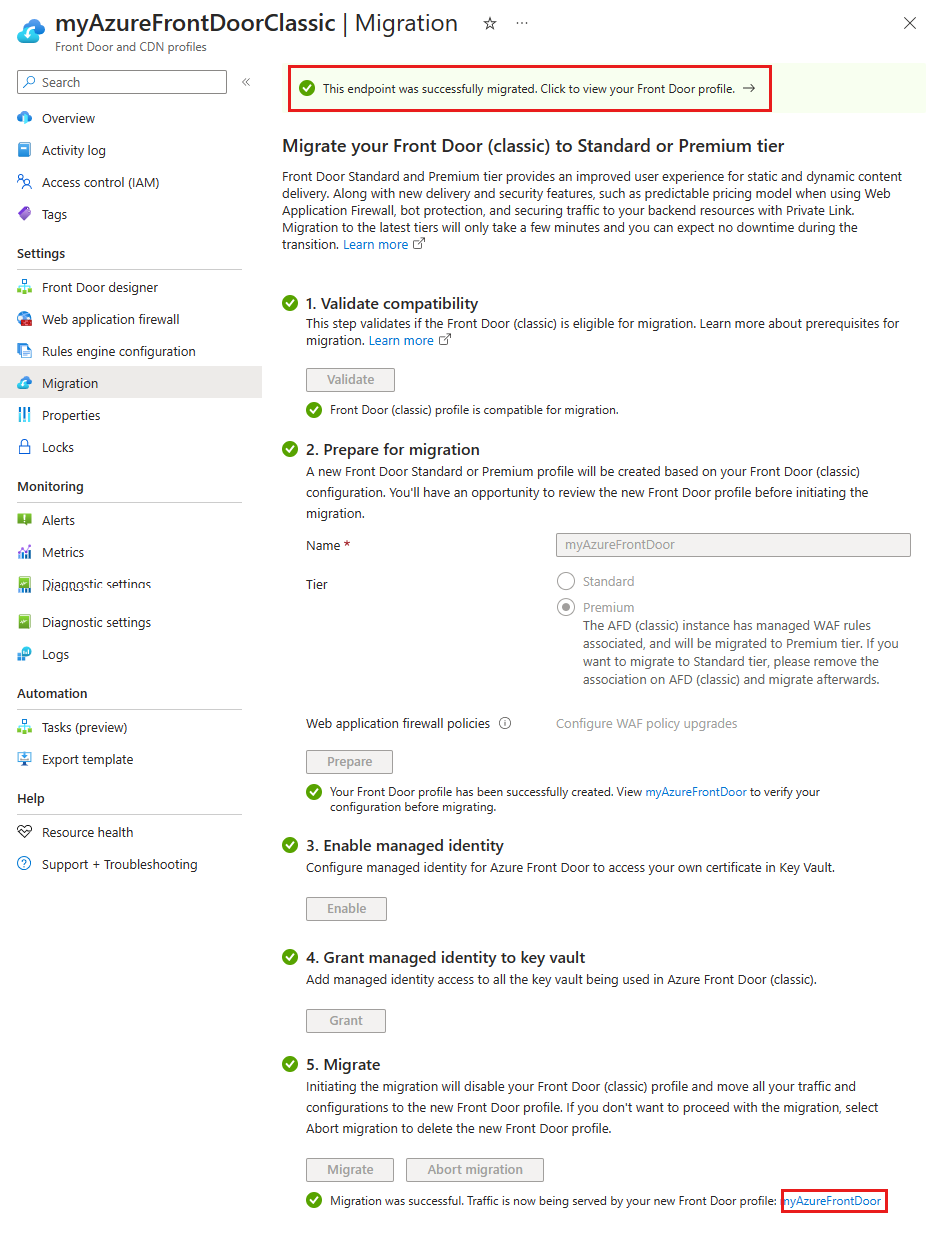
Validate compatibility
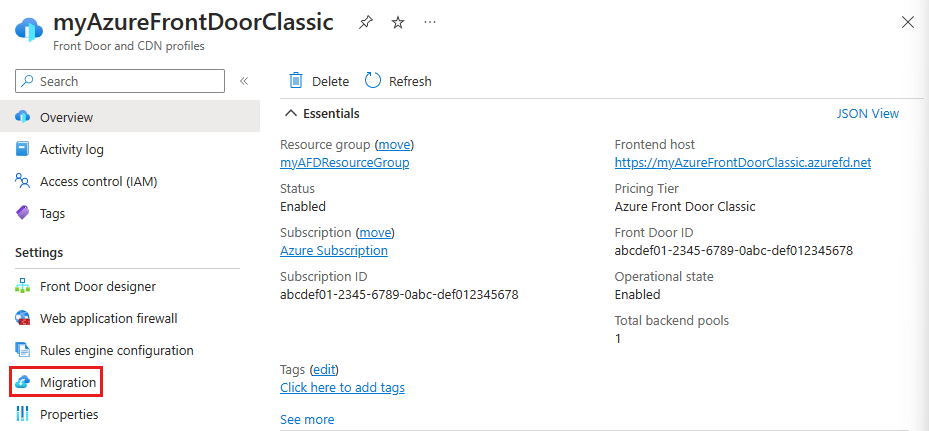
Go to your Azure Front Door (classic) resource and select Migration from under Settings.
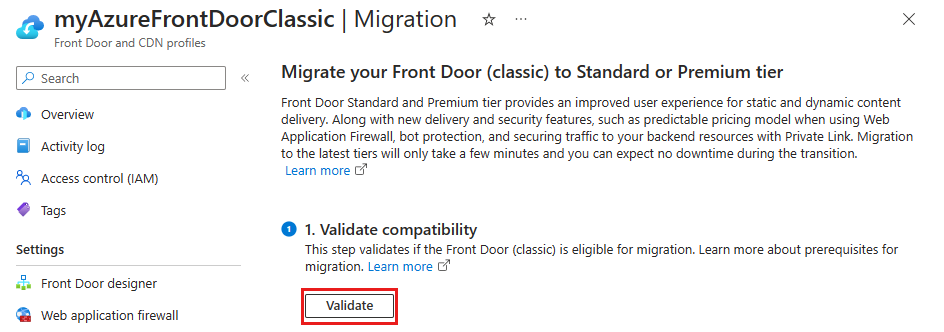
Select Validate to see if your Azure Front Door (classic) profile is compatible for migration. Validation can take up to two minutes depending on the complexity of your Front Door profile.
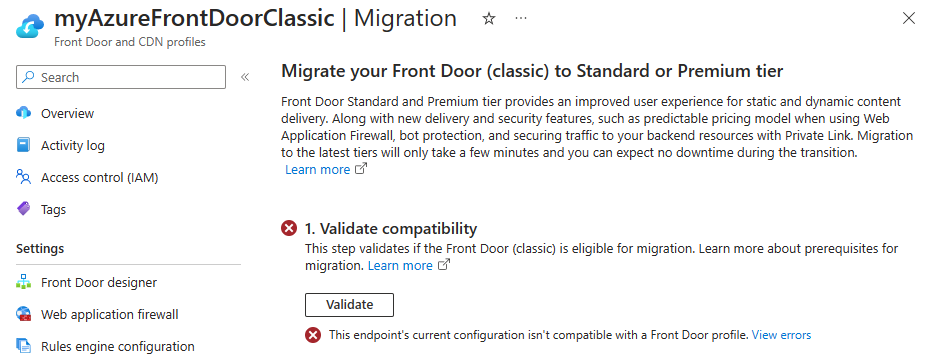
If the migration isn't compatible, you can select View errors to see the list of errors, and recommendations to resolve them.
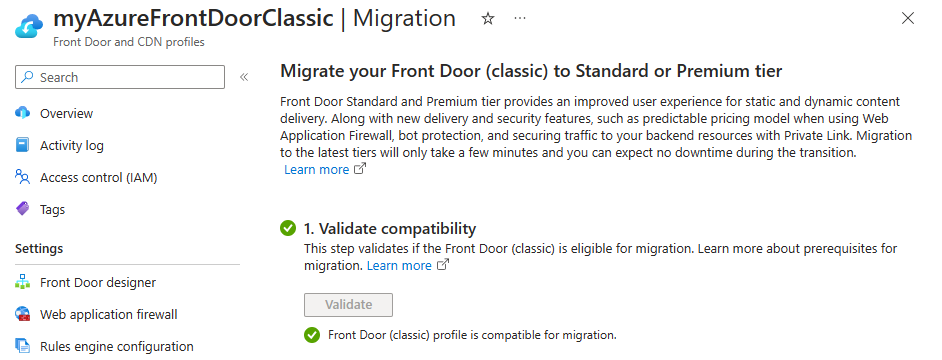
Once your Azure Front Door (classic) profile validates and is compatible for migration, you can move onto prepare phase.
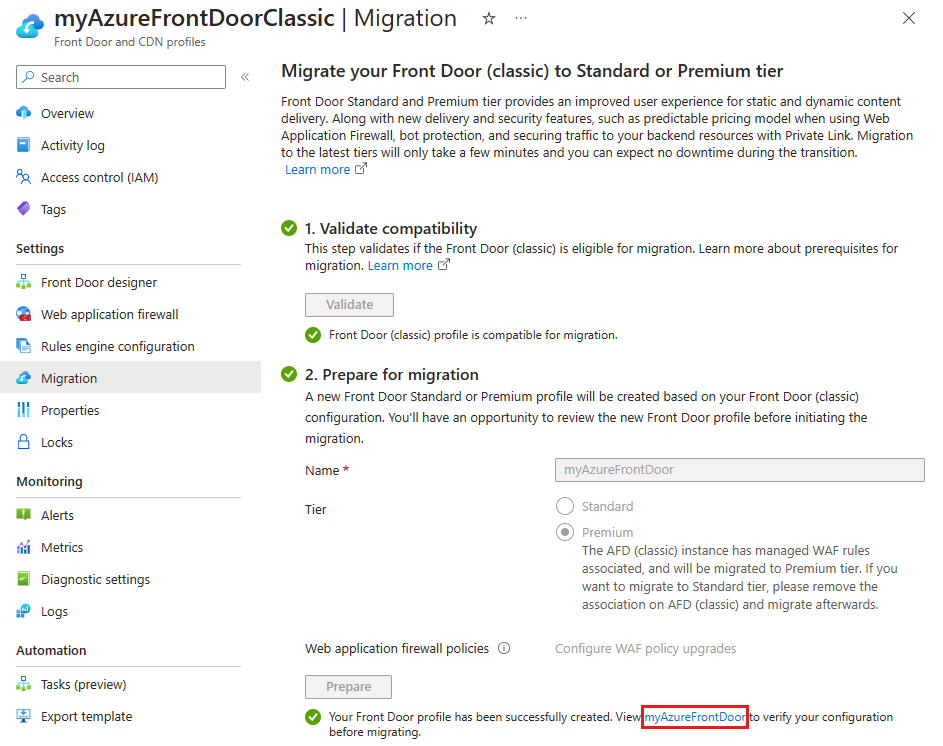
Prepare for migration
A default name has been provided for you for the new Front Door profile. You can change the profile name before proceeding to the next step.

The Front Door tier gets automatically selected for you based on the Front Door (classic) WAF policy settings.
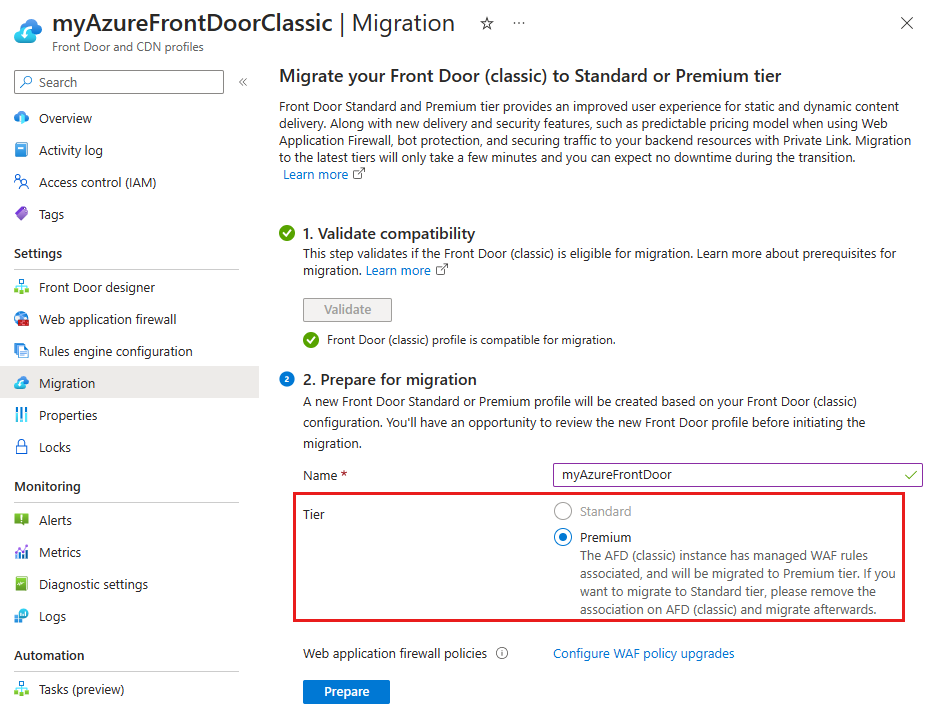
- Standard - If you only have custom WAF rules associated to the Front Door (classic) profile. You may choose to upgrade to a Premium tier.
- Premium - If you have managed WAF rules associated to the Front Door (classic) profile. To use Standard tier, the managed WAF rules must be removed from the Front Door (classic) profile.
Select Configure WAF policy upgrades to configure whether you want to upgrade your current WAF policies or to use an existing compatible WAF policy.
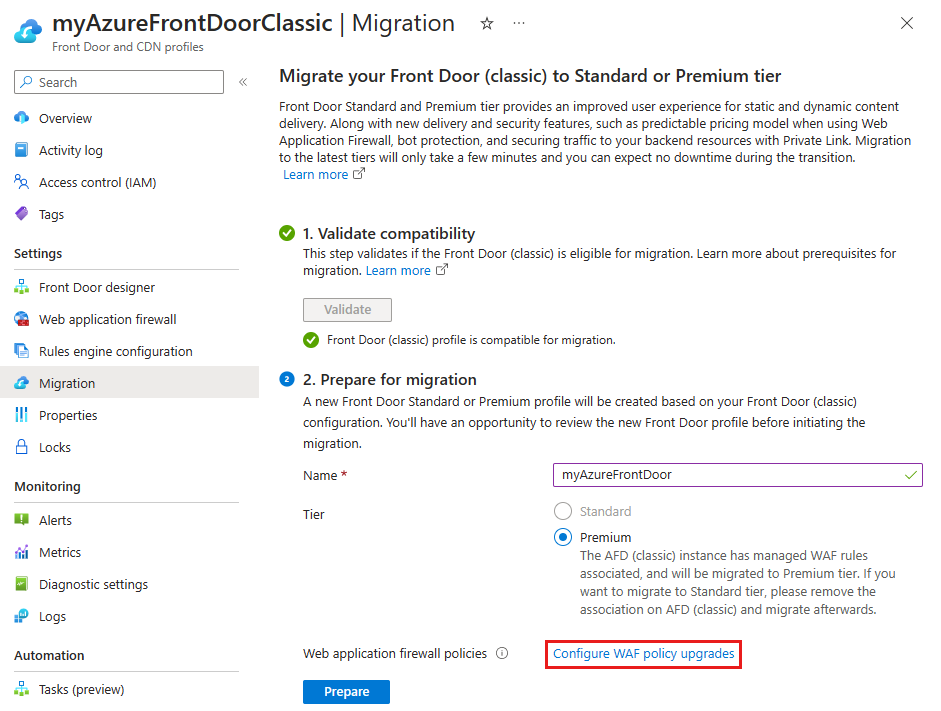
Note
The Configure WAF policy upgrades link will only appear if you have WAF policies associated to the Front Door (classic) profile.
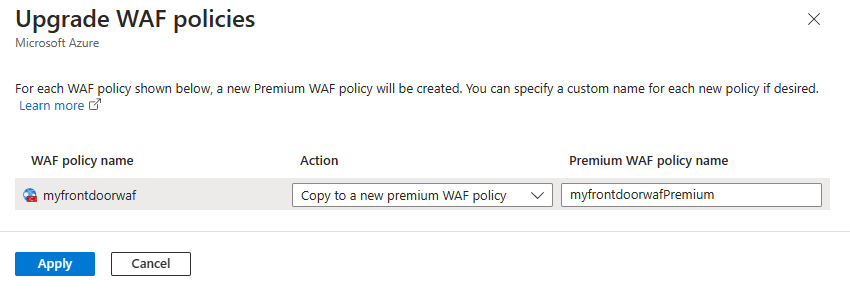
For each WAF policy associated to the Front Door (classic) profile select an action. You can make a copy of the WAF policy that matches the tier you're migrating the Front Door profile to or you can use an existing compatible WAF policy. You may also change the WAF policy name from the default provided name. Once completed, select Apply to save your Front Door WAF settings.
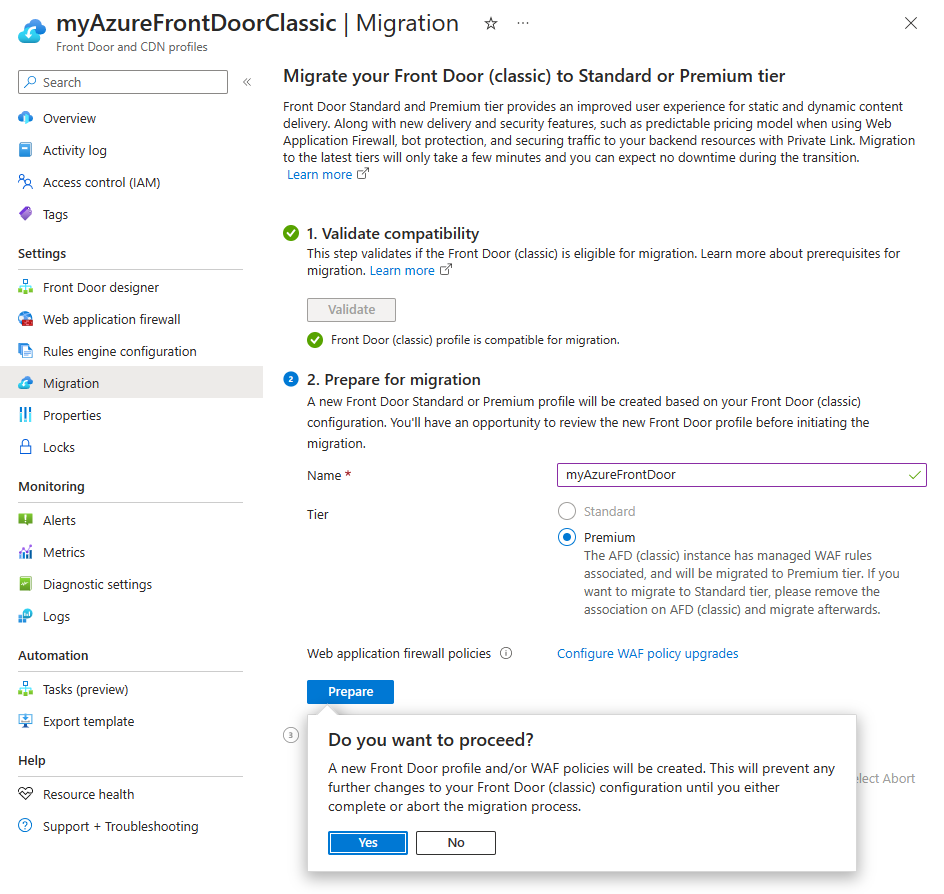
Select Prepare, and when prompted, select Yes to confirm that you would like to proceed with the migration process. Once confirmed, you won't be able to make any further changes to the Front Door (classic) profile.
Select the link that appears to view the configuration of the new Front Door profile. At this time, you can review each of the settings for the new profile to ensure all settings are correct. Once you're done reviewing the read-only profile, select the X in the top right corner of the page to go back to the migration screen.
Enable managed identities
If you're using your own certificate and you'll need to enable managed identity so Azure Front Door can access the certificate in your Azure Key Vault. Managed identity is a feature of Microsoft Entra ID that allows you to securely connect to other Azure services without having to manage credentials. For more information, see What are managed identities for Azure resources?
Note
- If you're not using your own certificate, enabling managed identities and granting access to the Key Vault is not required. You can skip to the Migrate phase.
- Managed certificate is currently not supported for Azure Front Door Standard or Premium in Azure Government Cloud. You need to use BYOC for Azure Front Door Standard or Premium in Azure Government Cloud or wait until this capability is available.
Select Enable and then select either System assigned or User assigned depending on the type of managed identities you want to use.
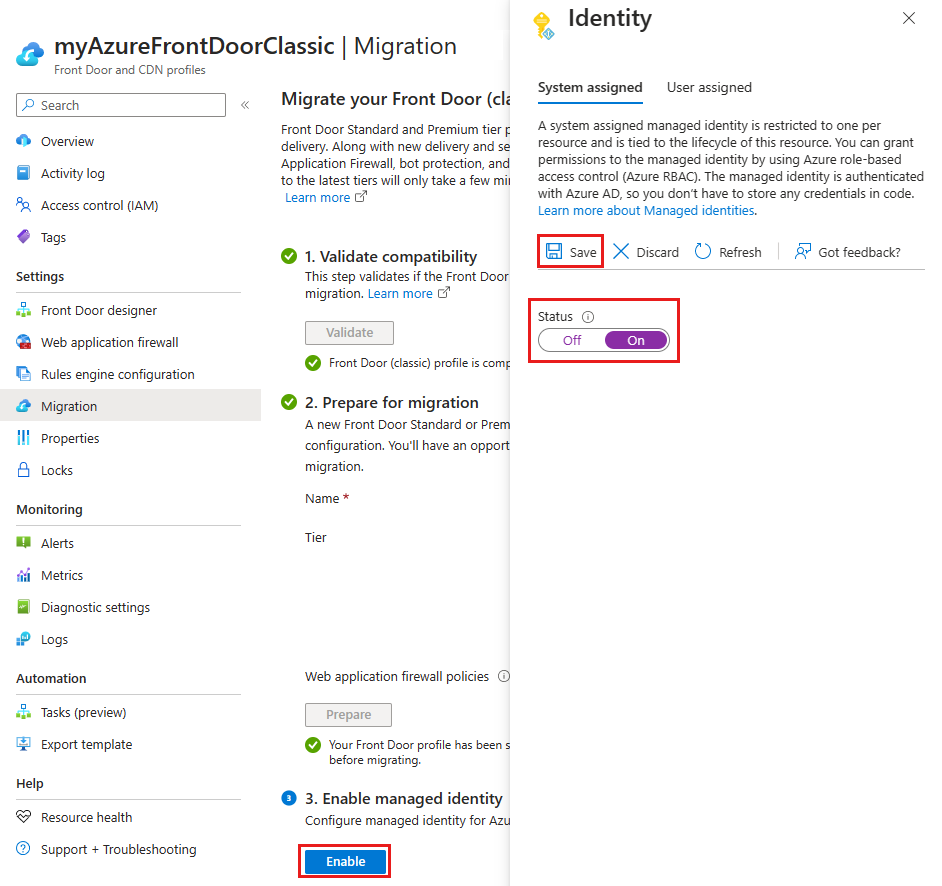
System assigned - Toggle the status to On and then select Save.
User assigned - To create a user assigned managed identity, see Create a user-assigned identity. If you've already have a user managed identity, select the identity, and then select Add.
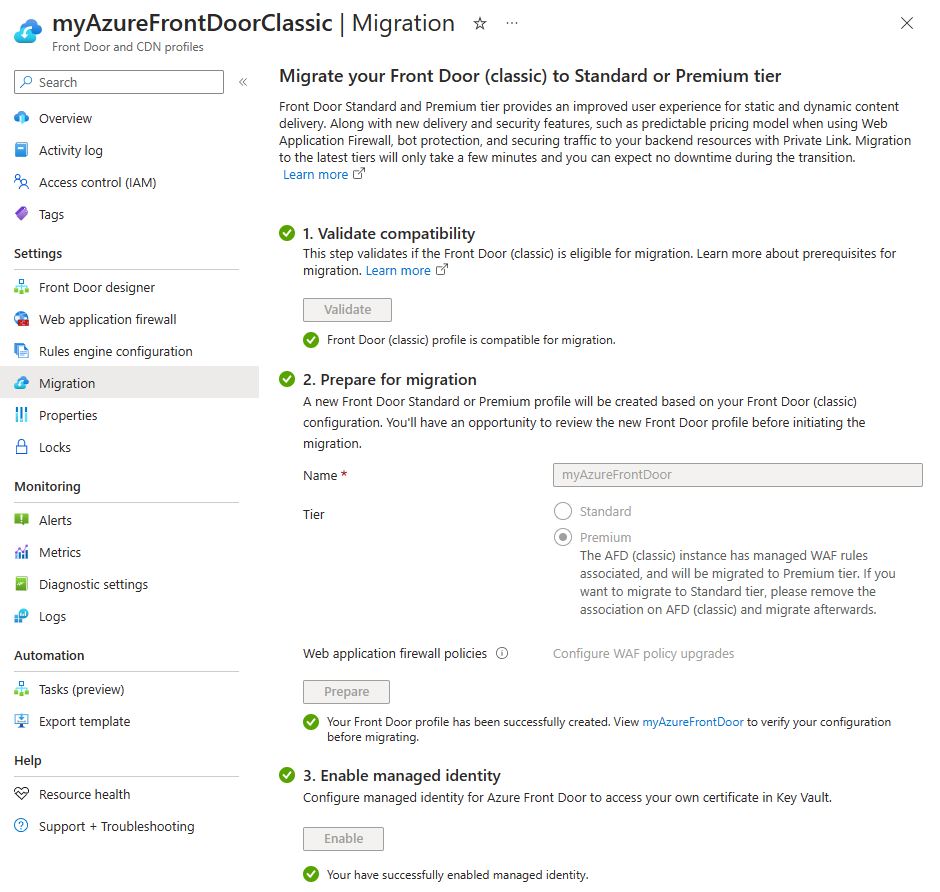
Select the X in the top right corner to return to the migration page. You'll then see that you've successfully enabled managed identities.
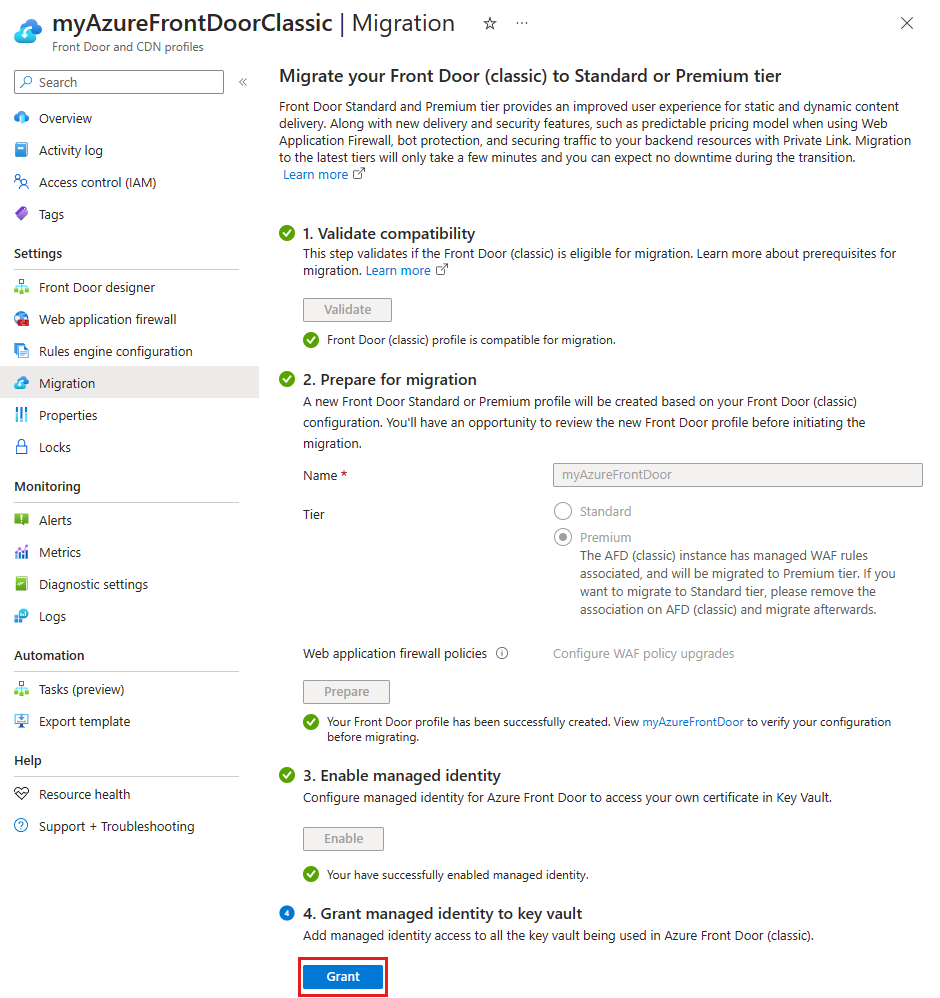
Grant manage identity to Key Vault
Select Grant to add the managed identity to all Azure Key Vaults used with the Front Door (classic) profile.
Migrate
Select Migrate to initiate the migration process. When prompted, select Yes to confirm you want to move forward with the migration. The migration may take a few minutes depending on the complexity of your Front Door (classic) profile.

Note
If you cancel the migration, only the new Front Door profile gets deleted. Any new WAF policy copies will need to be manually deleted.
Once migration completes, you can select the banner the top of the page or the link at the bottom from the successful message to go to the new Front Door profile.
The Front Door (classic) profile is now Disabled and can be deleted from your subscription.

Warning
Once migration has completed, if you delete the new profile that will delete the production environment, which is an irreversible change.
Update DNS records
Your old Azure Front Door (classic) instance uses a different fully qualified domain name (FQDN) than Azure Front Door Standard and Premium. For example, an Azure Front Door (classic) endpoint might be contoso.azurefd.net, while the Azure Front Door Standard or Premium endpoint might be contoso-mdjf2jfgjf82mnzx.z01.azurefd.net. For more information about Azure Front Door Standard and Premium endpoints, see Endpoints in Azure Front Door.
You don't need to update your DNS records before or during the migration process. Azure Front Door automatically sends traffic that it receives on the Azure Front Door (classic) endpoint to your Azure Front Door Standard or Premium profile without you making any configuration changes.
However, once your migration is finished, we strongly recommend that you update your DNS records to direct traffic to the new Azure Front Door Standard or Premium endpoint. Changing your DNS records helps to ensure that your profile continues to work in the future. The change in DNS record won't cause any downtime. You don't need to plan ahead for this update to happen, and can schedule it at your convenience.
Next steps
- Understand the mapping between Front Door tiers settings.
- Learn more about the Azure Front Door tier migration process.
Feedback
Coming soon: Throughout 2024 we will be phasing out GitHub Issues as the feedback mechanism for content and replacing it with a new feedback system. For more information see: https://aka.ms/ContentUserFeedback.
Submit and view feedback for