Open a support ticket for an Import/Export job
If you come across any issues with your Import/Export service, you can create a service request for technical support.
This article walks you through:
- How to create a support request
- How to manage a support request lifecycle from within the portal
Create a support request
Do the following steps to create a support request:
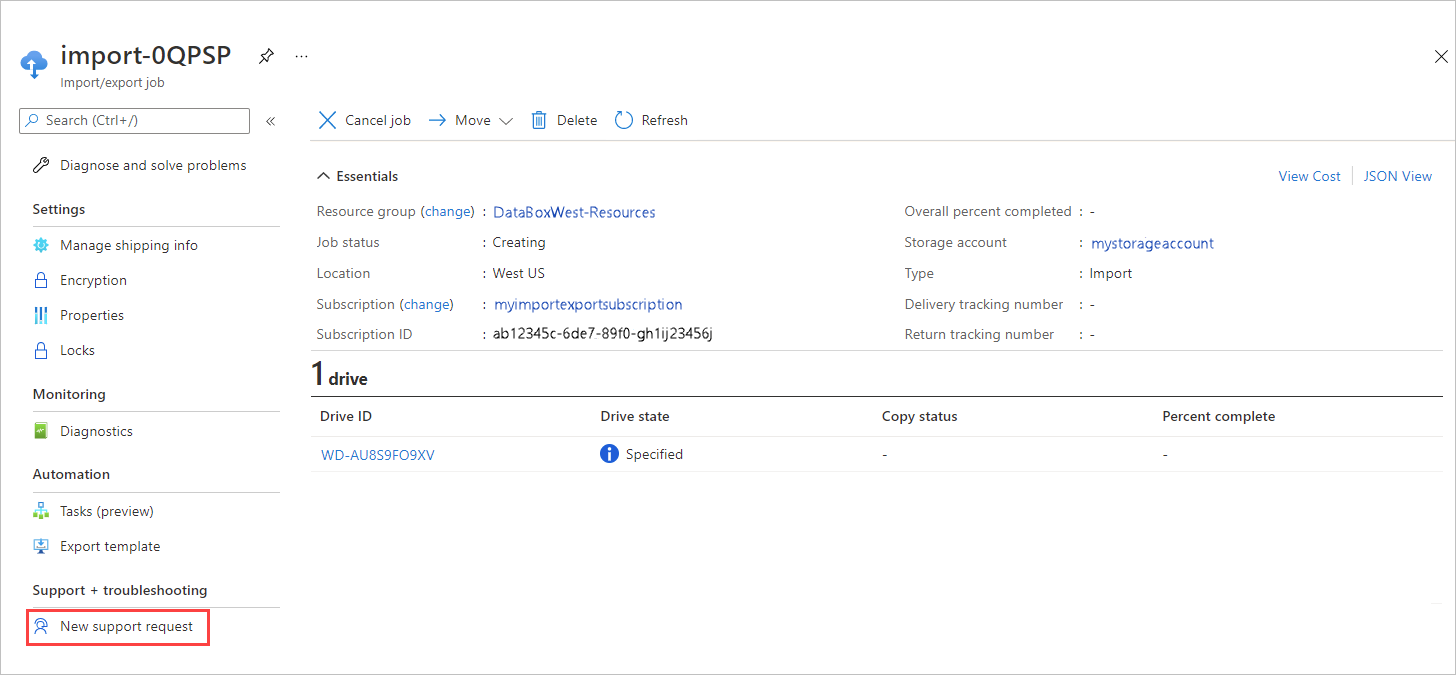
Go to your Import/Export job. Under Support + Troubleshooting, select New support request.
On the Basics tab, enter required basic information. Basic info about your Import/Export order is already filled in.
Option Description Summary Briefly describe your issue. Issue type Select Technical. Subscription Select the subscription for the Import/Export order. Service Select My services. Service type Select Azure Import/Export Service. Resource Select the Import/Export order. Problem type Select a problem type from among the problem types for Import/Export orders. Problem subtype Select the appropriate subtype for the problem type. 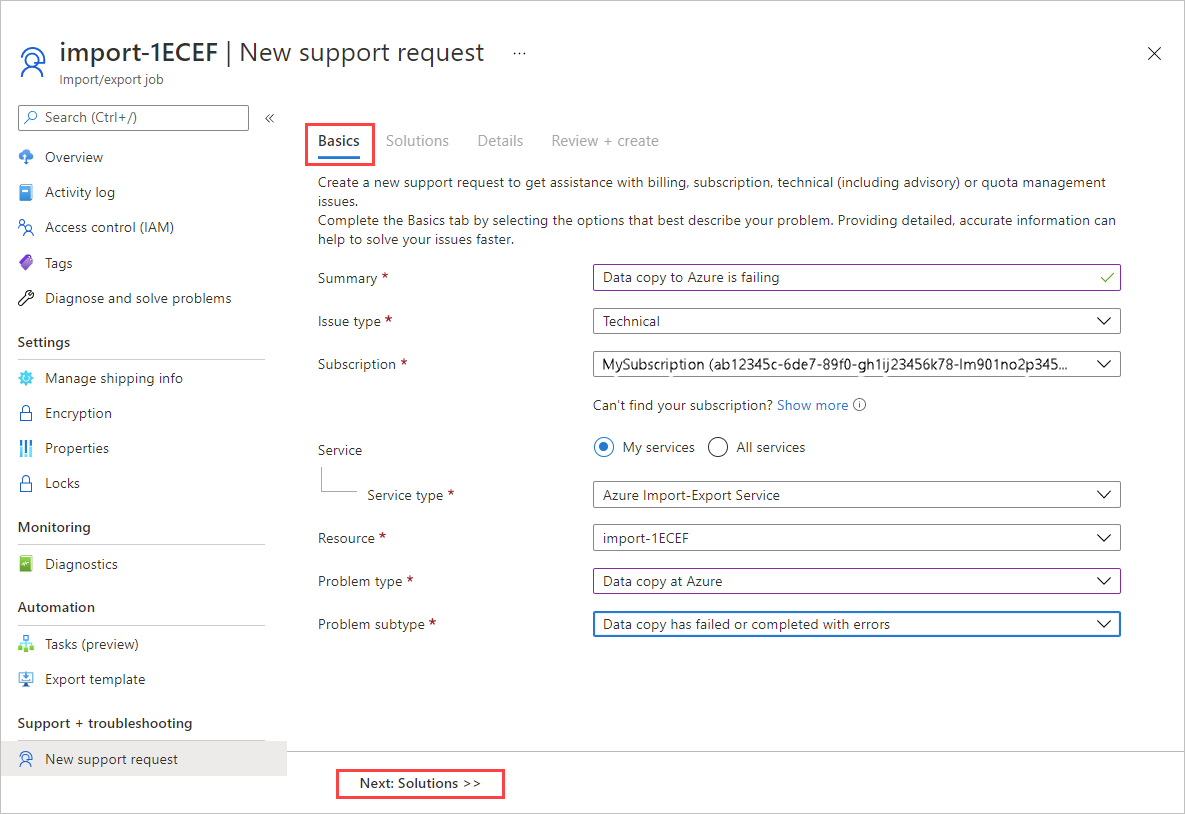
Select Next: Solutions>> to continue.
The Solutions tab shows expert solutions for the problem you described. If you don't find the solution to your problem, select Next: Details>> to proceed with a support request.

Use the Details tab to provide info for a support ticket.
Grouping Options Problem details - When did the problem start? Using your local time, enter the data and time when the problem started.
- Details: Describe the problem you're experiencing.
- File upload: You can attach one or more files if needed. Select the folder icon. Then browse to any files you want to upload.
Share diagnostic information - Select No. Azure support will ask you for more information if they need it.
Support method - Leave the Severity at C - Minimal Impact. Azure support will adjust the severity level based on the information you provided.
- Otherwise, tell how you'd like to be contacted - by email or by phone, and in what language?
Contact info - You can edit your contact information if needed.
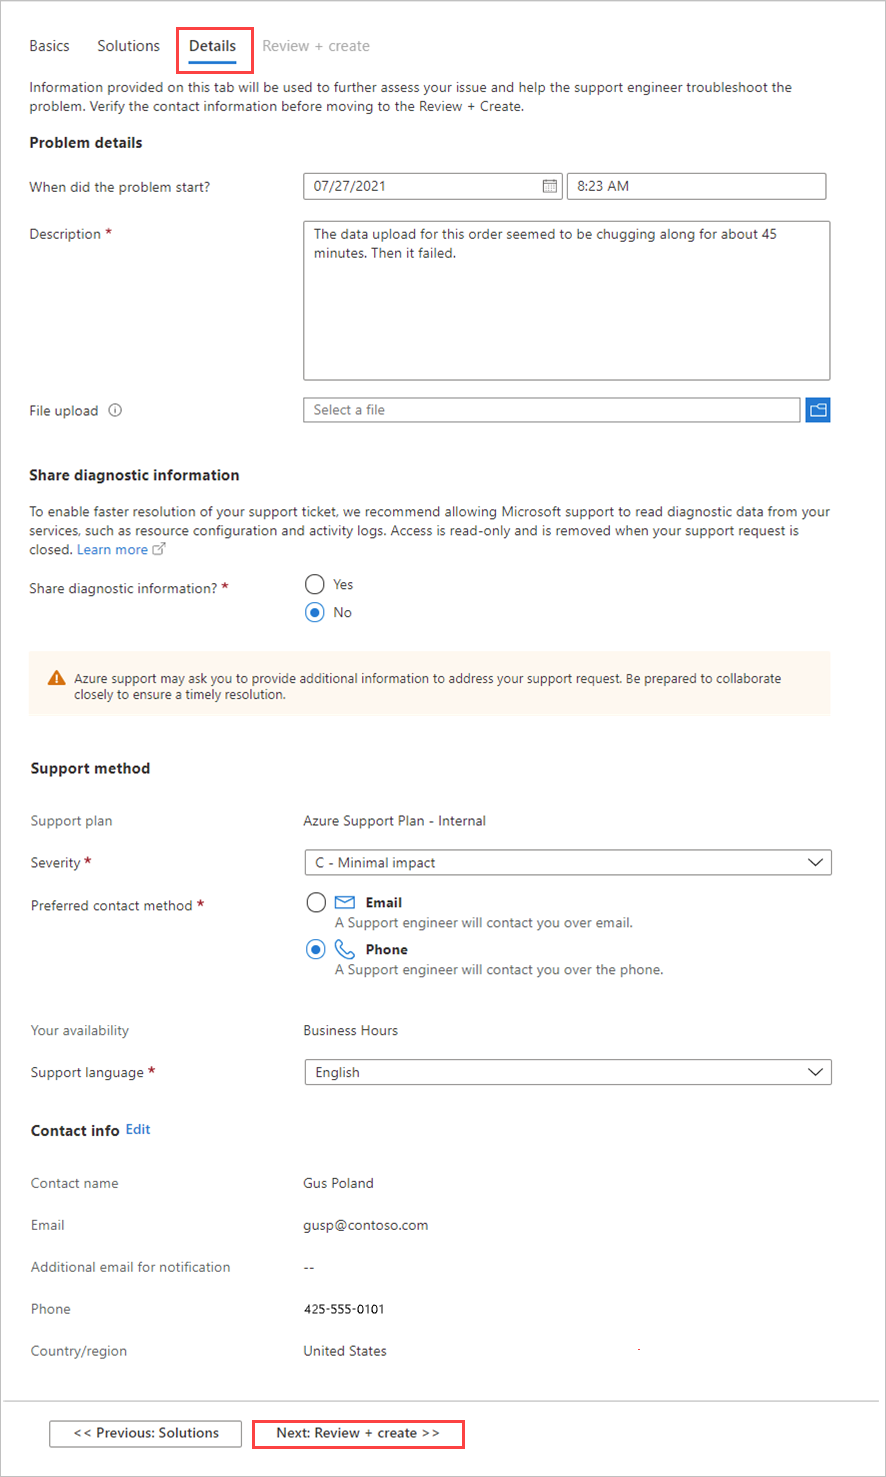
Select Next: Review + create >> to continue.
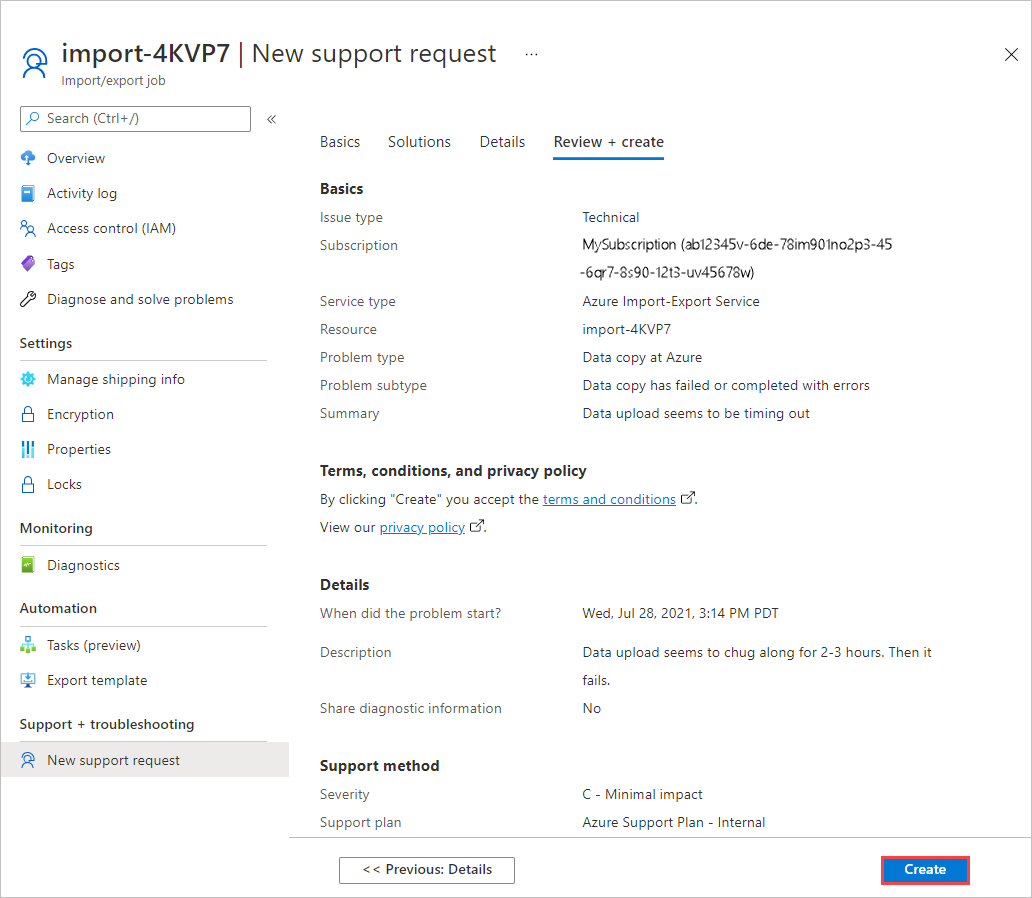
Review your support request on the Review + create tab. Make any changes that are needed. Then select Create.
Manage a support request
After creating a support ticket, you can manage the lifecycle of the ticket from within the portal.
To manage your support requests
To get to the help and support page, navigate to Browse > Help + support.

A tabular listing of Recent support requests is displayed in Help + support.
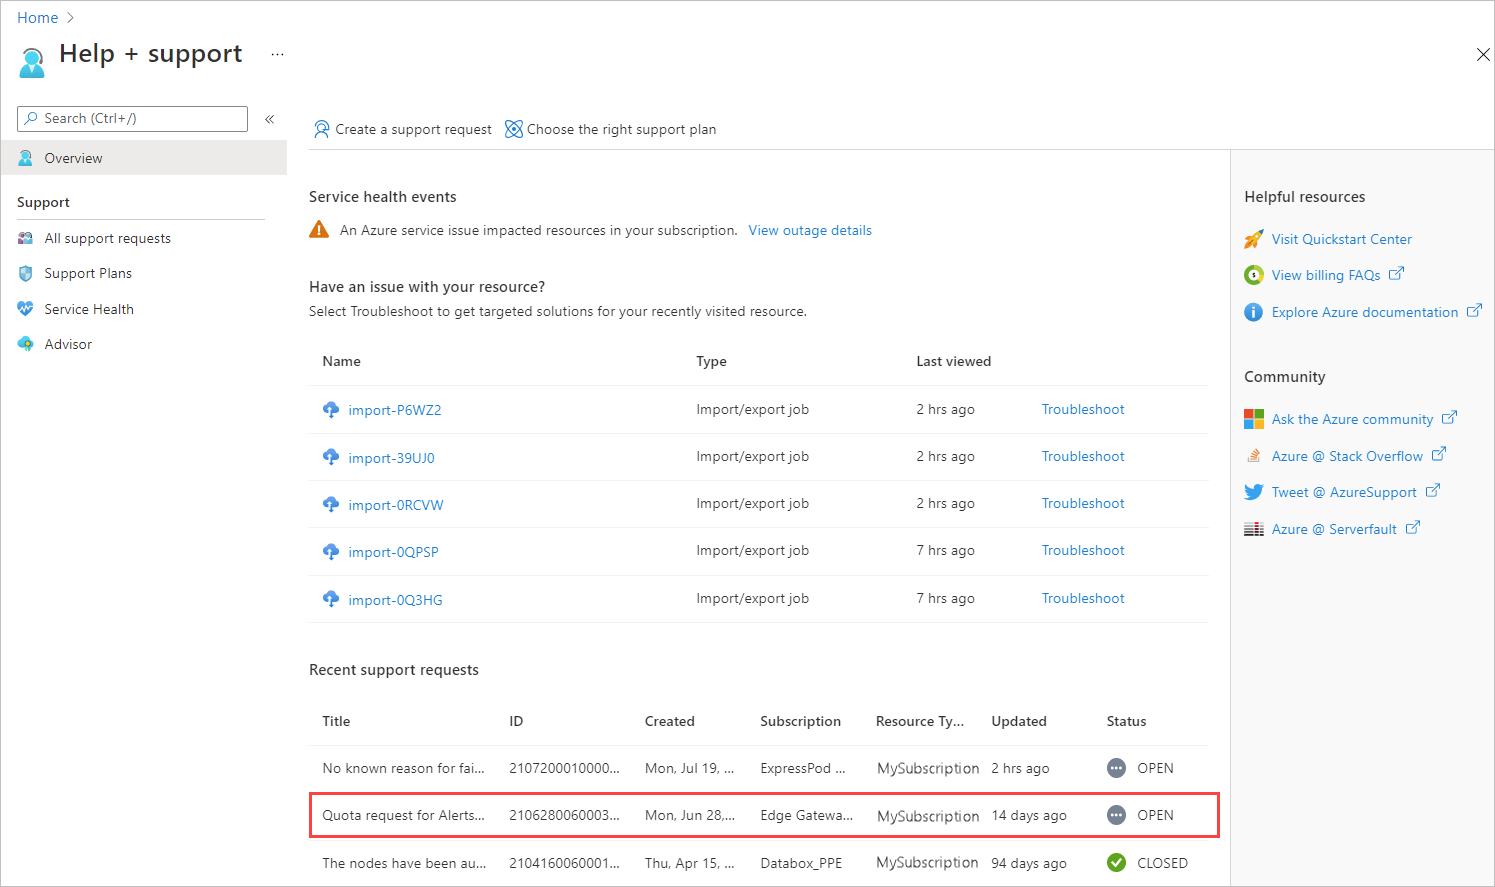
Select and click a support request. You can view the status and the details for this request. Select + New message if you want to follow up on this request.

Next steps
Learn how to Use the Azure Import/Export to transfer data to and from Azure Storage.
Feedback
Coming soon: Throughout 2024 we will be phasing out GitHub Issues as the feedback mechanism for content and replacing it with a new feedback system. For more information see: https://aka.ms/ContentUserFeedback.
Submit and view feedback for