Install and use Azure IoT explorer
The Azure IoT explorer is a graphical tool for interacting with devices connected to your IoT hub. This article focuses on using the tool to test your IoT Plug and Play devices. After installing the tool on your local machine, you can use it to connect to a hub. You can use the tool to view the telemetry the devices are sending, work with device properties, and invoke commands.
This article shows you how to:
- Install and configure the Azure IoT explorer tool.
- Use the tool to interact with and test your IoT Plug and Play devices.
For more general information about using the tool, see the GitHub readme.
To use the Azure IoT explorer tool, you need:
- An Azure IoT hub. There are many ways to add an IoT hub to your Azure subscription, such as Creating an IoT hub by using the Azure CLI. You need the IoT hub connection string to run the Azure IoT explorer tool. If you don't have an Azure subscription, create a free account before you begin.
- A device registered in your IoT hub. You can use IoT Explorer to create and manage device registrations in your IoT Hub.
Install Azure IoT explorer
Go to Azure IoT explorer releases and expand the list of assets for the most recent release. Download and install the most recent version of the application. The installation package configures a way for you to launch the application on your platform. For example, in Windows you can launch the application from the Start menu.
Important
Update to version 0.13.x or greater to resolve models from any repository based on https://github.com/Azure/iot-plugandplay-models
Use Azure IoT explorer
For a device, you can either connect your own device, or use one of the sample simulated devices. For some example simulated devices written in different languages, see the Connect a sample IoT Plug and Play device application to IoT Hub tutorial.
Connect to your hub
The first time you run Azure IoT explorer, you're prompted for your IoT hub's connection string. After you add the connection string, select Connect. You can use the tool's settings to switch to another IoT hub by updating the connection string.
The model definition for an IoT Plug and Play device is stored in either the public repository, the connected device, or a local folder. By default, the tool looks for your model definition in the public repository and your connected device. You can add and remove sources, or configure the priority of the sources in Settings:
To add a source:
- Go to Home/IoT Plug and Play Settings
- Select Add and choose your source, from a repository or local folder.
To remove a source:
- Go to Home/IoT Plug and Play Settings
- Find the source you want to remove.
- Select X to remove it.
Change the source priorities:
You can drag and drop one of the model definition sources to a different ranking in the list.
View devices
After the tool connects to your IoT hub, it displays the Devices list page that lists the device identities registered with your IoT hub. You can select any entry in the list to see more information.
On the Devices list page you can:
- Select New to register a new device with your hub. Then enter a device ID. Use the default settings to automatically generate authentication keys and enable the connection to your hub.
- Select a device and then select Delete to delete a device identity. Review the device details before you complete this action to be sure you're deleting the right device identity.
Interact with a device
On the Devices list page, select a value in the Device ID column to view the detail page for the registered device. For each device there are two sections: Device and Digital Twin.
Device
This section includes the Device Identity, Device Twin, Telemetry, Direct method, Cloud-to-device message, Module Identity tabs.
- You can view and update the device identity information on the Device identity tab.
- You can access the device twin information on the Device Twin tab.
- If a device is connected and actively sending data, you can view the telemetry on the Telemetry tab.
- You can call a direct method on the device on the Direct method tab.
- You can send a cloud-to-device message on the Cloud-to-device messages tab.
- You can access the module twin information.
IoT Plug and Play components
If the device is connected to the hub using a Model ID, the tool shows the IoT Plug and Play components tab where you can see the Model ID.
If the Model ID is available in one of the configured sources - Public Repo or Local Folder, the list of components is displayed. Selecting a component shows the properties, commands, and telemetry available.
On the Component page, you can view the read-only properties, update writable properties, invoke commands, and see the telemetry messages produced by this component.

Properties
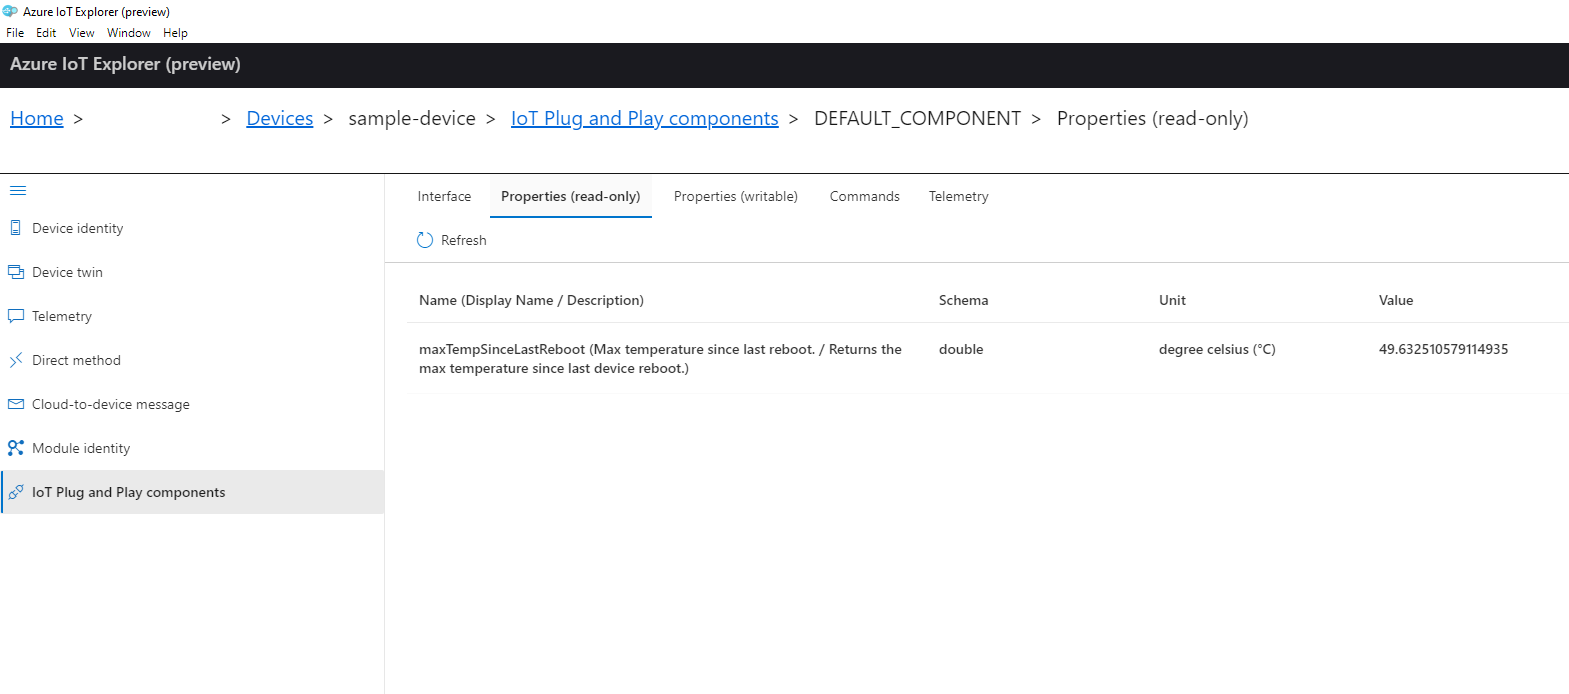
You can view the read-only properties defined in an interface on the Properties (read-only) tab. You can update the writable properties defined in an interface on the Properties (writable) tab:
- Go to the Properties (writable) tab.
- Select the property you'd like to update.
- Enter the new value for the property.
- Preview the payload to be sent to the device.
- Submit the change.
After you submit a change, you can track the update status: synching, success, or error. When the synching is complete, you see the new value of your property in the Reported Value column. If you navigate to other pages before the synching completes, the tool still notifies you when the update is complete. You can also use the tool's notification center to see the notification history.
Commands
To send a command to a device, go to the Commands tab:
- In the list of commands, expand the command you want to trigger.
- Enter any required values for the command.
- Preview the payload to be sent to the device.
- Submit the command.
Telemetry
To view the telemetry for the selected interface, go to its Telemetry tab. Select Start to begin receiving telemetry.
Known Issues
For a list of the IoT features supported by the latest version of the tool, see Feature list.
Next steps
In this how-to article, you learned how to install and use Azure IoT explorer to interact with your IoT Plug and Play devices. A suggested next step is to learn how to Manage IoT Plug and Play digital twins.
Feedback
Coming soon: Throughout 2024 we will be phasing out GitHub Issues as the feedback mechanism for content and replacing it with a new feedback system. For more information see: https://aka.ms/ContentUserFeedback.
Submit and view feedback for