Get started with IoT Hub module identity and module twin (.NET)
Module identities and module twins are similar to Azure IoT Hub device identity and device twin, but provide finer granularity. While Azure IoT Hub device identity and device twin enable the back-end application to configure a device and provide visibility on the device's conditions, a module identity and module twin provide these capabilities for individual components of a device. On capable devices with multiple components, such as operating system devices or firmware devices, module identities and module twins allow for isolated configuration and conditions for each component.
Note
The features described in this article are available only in the standard tier of IoT Hub. For more information about the basic and standard/free IoT Hub tiers, see Choose the right IoT Hub tier for your solution.
At the end of this article, you have two .NET console apps:
CreateIdentities: creates a device identity, a module identity, and associated security key to connect your device and module clients.
UpdateModuleTwinReportedProperties: sends updated module twin, reported properties to your IoT hub.
Note
See Azure IoT SDKs for more information about the SDK tools available to build both device and back-end apps.
Prerequisites
Visual Studio.
An IoT hub. Create one with the CLI or the Azure portal.
Module authentication
You can use symmetric keys or X.509 certificates to authenticate module identities. For X.509 certificate authentication, the module's certificate must have its common name (CN) formatted like CN=<deviceid>/<moduleid>. For example:
openssl req -new -key d1m1.key.pem -out d1m1.csr -subj "/CN=device01\/module01"
Get the IoT hub connection string
In this article, you create a back-end service that adds a device in the identity registry and then adds a module to that device. Your service requires the registry write permission. By default, every IoT hub is created with a shared access policy named registryReadWrite that grants this permission.
To get the IoT Hub connection string for the registryReadWrite policy, follow these steps:
In the Azure portal, select Resource groups. Select the resource group where your hub is located, and then select your hub from the list of resources.
On the left-side pane of your hub, select Shared access policies.
From the list of policies, select the registryReadWrite policy.
Copy the Primary connection string and save the value.


For more information about IoT Hub shared access policies and permissions, see Access control and permissions.
Create a module identity
In this section, you create a .NET console app that creates a device identity and a module identity in the identity registry in your hub. A device or module can't connect to hub unless it has an entry in the identity registry. For more information, see the Identity Registry section of the IoT Hub developer guide.
When you run this console app, it generates a unique ID and key for both device and module. Your device and module use these values to identify themselves when it sends device-to-cloud messages to IoT Hub. The IDs are case-sensitive.
Open Visual Studio, and select Create a new project.
In Create a new project, select Console App (.NET Framework).
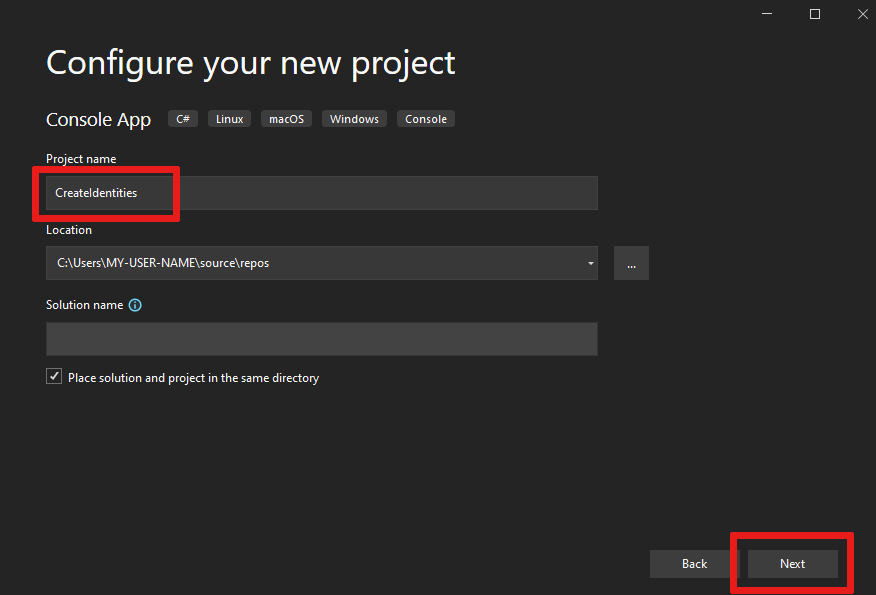
Select Next to open Configure your new project. Name the project CreateIdentities, then select Next.
Keep the default .NET Framework option and select Create to create your project.
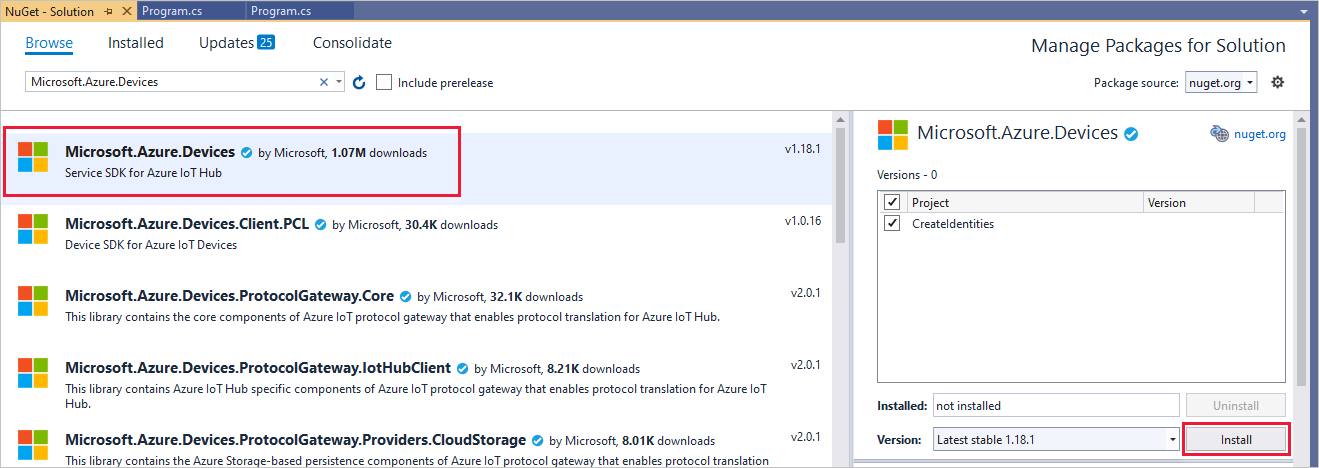
In Visual Studio, open Tools > NuGet Package Manager > Manage NuGet Packages for Solution. Select the Browse tab.
Search for Microsoft.Azure.Devices. Select it and then select Install.
Add the following
usingstatements at the top of the Program.cs file:using Microsoft.Azure.Devices; using Microsoft.Azure.Devices.Common.Exceptions;Add the following fields to the Program class. Replace the placeholder value with the IoT Hub connection string for the hub that you created in the previous section.
const string connectionString = "<replace_with_iothub_connection_string>";
const string deviceID = "myFirstDevice";
const string moduleID = "myFirstModule";
Add the following code to the Main class.
static void Main(string[] args)
{
    AddDeviceAsync().Wait();
    AddModuleAsync().Wait();
}
Add the following methods to the Program class:
private static async Task AddDeviceAsync()
{
   RegistryManager registryManager =
     RegistryManager.CreateFromConnectionString(connectionString);
   Device device;

   try
   {
       device = await registryManager.AddDeviceAsync(new Device(deviceID));
   }
   catch (DeviceAlreadyExistsException)
    {
        device = await registryManager.GetDeviceAsync(deviceID);
    }

    Console.WriteLine("Generated device key: {0}",
      device.Authentication.SymmetricKey.PrimaryKey);
}

private static async Task AddModuleAsync()
{
    RegistryManager registryManager =
      RegistryManager.CreateFromConnectionString(connectionString);
    Module module;

    try
    {
        module =
          await registryManager.AddModuleAsync(new Module(deviceID, moduleID));
    }
    catch (ModuleAlreadyExistsException)
    {
        module = await registryManager.GetModuleAsync(deviceID, moduleID);
    }

    Console.WriteLine("Generated module key: {0}", module.Authentication.SymmetricKey.PrimaryKey);
}
The
AddDeviceAsyncmethod creates a device identity with ID myFirstDevice. If that device ID already exists in the identity registry, the code simply retrieves the existing device information. The app then displays the primary key for that identity. You use this key in the simulated device app to connect to your hub.The
AddModuleAsyncmethod creates a module identity with ID myFirstModule under device myFirstDevice. If that module ID already exists in the identity registry, the code simply retrieves the existing module information. The app then displays the primary key for that identity. You use this key in the simulated module app to connect to your hub.Important
The device ID may be visible in the logs collected for customer support and troubleshooting, so make sure to avoid any sensitive information while naming it.
Run this app, and make a note of the device key and module key.

Note
The IoT Hub identity registry only stores device and module identities to enable secure access to the hub. The identity registry stores device IDs and keys to use as security credentials. The identity registry also stores an enabled/disabled flag for each device that you can use to disable access for that device. If your app needs to store other device-specific metadata, it should use an application-specific store. There is no enabled/disabled flag for module identities. For more information, see IoT Hub developer guide.
Update the module twin using .NET device SDK
Now let's communicate to the cloud from your simulated device. Once a module identity is created, a module twin is implicitly created in IoT Hub. In this section, you create a .NET console app on your simulated device that updates the module twin reported properties.
To retrieve your module connection string, navigate to your IoT hub then select Devices. Find and select myFirstDevice to open it and then select myFirstModule to open it. In Module Identity Details, copy the Connection string (primary key) and save it for the console app.

In Visual Studio, add a new project to your solution by selecting File > New > Project. In Create a new project, select Console App (.NET Framework), and select Next.
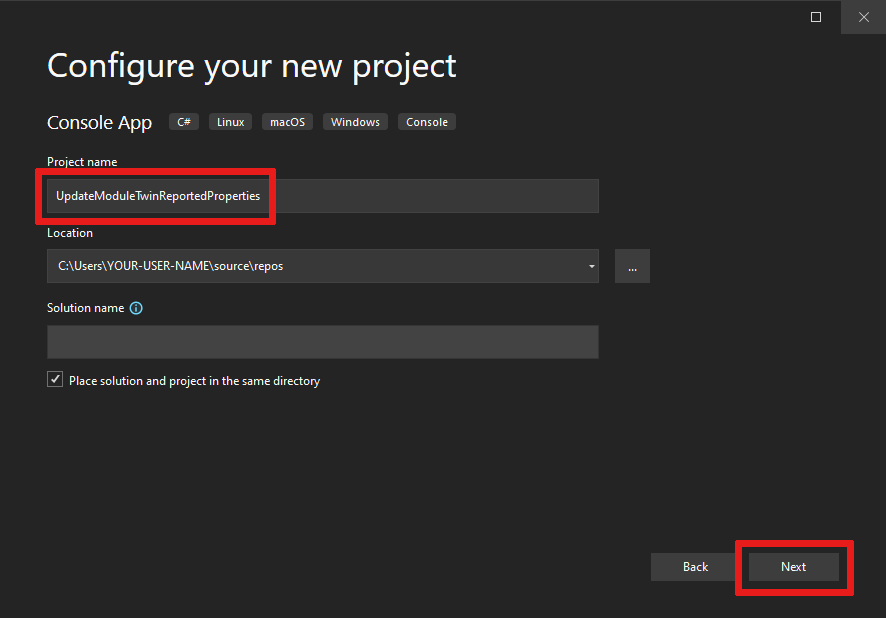
In Configure your new project, name the project UpdateModuleTwinReportedProperties, then select Next.
Keep the default .NET Framework option and select Create to create your project.
In Visual Studio, open Tools > NuGet Package Manager > Manage NuGet Packages for Solution. Select the Browse tab.
Search for and select Microsoft.Azure.Devices.Client, and then select Install.

Add the following
usingstatements at the top of the Program.cs file:using Microsoft.Azure.Devices.Client; using Microsoft.Azure.Devices.Shared; using System.Threading.Tasks; using Newtonsoft.Json;Add the following fields to the Program class. Replace the placeholder value with the module connection string.
private const string ModuleConnectionString = "<Your module connection string>";
private static ModuleClient Client = null;
static void ConnectionStatusChangeHandler(ConnectionStatus status,
  ConnectionStatusChangeReason reason)
{
    Console.WriteLine("Connection Status Changed to {0}; the reason is {1}",
      status, reason);
}
Add the following method OnDesiredPropertyChanged to the Program class:
private static async Task OnDesiredPropertyChanged(TwinCollection desiredProperties,
  object userContext)
    {
        Console.WriteLine("desired property change:");
        Console.WriteLine(JsonConvert.SerializeObject(desiredProperties));
        Console.WriteLine("Sending current time as reported property");
        TwinCollection reportedProperties = new TwinCollection
        {
            ["DateTimeLastDesiredPropertyChangeReceived"] = DateTime.Now
        };

        await Client.UpdateReportedPropertiesAsync(reportedProperties).ConfigureAwait(false);
    }
Add the following lines to the Main method:
static void Main(string[] args)
{
    Microsoft.Azure.Devices.Client.TransportType transport =
      Microsoft.Azure.Devices.Client.TransportType.Amqp;

    try
    {
        Client =
          ModuleClient.CreateFromConnectionString(ModuleConnectionString, transport);
        Client.SetConnectionStatusChangesHandler(ConnectionStatusChangeHandler);
        Client.SetDesiredPropertyUpdateCallbackAsync(OnDesiredPropertyChanged, null).Wait();

        Console.WriteLine("Retrieving twin");
        var twinTask = Client.GetTwinAsync();
        twinTask.Wait();
        var twin = twinTask.Result;
        Console.WriteLine(JsonConvert.SerializeObject(twin.Properties));

        Console.WriteLine("Sending app start time as reported property");
        TwinCollection reportedProperties = new TwinCollection();
        reportedProperties["DateTimeLastAppLaunch"] = DateTime.Now;

        Client.UpdateReportedPropertiesAsync(reportedProperties);
    }
    catch (AggregateException ex)
    {
        Console.WriteLine("Error in sample: {0}", ex);
    }

    Console.WriteLine("Waiting for Events.  Press enter to exit...");
    Console.ReadLine();
    Client.CloseAsync().Wait();
}
Now you know how to retrieve the module twin and update reported properties with AMQP protocol.
Optionally, you can add these statements to the Main method to send an event to IoT Hub from your module. Place these lines below the
try catchblock.Byte[] bytes = new Byte[2]; bytes[0] = 0; bytes[1] = 1; var sendEventsTask = Client.SendEventAsync(new Message(bytes)); sendEventsTask.Wait(); Console.WriteLine("Event sent to IoT Hub.");


Run the apps
You can now run the apps.
In Visual Studio, in Solution Explorer, right-click your solution, and then select Set StartUp projects.
Under Common Properties, select Startup Project.
Select Multiple startup projects, and then select Start as the action for the apps, and OK to accept your changes.
Press F5 to start the apps.
Next steps
To continue getting started with IoT Hub and to explore other IoT scenarios, see:
Feedback
Coming soon: Throughout 2024 we will be phasing out GitHub Issues as the feedback mechanism for content and replacing it with a new feedback system. For more information see: https://aka.ms/ContentUserFeedback.
Submit and view feedback for