Create and merge a certificate signing request in Key Vault
Azure Key Vault supports storing digital certificates issued by any certificate authority (CA). It supports creating a certificate signing request (CSR) with a private/public key pair. The CSR can be signed by any CA (an internal enterprise CA or an external public CA). A certificate signing request (CSR) is a message that you send to a CA in order to request a digital certificate.
For more general information about certificates, see Azure Key Vault certificates.
If you don't have an Azure subscription, create a free account before you begin.
Add certificates in Key Vault issued by partnered CAs
Key Vault partners with the following certificate authorities to simplify certificate creation.
| Provider | Certificate type | Configuration setup |
|---|---|---|
| DigiCert | Key Vault offers OV or EV SSL certificates with DigiCert | Integration guide |
| GlobalSign | Key Vault offers OV or EV SSL certificates with GlobalSign | Integration guide |
Add certificates in Key Vault issued by non-partnered CAs
Follow these steps to add a certificate from CAs that aren't partnered with Key Vault. (For example, GoDaddy isn't a trusted Key Vault CA.)
Go to the key vault that you want to add the certificate to.
On the properties page, select Certificates.
Select the Generate/Import tab.
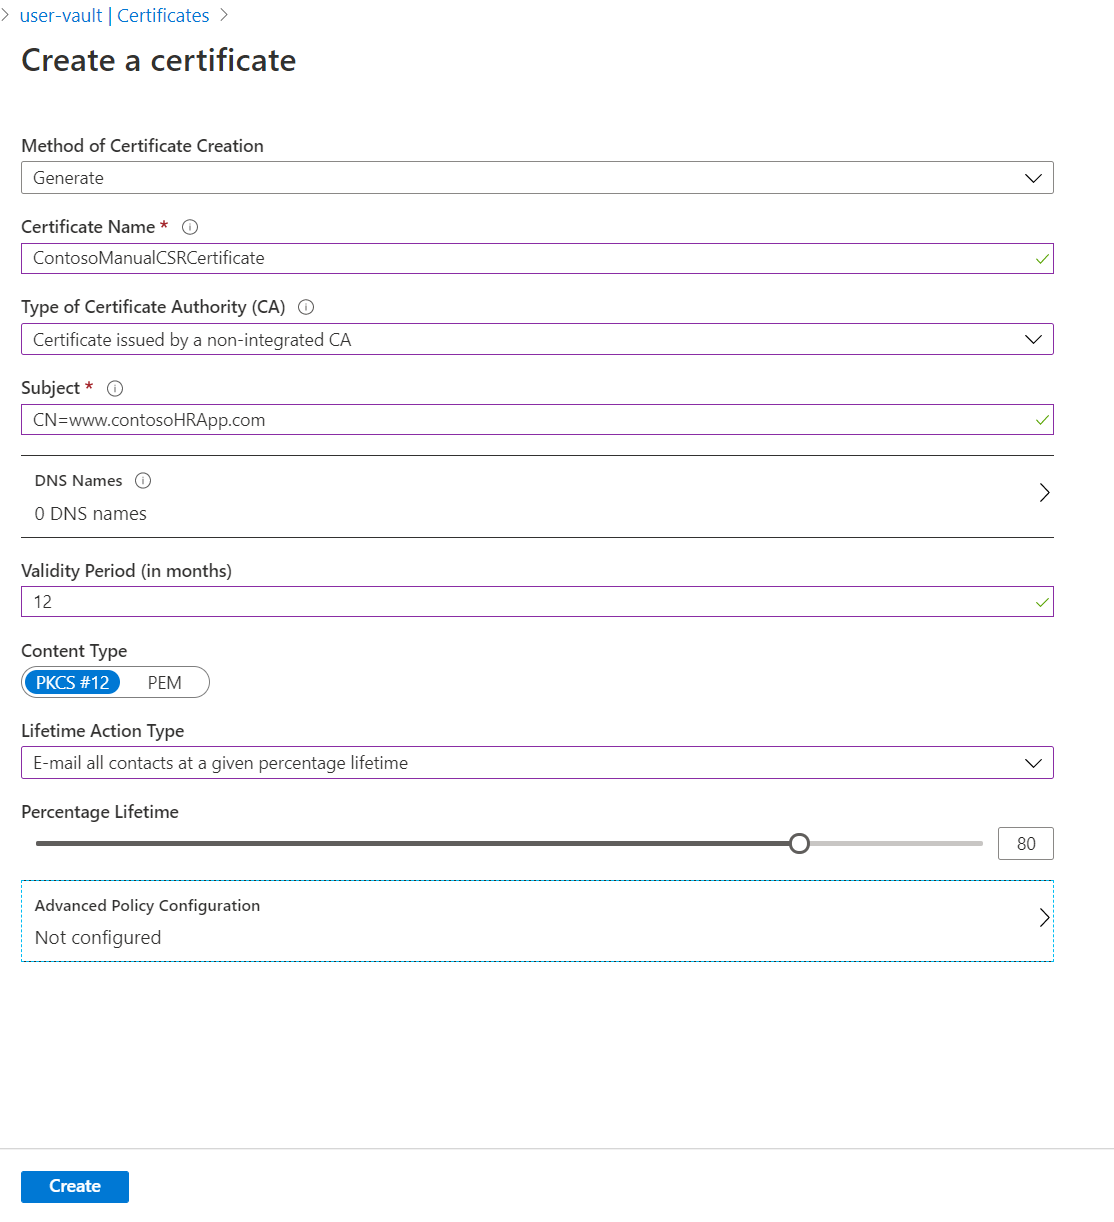
On the Create a certificate screen, choose the following values:
- Method of Certificate Creation: Generate.
- Certificate Name: ContosoManualCSRCertificate.
- Type of Certificate Authority (CA): Certificate issued by a non-integrated CA.
- Subject:
"CN=www.contosoHRApp.com".
Note
If you're using a Relative Distinguished Name (RDN) that has a comma (,) in the value, wrap the value that contains the special character in double quotes.
Example entry to Subject:
DC=Contoso,OU="Docs,Contoso",CN=www.contosoHRApp.comIn this example, the RDN
OUcontains a value with a comma in the name. The resulting output forOUis Docs, Contoso.Select the other values as desired, and then select Create to add the certificate to the Certificates list.
In the Certificates list, select the new certificate. The current state of the certificate is disabled because it hasn’t been issued by the CA yet.
On the Certificate Operation tab, select Download CSR.
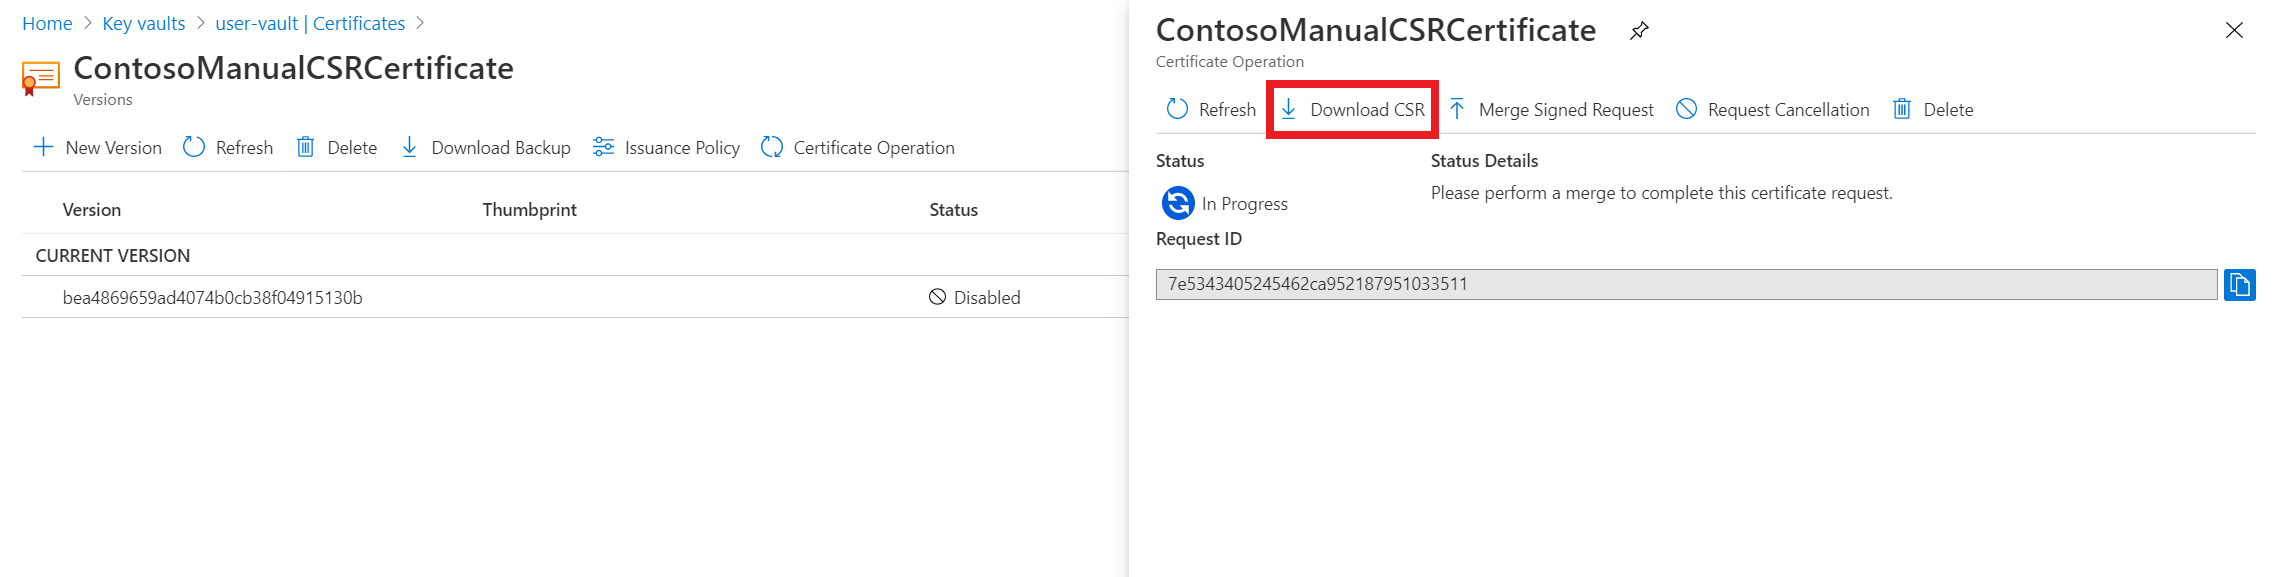
Have the CA sign the CSR (.csr).
After the request is signed, select Merge Signed Request on the Certificate Operation tab to add the signed certificate to Key Vault.
The certificate request has now been successfully merged.
Add more information to the CSR
If you want to add more information when creating the CSR, define it in SubjectName. You might want to add information such as:
- Country/region
- City/locality
- State/province
- Organization
- Organizational unit
Example
SubjectName="CN = learn.microsoft.com, OU = Microsoft Corporation, O = Microsoft Corporation, L = Redmond, S = WA, C = US"
Note
If you're requesting a Domain Validation (DV) certificate with additional information, the CA might reject the request if it can't validate all the information in the request. The additional information might be more appropriate if you're requesting an Organization Validation (OV) certificate.
FAQs
How do I monitor or manage my CSR?
What if I see Error type 'The public key of the end-entity certificate in the specified X.509 certificate content does not match the public part of the specified private key. Please check if certificate is valid'?
This error occurs if you aren't merging the signed CSR with the same CSR request you initiated. Each new CSR that you create has a private key, which has to match when you merge the signed request.
When a CSR is merged, will it merge the entire chain?
Yes, it will merge the entire chain, provided the user has brought back a .p7b file to merge.
What if the certificate issued is in disabled status in the Azure portal?
View the Certificate Operation tab to review the error message for that certificate.
What if I see Error type 'The subject name provided is not a valid X500 name'?
This error might occur if SubjectName includes any special characters. See notes in the Azure portal and PowerShell instructions.
Error type The CSR used to get your certificate has already been used. Please try to generate a new certificate with a new CSR. Go to 'Advanced Policy' section of the certificate and check if 'reuse key on renewal' option is turned off.
Next steps
Feedback
Coming soon: Throughout 2024 we will be phasing out GitHub Issues as the feedback mechanism for content and replacing it with a new feedback system. For more information see: https://aka.ms/ContentUserFeedback.
Submit and view feedback for