Set up long running tasks by calling logic app workflows with Azure Functions
Applies to: Azure Logic Apps (Consumption)
When you need to deploy a long-running listener or task, you can create a logic app workflow that uses the Request trigger and Azure Functions to call that trigger and run the workflow.
For example, you can create a function that listens for messages that arrive in an Azure Service Bus queue. When this event happens, the function calls the Request trigger, which works as a push trigger to automatically run your workflow.
This how-to guide shows how to create a logic app workflow that starts with the Request trigger. You then create a function that listens to a Service Bus queue. When a message arrives in the queue, the function calls the endpoint created by the Request trigger to run your workflow.
Note
Although you can implement this behavior using either a Consumption or Standard logic app workflow, this example continues with a Consumption workflow.
Prerequisites
An Azure account and subscription. If you don't have a subscription, create a free account.
A Service Bus namespace. If you don't have a namespace, create your namespace first. For more information, see What is Azure Service Bus?
A function app, which is a container for your functions. If you don't have a function app, create your function app first, and make sure that you select .NET for the Runtime stack property.
Basic knowledge about how to create logic app workflows. For more information, see Create an example Consumption logic app workflow in multi-tenant Azure Logic Apps.
Create a logic app workflow
In the Azure portal, create a Consumption blank logic app by selecting the Blank Logic App template.
After the designer opens, under the designer search box, select Built-in. In the search box, enter request.
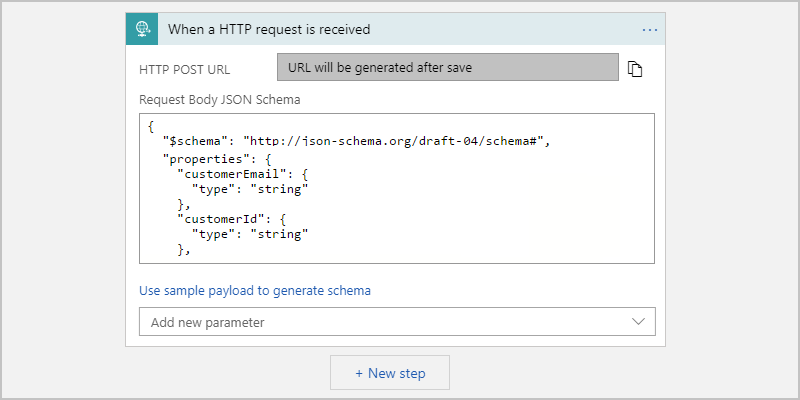
From the triggers list, select the trigger named When a HTTP request is received.

With the Request trigger, you can optionally enter a JSON schema to use with the queue message. JSON schemas help the designer understand the structure for the input data, and make the outputs easier for you to use in your workflow.
To specify a schema, enter the schema in the Request Body JSON Schema box.
If you don't have a schema, but you have a sample payload in JSON format, you can generate a schema from that payload.
In the Request trigger, select Use sample payload to generate schema.
Under Enter or paste a sample JSON payload, enter your sample payload, and then select Done.
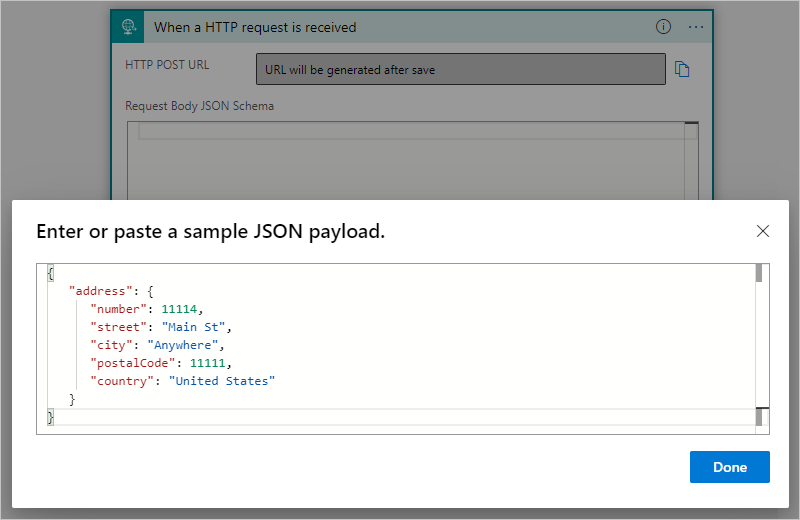
The sample payload that's pictured earlier generates the following schema, which appears in the trigger:
{
   "type": "object",
   "properties": {
      "address": {
         "type": "object",
         "properties": {
            "number": {
               "type": "integer"
            },
            "street": {
               "type": "string"
            },
            "city": {
               "type": "string"
            },
            "postalCode": {
               "type": "integer"
            },
            "country": {
               "type": "string"
            }
         }
      }
   }
}
Under the trigger, add any other actions that you want to use to process the received message.
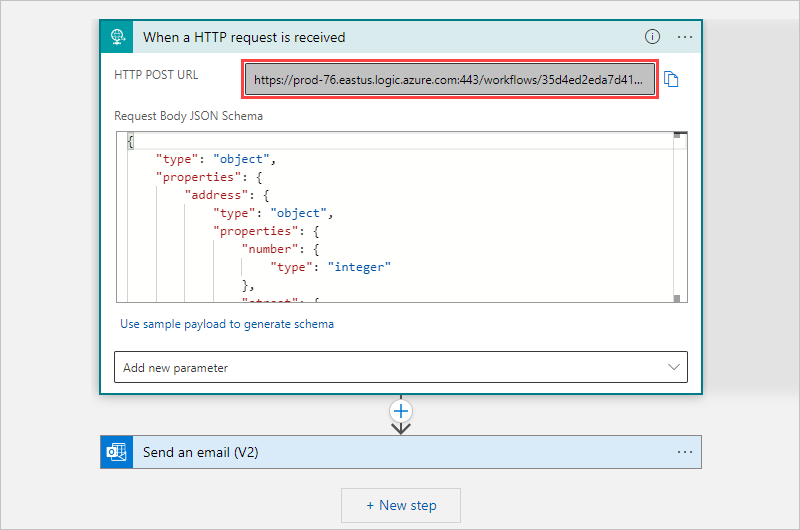
For example, you can add an action that sends email with the Office 365 Outlook connector.
Save your logic app workflow.
This step generates the callback URL for the Request trigger in your workflow. Later, you use this callback URL in the code for the Azure Service Bus Queue trigger. The callback URL appears in the HTTP POST URL property.
Create a function
Next, create the function that listens to the queue and calls the endpoint on the Request trigger when a message arrives.
In the Azure portal, open your function app.
On the function app navigation menu, select Functions. On the Functions pane, select Create.

Under Select a template, select the template named Azure Service Bus Queue trigger. After the Template details section appears, which shows different options based on your template selection, provide the following information:
Property Value Description New Function <function-name> Enter a name for your function. Service Bus connection <Service-Bus-connection> Select New to set up the connection for your Service Bus queue, which uses the Service Bus SDK OnMessageReceive()listener.Queue name <queue-name> Enter the name for your queue. 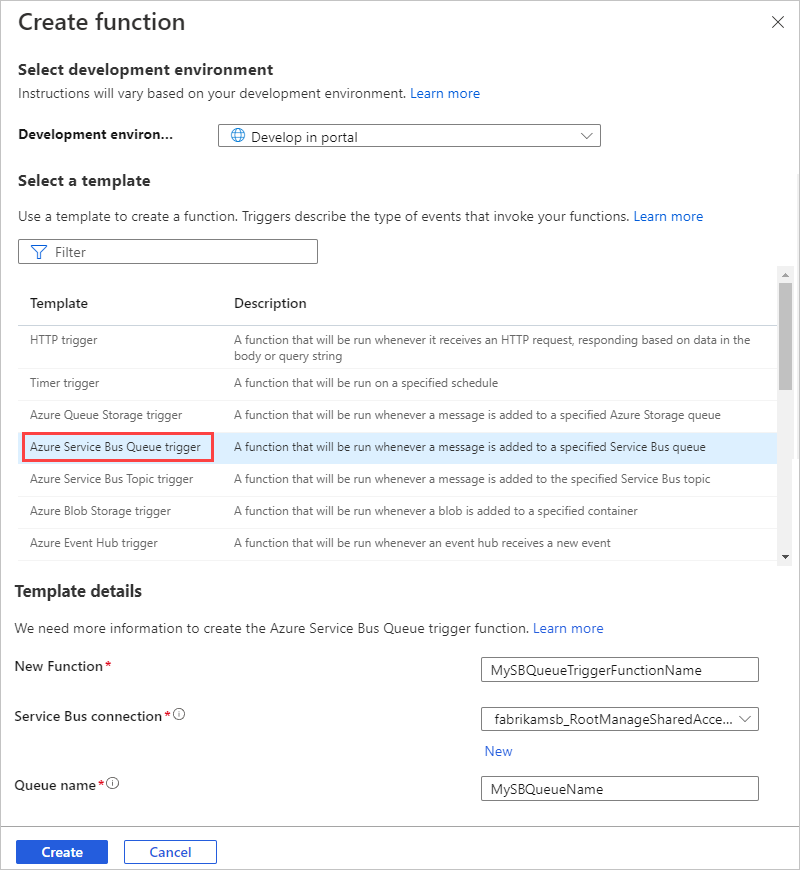
When you're done, select Create.
The Azure portal now shows the Overview page for your new Azure Service Bus Queue trigger function.
Now, write a basic function to call the endpoint for the logic app workflow that you created earlier. Before you write your function, review the following considerations:
Trigger the function by using the message from the queue message.
Due to possible concurrently running functions, high volumes, or heavy loads, avoid instantiating the HTTPClient class with the
usingstatement and directly creating HTTPClient instances per request. For more information, see Use HttpClientFactory to implement resilient HTTP requests.If possible, reuse the instance of HTTP clients. For more information, see Manage connections in Azure Functions.
The following example uses the
Task.Runmethod in asynchronous mode. For more information, see Asynchronous programming with async and await. The example also uses theapplication/jsonmessage content type, but you can change this type as necessary.using System; using System.Threading.Tasks; using System.Net.Http; using System.Text; // Set up the URI for the logic app workflow. You can also get this value on the logic app's 'Overview' pane, under the trigger history, or from an environment variable. private static string logicAppUri = @"https://prod-05.westus.logic.azure.com:443/workflows/<remaining-callback-URL>"; // Reuse the instance of HTTP clients if possible. For more information, see https://learn.microsoft.com/azure/azure-functions/manage-connections. private static HttpClient httpClient = new HttpClient(); public static async Task Run(string myQueueItem, TraceWriter log) { log.Info($"C# ServiceBus queue trigger function processed message: {myQueueItem}"); var response = await httpClient.PostAsync(logicAppUri, new StringContent(myQueueItem, Encoding.UTF8, "application/json")); }
Test your logic app workflow
For testing, add a message to your Service Bus queue by using the following steps or other tool:
In the Azure portal, open your Service Bus namespace.
On the Service Bus namespace navigation menu, select Queues.
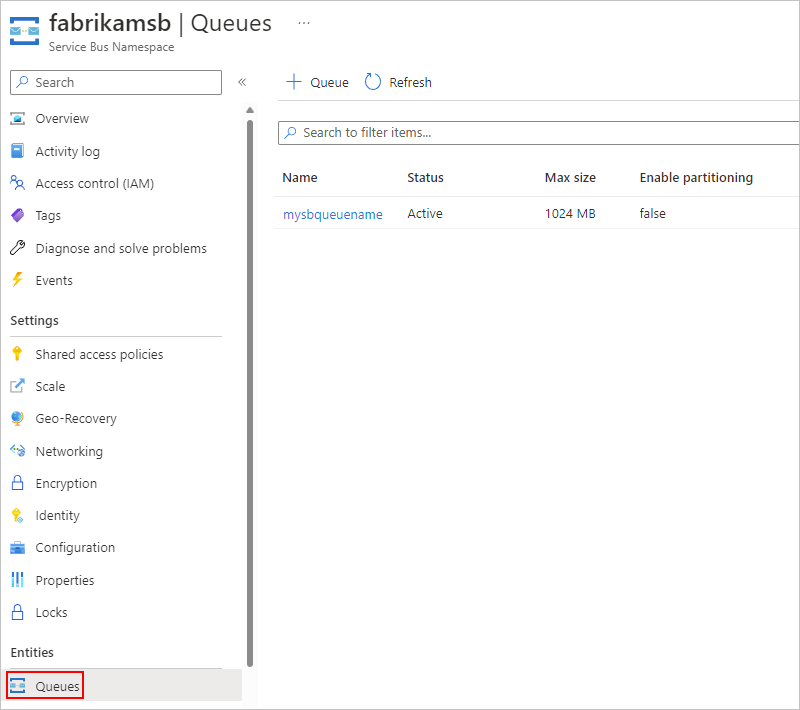
Select the Service Bus queue that you linked to your function earlier using a Service Bus connection.
On the queue navigation menu, select Service Bus Explorer, and then on the toolbar, select Send messages.
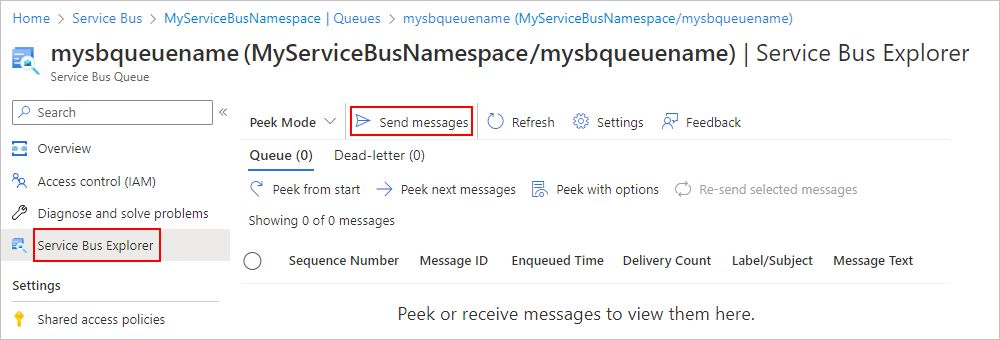
On the Send messages pane, specify the message to send to your Service Bus queue.
This message triggers your logic app workflow.
Next steps
Feedback
Coming soon: Throughout 2024 we will be phasing out GitHub Issues as the feedback mechanism for content and replacing it with a new feedback system. For more information see: https://aka.ms/ContentUserFeedback.
Submit and view feedback for