Customer-managed keys in Azure Managed Instance for Apache Cassandra
In Azure Managed Instance for Apache Cassandra, you can use your own key to encrypt data on disk. This article describes how to implement customer-managed keys by using Azure Key Vault.
Prerequisites
Set up a secret by using Azure Key Vault. For more information, see About Azure Key Vault secrets.
Deploy a virtual network in your resource group.
Apply the Network Contributor role with the Azure Cosmos DB service principal as a member. Use the following command:
    az role assignment create \
    --assignee a232010e-820c-4083-83bb-3ace5fc29d0b \
    --role 4d97b98b-1d4f-4787-a291-c67834d212e7 \
    --scope /subscriptions/<subscriptionID>/resourceGroups/<resourceGroupName>/providers/Microsoft.Network/virtualNetworks/<vnetName>
Applying the appropriate role to your virtual network helps you avoid failure when you deploy an Azure Managed Instance for Apache Cassandra cluster. For more information, see Create an Azure Managed Instance for Apache Cassandra cluster by using the Azure CLI.
This article requires Azure CLI version 2.30.0 or later. If you're using Azure Cloud Shell, the latest version is already installed.
Create a cluster with a system-assigned identity
Create a cluster by using the following command. Replace
<subscriptionID>,<resourceGroupName>,<vnetName>, and<subnetName>with the appropriate values.subnet="/subscriptions/<subscriptionID>/resourceGroups/<resourceGroupName>/providers/Microsoft.Network/virtualNetworks/<vnetName>/subnets/<subnetName>" cluster="thvankra-cmk-test-wcus" group="thvankra-nova-cmk-test" region="westcentralus" password="PlaceholderPassword" az managed-cassandra cluster create \ --identity-type SystemAssigned \ --resource-group $group \ --location $region \ --cluster-name $cluster \ --delegated-management-subnet-id $subnet \ --initial-cassandra-admin-password $passwordGet the identity information of the created cluster:
az managed-cassandra cluster show -c $cluster -g $groupThe output includes an identity section like the following example. Copy the
principalIdvalue for later use."identity": { "principalId": "1aa51c7f-196a-4013-a656-1ccabfdc54e0", "tenantId": "72f988bf-86f1-41af-91ab-2d7cd011db47", "type": "SystemAssigned" }In the Azure portal, go to your key vault and select Access policies. Then select Add Access Policy to create an access policy for your keys.
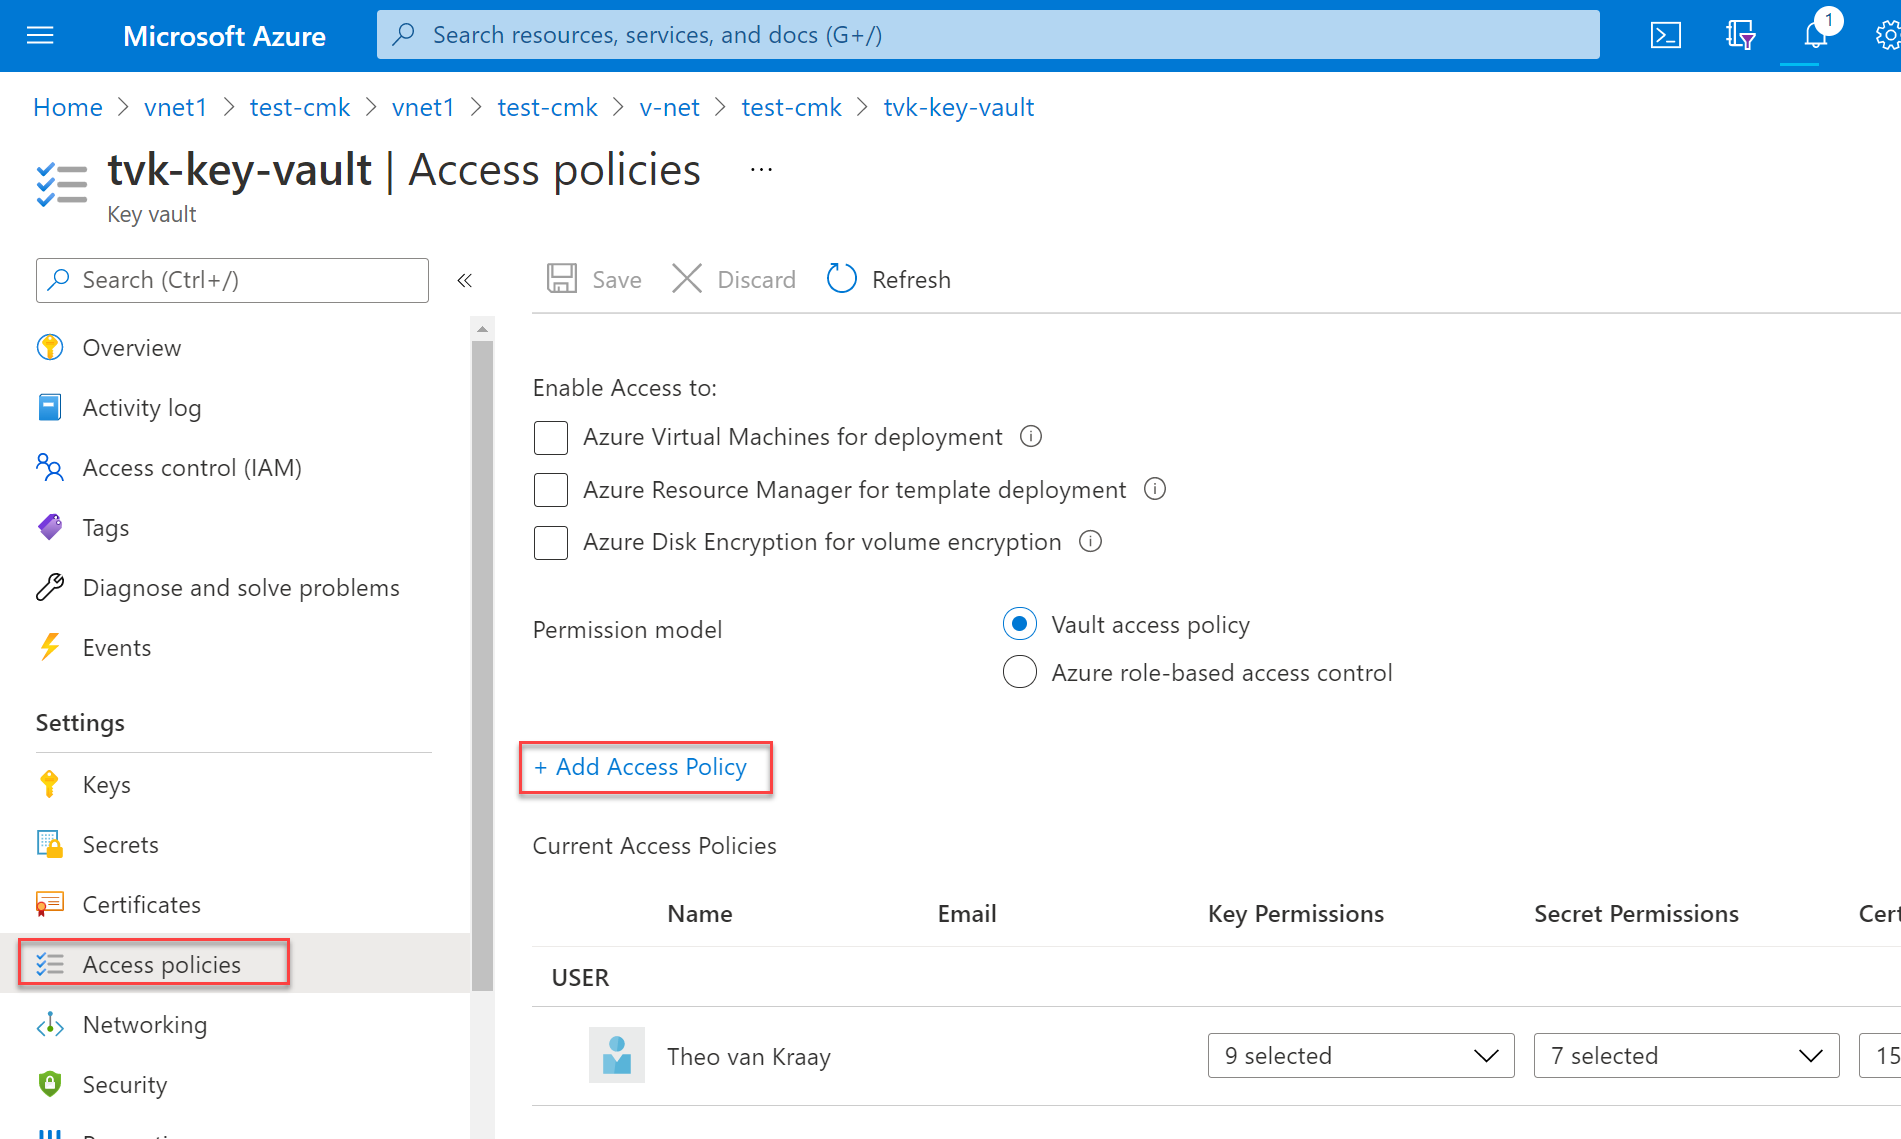
For Key permissions, select get, wrap, and unwrap. Select the Select principal box to open the Principal pane. Enter the cluster's
principalIdvalue that you retrieved earlier, and then select the Select button. (In the portal, you can also look up the principal ID of the cluster by the cluster's name.)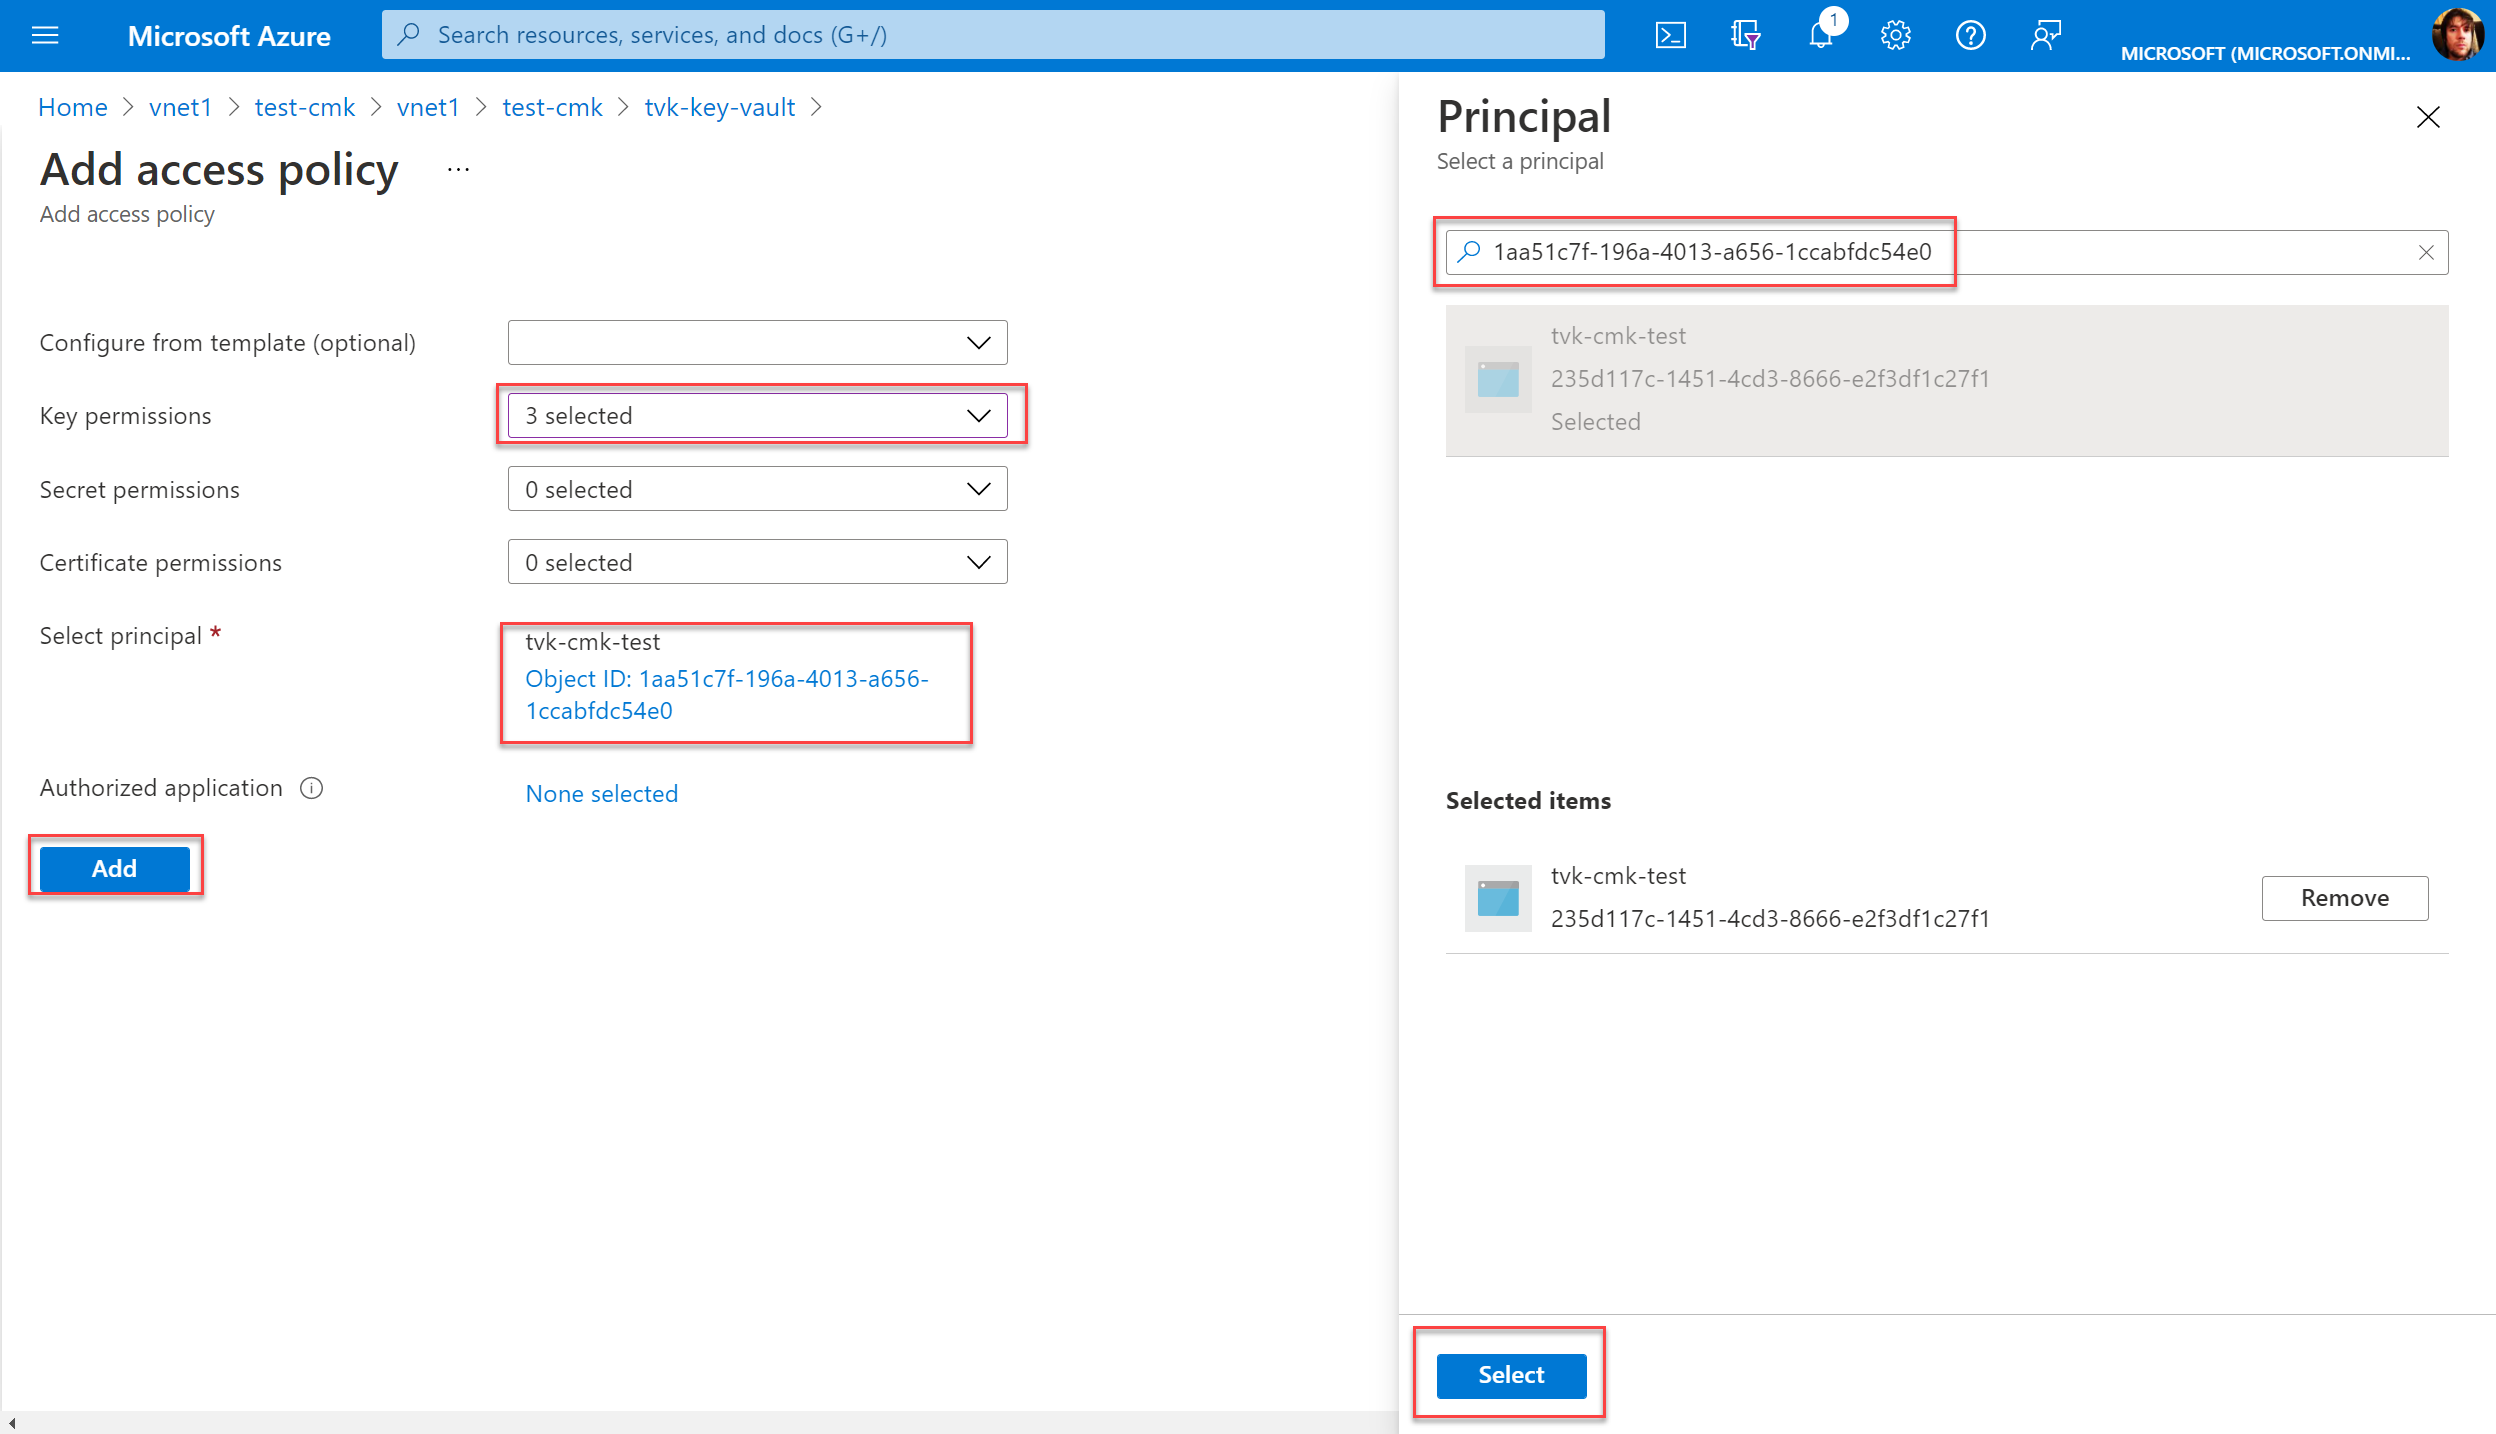
Warning
Make sure that the key vault has purge protection turned on. Datacenter deployments will fail without it.
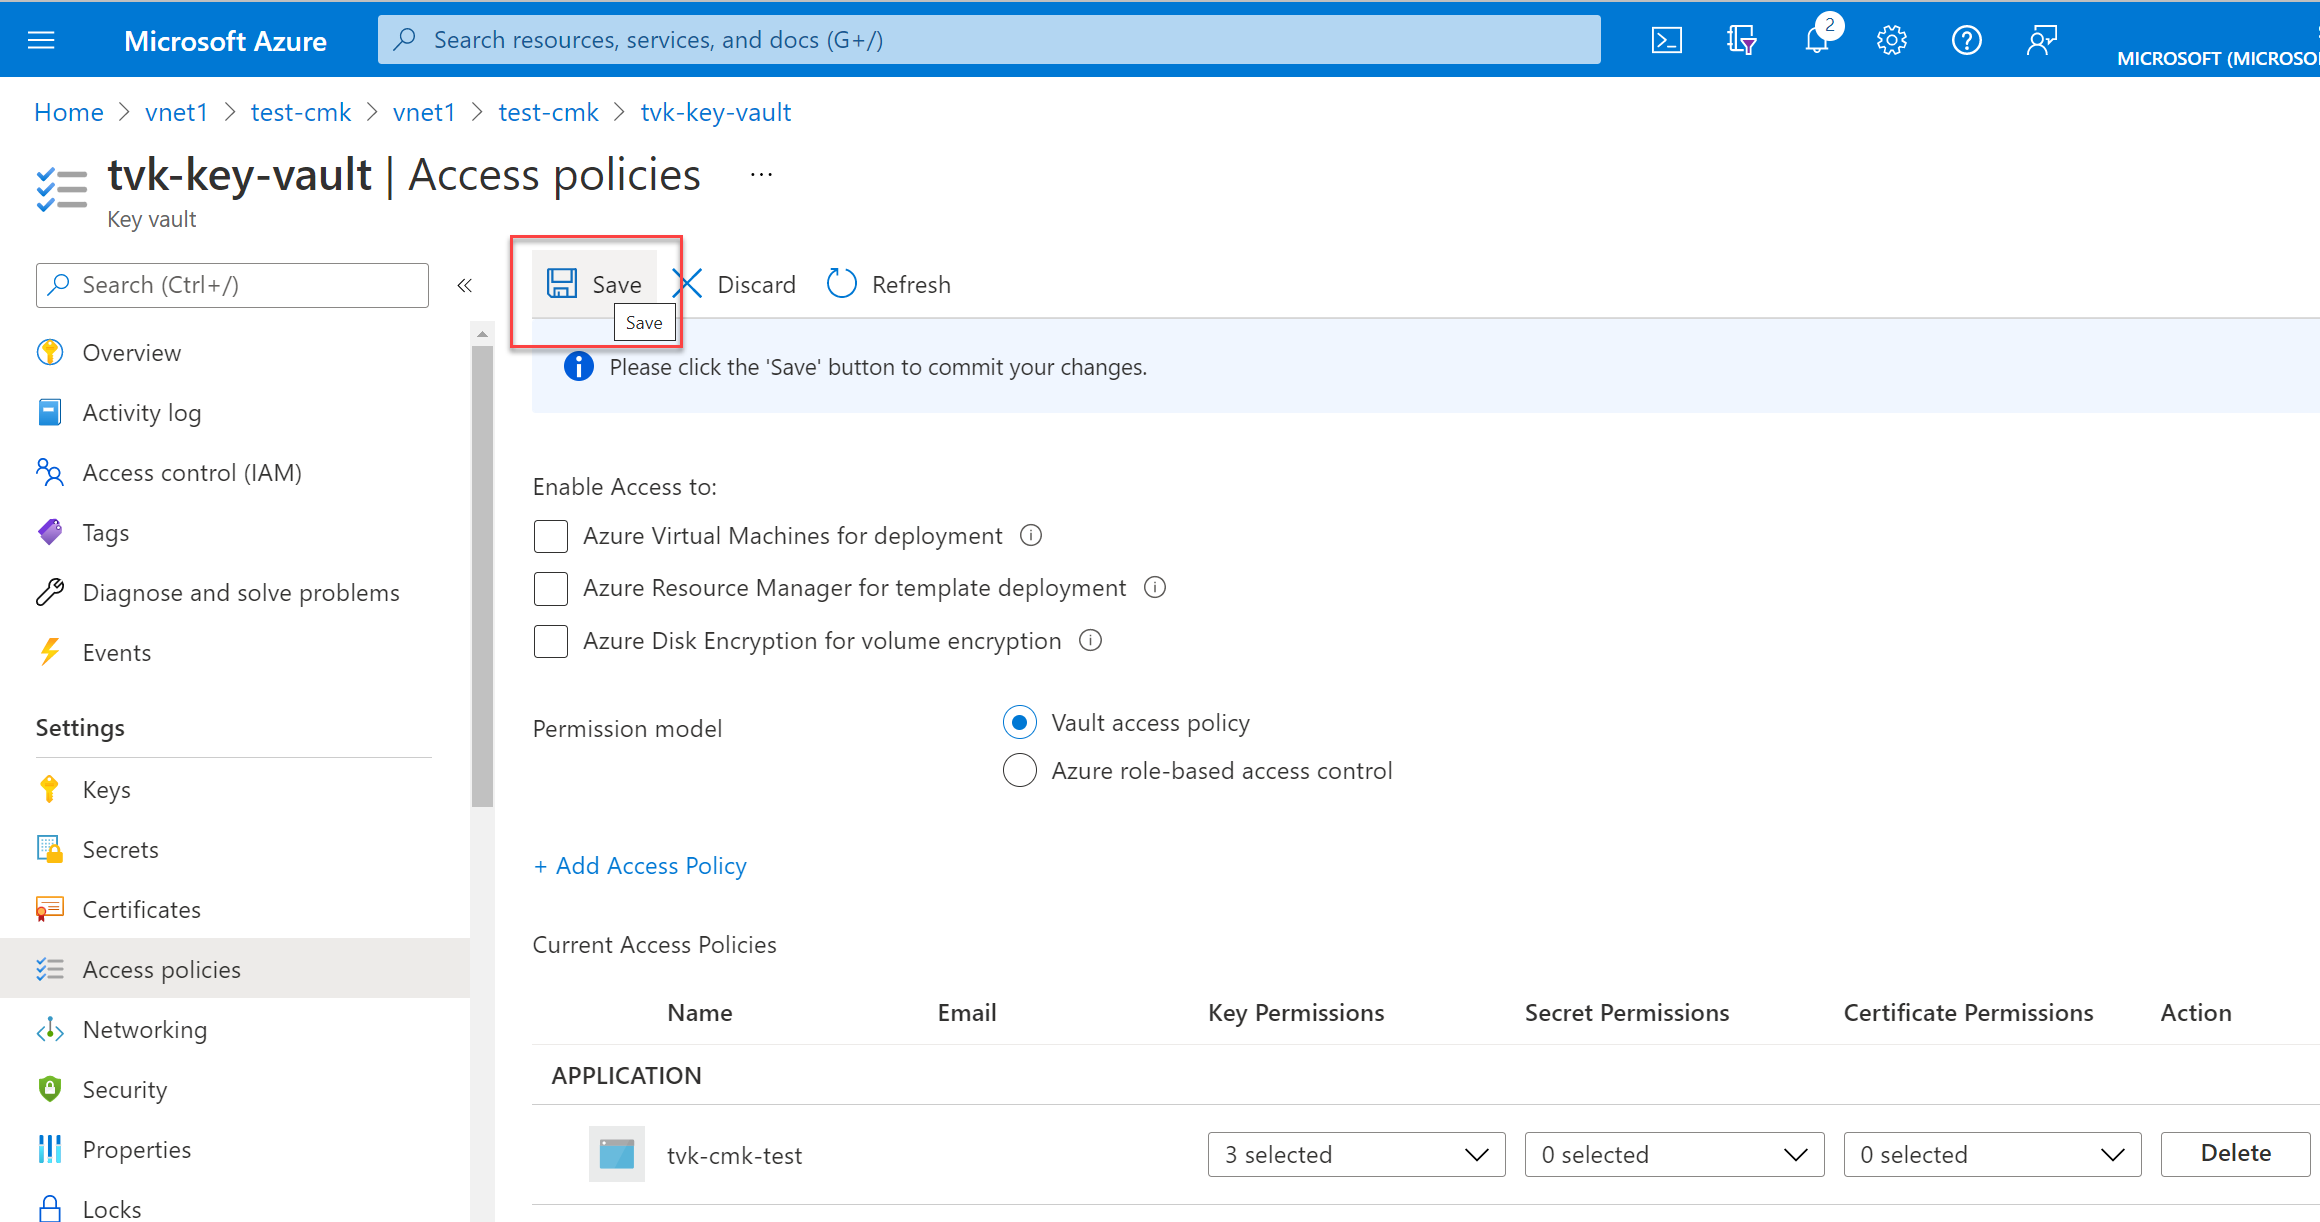
Select Add to add the access policy, and then select Save.
To get the key identifier, select Keys, and then select your key.
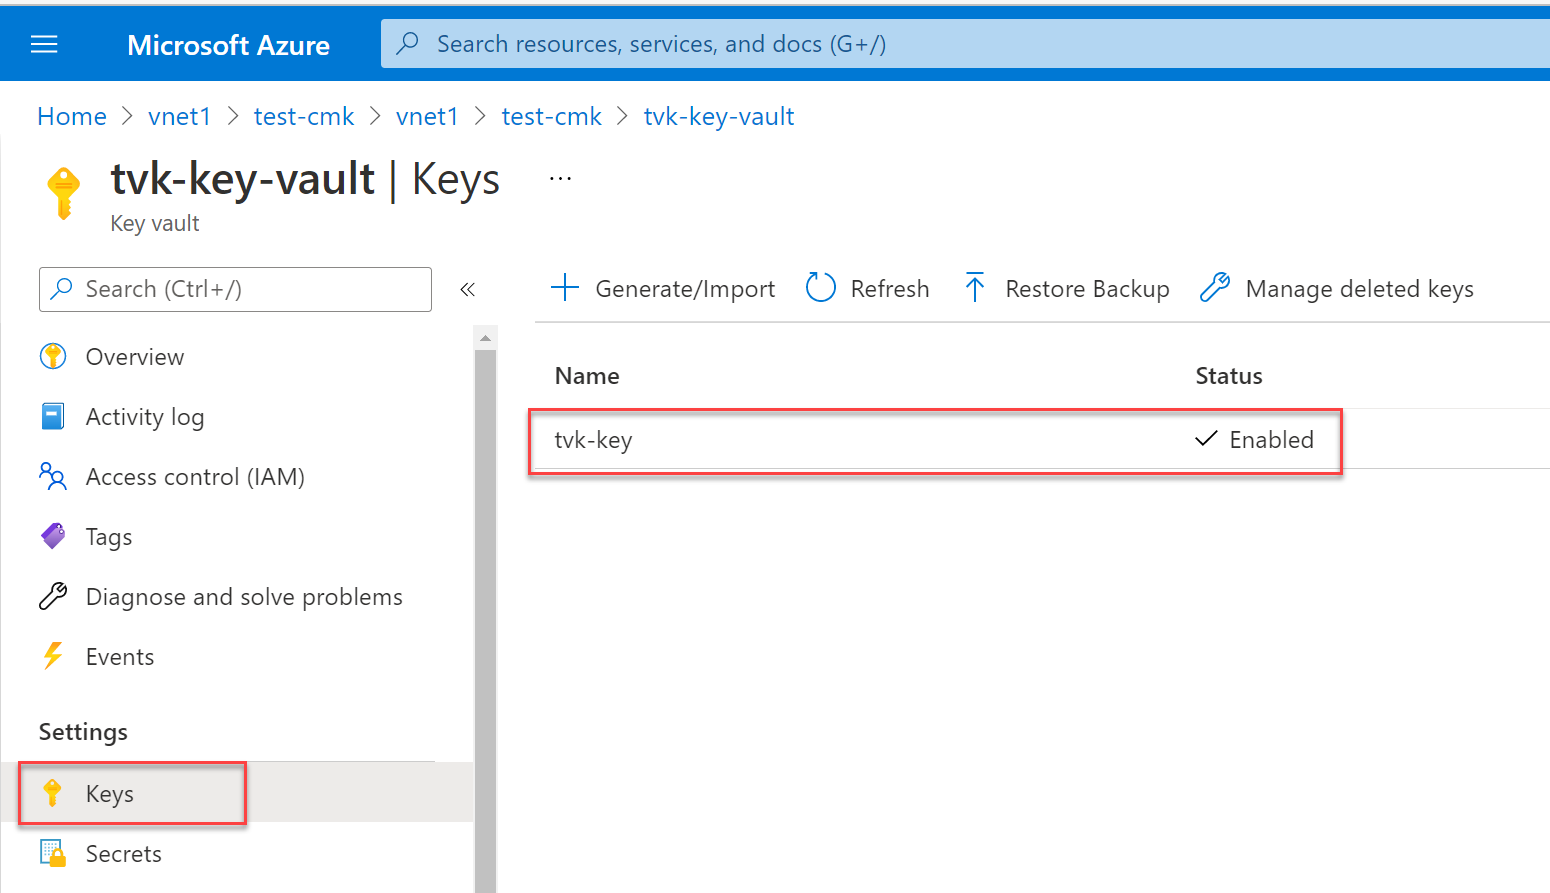
Select the current version.
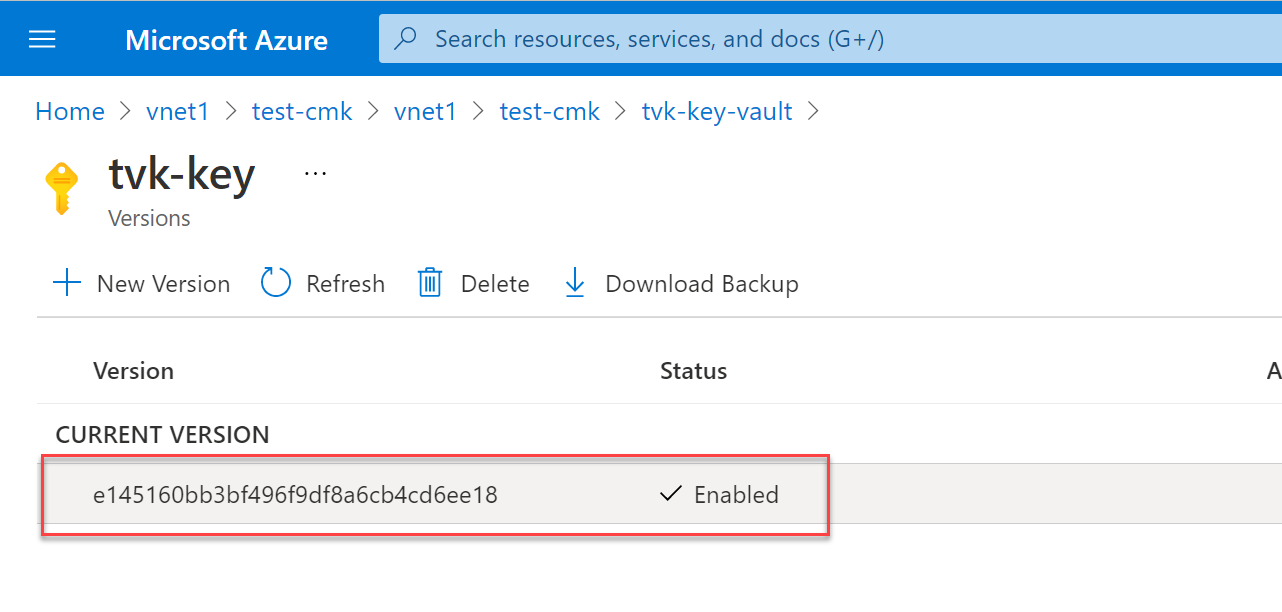
Save the key identifier for later use.

Create the datacenter by replacing
<key identifier>with the same key (the URI that you copied in the previous step) for both managed disk (managed-disk-customer-key-uri) and backup storage (backup-storage-customer-key-uri) encryption. Use the same value forsubnetthat you used earlier.managedDiskKeyUri = "<key identifier>" backupStorageKeyUri = "<key identifier>" group="thvankra-nova-cmk-test" region="westcentralus" cluster="thvankra-cmk-test-2" dc="dc1" nodecount=3 subnet="/subscriptions/<subscriptionID>/resourceGroups/<resourceGroupName>/providers/Microsoft.Network/virtualNetworks/<vnetName>/subnets/<subnetName>" az managed-cassandra datacenter create \ --resource-group $group \ --cluster-name $cluster \ --data-center-name $dc \ --managed-disk-customer-key-uri $managedDiskKeyUri \ --backup-storage-customer-key-uri $backupStorageKeyUri \ --node-count $nodecount \ --delegated-subnet-id $subnet \ --data-center-location $region \ --sku Standard_DS14_v2


You can also assign an identity to an existing cluster with no identity information:
az managed-cassandra cluster update --identity-type SystemAssigned -g $group -c $cluster
Rotate the key
To update the key, use this command:
managedDiskKeyUri = "<key identifier>"
backupStorageKeyUri = "<key identifier>"

az managed-cassandra datacenter update \
    --resource-group $group \
    --cluster-name $cluster \
    --data-center-name $dc \
    --managed-disk-customer-key-uri $managedDiskKeyUri \
    --backup-storage-customer-key-uri $backupStorageKeyUri
Feedback
Coming soon: Throughout 2024 we will be phasing out GitHub Issues as the feedback mechanism for content and replacing it with a new feedback system. For more information see: https://aka.ms/ContentUserFeedback.
Submit and view feedback for