Modernize ASP.NET web apps to Azure App Service code
This article shows you how to migrate ASP.NET web apps at-scale to Azure App Service using Azure Migrate.
Note
Tutorials show you the simplest deployment path for a scenario so that you can quickly set up a proof-of-concept. Tutorials use default options where possible and don't show all possible settings and paths.
In this tutorial, you learn how to:
- Migrate ASP.NET web apps at-scale to Azure App Service using integrated flow in Azure Migrate.
- Change migration plans for web apps.
- Change App Service plan for web apps.
If you don't have an Azure subscription, create a free account before you begin.
Prerequisites
Before you begin this tutorial, you should:
- Complete the first tutorial to discover web apps running in your VMware environment.
- Complete the second tutorial to assess web apps to determine their readiness status for migration to Azure App Service. It's necessary to assess web apps in order to migrate them using the integrated flow.
- Go to the existing project or create a new project.
Migrate web apps
Once the web apps are assessed, you can migrate them using the integrated migration flow in Azure Migrate.
- You can select up to five App Service Plans as part of a single migration.
- Currently, we don't support selecting existing App Service Plans during the migration flow.
- You can migrate web apps up to a maximum size of 2 GB, including content stored in the mapped virtual directory.
- Currently, we don't support migrating UNC directory content.
- You need Windows PowerShell 4.0 installed on servers hosting the IIS web servers from which you plan to migrate ASP.NET web apps to Azure App Services.
- Currently, the migration flow doesn't support VNet integrated scenarios.
To migrate the web apps, perform these steps:
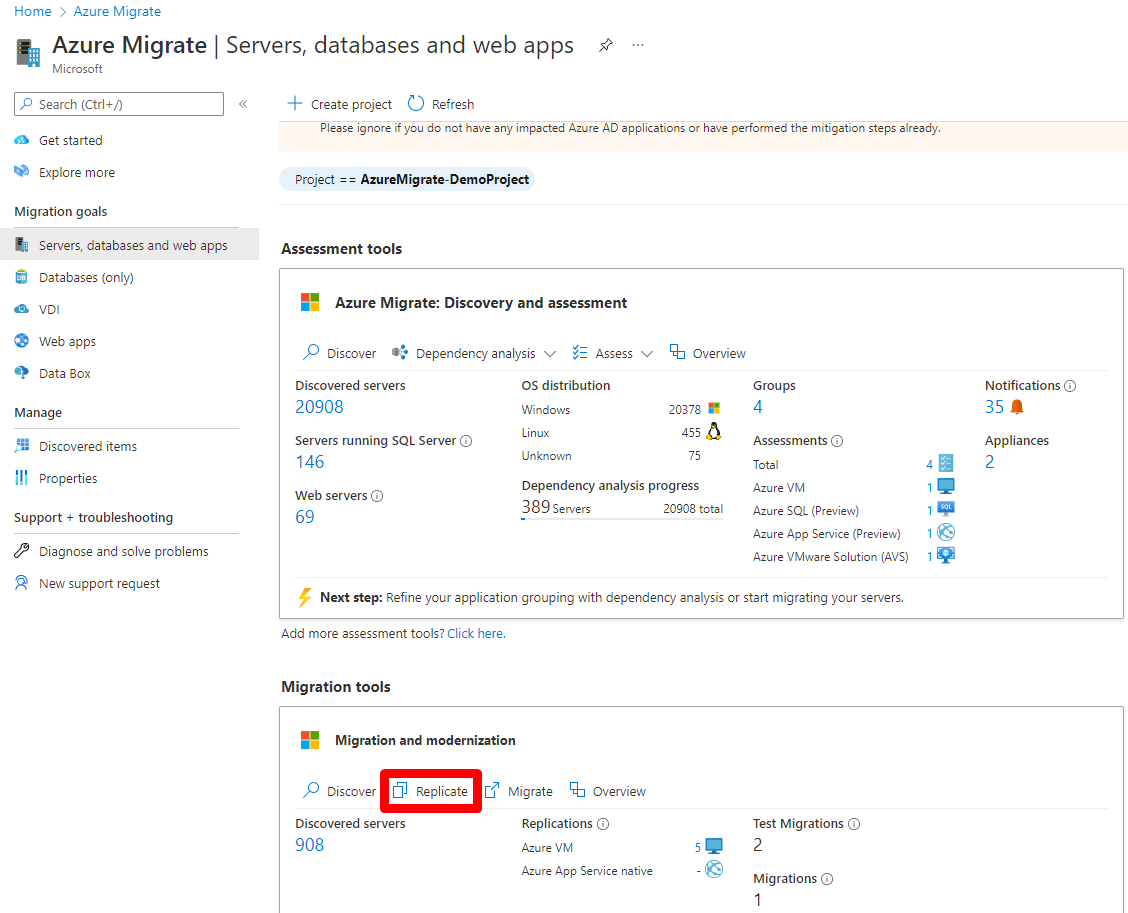
In the Azure Migrate project > Servers, databases and web apps > Migration tools > Migration and modernization, select Replicate.
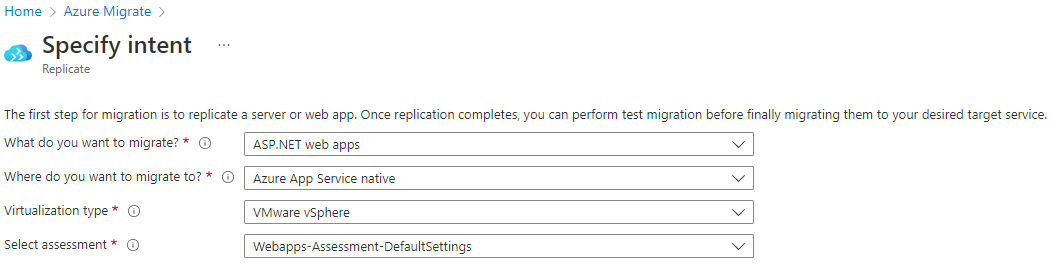
In Specify intent, > What do you want to migrate?, select ASP.NET web apps.
In Where do you want to migrate to?, select Azure App Service native.
In Virtualization type, select VMware vSphere.
In Select assessment, select the assessment you want to use to migrate web apps and then select the Continue button. Specify the Azure App Service details where the apps will be hosted.
In Basics, under Project details, select the Subscription, Resource Group, and Region where the web apps will be hosted, from the drop-down. Under Storage, select the Storage account for an intermediate storage location during the migration process. Select Next: Web Apps >.

In the Web Apps section, review the web apps you'd like to migrate.
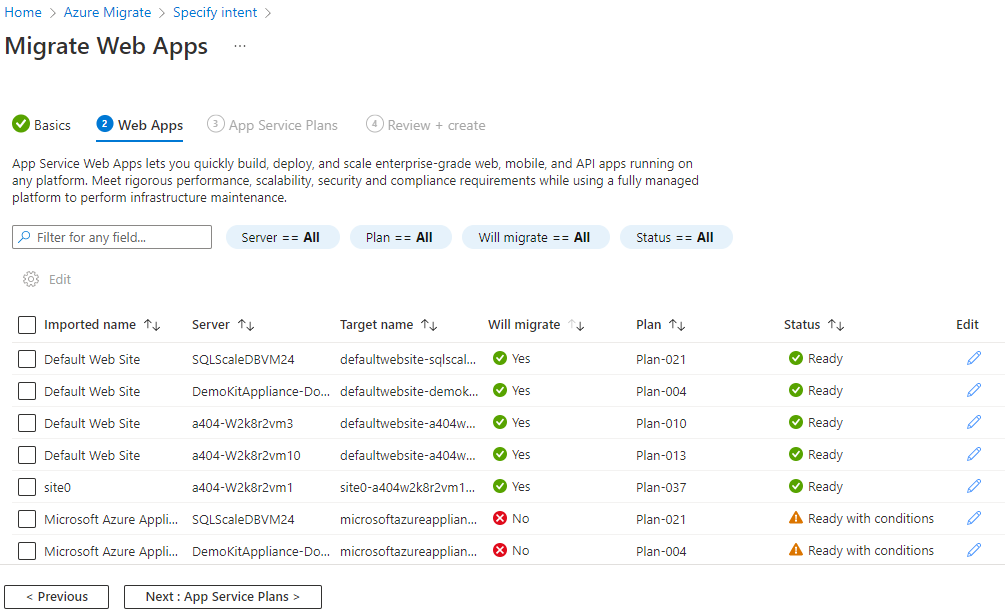
Note
Apps with the Ready status are tagged for migration by default. Apps tagged as Ready with conditions can be migrated by selecting Yes in Will migrate?.
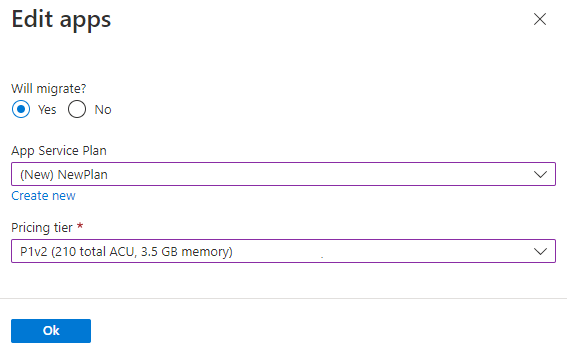
Select the web apps to migrate and select Edit.
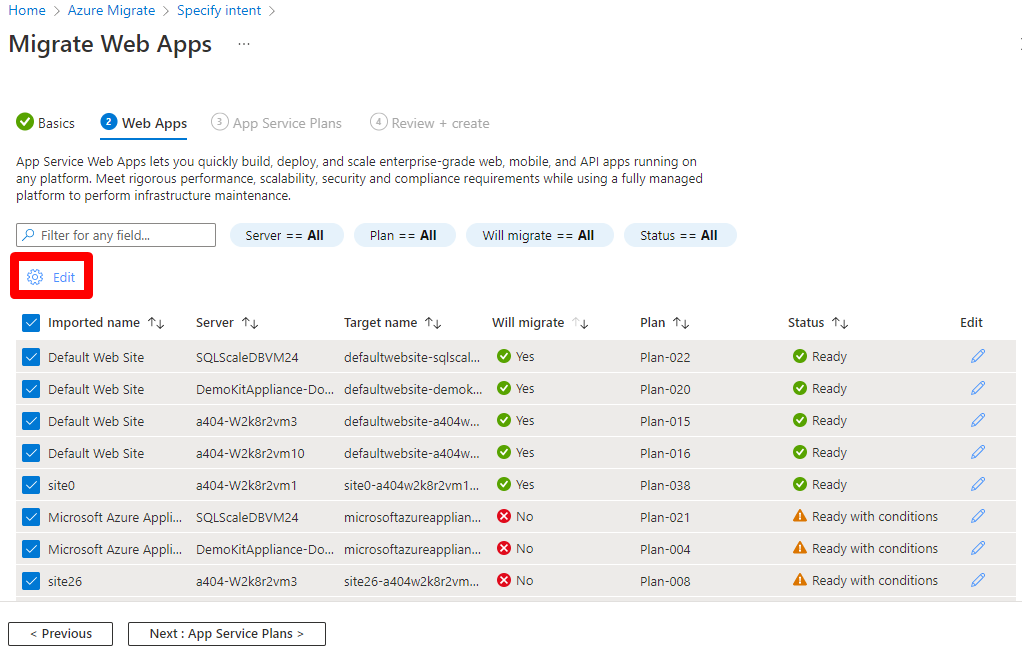
In Edit apps, under Will migrate?, select Yes, and select the App Service Plan and Pricing tier of where the apps will be hosted. Next, select the Ok button.
Note
Up to five App Service plans can be migrated at a time.
Select the Next: App Service Plans > button.
In the App Service Plans section, verify the App Service Plan details.
Note
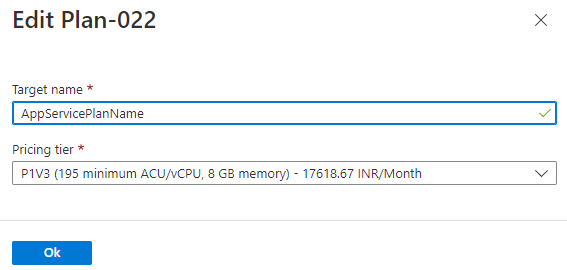
Depending on your web app requirements, you can edit the number of apps in an App Service plan or update the pricing tier. Follow these steps to update these details:
- Select the Edit button.
- In Edit plan, select the Target name and Pricing tier, then select Ok.
Once the App Service Plans are verified, select Next: Review + create.
Azure Migrate will now validate the migration settings. Validation may take a few minutes to run. Once complete, review the details and select Migrate.
Note
To download the migration summary, select the Download CSV button.
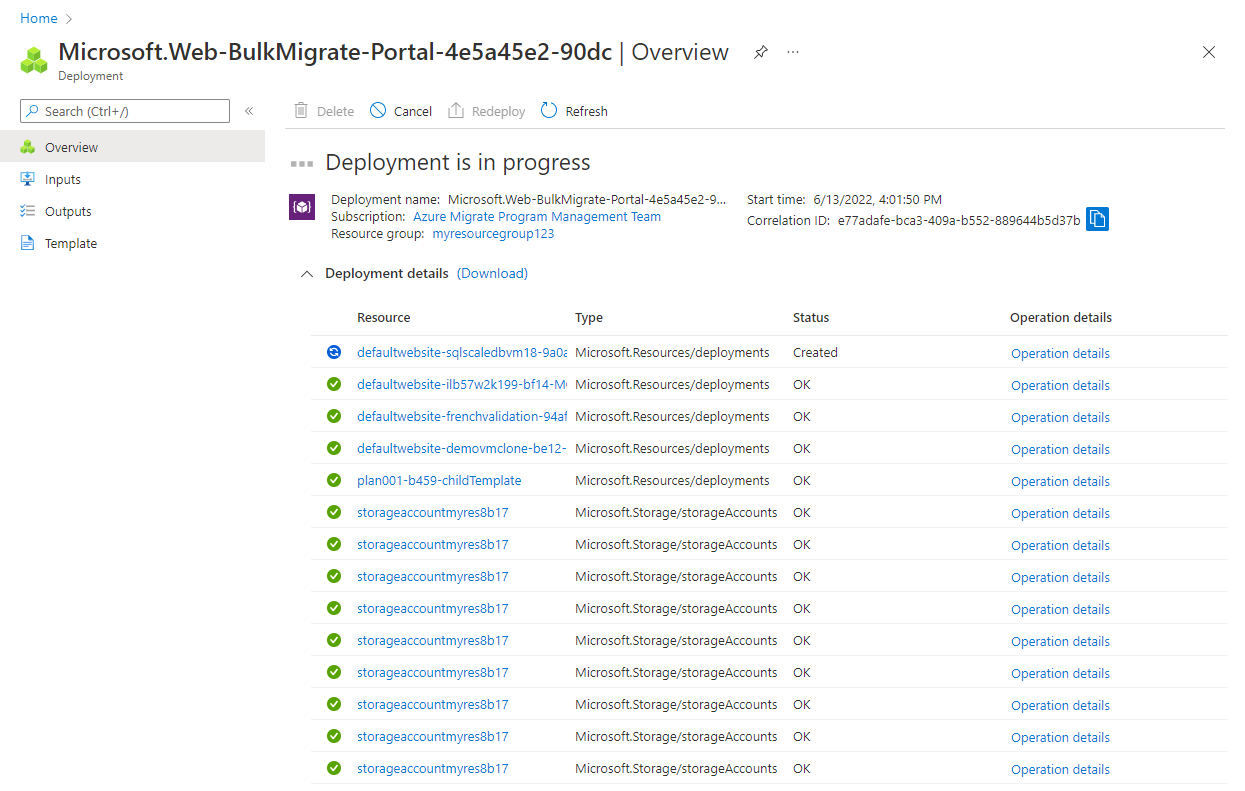
Once the migration is initiated, you can track the status using the Azure Resource Manager Deployment Experience as shown below:
Post-migration steps
Once you have successfully completed migration, you may explore the following steps based on web app specific requirement(s):
- Map existing custom DNS name.
- Secure a custom DNS with a TLS/SSL binding.
- Securely connect to Azure resources
- Deployment best practices.
- Security recommendations.
- Networking features.
- Monitor App Service with Azure Monitor.
- Configure Microsoft Entra authentication.
Next steps
- Investigate the cloud migration journey in the Azure Cloud Adoption Framework.
- Review best practices for deploying to Azure App service.
Feedback
Coming soon: Throughout 2024 we will be phasing out GitHub Issues as the feedback mechanism for content and replacing it with a new feedback system. For more information see: https://aka.ms/ContentUserFeedback.
Submit and view feedback for