Quickstart: Create an Azure notification hub in the Azure portal
Azure Notification Hubs provide an easy-to-use and scaled-out push engine that allows you to send notifications to any platform (iOS, Android, Windows, Kindle, Baidu, etc.) from any backend (cloud or on-premises). For more information about the service, see What is Azure Notification Hubs?.
In this quickstart, you create a notification hub in the Azure portal. The first section gives you steps to create a Notification Hubs namespace and a hub in that namespace. The second section gives you steps to create a notification hub in an existing Notification Hubs namespace.
Create a namespace and a notification hub
In this section, you create a namespace and a hub in the namespace.
Sign in to the Azure portal.
Select All services on the left menu.
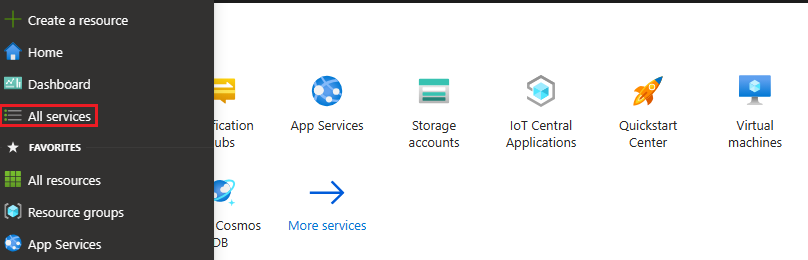
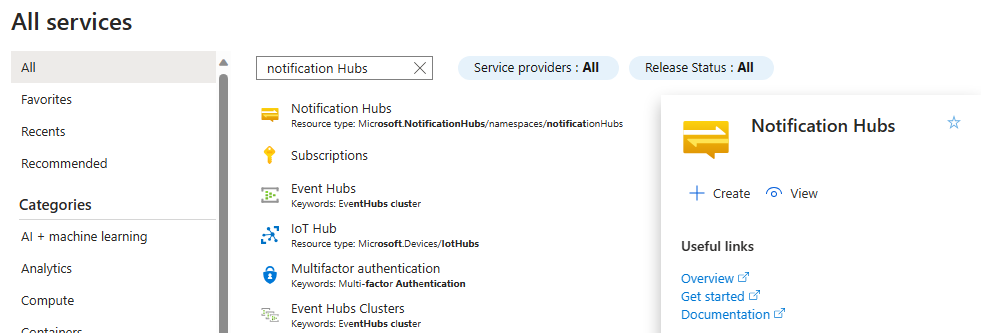
Type Notification Hubs in the Filter services text box. Select the star icon next to the service name to add the service to the FAVORITES section on the left menu. Select Notification Hubs.
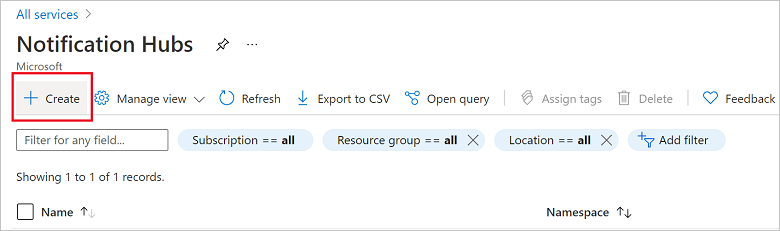
On the Notification Hubs page, select Create on the toolbar.
In the Basics tab on the Notification Hub page, do the following steps:
In Subscription, select the name of the Azure subscription you want to use, and then select an existing resource group, or create a new one.
Enter a unique name for the new namespace in Namespace Details.
A namespace contains one or more notification hubs, so type a name for the hub in Notification Hub Details.
Select a value from the Location drop-down list box. This value specifies the location in which you want to create the hub.
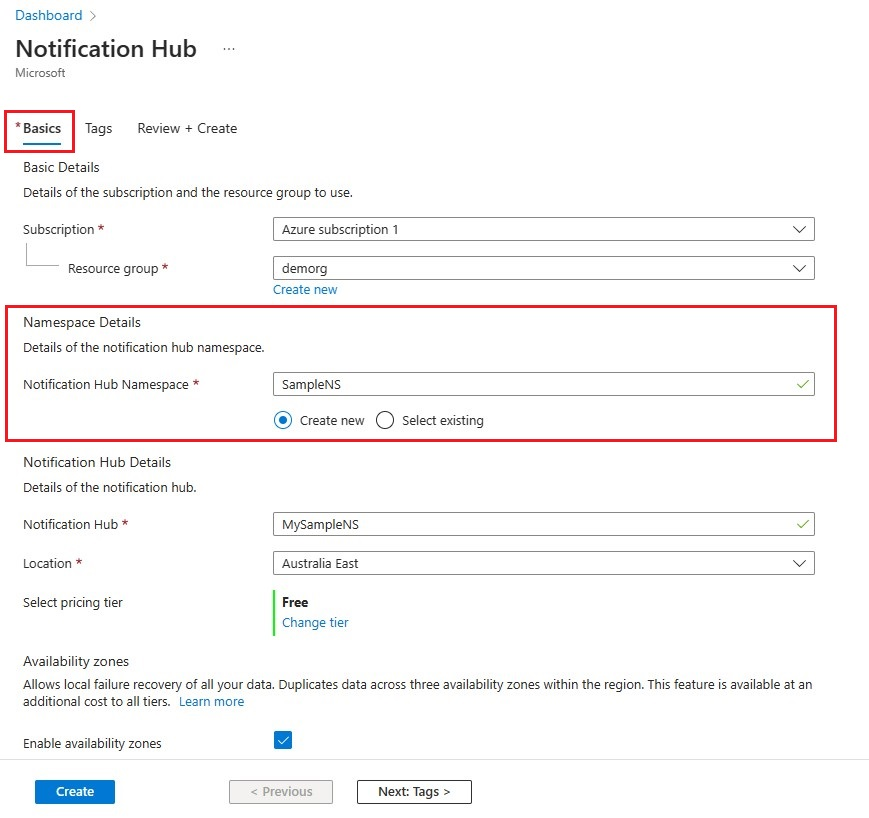
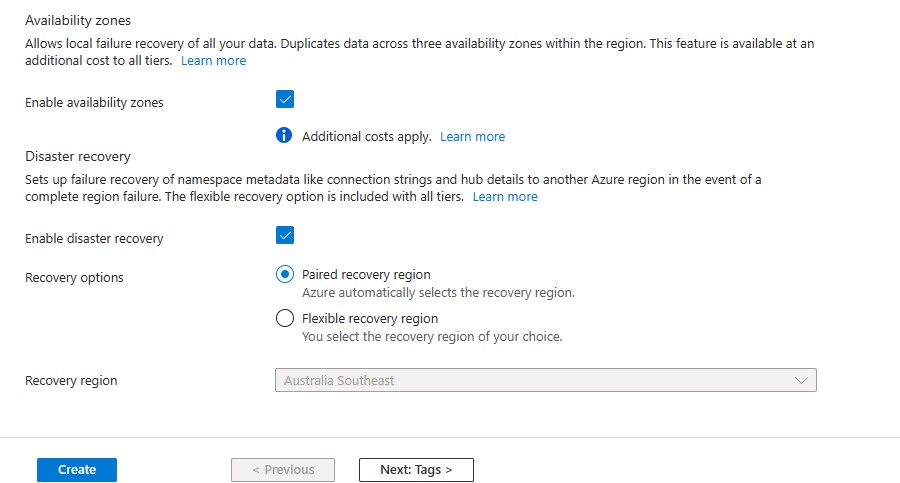
Review the Availability Zones option. If you chose a region that has availability zones, the check box is selected by default. Availability Zones is a paid feature, so an additional fee is added to your tier.
Choose a Disaster recovery option: None, Paired recovery region, or Flexible recovery region. If you choose Paired recovery region, the failover region is displayed. If you select Flexible recovery region, use the drop-down to choose from a list of recovery regions.
Select Create.
When the deployment is complete select Go to resource.


Create a notification hub in an existing namespace
In this section, you create a notification hub in an existing namespace.
Sign in to the Azure portal.
Select All services on the left menu.
On the Notification Hubs page, select Create on the toolbar.
In the Basics tab on the Notification Hub page, do the following steps:
- In Subscription, select the name of the Azure subscription you want to use, and then select an existing resource group, or create a new one.
- Choose Select existing and select your namespace from the drop-down list box. A namespace contains one or more notification hubs, so type a name for the hub in Notification Hub Details.
Select a value from the Location drop-down list box. This value specifies the location in which you want to create the hub.
Review the Availability Zones option. If you chose a region that has availability zones, the check box is selected by default. Availability Zones is a paid feature, so an additional fee is added to your tier.
Choose a Disaster recovery option: None, Paired recovery region, or Flexible recovery region. If you choose Paired recovery region, the failover region is displayed. If you select Flexible recovery region, use the drop-down to choose from a list of recovery regions.
Select Create.
Next steps
- In this quickstart, you created a notification hub. To learn how to configure the hub with platform notification system (PNS) settings, see Configure a notification hub with PNS settings.
- For more information about availability zones, see High availability for Azure Notification Hubs.
Feedback
Coming soon: Throughout 2024 we will be phasing out GitHub Issues as the feedback mechanism for content and replacing it with a new feedback system. For more information see: https://aka.ms/ContentUserFeedback.
Submit and view feedback for