QuickStart: Get started with Apache Kafka & Apache Flink on Confluent Cloud - Azure PowerShell
In this quickstart, you'll use the Azure Marketplace and Azure PowerShell to create an instance of Apache Kafka® & Apache Flink® on Confluent Cloud™ - An Azure Native ISV Service.
Prerequisites
- An Azure account. If you don't have an active Azure subscription, create a free account.
- You must have the Owner or Contributor role for your Azure subscription. The integration between Azure and Confluent can only be set up by users with Owner or Contributor access. Before getting started, confirm that you have the appropriate access.
Find offer
Use the Azure portal to find the Apache Kafka & Apache Flink on Confluent Cloud application.
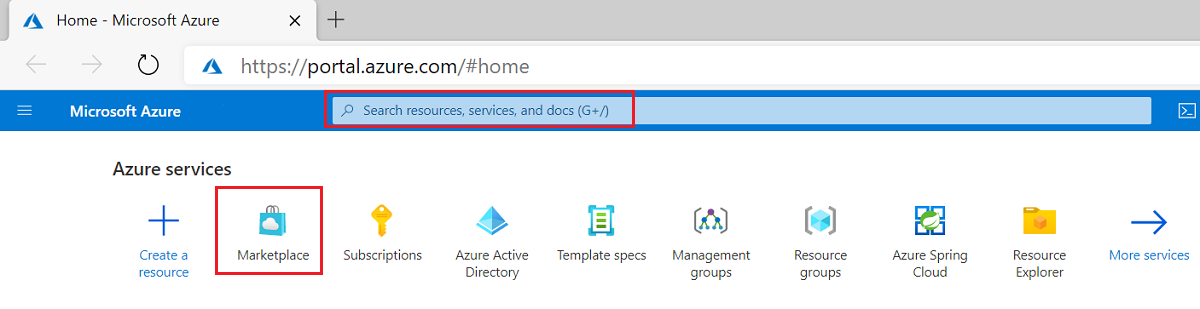
In a web browser, go to the Azure portal and sign in.
If you've visited the Marketplace in a recent session, select the icon from the available options. Otherwise, search for Marketplace.
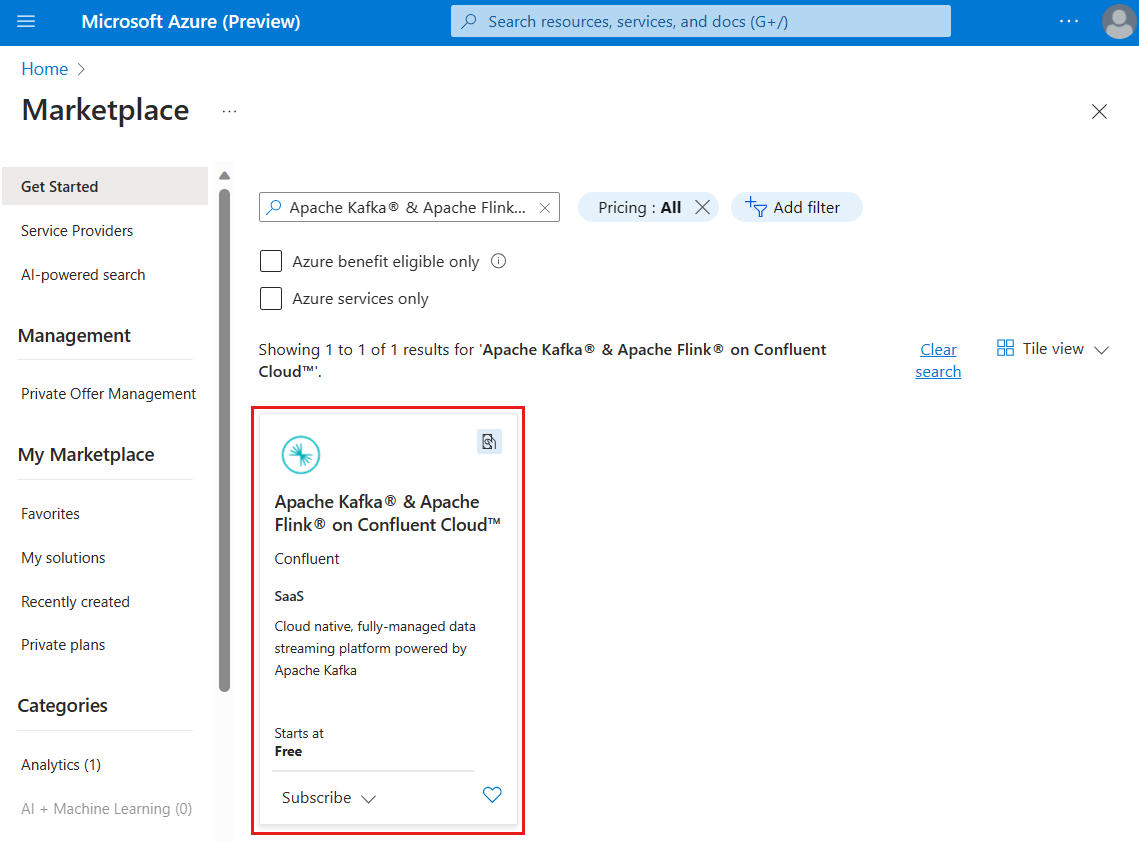
From the Marketplace page, you have two options based on the type of plan you want. You can sign up for a pay-as-you-go plan or commitment plan. Pay-as-you-go is publicly available. The commitment plan is available to customers who have been approved for a private offer.
For pay-as-you-go customers, search for Apache Kafka on Confluent Cloud. Select the offer for Apache Kafka & Apache Flink on Confluent Cloud.
For commitment customers, select the link to View Private offers. The commitment requires you to sign up for a minimum spend amount. Use this option only when you know you need the service for an extended time.
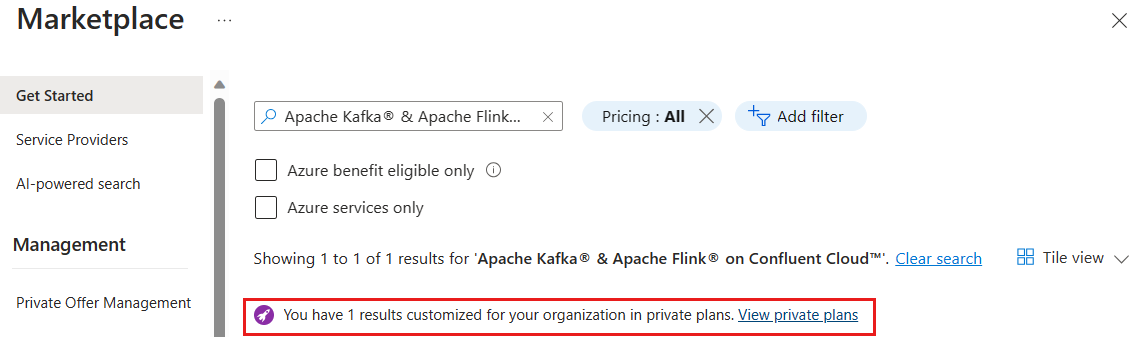
Look for Apache Kafka & Apache Flink on Confluent Cloud.

Create resource
After you've selected the offer for Apache Kafka & Apache Flink on Confluent Cloud, you're ready to set up the application.
Start by preparing your environment for Azure PowerShell:
- If you choose to use Azure PowerShell locally:
- Install the latest version of the Az PowerShell module.
- Connect to your Azure account using the Connect-AzAccount cmdlet.
- If you choose to use Azure Cloud Shell:
- See Overview of Azure Cloud Shell for more information.
Important
While the Az.Confluent PowerShell module is in preview, you must install it separately using the Install-Module cmdlet.
Install-Module -Name Az.Confluent -Scope CurrentUser -Repository PSGallery -Force
After you sign in, use the New-AzConfluentOrganization cmdlet to create the new organization resource:
$ConfluentOrgParams = @{
    Name = 'myOrganization'
    ResourceGroupName = 'myResourceGroup'
    Location = 'my location'
    OfferDetailId = 'string'
    OfferDetailPlanId = 'string'
    OfferDetailPlanName = 'string'
    OfferDetailPublisherId = 'string'
    OfferDetailTermUnit = 'string'
    UserDetailEmailAddress = 'contoso@microsoft.com'
    UserDetailFirstName = 'string'
    UserDetailLastName = 'string'
    Tag = @{Environment='Dev'}
}

New-AzConfluentOrganization @ConfluentOrgParams
Note
If you want the command to return before the create operation completes, add the optional parameter -NoWait. The operation continues to run until the Confluent organization is created.
To see a list of existing organizations, use the Get-AzConfluentOrganization cmdlet.
You can view all of the organizations in your subscription:
Get-AzConfluentOrganization
Or, view the organizations in a resource group:
Get-AzConfluentOrganization -ResourceGroupName myResourceGroup
To see the properties of a specific organization, use the Get-AzConfluentOrganization cmdlet with the Name and ResourceGroupName parameters.
You can view the organization by name:
Get-AzConfluentOrganization -Name myOrganization -ResourceGroupName myResourceGroup
If you get an error, see Troubleshooting Apache Kafka & Apache Flink on Confluent Cloud solutions.
Next steps
Feedback
Coming soon: Throughout 2024 we will be phasing out GitHub Issues as the feedback mechanism for content and replacing it with a new feedback system. For more information see: https://aka.ms/ContentUserFeedback.
Submit and view feedback for