Tutorial: Create an Azure custom role using Azure PowerShell
If the Azure built-in roles don't meet the specific needs of your organization, you can create your own custom roles. For this tutorial, you create a custom role named Reader Support Tickets using Azure PowerShell. The custom role allows the user to view everything in the control plane of a subscription and also open support tickets.
In this tutorial, you learn how to:
- Create a custom role
- List custom roles
- Update a custom role
- Delete a custom role
If you don't have an Azure subscription, create a free account before you begin.
Note
We recommend that you use the Azure Az PowerShell module to interact with Azure. See Install Azure PowerShell to get started. To learn how to migrate to the Az PowerShell module, see Migrate Azure PowerShell from AzureRM to Az.
Prerequisites
To complete this tutorial, you will need:
- Permissions to create custom roles, such as User Access Administrator
- Azure Cloud Shell or Azure PowerShell
Sign in to Azure PowerShell
Sign in to Azure PowerShell.
Create a custom role
The easiest way to create a custom role is to start with a built-in role, edit it, and then create a new role.
In PowerShell, use the Get-AzProviderOperation command to get the list of operations for the Microsoft.Support resource provider. It's helpful to know the operations that are available to create your permissions. You can also see a list of all the operations at Azure resource provider operations.
Get-AzProviderOperation "Microsoft.Support/*" | FT Operation, Description -AutoSizeOperation Description --------- ----------- Microsoft.Support/register/action Registers to Support Resource Provider Microsoft.Support/supportTickets/read Gets Support Ticket details (including status, severity, contact ... Microsoft.Support/supportTickets/write Creates or Updates a Support Ticket. You can create a Support Tic...Use the Get-AzRoleDefinition command to output the Reader role in JSON format.
Get-AzRoleDefinition -Name "Reader" | ConvertTo-Json | Out-File C:\CustomRoles\ReaderSupportRole.jsonOpen the ReaderSupportRole.json file in an editor.
The following shows the JSON output. For information about the different properties, see Azure custom roles.
{
  "Name": "Reader",
  "Id": "acdd72a7-3385-48ef-bd42-f606fba81ae7",
  "IsCustom": false,
  "Description": "Lets you view everything, but not make any changes.",
  "Actions": [
    "*/read"
  ],
  "NotActions": [],
  "DataActions": [],
  "NotDataActions": [],
  "AssignableScopes": [
    "/"
  ]
}
Edit the JSON file to add the
"Microsoft.Support/*"action to theActionsproperty. Be sure to include a comma after the read action. This action will allow the user to create support tickets.Get the ID of your subscription using the Get-AzSubscription command.
Get-AzSubscriptionIn
AssignableScopes, add your subscription ID with the following format:"/subscriptions/00000000-0000-0000-0000-000000000000"You must add explicit subscription IDs, otherwise you won't be allowed to import the role into your subscription.
Delete the
Idproperty line and change theIsCustomproperty totrue.Change the
NameandDescriptionproperties to "Reader Support Tickets" and "View everything in the subscription and also open support tickets."Your JSON file should look like the following:
{
  "Name": "Reader Support Tickets",
  "IsCustom": true,
  "Description": "View everything in the subscription and also open support tickets.",
  "Actions": [
    "*/read",
    "Microsoft.Support/*"
  ],
  "NotActions": [],
  "DataActions": [],
  "NotDataActions": [],
  "AssignableScopes": [
    "/subscriptions/00000000-0000-0000-0000-000000000000"
  ]
}
To create the new custom role, use the New-AzRoleDefinition command and specify the JSON role definition file.
New-AzRoleDefinition -InputFile "C:\CustomRoles\ReaderSupportRole.json"Name : Reader Support Tickets Id : 22222222-2222-2222-2222-222222222222 IsCustom : True Description : View everything in the subscription and also open support tickets. Actions : {*/read, Microsoft.Support/*} NotActions : {} DataActions : {} NotDataActions : {} AssignableScopes : {/subscriptions/00000000-0000-0000-0000-000000000000}The new custom role is now available in the Azure portal and can be assigned to users, groups, or service principals just like built-in roles.
List custom roles
To list all your custom roles, use the Get-AzRoleDefinition command.
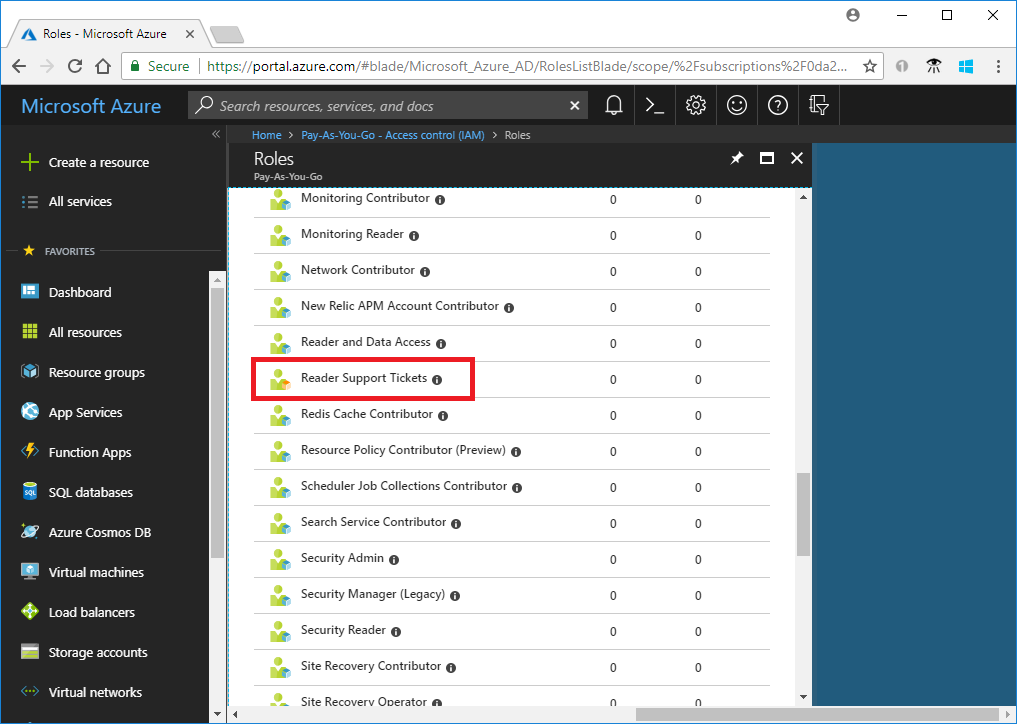
Get-AzRoleDefinition | ? {$_.IsCustom -eq $true} | FT Name, IsCustomName IsCustom ---- -------- Reader Support Tickets TrueYou can also see the custom role in the Azure portal.
Update a custom role
To update the custom role, you can update the JSON file or use the PSRoleDefinition object.
To update the JSON file, use the Get-AzRoleDefinition command to output the custom role in JSON format.
Get-AzRoleDefinition -Name "Reader Support Tickets" | ConvertTo-Json | Out-File C:\CustomRoles\ReaderSupportRole2.jsonOpen the file in an editor.
In
Actions, add the action to create and manage resource group deployments"Microsoft.Resources/deployments/*".Your updated JSON file should look like the following:
{
  "Name": "Reader Support Tickets",
  "Id": "22222222-2222-2222-2222-222222222222",
  "IsCustom": true,
  "Description": "View everything in the subscription and also open support tickets.",
  "Actions": [
    "*/read",
    "Microsoft.Support/*",
    "Microsoft.Resources/deployments/*"
  ],
  "NotActions": [],
  "DataActions": [],
  "NotDataActions": [],
  "AssignableScopes": [
    "/subscriptions/00000000-0000-0000-0000-000000000000"
  ]
}
To update the custom role, use the Set-AzRoleDefinition command and specify the updated JSON file.
Set-AzRoleDefinition -InputFile "C:\CustomRoles\ReaderSupportRole2.json"Name : Reader Support Tickets Id : 22222222-2222-2222-2222-222222222222 IsCustom : True Description : View everything in the subscription and also open support tickets. Actions : {*/read, Microsoft.Support/*, Microsoft.Resources/deployments/*} NotActions : {} DataActions : {} NotDataActions : {} AssignableScopes : {/subscriptions/00000000-0000-0000-0000-000000000000}To use the
PSRoleDefintionobject to update your custom role, first use the Get-AzRoleDefinition command to get the role.$role = Get-AzRoleDefinition "Reader Support Tickets"Call the
Addmethod to add the action to read diagnostic settings.$role.Actions.Add("Microsoft.Insights/diagnosticSettings/*/read")Use the Set-AzRoleDefinition to update the role.
Set-AzRoleDefinition -Role $roleName : Reader Support Tickets Id : 22222222-2222-2222-2222-222222222222 IsCustom : True Description : View everything in the subscription and also open support tickets. Actions : {*/read, Microsoft.Support/*, Microsoft.Resources/deployments/*, Microsoft.Insights/diagnosticSettings/*/read} NotActions : {} DataActions : {} NotDataActions : {} AssignableScopes : {/subscriptions/00000000-0000-0000-0000-000000000000}
Delete a custom role
Use the Get-AzRoleDefinition command to get the ID of the custom role.
Get-AzRoleDefinition "Reader Support Tickets"Use the Remove-AzRoleDefinition command and specify the role ID to delete the custom role.
Remove-AzRoleDefinition -Id "22222222-2222-2222-2222-222222222222"Confirm Are you sure you want to remove role definition with id '22222222-2222-2222-2222-222222222222'. [Y] Yes [N] No [S] Suspend [?] Help (default is "Y"):When asked to confirm, type Y.
Next steps
Feedback
Coming soon: Throughout 2024 we will be phasing out GitHub Issues as the feedback mechanism for content and replacing it with a new feedback system. For more information see: https://aka.ms/ContentUserFeedback.
Submit and view feedback for