Tutorial: Protect your Azure Route Server with Azure DDoS protection
This article helps you create an Azure Route Server with a DDoS protected virtual network. Azure DDoS protection protects your publicly accessible route server from Distributed Denial of Service attacks.
Important
Azure DDoS Protection incurs a cost when you use the Standard SKU. Overages charges only apply if more than 100 public IPs are protected in the tenant. Ensure you delete the resources in this tutorial if you aren't using the resources in the future. For information about pricing, see Azure DDoS Protection Pricing. For more information about Azure DDoS protection, see What is Azure DDoS Protection?.
In this tutorial, you learn how to:
- Create a DDoS protection plan
- Create an Azure Route server
- Enable the DDoS protection and plan
- Configure the Route Server
Prerequisites
- An Azure account with an active subscription. Create an account for free.
Create DDoS protection plan
In this section, you create an Azure DDoS protection plan to associate with the virtual network you create later in the article.
Sign in to the Azure portal.
In the search box at the top of the portal, enter DDoS protection. Select DDoS protection plans in the search results.
Select + Create.
In the Basics tab of Create a DDoS protection plan, enter or select the following information:
Setting Value Project details Subscription Select your subscription. Resource group Select Create new. Enter RouteServerRG. Select OK. Instance details Name Enter myDDoSProtectionPlan. Region Select West US. Select Review + create.
Select Create.
Create a Route Server
In this section, you create an Azure Route Server. The virtual network and public IP address used for the route server are created during the deployment of the route server.
In the search box at the top of the portal, enter Route Server. Select Route Servers in the search results.
Select + Create.
In the Basics tab of Create a Route Server, enter or select the following information:
Setting Value Project details Subscription Select your subscription. Resource group Select RouteServerRG. Instance details Name Enter myRouteServer. Region Select West US. Configure virtual networks Virtual network Select Create new. In Name, enter myVNet. Leave the pre-populated Address space and Subnets. In the example for this article, the address space is 10.1.0.0/16 with a subnet of 10.1.0.0/24. In Subnets, for Subnet name, enter RouteServerSubnet. In Address range, enter 10.1.1.0/27. Select OK. Subnet Select RouteServerSubnet (10.1.1.0/27). Public IP address Public IP address Select Create new. Public IP address name Enter myPublicIP. 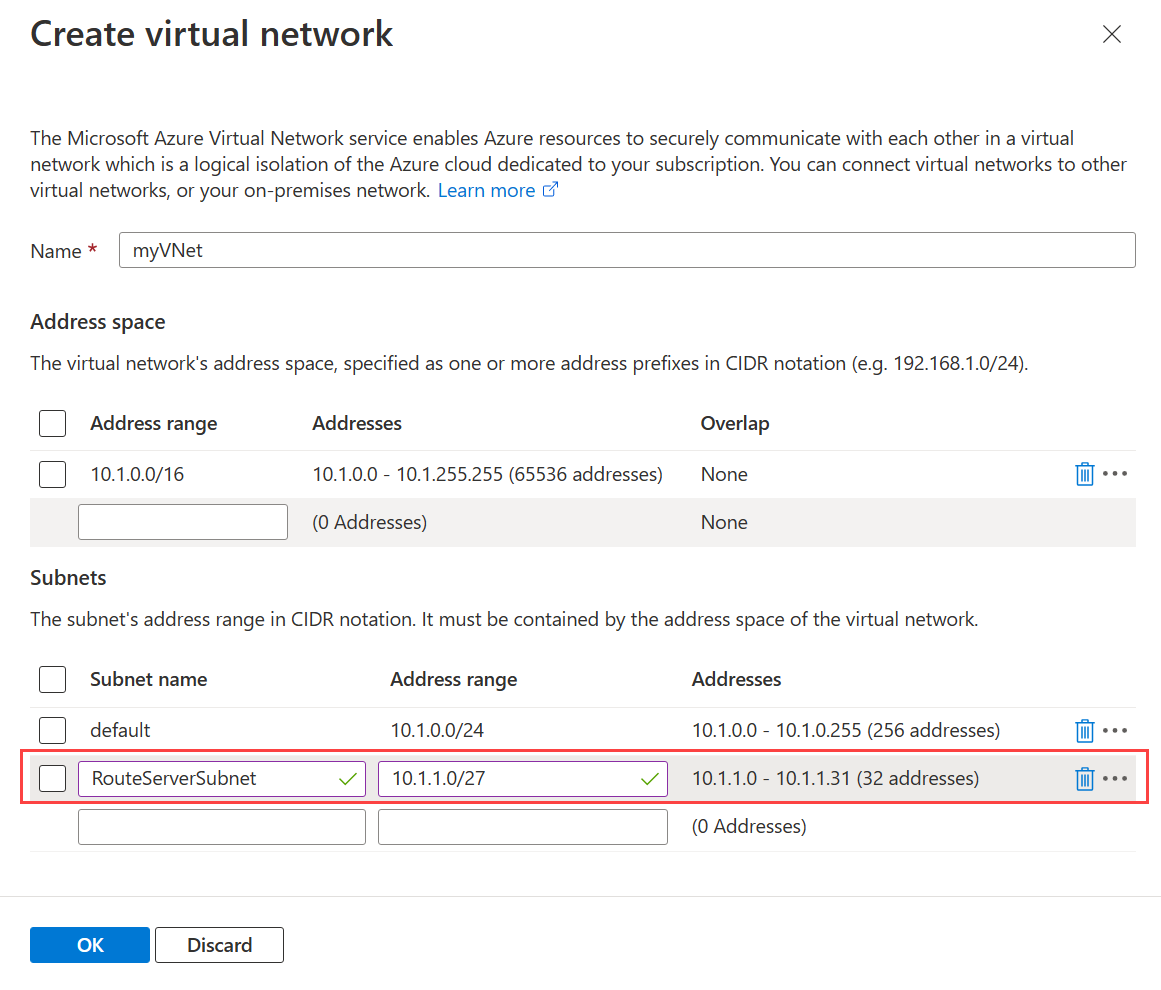
Select Review + create.
Select Create.
Note
The deployment of the Route Server will take about 20 minutes.
Enable DDoS protection
Azure DDoS Network is enabled at the virtual network where the resource you want to protect reside.
In the search box at the top of the portal, enter Virtual network. Select Virtual networks in the search results.
Select myVNet.
Select DDoS protection in Settings.
Select Enable.
In the pull-down box in DDoS protection plan, select myDDoSProtectionPlan.
Select Save.
Set up peering with NVA
In this section, you set up the BGP peering with your NVA.
In the search box at the top of the portal, enter Route Server. Select Route Servers in the search results.
Select myRouteServer.
In Settings, select Peers.
Select + Add.
Enter or select the following information in Add Peer:
Setting Value Name Enter a name for the peering between your Route Server and the NVA. ASN Enter the Autonomous Systems Number (ASN) of your NVA. IPv4 Address Enter the IP address of the NVA that you want to peer with the Route Server. Select Add.
Complete the configuration on the NVA
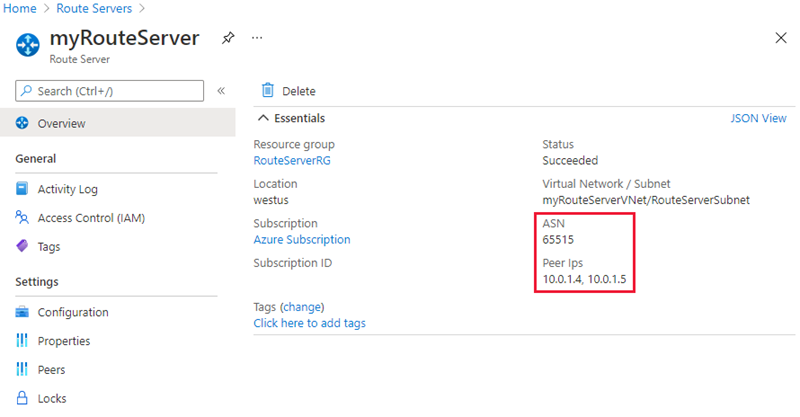
You need the Azure Route Server's peer IPs and ASN to complete the configuration on your NVA to establish a BGP session. You can obtain this information from the overview page your Route Server.
In the search box at the top of the portal, enter Route Server. Select Route Servers in the search results.
Select myRouteServer.
In the Overview page of myRouteServer, make note of the ASN and Peer IPs.
Clean up resources
If you're not going to continue to use this application, delete the virtual network, DDoS protection plan, and Route Server with the following steps:
In the search box at the top of the portal, enter RouteServerRG. Select RouteServerRG from the search results.
Select Delete resource group.
In Delete a resource group, enter RouteServerRG, and then select Delete.
Select Delete to confirm the deletion of the resource group and all its resources.
Next step
Feedback
Coming soon: Throughout 2024 we will be phasing out GitHub Issues as the feedback mechanism for content and replacing it with a new feedback system. For more information see: https://aka.ms/ContentUserFeedback.
Submit and view feedback for