Tutorial: Configure a data retention policy for a table in a Log Analytics workspace
In this tutorial, you'll set a retention policy for a table in your Log Analytics workspace that you use for Microsoft Sentinel or Azure Monitor. These steps allow you to keep older, less used data in your workspace at a reduced cost.
Retention policies in a Log Analytics workspace define when to remove or archive data in the workspace. By default, all tables in your workspace inherit the workspace's interactive retention setting and have no archive policy. You can modify the retention and archive policies of individual tables, except for workspaces in the legacy Free Trial pricing tier.
In this tutorial, you learn how to:
- Set the retention policy for a table
- Review data retention and archive policy
Prerequisites
To complete the steps in this tutorial, you must have the following resources and roles.
Azure account with an active subscription. Create an account for free.
Azure account with the following roles:
Built-in Role Scope Reason Log Analytics Contributor - Subscription and/or - Resource group and/or- Table To set retention policy on tables in Log Analytics Log Analytics workspace.
Set the retention policy for a table
In your Log Analytics workspace, clear the inherit the workspace setting so the interactive retention period is fixed to 30 days. Then, change the total retention policy for a table like SecurityEvents to archive 30 days of data.
Sign in to the Azure portal.
In the Azure portal, search for and open Log Analytics workspaces.
Select the appropriate workspace.
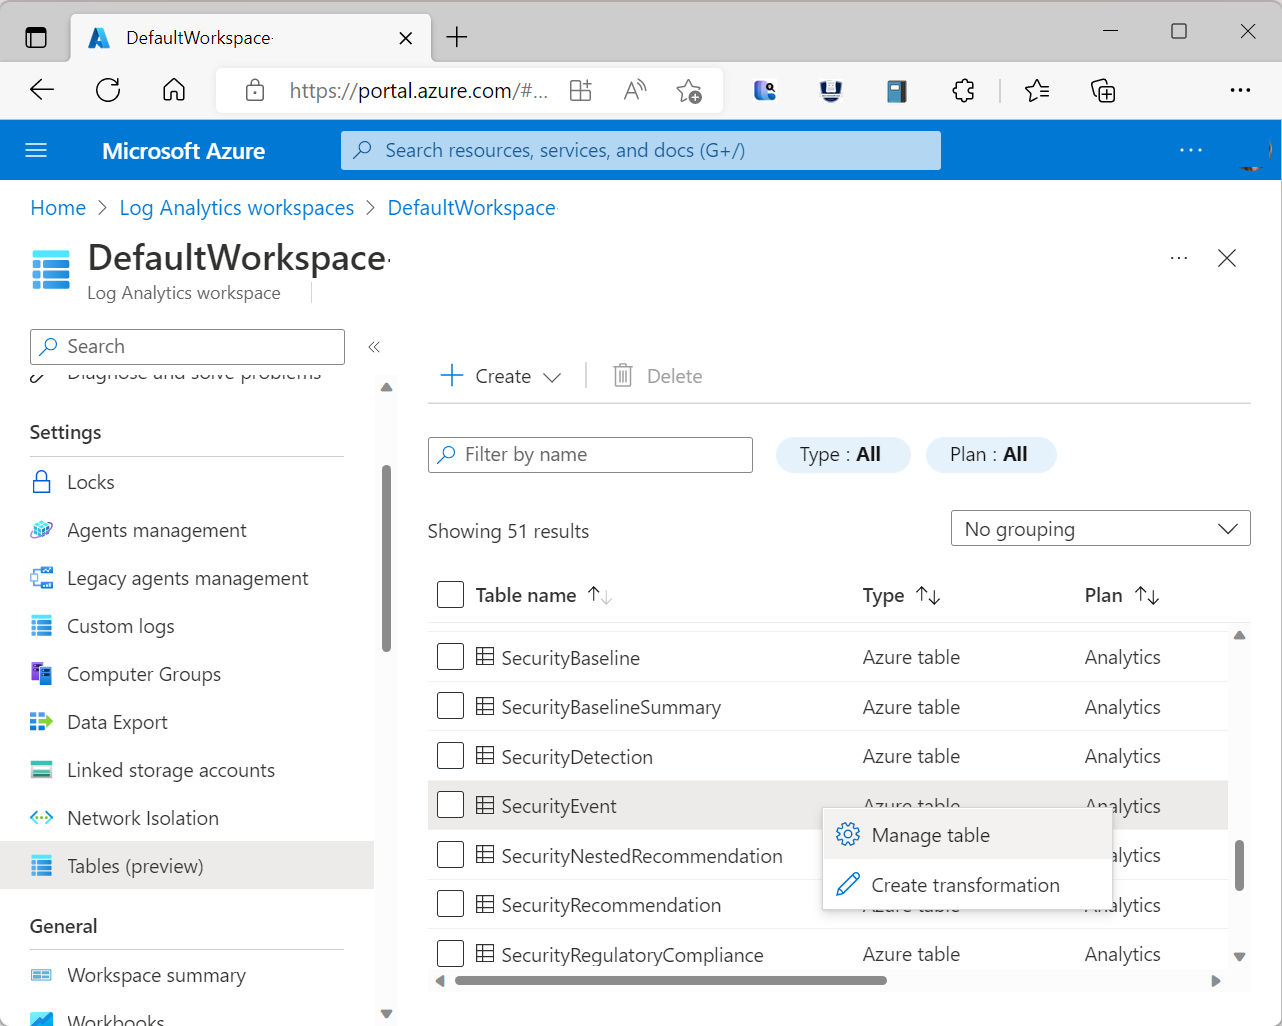
Under Settings, select Tables.
On a table like SecurityEvent, open the context menu (...).
Select Manage table.
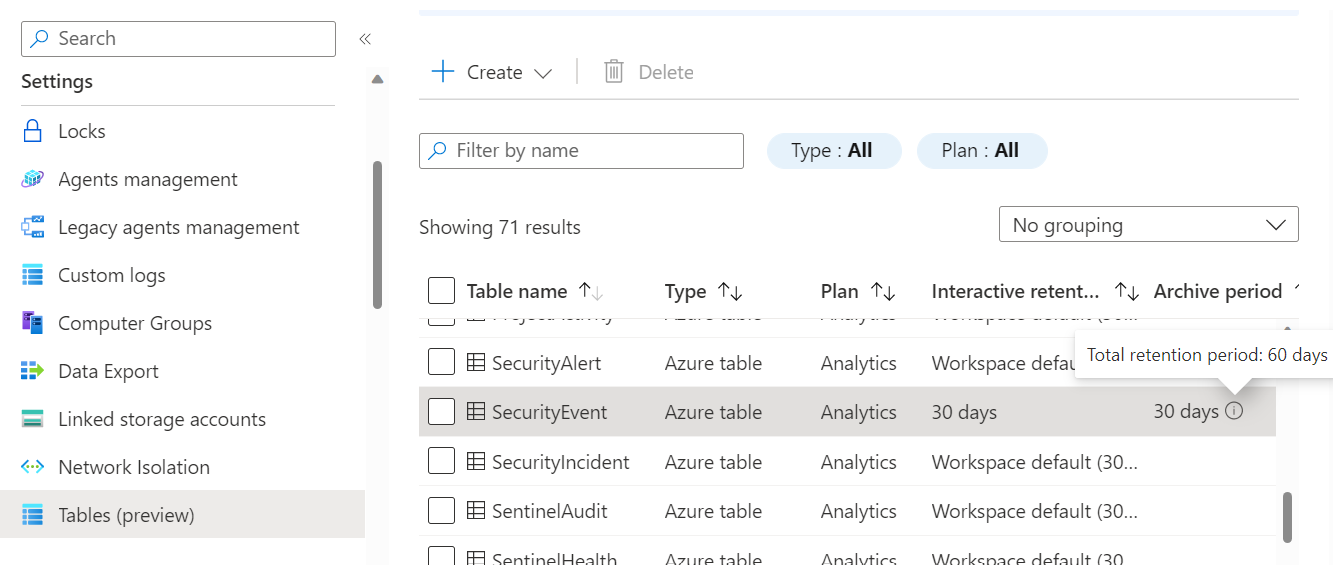
Under Data retention, enter the following values.
Field Value Workplace settings Clear the checkbox Interactive retention 30 days Total retention period 60 days 
Select Save.
Review data retention and archive policy
On the Tables page for the table you updated, review the field values for Interactive retention and Archive period. The archive period equals the total retention period in days minus the interactive retention in days. For example, you set the following values:
| Field | Value |
|---|---|
| Interactive retention | 30 days |
| Total retention period | 60 days |
So the Table page shows the following an archive period of 30 days.
Clean up resources
No resources were created but you might want to restore the data retention settings you changed.
Next steps
Feedback
Coming soon: Throughout 2024 we will be phasing out GitHub Issues as the feedback mechanism for content and replacing it with a new feedback system. For more information see: https://aka.ms/ContentUserFeedback.
Submit and view feedback for