Tutorial: Sharing Azure Spatial Anchors across sessions and devices with an Azure Cosmos DB back end
This tutorial is a continuation of sharing Azure Spatial Anchors across sessions and devices. It will guide you through the process of adding a few more capabilities to make Azure Cosmos DB serve as the back-end storage while sharing Azure spatial anchors across sessions and devices.

It's worth noting that, though you'll be using Unity and Azure Cosmos DB in this tutorial, it's just to give you an example of how to share Spatial Anchors identifiers across devices. You can user other languages and back-end technologies to achieve the same goal.
Create a database account
Add an Azure Cosmos DB database to the resource group you created earlier.
In a new browser window, sign in to the Azure portal.
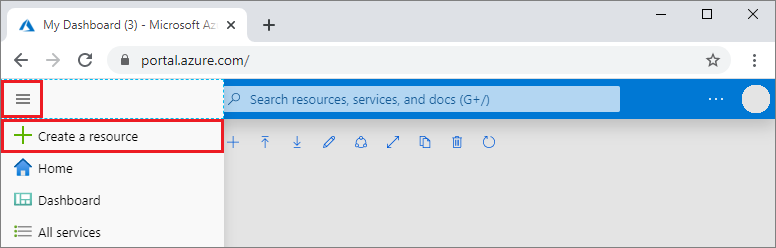
In the left menu, select Create a resource.
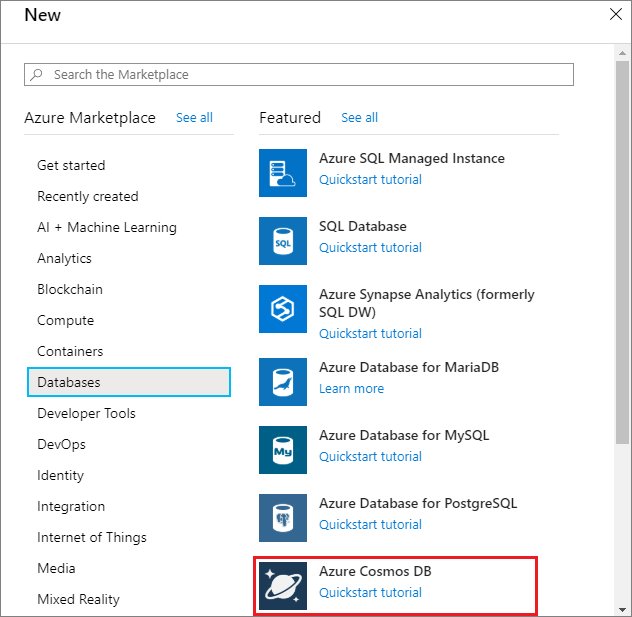
On the New page, select Databases > Azure Cosmos DB.
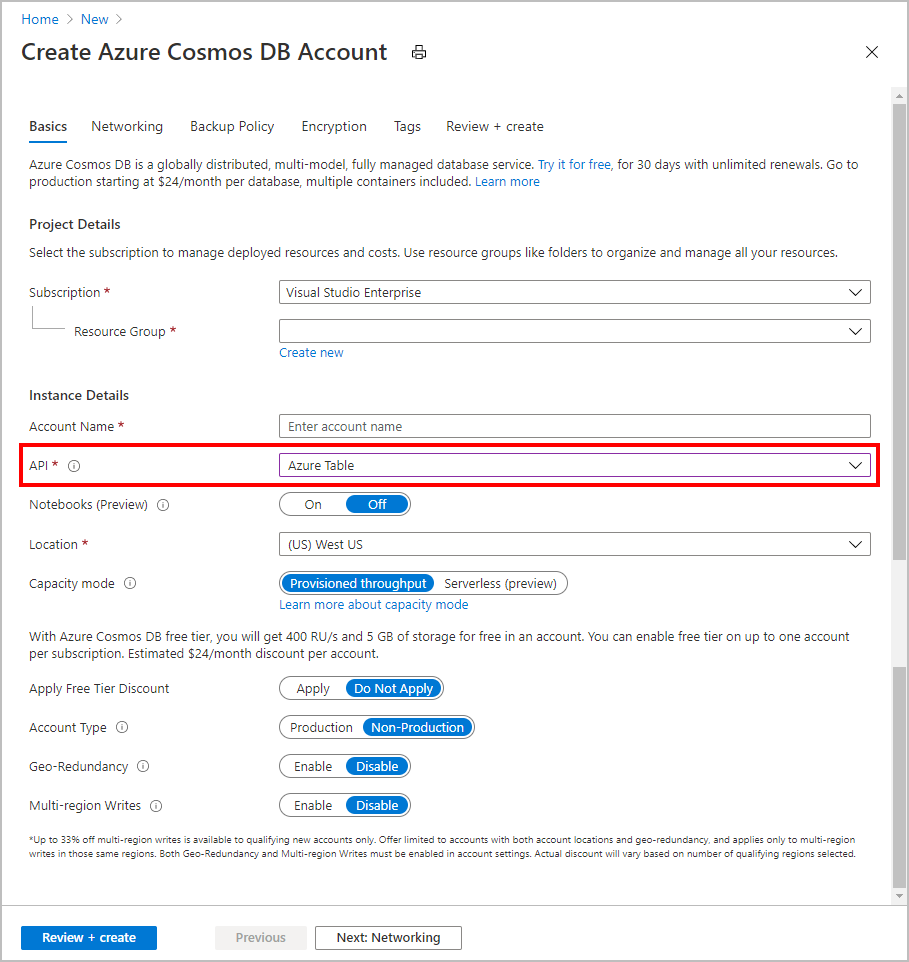
On the Create Azure Cosmos DB Account page, enter the settings for the new Azure Cosmos DB account.
Setting Value Description Subscription Your subscription Select the Azure subscription that you want to use for this Azure Cosmos DB account. Resource Group Create new, then Account Name Select Create new. Then enter a new resource group name for your account. For simplicity, use the same name as your Azure Cosmos DB account name. Account Name A unique name Enter a unique name to identify your Azure Cosmos DB account.
The account name can use only lowercase letters, numbers, and hyphens (-), and must be between 3 and 44 characters long.API Table The API determines the type of account to create. Azure Cosmos DB provides five APIs: NoSQL for document databases, Gremlin for graph databases, MongoDB for document databases, Azure Table, and Cassandra. You must create a separate account for each API.
Select Azure Table, because in this quickstart you are creating a table that works with the API for Table.
Learn more about the API for Table.Location The region closest to your users Select a geographic location to host your Azure Cosmos DB account. Use the location that's closest to your users to give them the fastest access to the data. Capacity mode Provisioned throughput or Serverless Select Provisioned throughput to create an account in provisioned throughput mode. Select Serverless to create an account in serverless mode. You can leave the Geo-Redundancy and Multi-region Writes options at Disable to avoid additional charges, and skip the Network and Tags sections.
Select Review+Create. After the validation is complete, select Create to create the account.
It takes a few minutes to create the account. You'll see a message that states Your deployment is underway. Wait for the deployment to finish, and then select Go to resource.
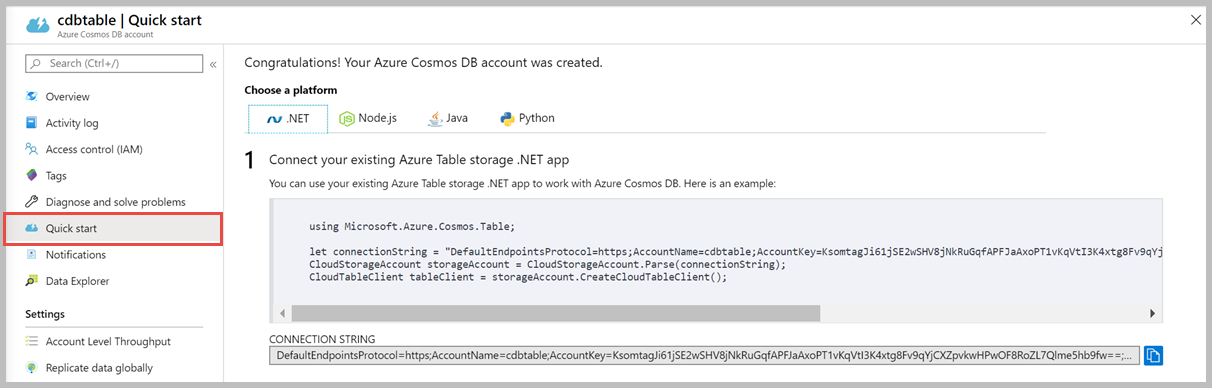
Copy the Connection String because you'll need it.
Make minor changes to the SharingService files
In Solution Explorer, open SharingService\Startup.cs.
Locate #define INMEMORY_DEMO at the top of the file and comment that line out. Save the file.
In Solution Explorer, open SharingService\appsettings.json.
Locate the StorageConnectionString property, and set the value to be the same as the Connection String value that you copied in the create a database account step. Save the file.
You can publish the Sharing Service again and run the sample app.
Next steps
In this tutorial, you've used Azure Cosmos DB to share anchor identifiers across devices. To learn more about how to use Azure Spatial Anchors in a new Unity HoloLens app, continue to the next tutorial.
Feedback
Coming soon: Throughout 2024 we will be phasing out GitHub Issues as the feedback mechanism for content and replacing it with a new feedback system. For more information see: https://aka.ms/ContentUserFeedback.
Submit and view feedback for