Use Application Live View with the Azure Spring Apps Enterprise plan
Note
Azure Spring Apps is the new name for the Azure Spring Cloud service. Although the service has a new name, you'll see the old name in some places for a while as we work to update assets such as screenshots, videos, and diagrams.
This article applies to: ❌ Basic/Standard ✔️ Enterprise
This article shows you how to use Application Live View for VMware Tanzu with the Azure Spring Apps Enterprise plan.
Application Live View for VMware Tanzu is a lightweight insights and troubleshooting tool that helps app developers and app operators look inside running apps.
Application Live View only supports Spring Boot applications.
Prerequisites
An Azure subscription. If you don't have an Azure subscription, create a free account before you begin.
Understand and fulfill the Requirements section of Enterprise plan in Azure Marketplace.
Azure CLI with the Azure Spring Apps extension. Use the following command to remove previous versions and install the latest extension. If you previously installed the
spring-cloudextension, uninstall it to avoid configuration and version mismatches.az extension remove --name spring az extension add --name spring az extension remove --name spring-cloud
Enable Application Live View
You can enable Application Live View when you provision an Azure Spring Apps Enterprise plan instance. If you already have a provisioned Azure Spring Apps Enterprise resource, see the Manage Application Live View in existing Enterprise plan instances section of this article.
You can enable Application Live View using the Azure portal or Azure CLI.
Use the following steps to enable Application Live View using the Azure portal:
Navigate to the Azure portal.
On the Basics tab, select Enterprise tier in pricing, specify other input fields, and then select Next.
On the VMware Tanzu settings tab, select Enable App Live View.
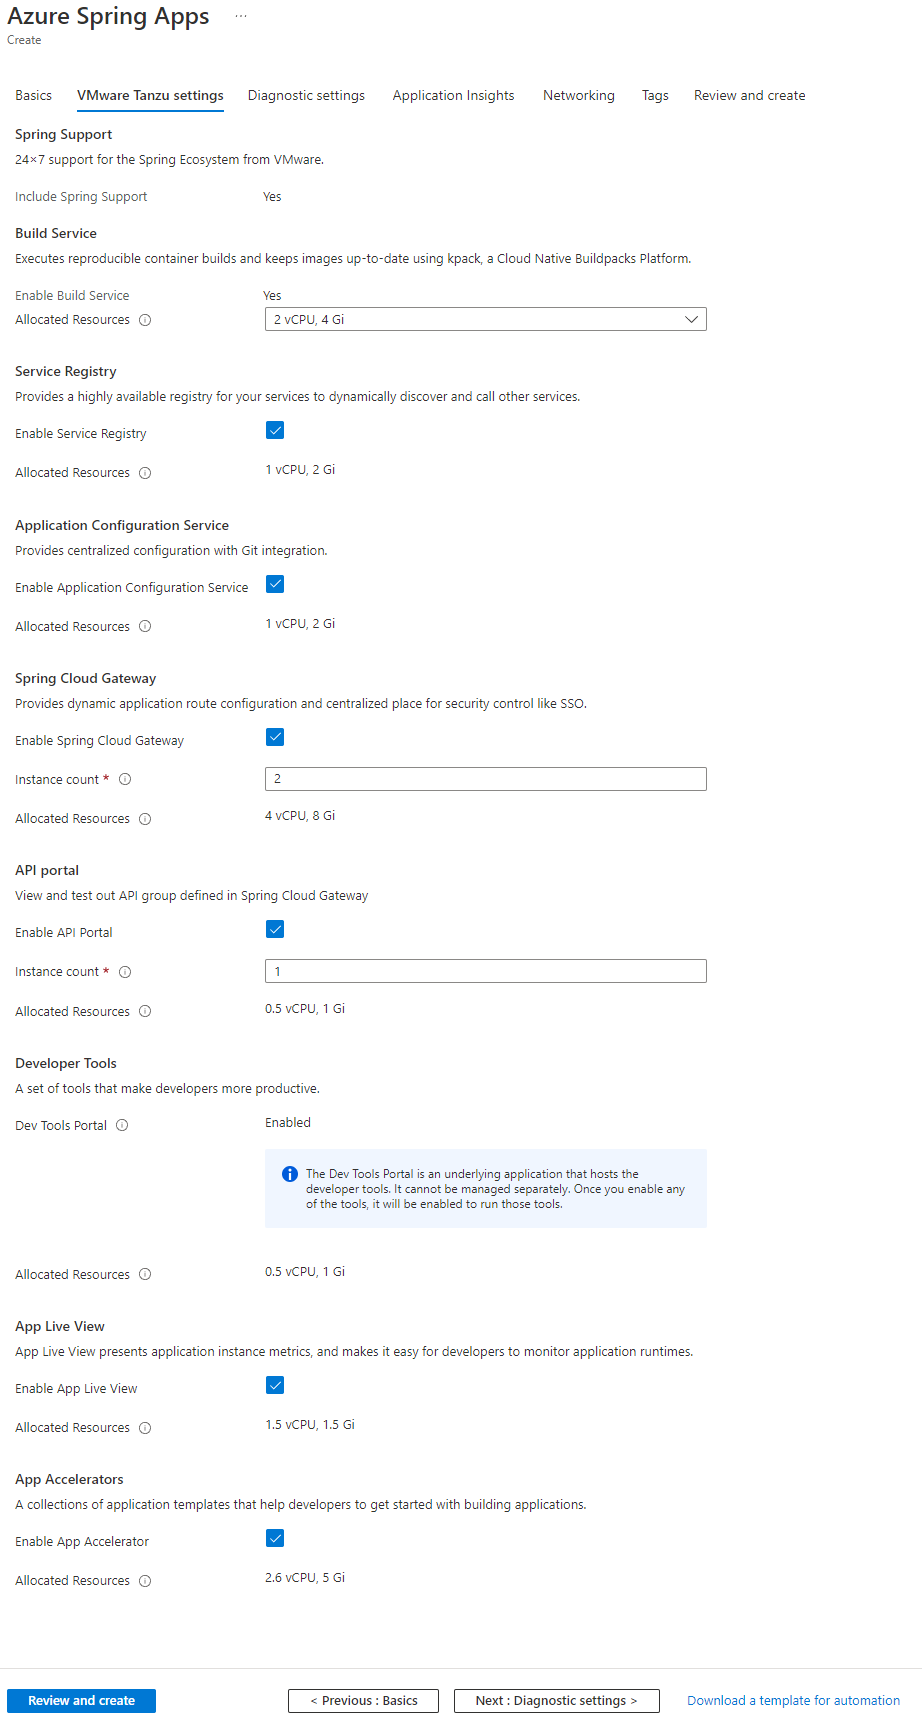
Specify other settings, and then select Review and Create.
Make sure that Enable Application Live View and Enable Dev Tools Portal are set to Yes on the Review and Create tab, and then select Create to create the Enterprise plan instance.

Monitor Application Live View
Azure Spring Apps runs the Application Live View in connector mode.
| Component | Description |
|---|---|
| Application Live View Server | The central server component that contains a list of registered apps. Application Live View Server is responsible for proxying the request to fetch the actuator information related to the app. |
| Application Live View Connector | The component responsible for discovering the running app and registering the instances to the Application Live View Server for it to be observed. The Application Live View Connector is also responsible for proxying the actuator queries to the app. |
After you provision the Azure Spring Apps Enterprise plan instance, you can obtain its running state and resource consumption, or manage Application Live View.
You can monitor Application Live View using the Azure portal or Azure CLI.
You can view the state of Application Live View in the Azure portal on the Overview tab of the Developer Tools page.

Configure Dev Tools to access Application Live View
To access Application Live View, you need to configure Tanzu Dev Tools. For more information, see Configure Tanzu Dev Tools in the Azure Spring Apps Enterprise plan.
Use Application Live View to monitor your apps
Application Live View lets you view live metrics for Spring Boot applications and Spring Native applications. The Application Live View is based on the concept of Spring Boot Actuators.
Use the following steps to deploy an app and monitor it in Application Live View:
Add the following dependency to your application's pom.xml file.
<dependency>
    <groupId>org.springframework.boot</groupId>
    <artifactId>spring-boot-starter-actuator</artifactId>
 </dependency>
Add the following execution goal to your Maven plugin in the pom.xml file to expose build information:
<plugin>
<groupId>org.springframework.boot</groupId>
<artifactId>spring-boot-maven-plugin</artifactId>
<executions>
    <execution>
    <goals>
        <goal>build-info</goal>
    </goals>
    <configuration>
        <additionalProperties>
        <spring.boot.version>${project.parent.version}</spring.boot.version>
        </additionalProperties>
    </configuration>
    </execution>
</executions>
</plugin>
Enable the actuator endpoint by adding the following configuration in application.properties:
management.endpoints.web.exposure.include=info,healthUse the following command to build your package locally:
mvn clean package -DskipTestsUse the following command to deploy the binary:
az spring app create \
    --resource-group <resource-group-name> \
    --service <Azure-Spring-Apps-service-instance-name> \
    --name <app-name>
az spring app deploy \
    --resource-group <resource-group-name> \
    --service <Azure-Spring-Apps-service-instance-name> \
    --name <app-name> \
    --artifact-path <jar-file-in-target-folder>
After the app is successfully deployed, you can monitor it using the Application Live View dashboard on Dev Tools Portal. For more information, see Monitor apps by Application Live View.
If you've already enabled Dev Tools Portal and exposed a public endpoint, use the following command to get the Dev Tools Portal dashboard URL. Add the suffix
/app-live-viewto compose the endpoint to access Application Live View.az spring dev-tool show --service <Azure-Spring-Apps-service-instance-name> \ --resource-group <resource-group-name> \ --query properties.url \ --output tsvYou can also access the Application Live View using Visual Studio Code (VS Code). For more information, see the Use Application Live View in VS Code section.
Manage Application Live View in existing Enterprise plan instances
You can enable Application Live View in an existing Azure Spring Apps Enterprise plan instance using the Azure portal or Azure CLI.
If you have already enabled Dev Tools Portal and exposed a public endpoint, use Ctrl+F5 to deactivate the browser cache after you enable Application Live View.
Use the following steps to manage Application Live View using the Azure portal:
Navigate to your service resource, and then select Developer Tools.
Select Manage tools.

Select the Enable App Live View checkbox, and then select Save.
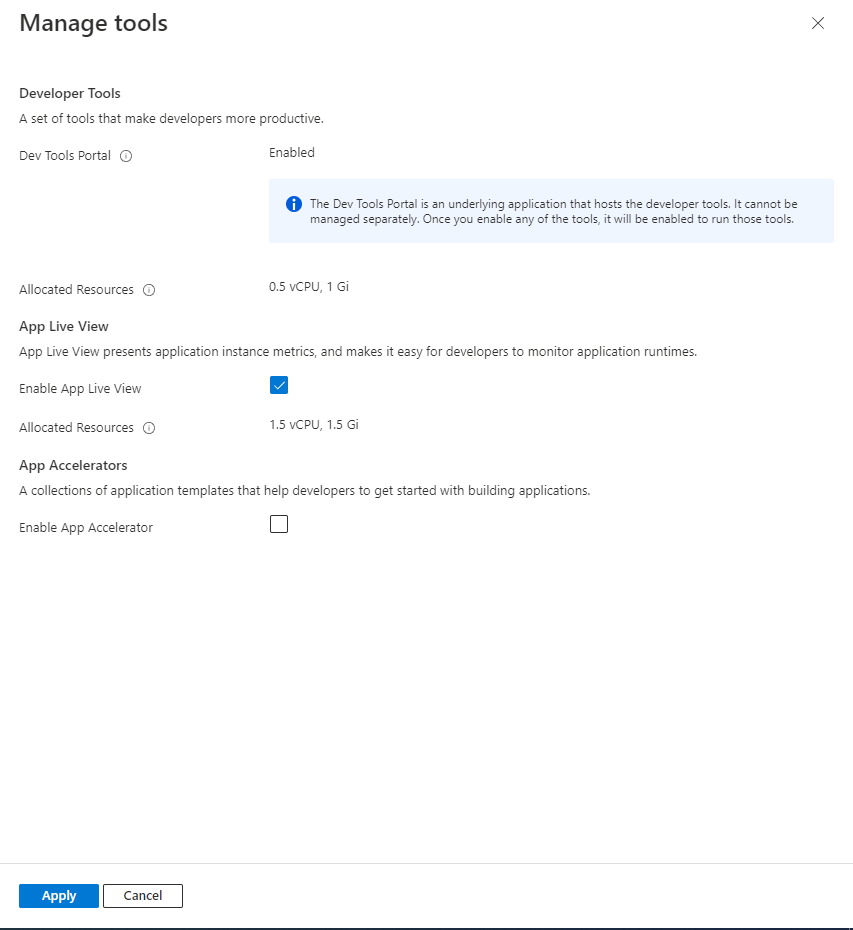
You can then view the state of Application Live View on the Developer Tools.


Use Application Live View in VS Code
You can access Application Live View directly in VS Code to monitor your apps in the Azure Spring Apps Enterprise plan.
Prerequisites
View Application Live View dashboard
Use the following steps to view the Application Live View dashboard for a service instance:
In Visual Studio Code, open the Azure Spring Apps extension, and then sign in to your Azure account.
Expand the service instance that you want to monitor and right-click to select the service instance.
Select Open Application Live View from the menu to open the Application Live View dashboard in your default browser.


View Application Live View page for an app
Use the following steps to view the Application Live View page for an app:
In Visual Studio Code, open the Azure Spring Apps extension, and then sign in to your Azure account.
Expand the service instance and the app that you want to monitor. Right-click the app.
Select Open Application Live View from the menu to open the Application Live View page for the app in your default browser.


Troubleshoot Application Live View issues
If you try to open Application Live View for a service instance or an app that hasn't enabled Application Live View or exposed a public endpoint, you see an error message.

To enable Application Live View and expose public endpoint, use either the Azure portal or the Azure CLI. For more information, see the Manage Application Live View in existing Enterprise plan instances section.
Next steps
Feedback
Coming soon: Throughout 2024 we will be phasing out GitHub Issues as the feedback mechanism for content and replacing it with a new feedback system. For more information see: https://aka.ms/ContentUserFeedback.
Submit and view feedback for