Tutorial: Discover and protect sensitive information in your organization
In a perfect world, all your employees understand the importance of information protection and work within your policies. In the real world, it's likely that a busy partner who frequently works with accounting information will inadvertently upload a sensitive document to your Box repository with incorrect permissions. A week later you realize your enterprise's confidential information was leaked to your competition.
To help you prevent this from happening, Microsoft Defender for Cloud Apps provides you with an expansive suite of DLP capabilities that cover the various data leak points that exist in organizations.
In this tutorial, you'll learn how to use Defender for Cloud Apps to discover potentially exposed sensitive data and apply controls to prevent their exposure:
How to discover and protect sensitive information in your organization
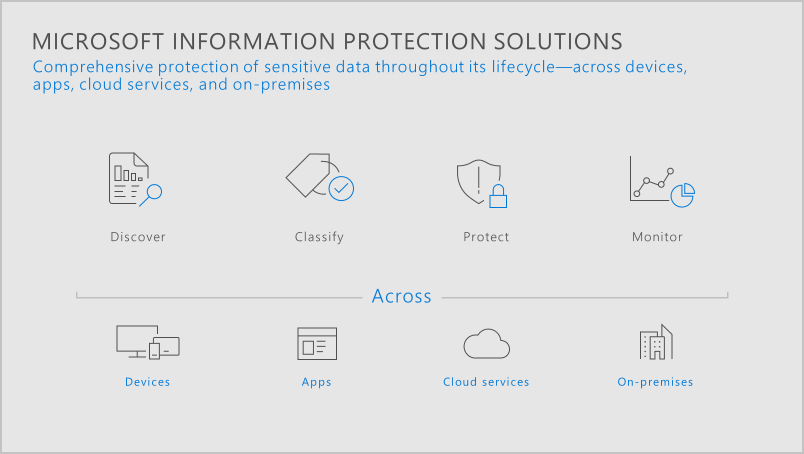
Our approach to information protection can be split into the following phases that allow you to protect your data through its full lifecycle, across multiple locations and devices.
Phase 1: Discover your data
Connect apps: The first step in discovering which data is being used in your organization, is to connect cloud apps used in your organization to Defender for Cloud Apps. Once connected, Defender for Cloud Apps can scan data, add classifications, and enforce policies and controls. Depending on how apps are connected affects how, and when, scans and controls are applied. You can connect your apps in one of the following ways:
Use an app connector: Our app connectors use the APIs supplied by app providers. They provide greater visibility into and control over the apps used in your organization. Scans are performed periodically (every 12 hours) and in real time (triggered each time a change is detected). For more information and instructions on how to add apps, see Connecting apps.
Use conditional access app control: Our conditional access app control solution is uniquely integrated with Microsoft Entra Conditional Access, and allows you to apply controls to any app.
Microsoft Edge users benefit from direct, in-browser protection. Conditional access app control is applied in other browsers using a reverse proxy architecture. For more information, see Protect apps with Microsoft Defender for Cloud Apps conditional access app control and In-browser protection with Microsoft Edge for Business (Preview).
Investigate: After you connect an app to Defender for Cloud Apps using its API connector, Defender for Cloud Apps scans all the files it uses. In the Microsoft Defender Portal, under Cloud Apps, go to Files to get an overview of the files shared by your cloud apps, their accessibility, and their status. For more information, see Investigate files.
Phase 2: Classify sensitive information
Define which information is sensitive: Before looking for sensitive information in your files, you first need to define what counts as sensitive for your organization. As part of our data classification service, we offer over 100 out-of-the-box sensitive information types, or you can create your own to suit to your company policy. Defender for Cloud Apps is natively integrated with Microsoft Purview Information Protection and the same sensitive types and labels are available throughout both services. So when you want to define sensitive information, head over to the Microsoft Purview Information Protection portal to create them, and once defined they'll be available in Defender for Cloud Apps. You can also use advanced classifications types such as fingerprint or Exact Data Match (EDM).
For those of you that have already done the hard work of identifying sensitive information and applying the appropriate sensitivity labels, you can use those labels in your policies without having to scan the contents again.
Enable Microsoft Information Protection integration
- In the Microsoft Defender Portal, select Settings. Then choose Cloud Apps.
- Under Information Protection, go to Microsoft Information Protection. Select Automatically scan new files for Microsoft Information Protection sensitivity labels and content inspection warnings.
For more information, see Microsoft Purview Information Protection integration.
Create policies to identify sensitive information in files: Once you know the kinds of information you want to protect, it's time to create policies to detect them. Start by creating the following policies:
File policy
Use this type of policy to scan the content of files stored in your API connected cloud apps in near real-time and data at rest. Files are scanned using one of our supported inspection methods including Microsoft Purview Information Protection encrypted content thanks to its native integration with Defender for Cloud Apps.In the Microsoft Defender Portal, under Cloud Apps, select Policies -> Policy management.
Select Create Policy, and then select File policy.
Under Inspection method, choose and configure one of the following classification services:
- Data Classification Services: Uses classification decisions you've made across Microsoft 365, Microsoft Purview Information Protection, and Defender for Cloud Apps to provide a unified labeling experience. This is the preferred content inspection method as it provides a consistent and unified experience across Microsoft products.
For highly sensitive files, select Create an alert for each matching file and choose the alerts you require, so that you're informed when there are files with unprotected sensitive information in your organization.
Select Create.
Session policy
Use this type of policy to scan and protect files in real time on access to:- Prevent data exfiltration: Block the download, cut, copy, and print of sensitive documents on, for example, unmanaged devices.
- Protect files on download: Require documents to be labeled and protected with Microsoft Purview Information Protection. This action ensures the document is protected and user access is restricted in a potentially risky session.
- Prevent the upload of unlabeled files: Require a file to have the right label and protection before a sensitive file is uploaded, distributed, and used by others. With this action, you can ensure that unlabeled files with sensitive content are blocked from being uploaded until the user classifies the content.
In the Microsoft Defender Portal, under Cloud Apps, select Policies -> Policy management.
Select Create Policy, and then select Session policy.
Under Session control type, choose one of the options with DLP.
Under Inspection method, choose and configure one of the following classification services:
- Data Classification Services: Uses classification decisions you've made across Microsoft 365, Microsoft Purview Information Protection, and Defender for Cloud Apps to provide a unified labeling experience. This is the preferred content inspection method as it provides a consistent and unified experience across Microsoft products.
- Built-in DLP: Inspects files for sensitive information using our built-in DLP content inspection engine.
For highly sensitive files, select Create an alert and choose the alerts you require, so that you're informed when there are files with unprotected sensitive information in your organization.
Select Create.
You should create as many policies as required to detect sensitive data in compliance with your company policy.
Phase 3: Protect your data
So now you can detect files with sensitive information, but what you really want to do is protect that information from potential threats. Once you're aware of an incident, you can manually remediate the situation or you can use one of the automatic governance actions provided by Defender for Cloud Apps for securing your files. Actions include, but aren't limited to, Microsoft Purview Information Protection native controls, API provided actions, and real-time monitoring. The kind of governance you can apply depends on the type of policy you're configuring, as follows:
File policy governance actions: Uses the cloud app provider's API and our native integrations to secure files, including:
- Trigger alerts and send email notifications about the incident
- Manage labels applied to a file to enforce native Microsoft Purview Information Protection controls
- Change sharing access to a file
- Quarantine a file
- Remove specific file or folder permissions in Microsoft 365
- Move a file to the trash folder
Session policy controls: Uses reverse proxy capabilities to protect files, including:
- Trigger alerts and send email notifications about the incident
- Monitor all activities: Explicitly allows the download or upload of files and monitors all related activities.
- Block: Explicitly blocks the download or upload of files. Use this option to protect your organization's sensitive files from exfiltration or infiltration from any device, including unmanaged devices.
- Protect: Automatically applies a sensitivity label to files that match the policy's file filters. Use this option to protect the download of sensitive files.
Phase 4: Monitor and report on your data
Your policies are all in place to inspect and protect your data. Now, you'll want to check your dashboard daily to see what new alerts have been triggered. It's a good place to keep an eye on the health of your cloud environment. Your dashboard helps you get a sense of what's happening and, if necessary, launch an investigation.
One of the most effective ways of monitoring sensitive file incidents, is to head over to the Policies page, and review the matches for policies you've configured. Additionally, if you configured alerts, you should also consider regularly monitoring file alerts by heading over to the Alerts page, specifying the category as DLP, and reviewing which file-related policies are being triggered. Reviewing these incidents can help you fine-tune your policies to focus on threats that are of interest to your organization.
In conclusion, managing sensitive information in this way ensures that data saved to the cloud has maximal protection from malicious exfiltration and infiltration. Also, if a file is shared or lost, it can only be accessed by authorized users.
See also
If you run into any problems, we're here to help. To get assistance or support for your product issue, please open a support ticket.
Feedback
Coming soon: Throughout 2024 we will be phasing out GitHub Issues as the feedback mechanism for content and replacing it with a new feedback system. For more information see: https://aka.ms/ContentUserFeedback.
Submit and view feedback for