Loan onboarding sample portal
Important
Effective September 1, 2023, the loan onboarding sample portal is deprecated, and is not available for deployment. Existing users can continue to use the portal as usual if they've already deployed and configured it.
The loan onboarding sample portal in Microsoft Cloud for Financial Services helps customers or potential customers complete a loan application. Applicants pick the type of loan they want, and then follow a workflow that collects the relevant information for their application:
- Provide and review information about the loan they want
- Add their personal and financial details, including assets, liabilities, income, and expenses
- Add co-signers and other parties to the loan application, and their relevant information
- Upload documents required by the bank to evaluate the feasibility and fungibility of the loan
- View the status of the application, and provide any missing details or documents
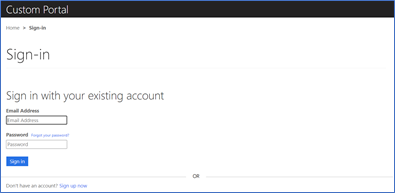
Sign in or sign up
New customers need to sign up and returning customers need to sign into the loan onboarding portal. The portal supports all types of emails and doesn't require configuration.
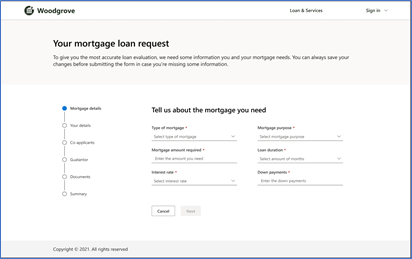
Application process
This example tracks the application process for a mortgage.
On the Mortgage details page, the applicant provides details: the amount required, the loan purpose, the interest rate, and their down payment.
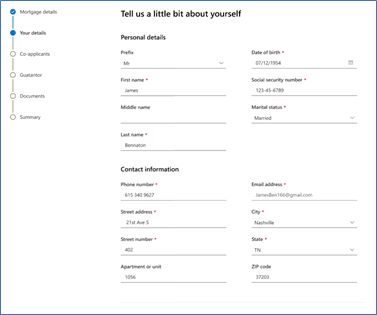
On the Your details page, the applicant provides personal details, contact information, and financial status, including employment history and a declaration about assets and liabilities.
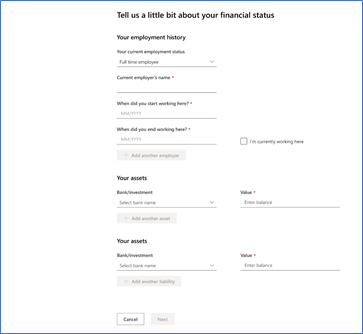
When the applicant selects the bank name and enters the asset balance, they can then select Add another asset if they need to declare more assets. A new form opens to collect the information.
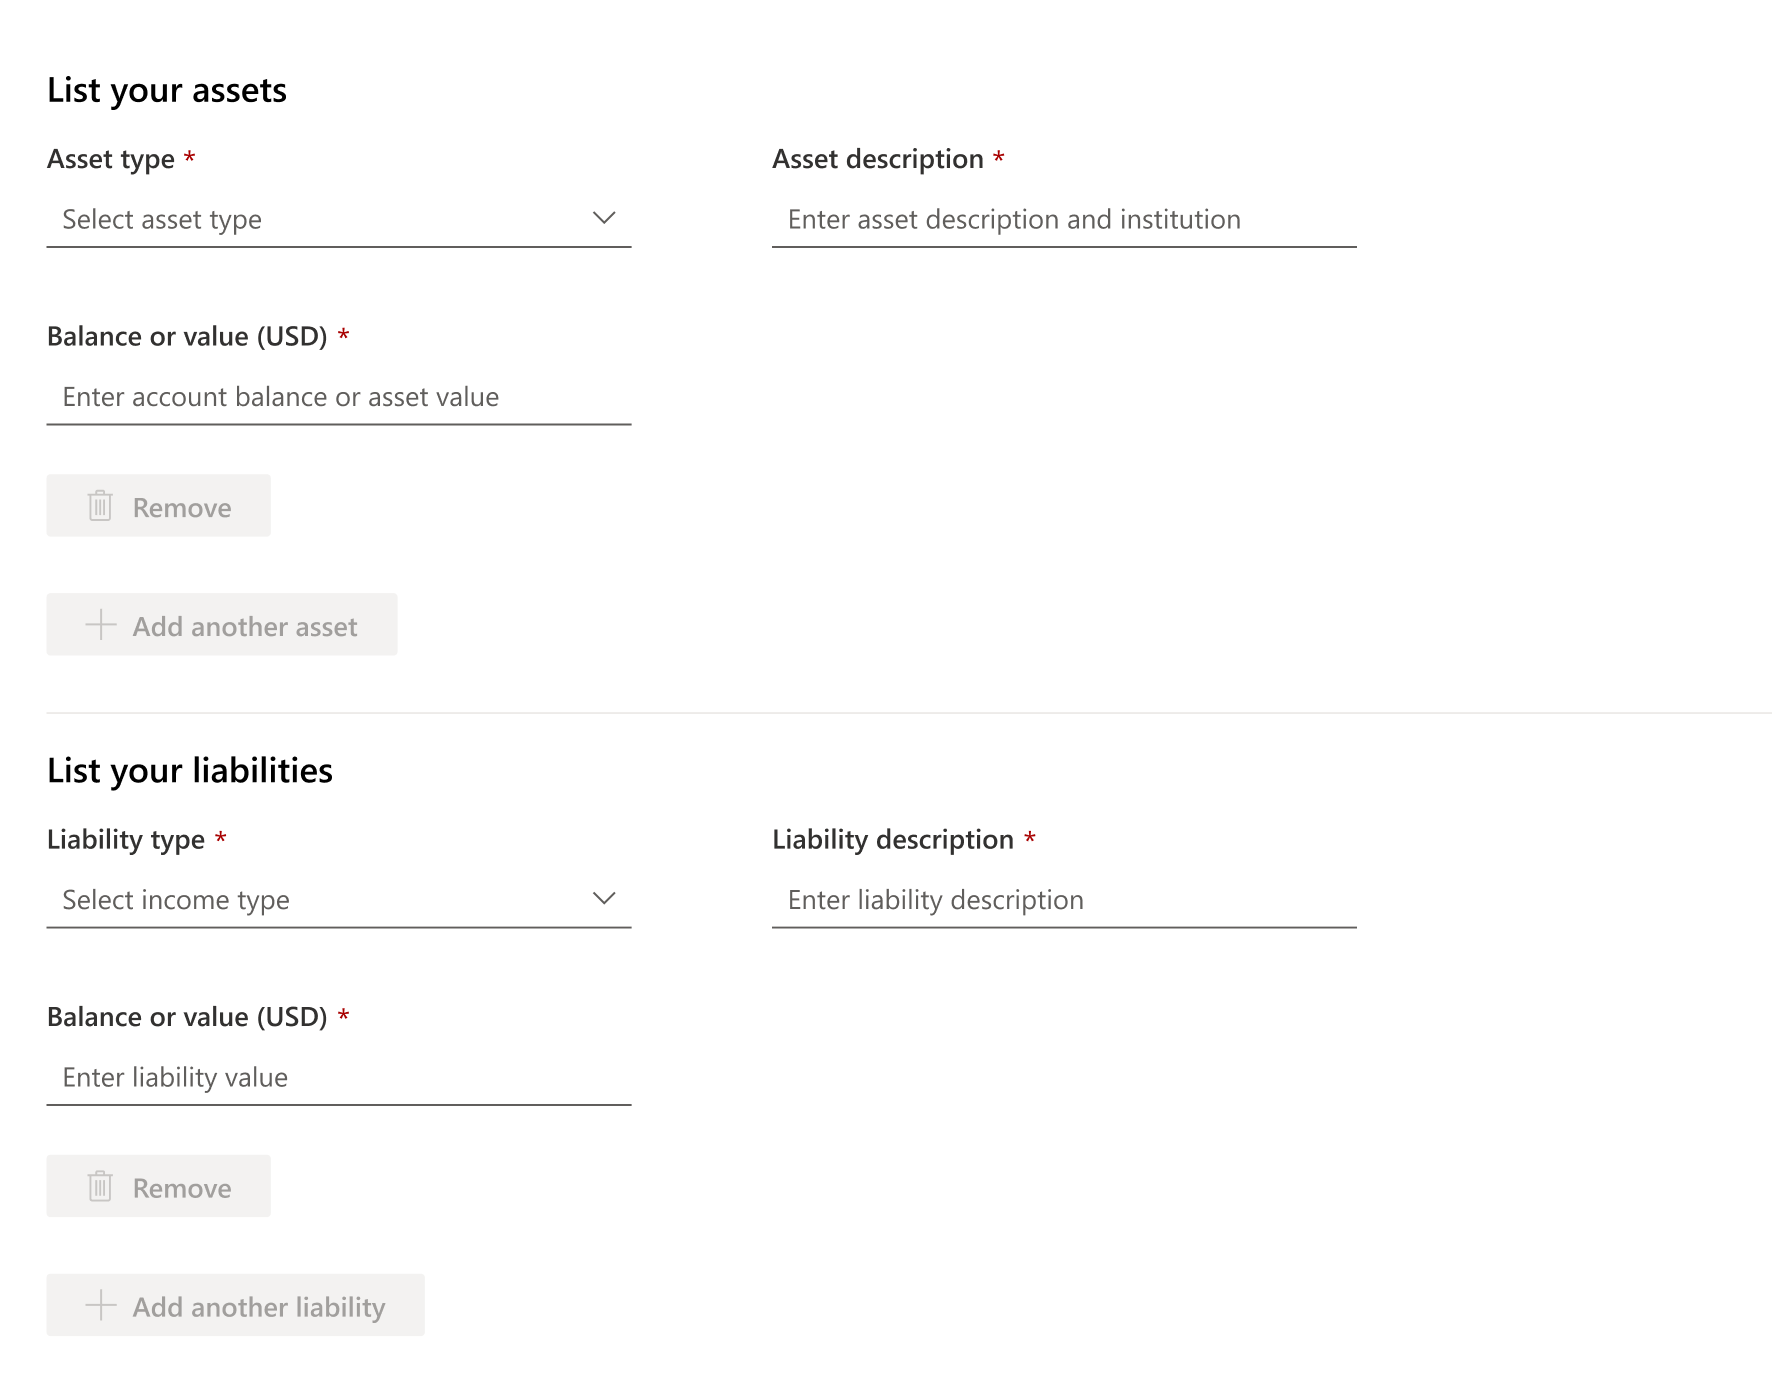
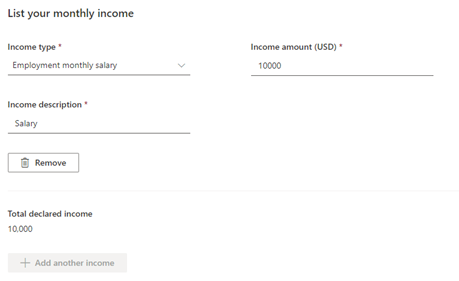
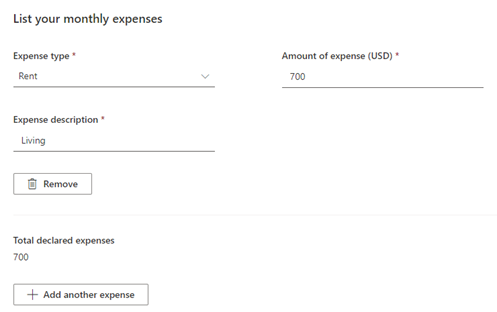
An applicant can also declare income and expenses. The bank requires this information to understand whether the applicant can afford to pay back the loan.
For each source of income, an applicant can choose the income type, enter the amount, and enter a description. To add another source, the applicant can select Add another income. Before the applicant finishes their income declarations, they can select the waste bin icon for a listed source to remove it. The applicant can also see the total declared income amount as a running total.
For each expense, an applicant can choose the expense type, insert the relevant amount, and the expense's description. To add another expense, the applicant can select Add another expense. Before the applicant finishes their expense declarations, they can select the waste bin icon for a listed source to remove it. The applicant can also see the total declared expenses amount as a running total.
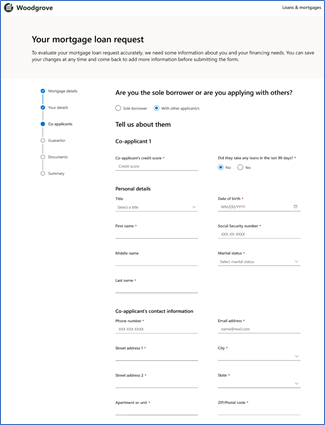
On the Coapplicants page, the applicant can add a co-signer or co-applicant. For example, a married couple might apply for a mortgage together. One is defined as the primary applicant, and the other is the co-signer. The sample portal allows you to add these roles, including adding the relevant information for any other parties.
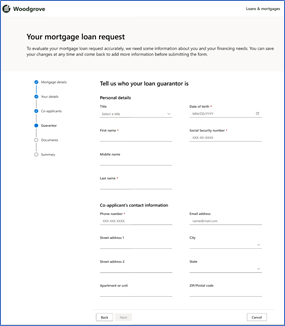
In other cases, the applicant requires guarantors.
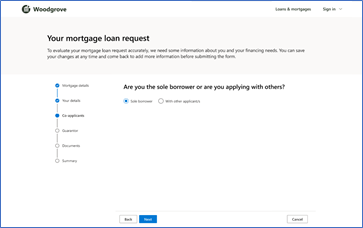
If the applicant selects Sole borrower, the applicant continues to the next stage. However, if the applicant selects With other applicants, the applicant goes to the next page, where the applicant needs to add the co-applicant details. Coapplicant details include personal details, contact information, and financial status.

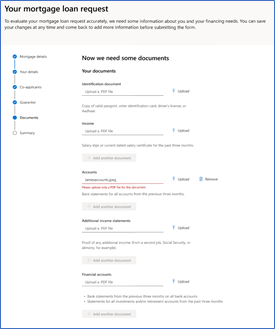
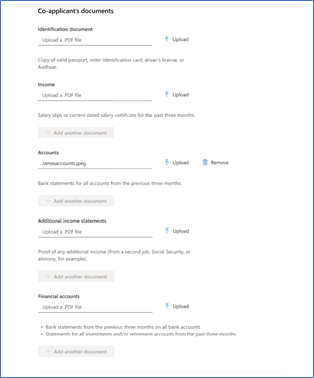
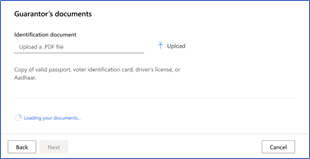
On the Documents page, applicants can upload required documents in PDF format. If there are other parties who participate in the application, the primary applicant must upload the relevant documents for them, too. The Documents stage isn't mandatory, so applicants can continue to the next stage without uploading documents.
Documents for the primary applicant:
Documents for the co-applicant:
Document for a guarantor:
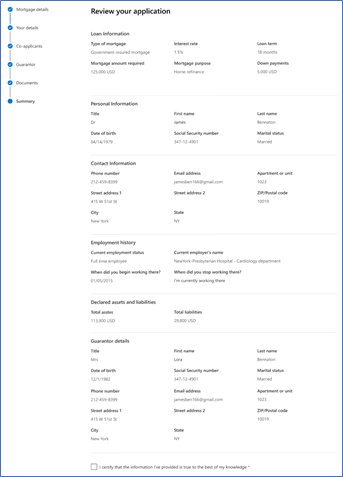
On the Summary page, the applicant can review all the information provided through the portal. The applicant can view loan information, personal and contact information, employment history, declared assets and liabilities, and other parties who joined the application.
To move to the next stage, the applicant needs to select the checkbox and declare that the information provided is true.
After the applicant selects Submit application, the application is submitted.
Personal page
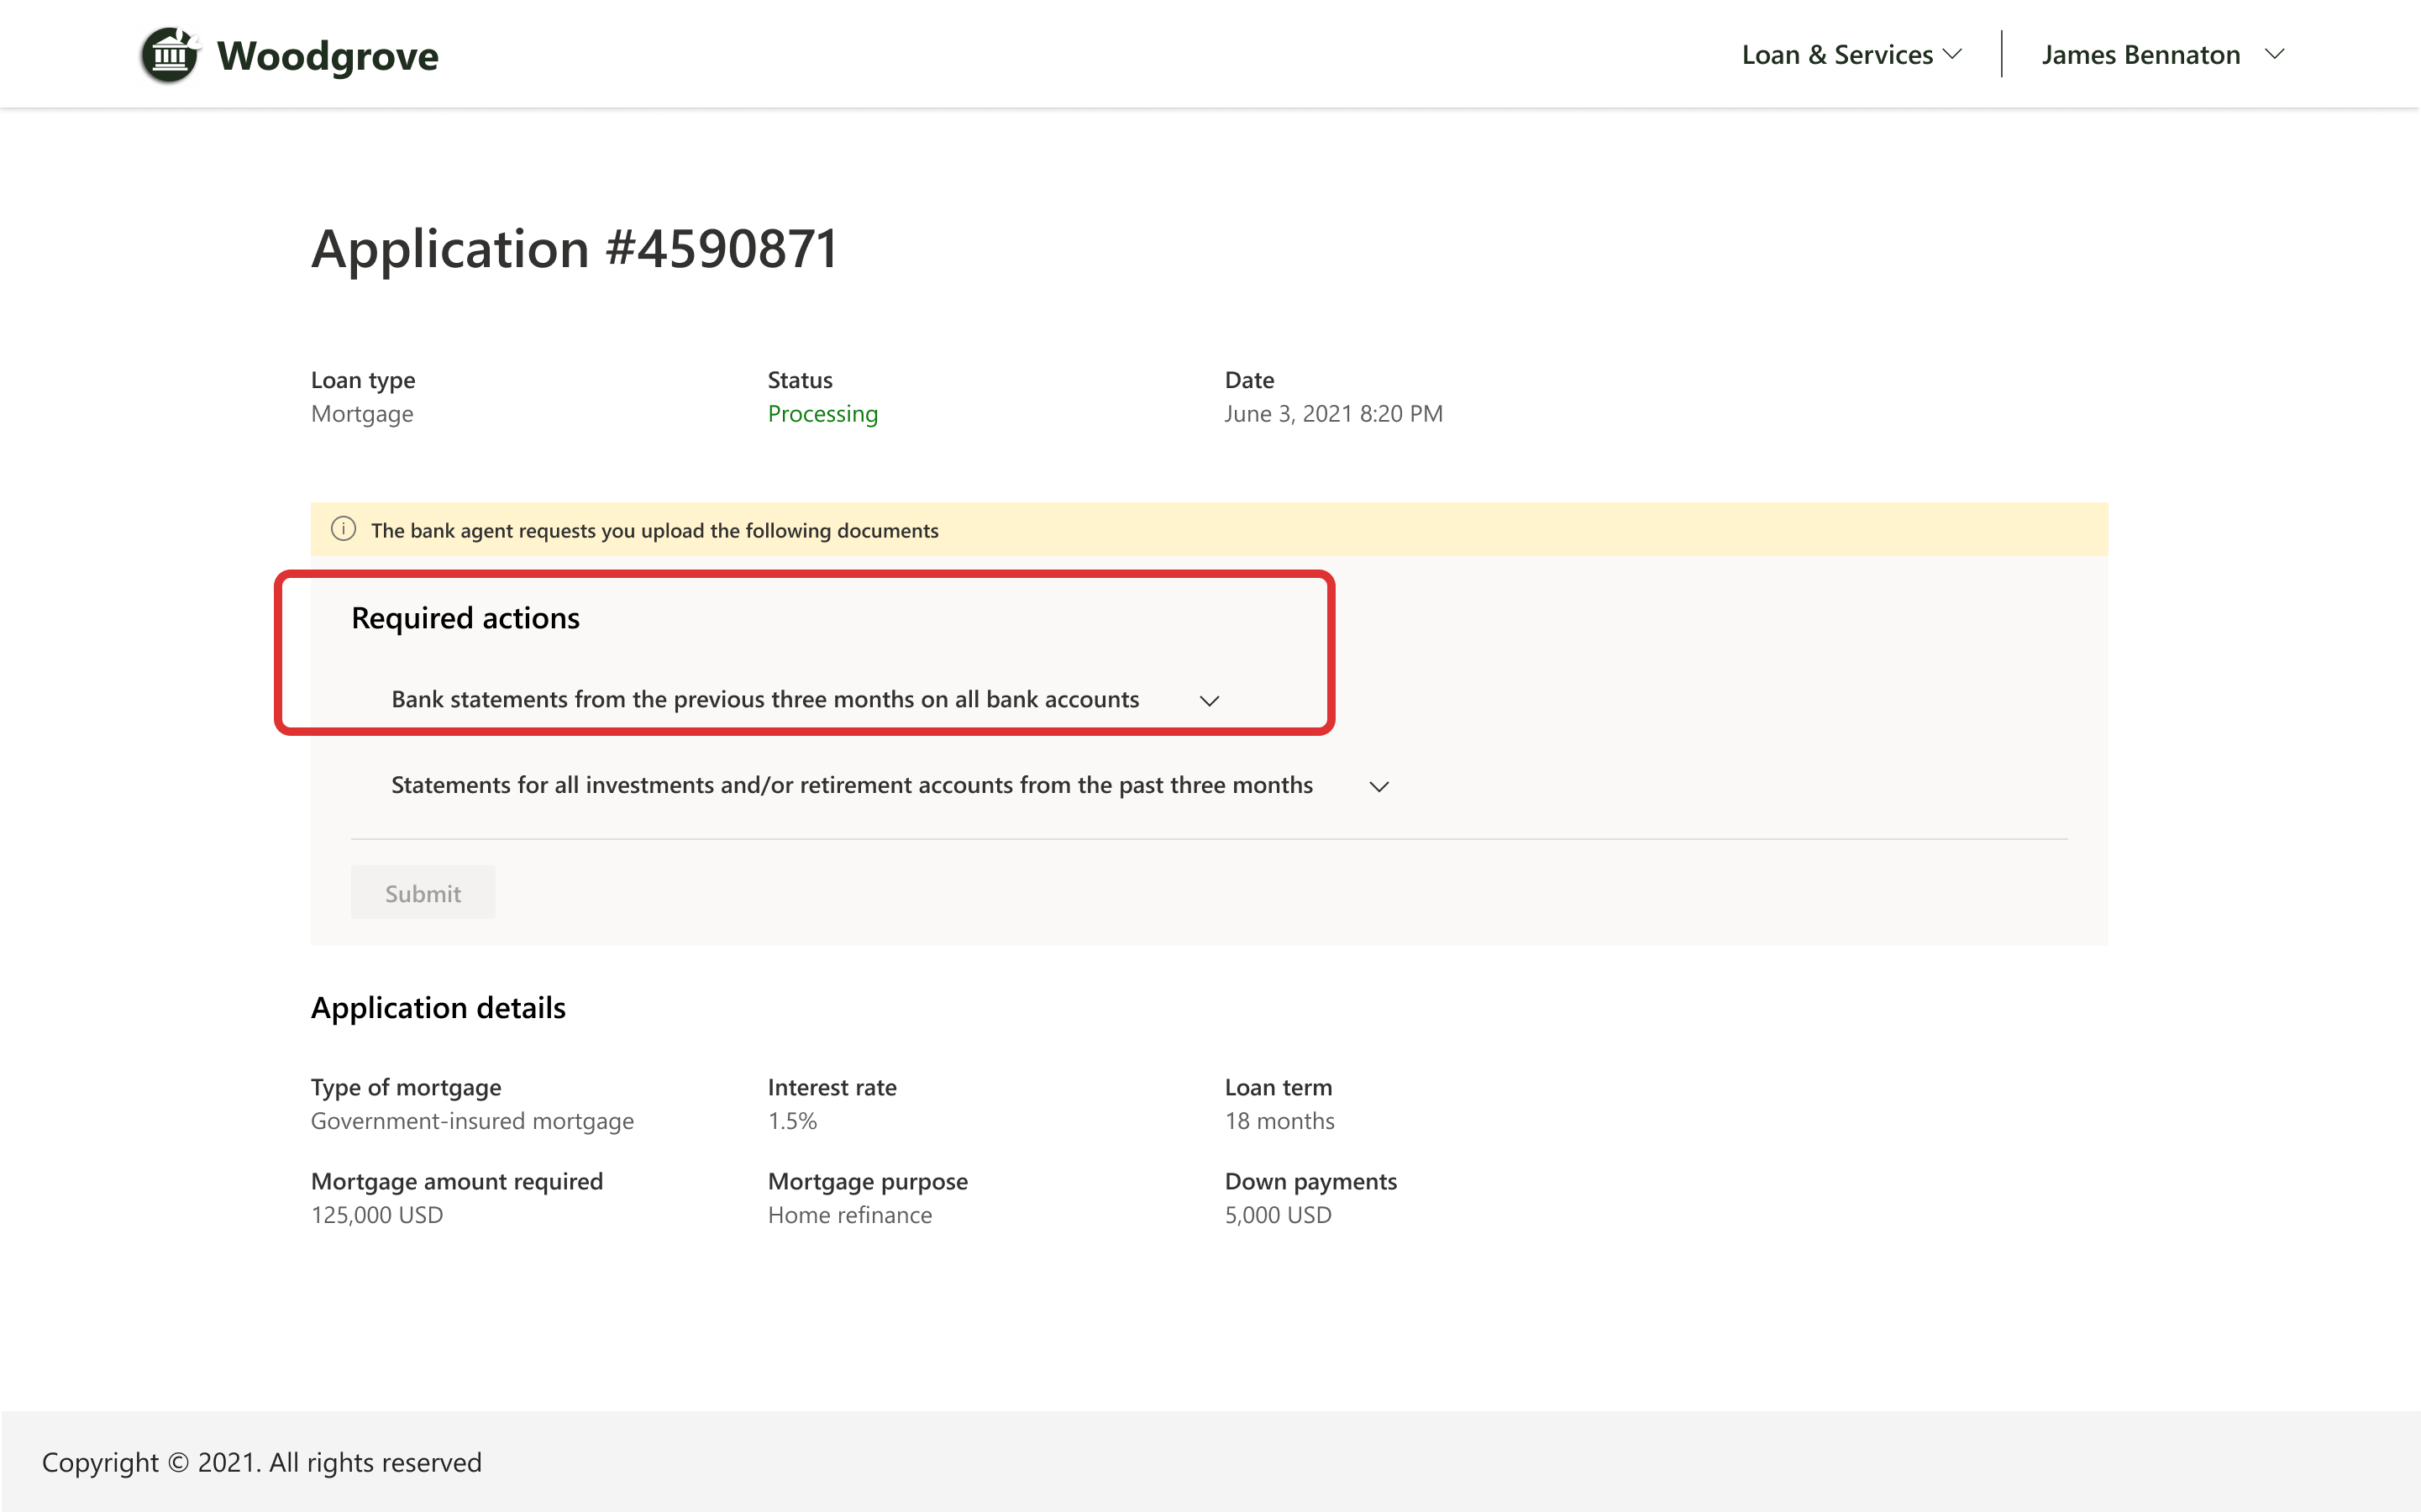
The Personal page allows the applicant to see the status of the loan application. The status can be Draft, In review, In progress, or others. The applicant can also see if there are any other requirements from the bank, such as missing documents, personal, or financial information.
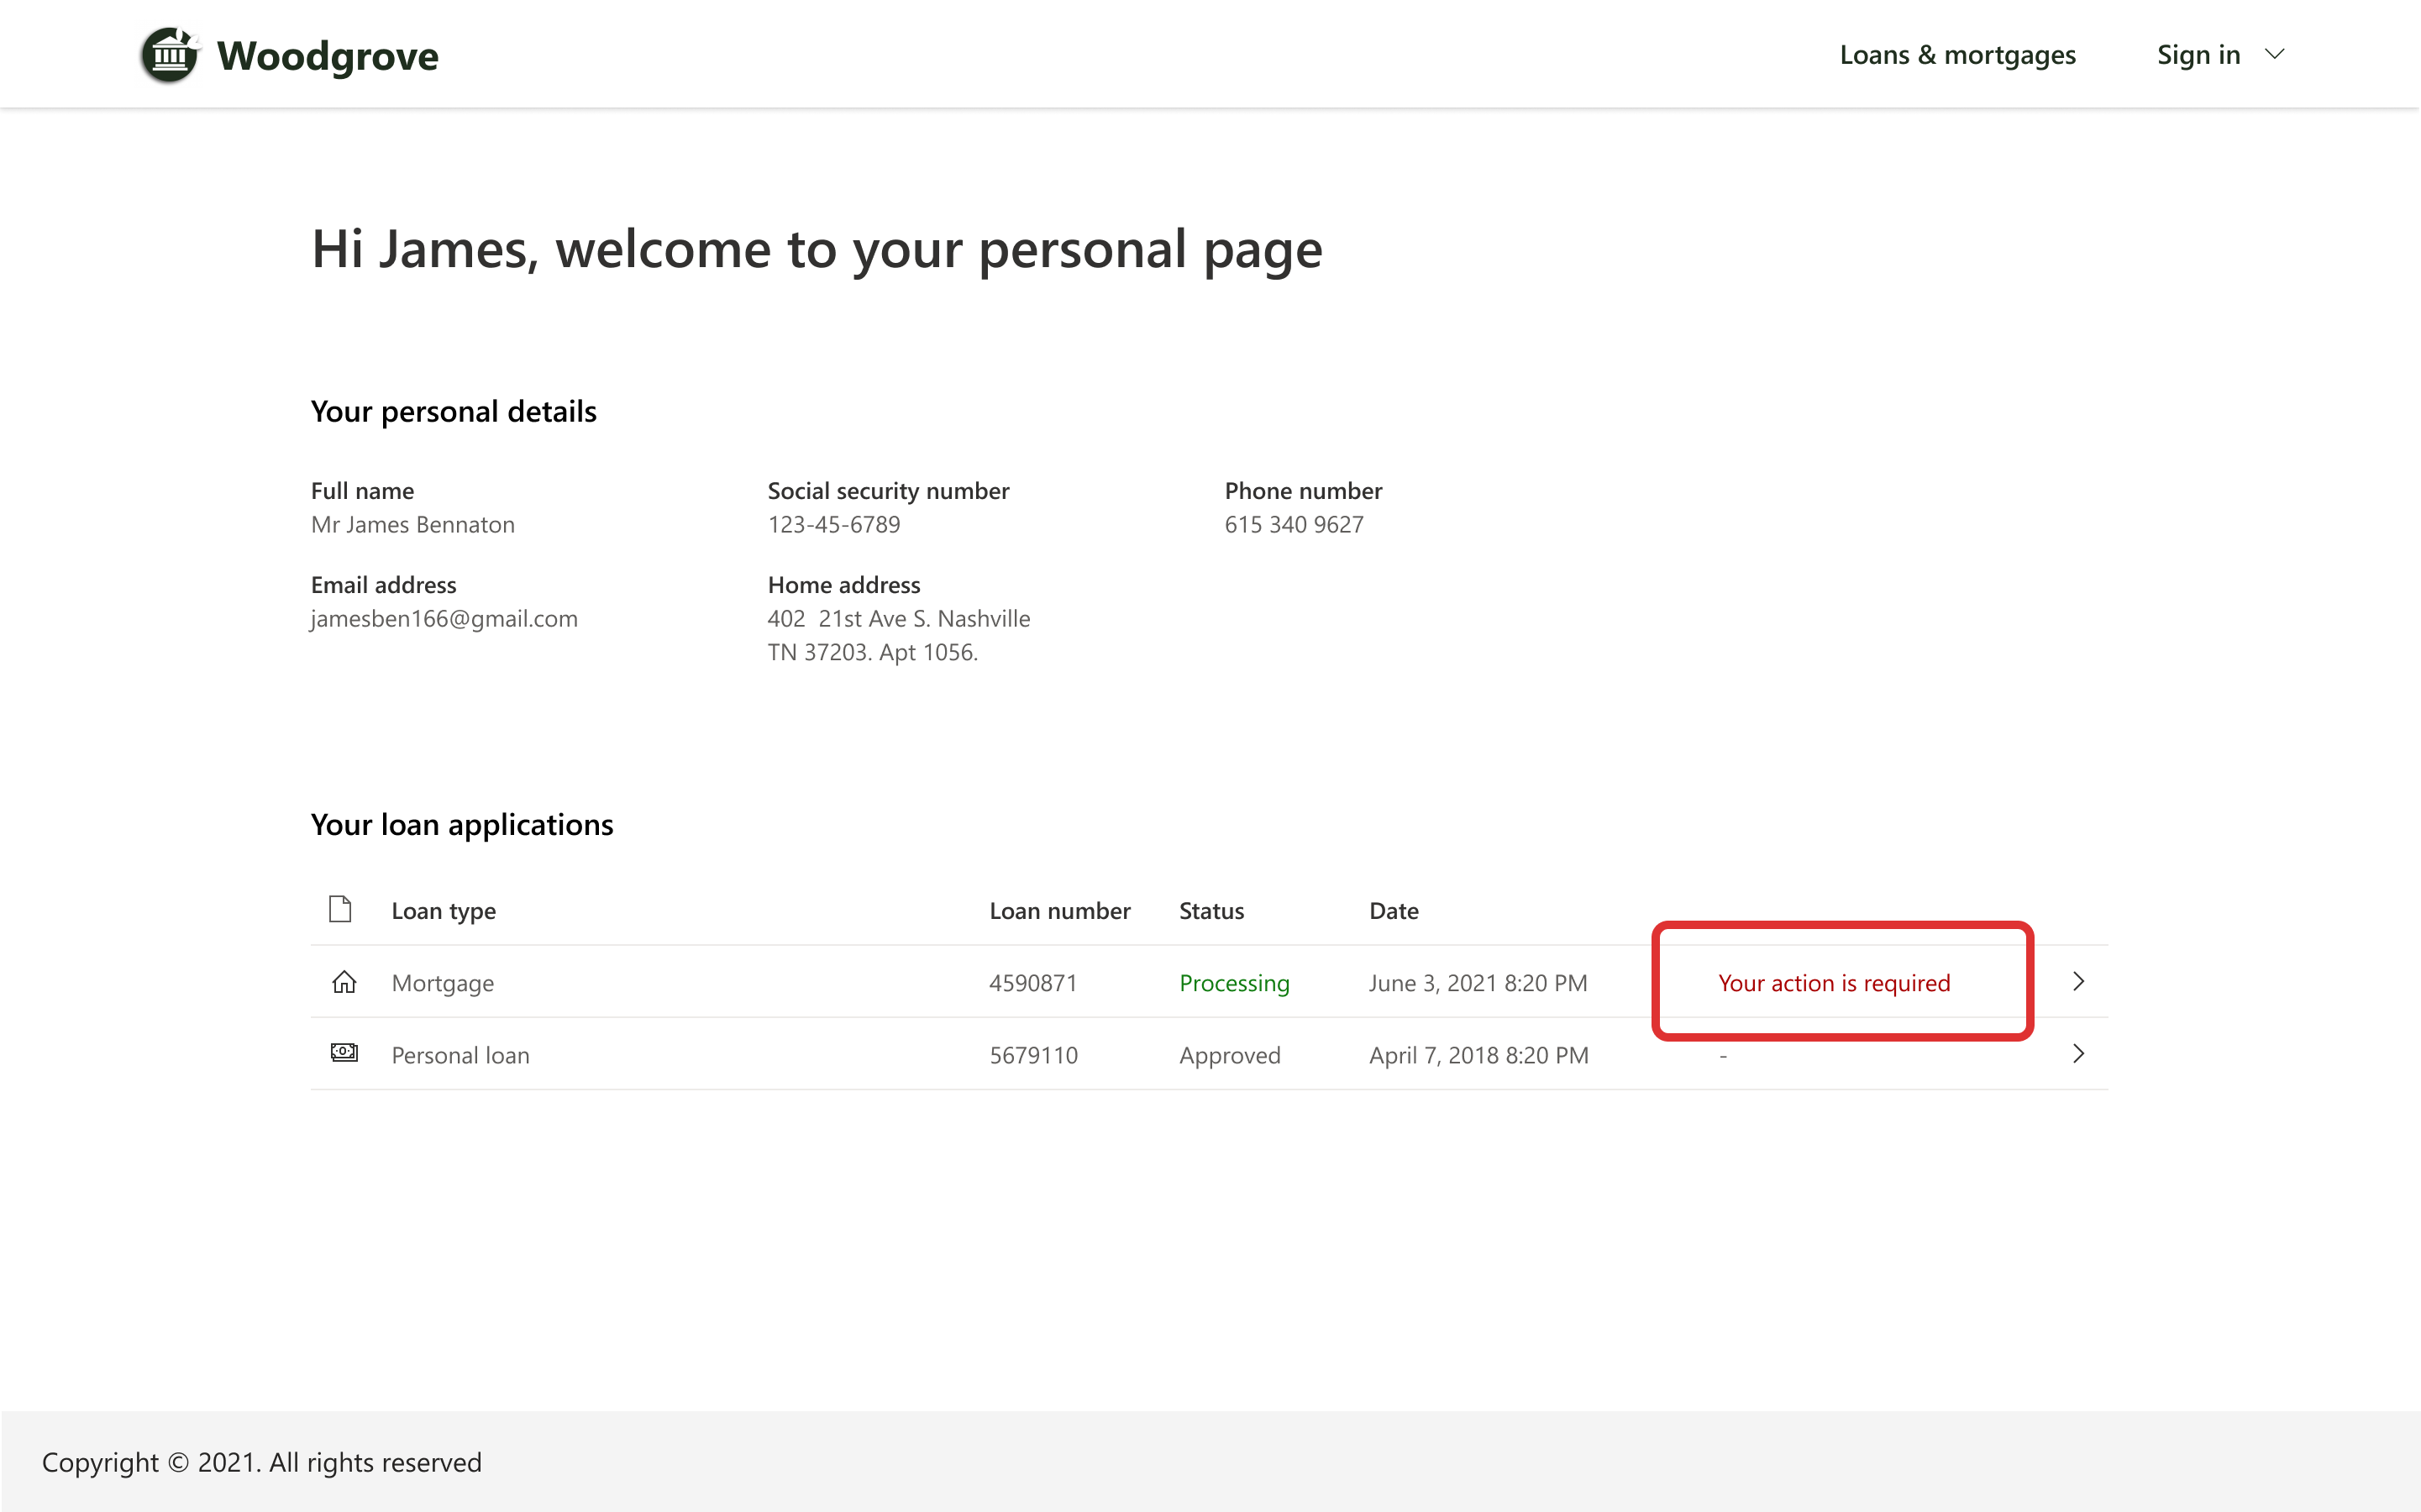
When the applicant selects Your action is required a form opens to help them complete the action.

Compliance
For information about compliance, go to Compliance in Microsoft Cloud for Financial Services.
See also
Configure sample portal Licensing Support Deploy Microsoft Cloud for Financial Services What is Microsoft Cloud for Financial Services?