Add users to the Dynamics 365 Remote Assist model-driven app
Tip
Dynamics 365 Remote Assist customers now have access to Remote Assist in Microsoft Teams mobile. Take advantage of all that Teams has to offer and collaborate with other users! For the best calling experience on HoloLens, use Dynamics 365 Guides.
With Guides, the same remote experts can assist you through a problem while you have the holographic content of a Guide appearing before you.
Learn more and try Guides!
After you install the Microsoft Dynamics 365 Remote Assist model-driven app, you'll need to add users so they can use the Dynamics 365 Remote Assist client app on HoloLens or mobile to:
Create and share one-time call links.
Record call metrics for the Calls dashboard.
This article shows you how to assign a Dynamics 365 Remote Assist license to users and set up security roles.
Prerequisites
To complete the steps in this article, you need:
A Dynamics 365 Remote Assist subscription. The subscription enables you to assign licenses to users.
The ability to manage user licenses in the Microsoft 365 admin center. To manage user licenses, you need to have an admin role for the Microsoft 365 admin center.
Admin access to the environment that Dynamics 365 Remote Assist is installed in. You manage security roles for users in the environment. A system administrator role (typically a Power Apps admin, Global admin, or Dynamics 365 admin) is required for the environment you're managing.
Assign Dynamics 365 Remote Assist licenses
Anyone who will be using Dynamics 365 Remote Assist client app on HoloLens or Mobile or accessing the Dynamics 365 Remote Assist model-driven app will need a Dynamics 365 Remote Assist license. If these users already have a Dynamics 365 Remote Assist license, you can skip this step.
Sign in to the Microsoft 365 admin center as an admin (User admin or Global admin).
Go to Billing > Licenses.
Select Dynamics 365 Remote Assist.
Select Assign licenses.
In the Assign licenses to users pane, begin typing a name, and then choose it from the results to add it to the list. You can add up to 20 users at a time.
When you're finished, select Assign, and then select Close.
More information: Assign licenses to users
Assign Dynamics 365 security roles
Note
Users can take up to one hour to appear in the Dynamics 365 admin center after the licenses are added in the Microsoft 365 admin center.
Open the Power Platform admin center, and sign in using your admin credentials.
If the Environments page doesn't appear, select Environments in the left pane to open it.
Select the environment that you want to work with, select the More environment actions (...) button, and then select Settings.

Select Users + permissions to expand the list of options, and then select Users. If you're prompted to sign in to Dynamics 365, be sure to use your admin credentials.

Follow one of these steps:
If the users are already in the list, skip ahead to step 6 to assign user roles.
If you need to add one or more users, select Add user at the top of the page, enter the account details in the Add user dialog box, and then select Add.
Note
When you add a user in this way, you trigger synchronization. The user is added to the instance within a few minutes.
Select Manage users in Dynamics 365 at the top of the page.

Select one or more users, and then select Manage Roles at the top of the page.

In the Manage User Roles dialog box, select the Basic User check box.

Note
You may see a Common Data Service check box instead of a Basic User check box. If so, select that check box.
Select the check box for Remote Assist - App User.
For supervisors, service managers, and other users who may need access to advanced features, such as the Calls dashboard, select the check box for the Remote Assist - Administrator role. When you're finished, select OK.
Manage app roles
The necessary security roles are automatically associated with the model-driven app. Depending on your organization's setup, you may not need to set up security roles. If you can't access the model-driven app, check security roles as described below.
The Remote Assist - App User and the Remote Assist - Administrator roles must be enabled for the Dynamics 365 Remote Assist app. The following table describes the two roles.
| Security role | Description |
|---|---|
| Remote Assist - App User | Provides access to assets, one-time calling, and settings in the model-driven app. This role is assigned automatically to all users who have a Dynamics 365 Remote Assist license. Admins typically don't have to assign this role manually. |
| Remote Assist - Administrator | Provides additional access to the Calls Dashboard. This role is not recommended as a replacement for the Remote Assist - App User role. |
Assign a security role
Sign in to the Power Platform admin center as an admin (Dynamics 365 service admin, Global admin, or Power Platform service admin).
Select Environments, find the environment that Dynamics 365 Remote Assist is installed in, and then select
 .
.Select Open environment.
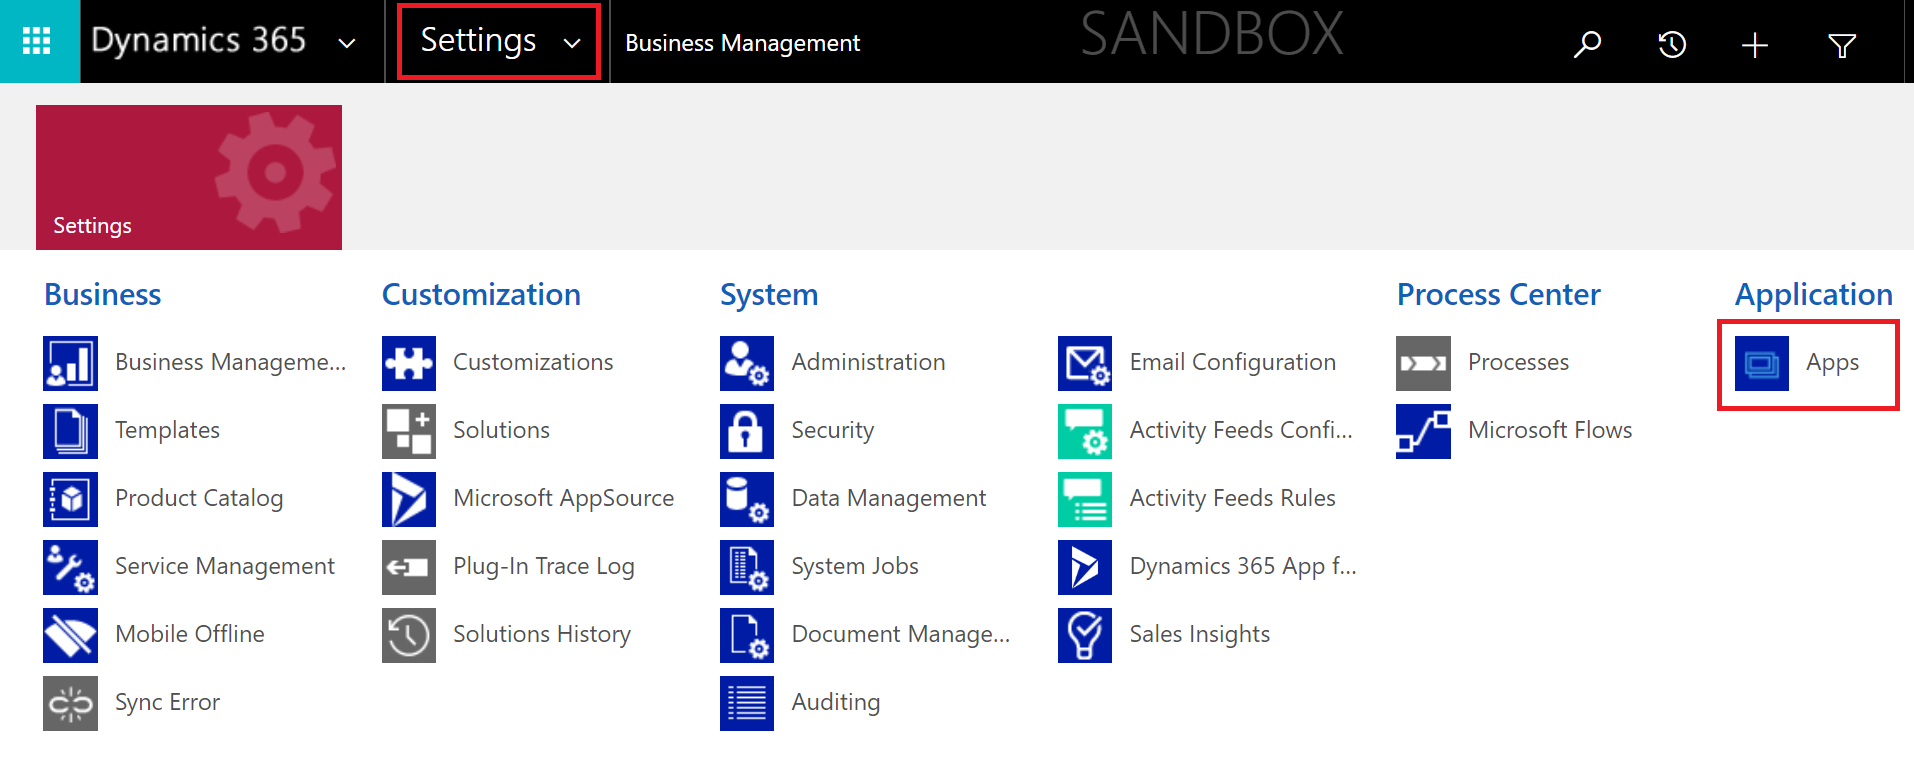
If you see a list of Published Apps, proceed to step 5. Otherwise, select Settings from the upper-right toolbar, select Advanced Settings, and then select the drop-down menu next to Settings > Apps.
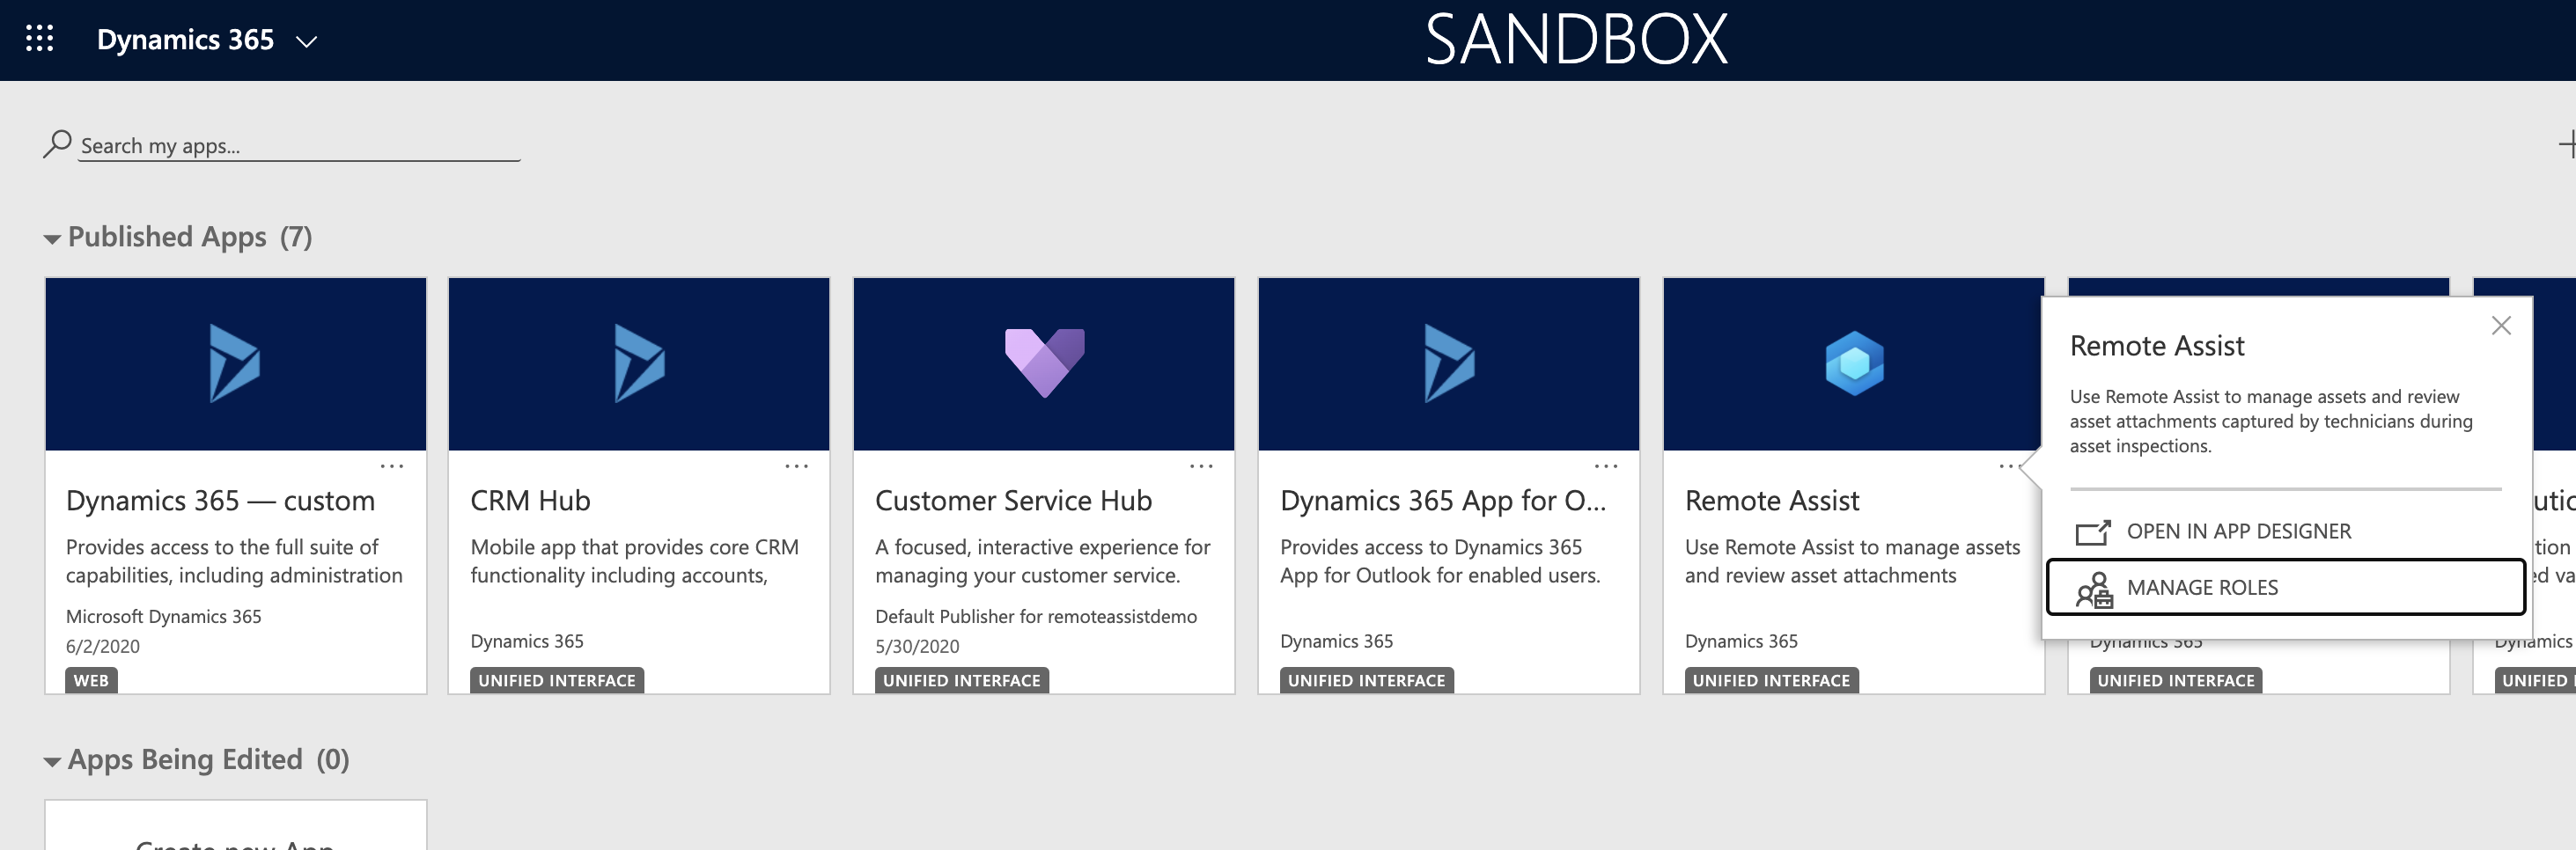
On the Dynamics 365 Remote Assist app tile, select More options, and then select Manage Roles.
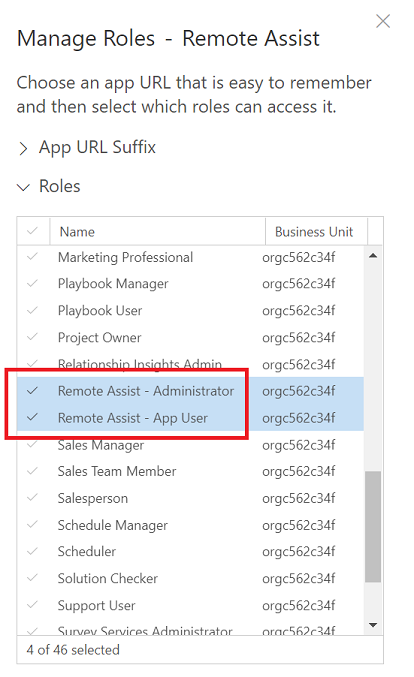
In the right side panel, select the Remote Assist - Administrator and Remote Assist - App User roles from the list, and then select Save.
Selecting the right environment from the client app
After end users have been assigned licenses and security roles, they must also select the correct environment with the Dynamics 365 Remote Assist model-driven app installed to use related features within the HoloLens or mobile app. You can do this by selecting the Settings menu of the respective client apps and selecting the environment. By default, there is no environment associated with the client app.
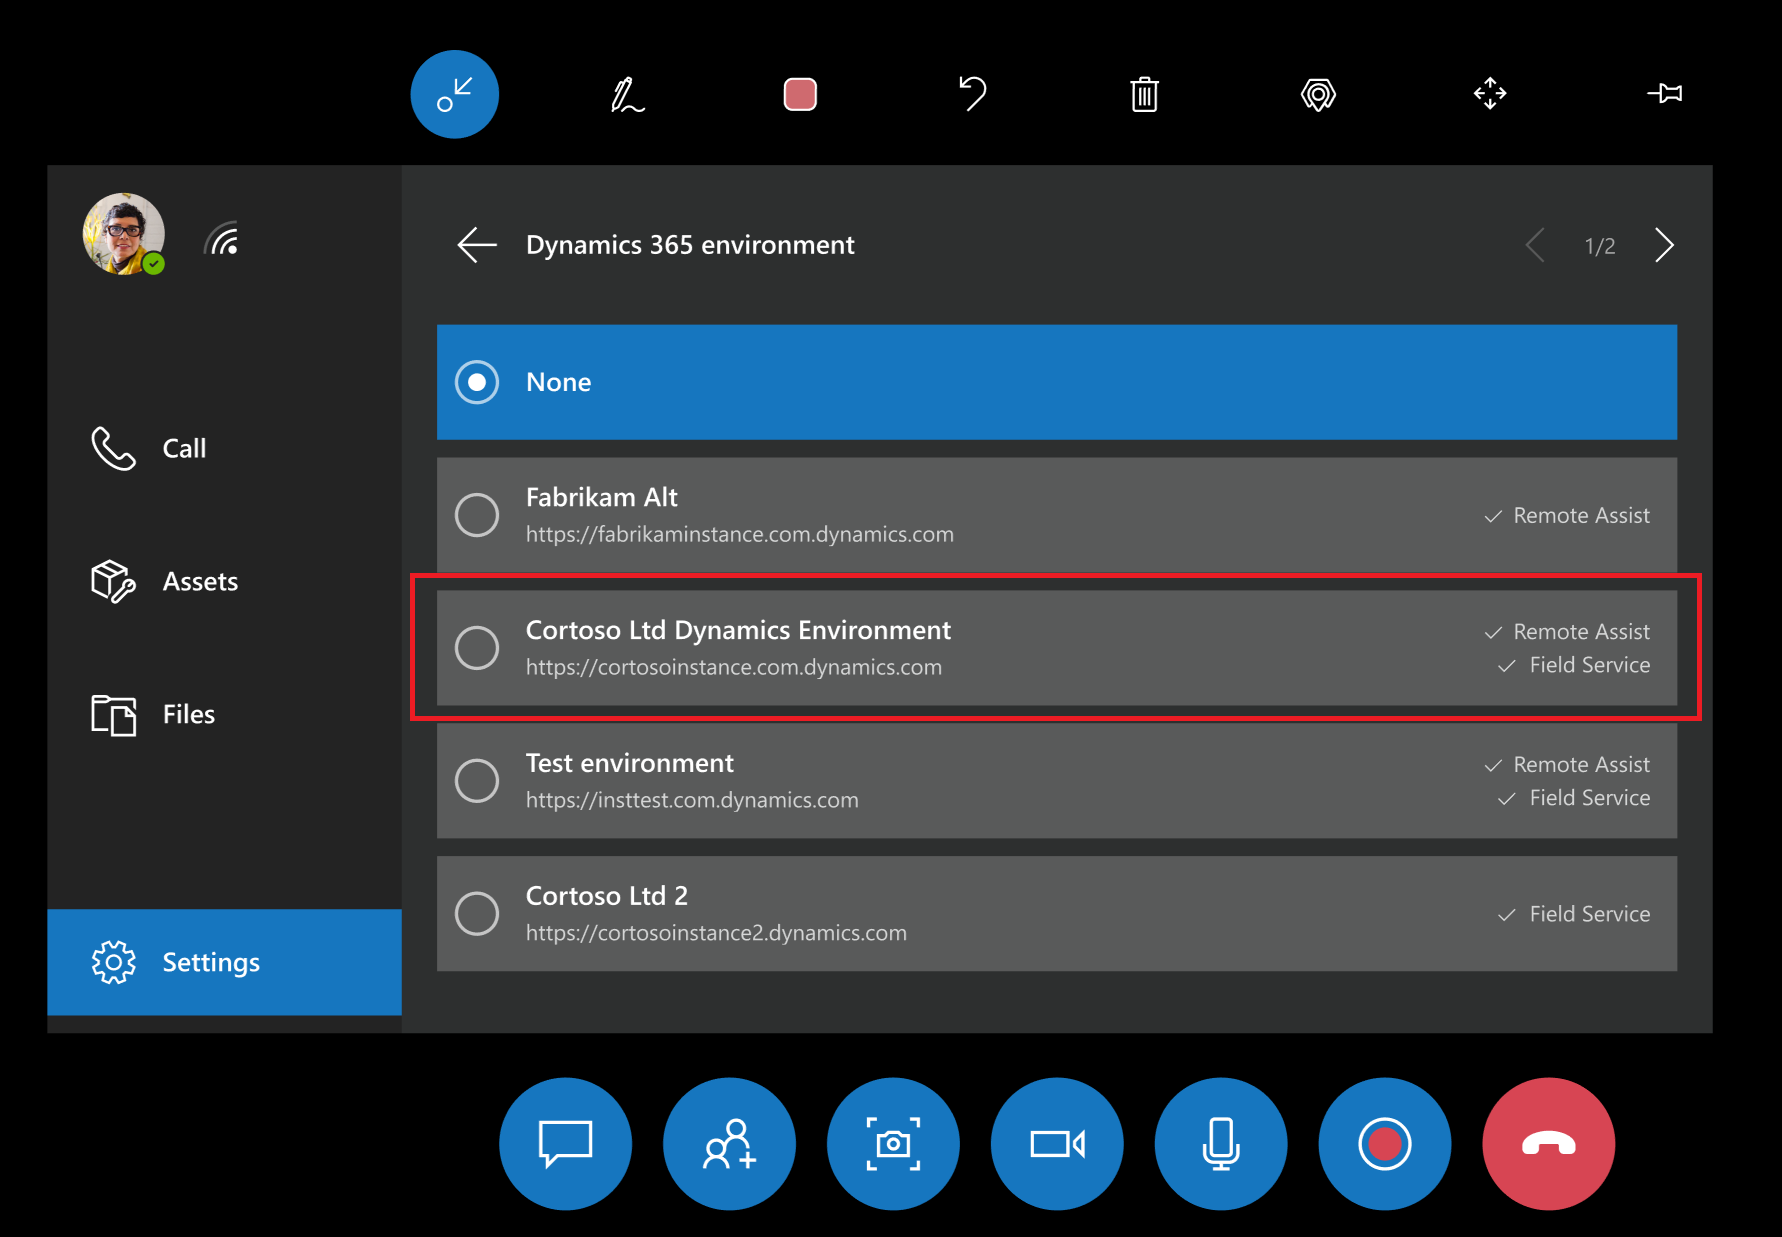
Select the right environment in HoloLens
Go to the Settings menu and select the Dynamics 365 environment.
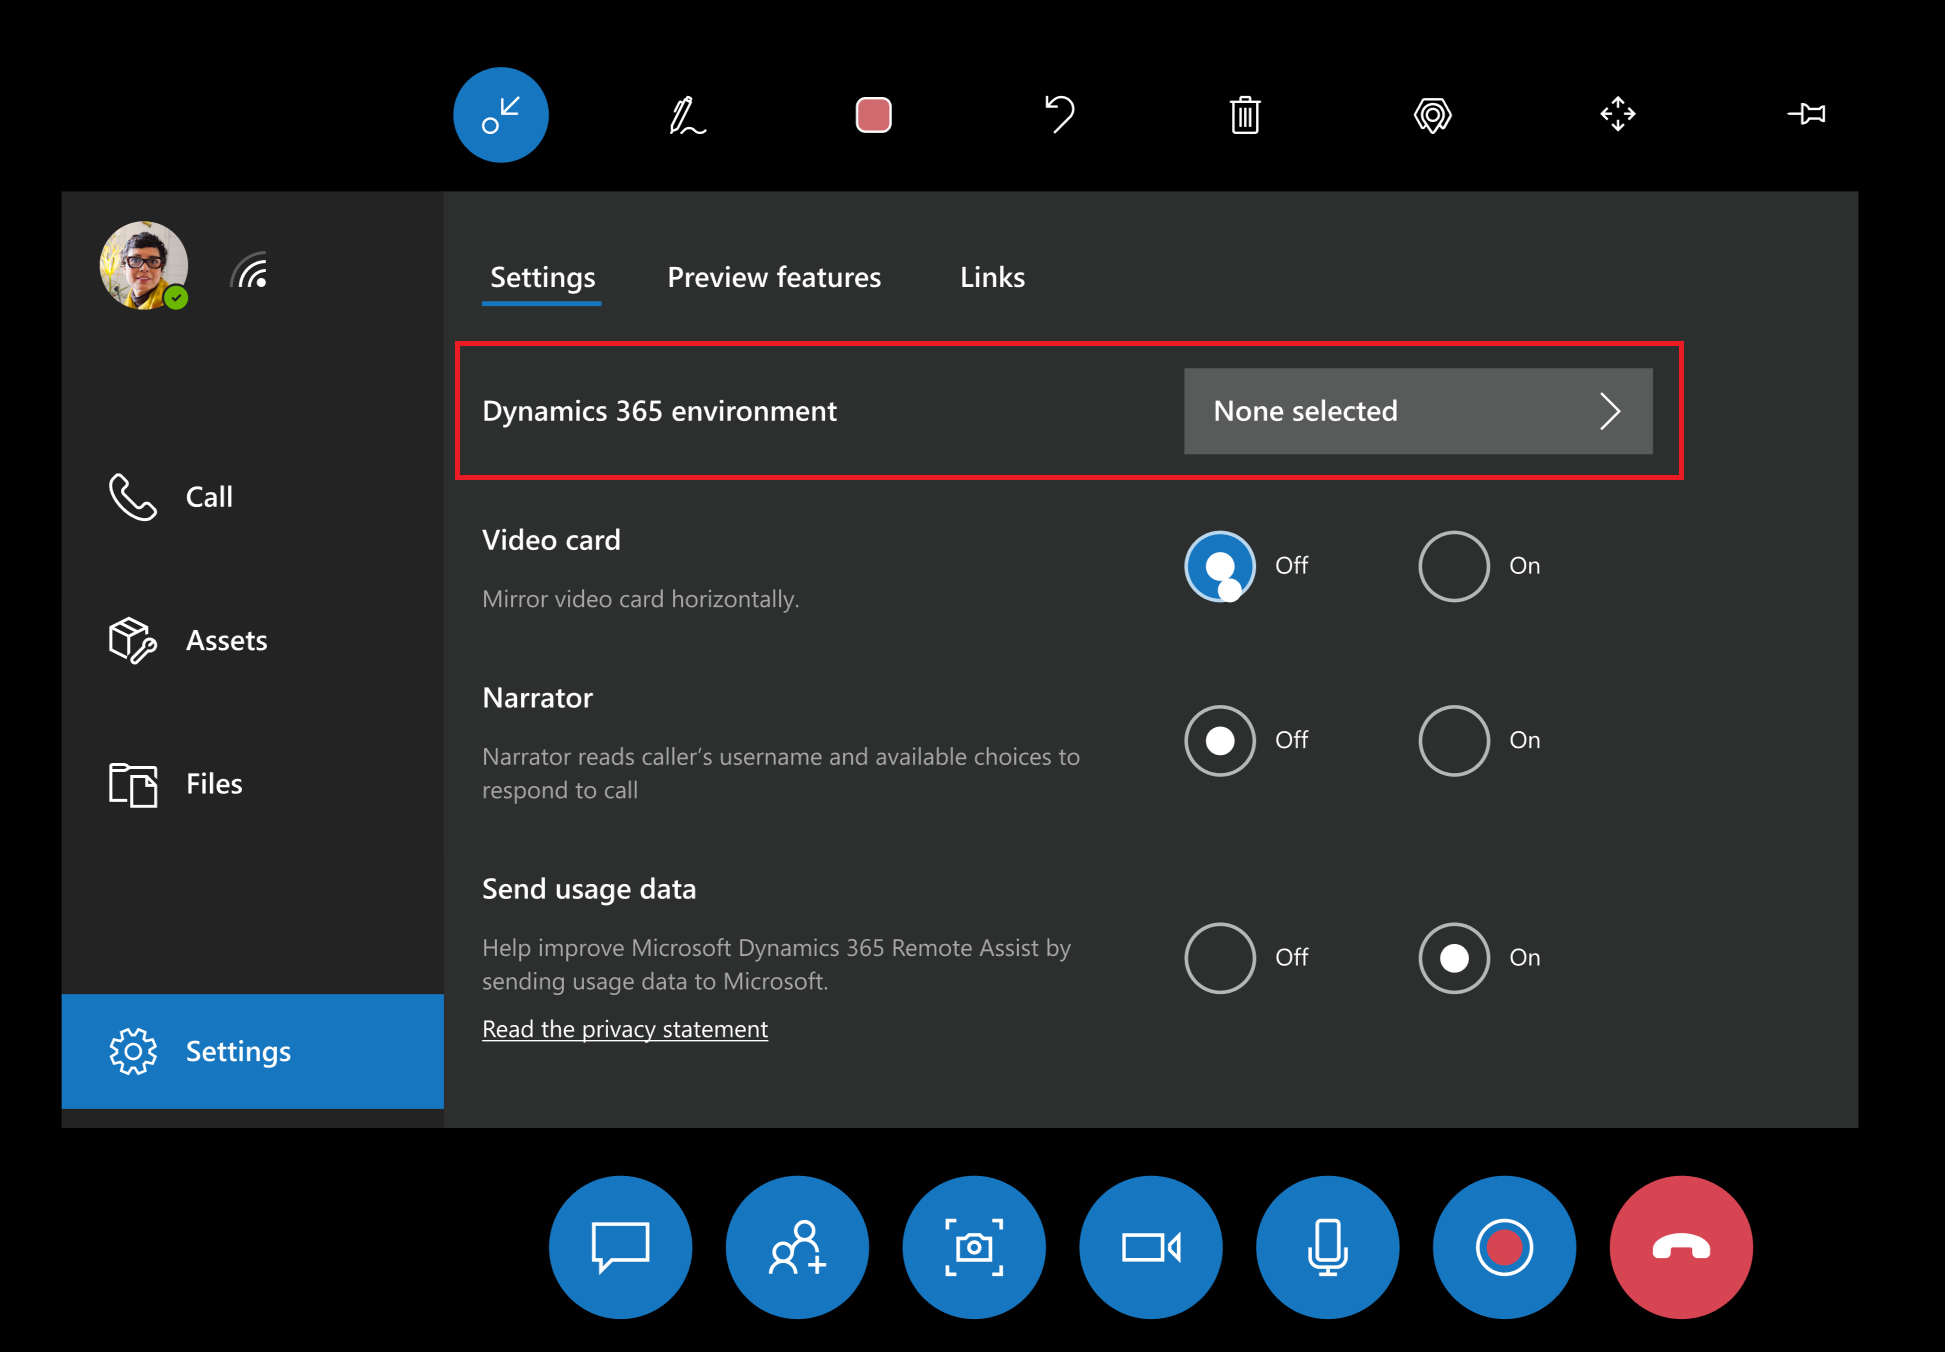
You'll see a list of environments with either Dynamics 365 Remote Assist or Dynamics 365 Field Service (or both) installed. To use Dynamics 365 Remote Assist related features, such as asset capture and the Calls dashboard, you'll need to select an environment with Dynamics 365 Remote Assist installed. To update Field Service bookings, you'll need to select an environment with Dynamics 365 Field Service installed.
Select the right environment on Android or iOS
Go to the Settings menu and select the Dynamics 365 environment.
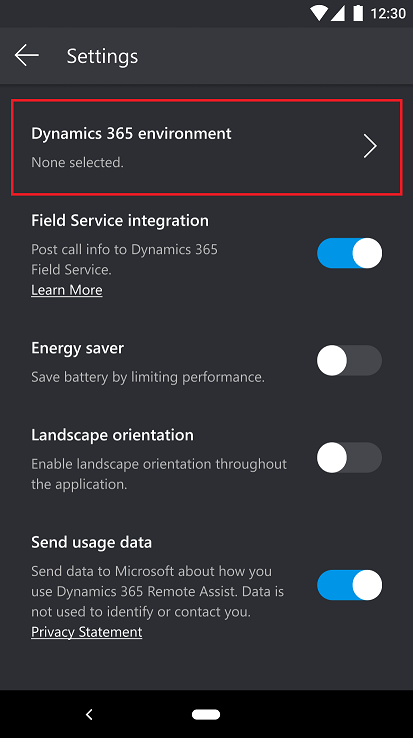
You'll see a list of environments. To use Dynamics 365 Remote Assist related features, such as asset capture and the Calls dashboard, you'll need to select an environment with Dynamics 365 Remote Assist installed. Select Confirm after selecting the right environment.

Next steps
After assigning security roles, check out the following articles to use the model-driven app:
Feedback
Coming soon: Throughout 2024 we will be phasing out GitHub Issues as the feedback mechanism for content and replacing it with a new feedback system. For more information see: https://aka.ms/ContentUserFeedback.
Submit and view feedback for