Deploy - Cloud connected Guide
Now that you have everything configured you should be ready to distribute devices. However, now is when you should first validate your setup. First the Microsoft Entra join and MDM Enrollment process should be validated, followed by verifying that a Remote Assist call can be placed.
Enrollment Validation
Now that everything is properly configured for Microsoft Entra ID and MDM Enrollment, the rest should now be a snap. You'll need a Wi-Fi connection and the HoloLens device, and one of the previously configured Microsoft Entra user accounts.
If your device isn't currently sitting in a factory settings state, now would be a good time to reflash the device.
- Once your device is in OOBE, you'll need to start interacting and following the prompts.
- The critical prompt will be when you're asked Who owns this HoloLens? Select My work or school owns it and enter your Microsoft Entra account credentials.
- When enrollment is successful, you'll be prompted to set up a PIN. This PIN is unique to this device for this user. You'll also be prompted for Iris scans, voice data, and telemetry settings and finally, you'll be able to learn how to open the start menu and complete OOBE.
- Once you land in the Mixed Reality Home open the Start menu using the Start gesture you just learned.
- Select the Settings app and select System. The first piece of information you'll see is your Device name, which for your HoloLens 2 device will be "HOLOLENS-" followed by a six character string.
- Take note of this name.

- You can verify that your device is successfully enrolled in the Microsoft Entra ID within the Settings app. From Settings select Accounts -> Access work or school. From this screen you can verify you're successfully enrolled by seeing "Connected to nameofAAD's Microsoft Entra ID. Connected by yourusername@nameofAAD.onmicrosoft.com".
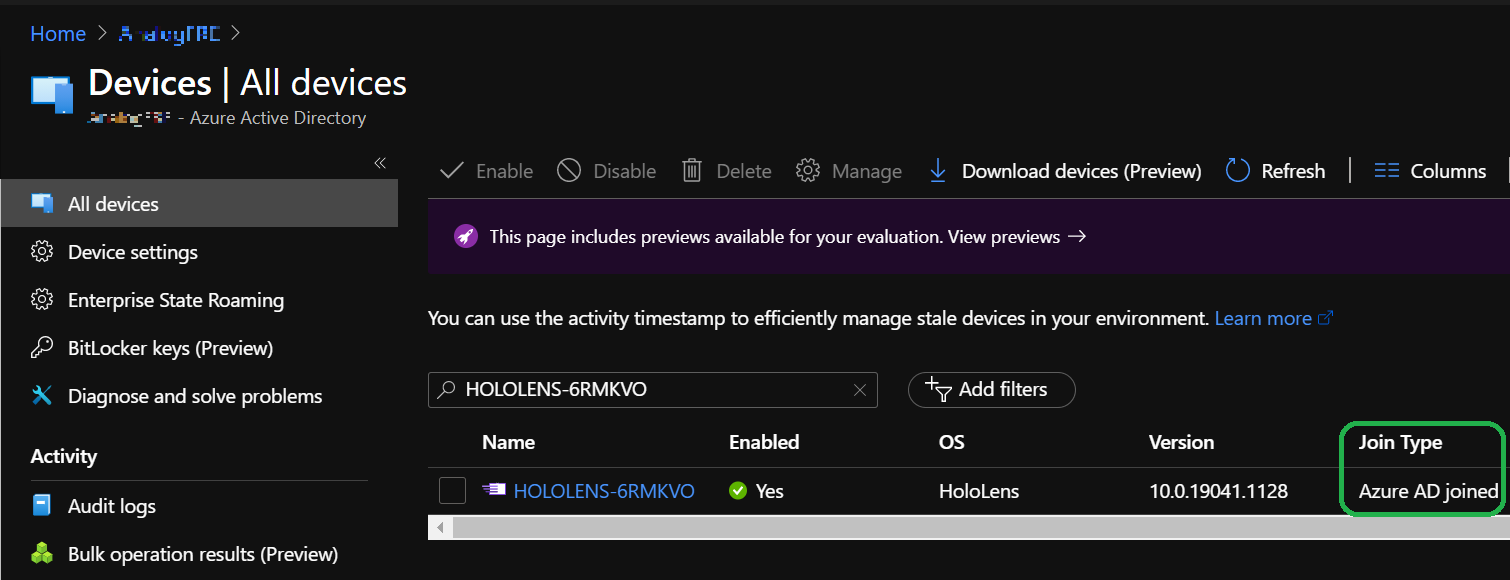
To validate the device has Microsoft Entra joined we can check the Microsoft Entra ID from the Azure portal -> Microsoft Entra ID -> Devices -> All devices, and search the device name. You'll be able to see the device is a part of the Microsoft Entra.
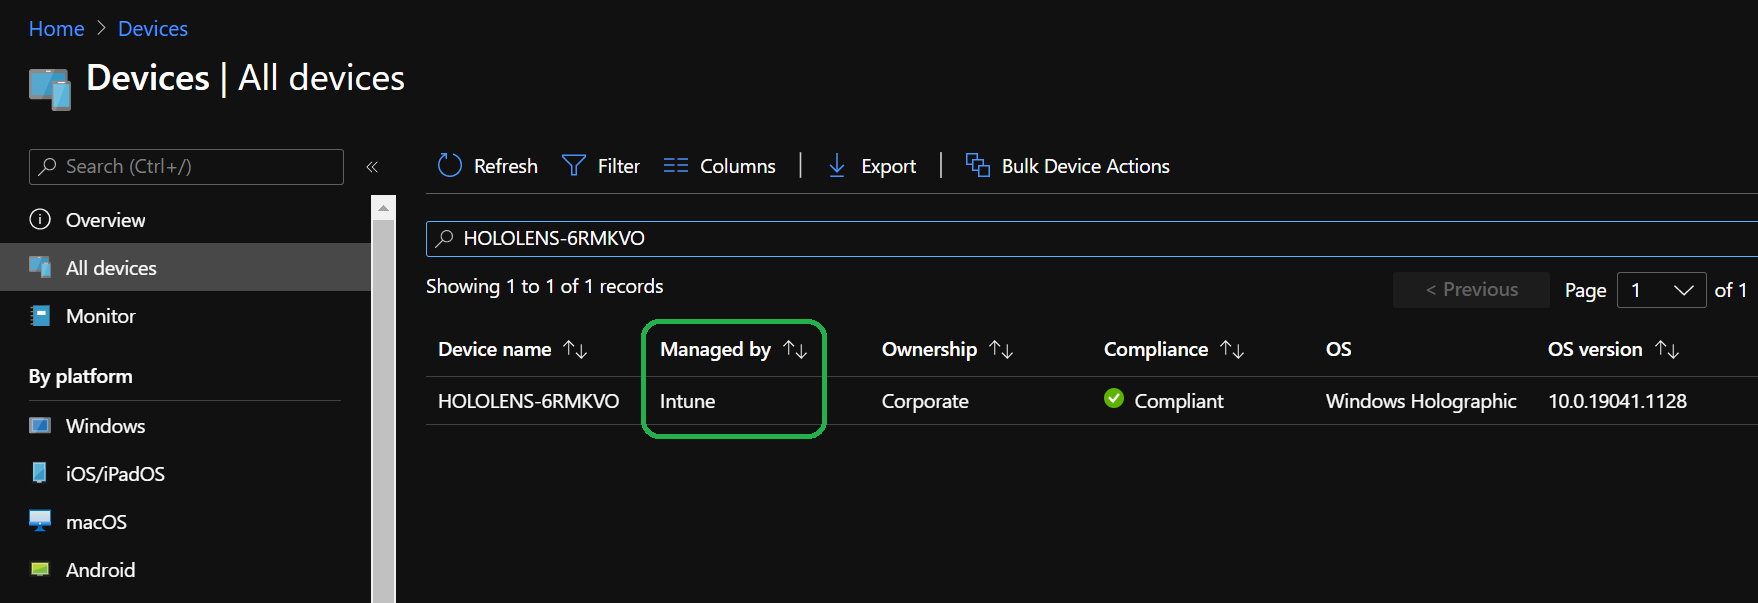
Next you'll need to sign in to the Microsoft Endpoint Manager admin center. Sign in and select Devices then All devices. From here, you can search your HoloLens device's name. You should be able to see your HoloLens listed on Intune.
Remote Assist Call Validation
Once you've verified that your device is enrolled in both your Microsoft Entra ID and MDM, it's time to place a test Remote Assist call. For this validation you'll need to have the HoloLens device and a Windows 10 PC, and a second Microsoft Entra user account for the PC.
This validation step assumes that you have previously completed the last validation step and your device is enrolled and your Microsoft Entra user is on the device.
- If you don't already have Microsoft Teams installed on your PC, you can download Teams here.
- Sign in to Teams using the second Microsoft Entra user account than the one currently signed into your HoloLens. Once signed in your PC you'll be ready to receive the call.
- Unlock your HoloLens and sign in.
- To launch the Remote Assist app open the Start Menu and select Remote Assist. Remote Assist isn't only bundled as an inbox app but pinned to the HoloLens 2's start menu. In an event you don't see it pinned to the Start menu, then open the All apps list to look for it.
- Once Remote Assist starts it should identify the user of the device via SSO and log into the app.
- From within the app, select Search and search for the second user on the PC. Select the user to start the call.
- From your PC, answer the call.
Congratulations, you've successfully connected and are on your remote assist call. Make sure to try out specific remote assist features, such as using:
Next step
Feedback
Coming soon: Throughout 2024 we will be phasing out GitHub Issues as the feedback mechanism for content and replacing it with a new feedback system. For more information see: https://aka.ms/ContentUserFeedback.
Submit and view feedback for