Exercise: Create your first .NET MAUI app
In this exercise, you'll start to build the .NET MAUI app for the grocery-store chain. You'll use the template to generate the default app and run it on Windows and in the Android emulator. You'll modify this app in a later exercise to customize the user interface and add the functionality required by the grocery store chain app.
Create a new project
Open Visual Studio and create a new solution. This action opens the New Project wizard in Visual Studio.
Tip
Make sure you have the .NET MAUI workload installed with Visual Studio 2022 v17.3 or later (v17.8 preferred with .NET 8). More info here.
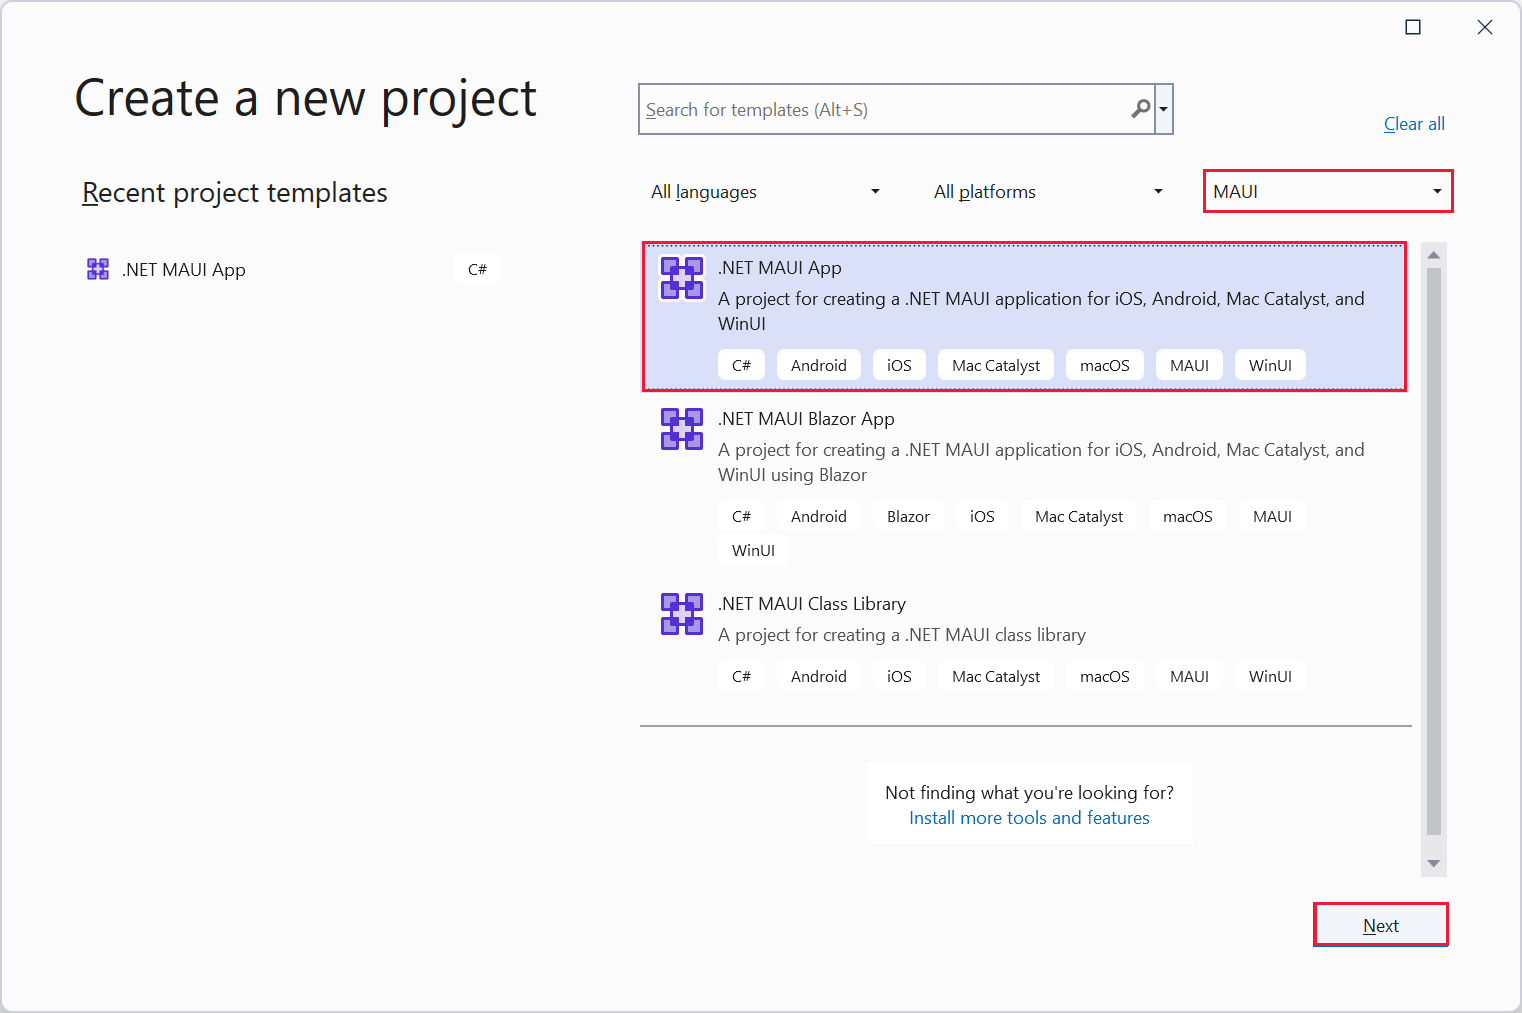
Select the MAUI project type, select the .NET MAUI App template, and select Next.
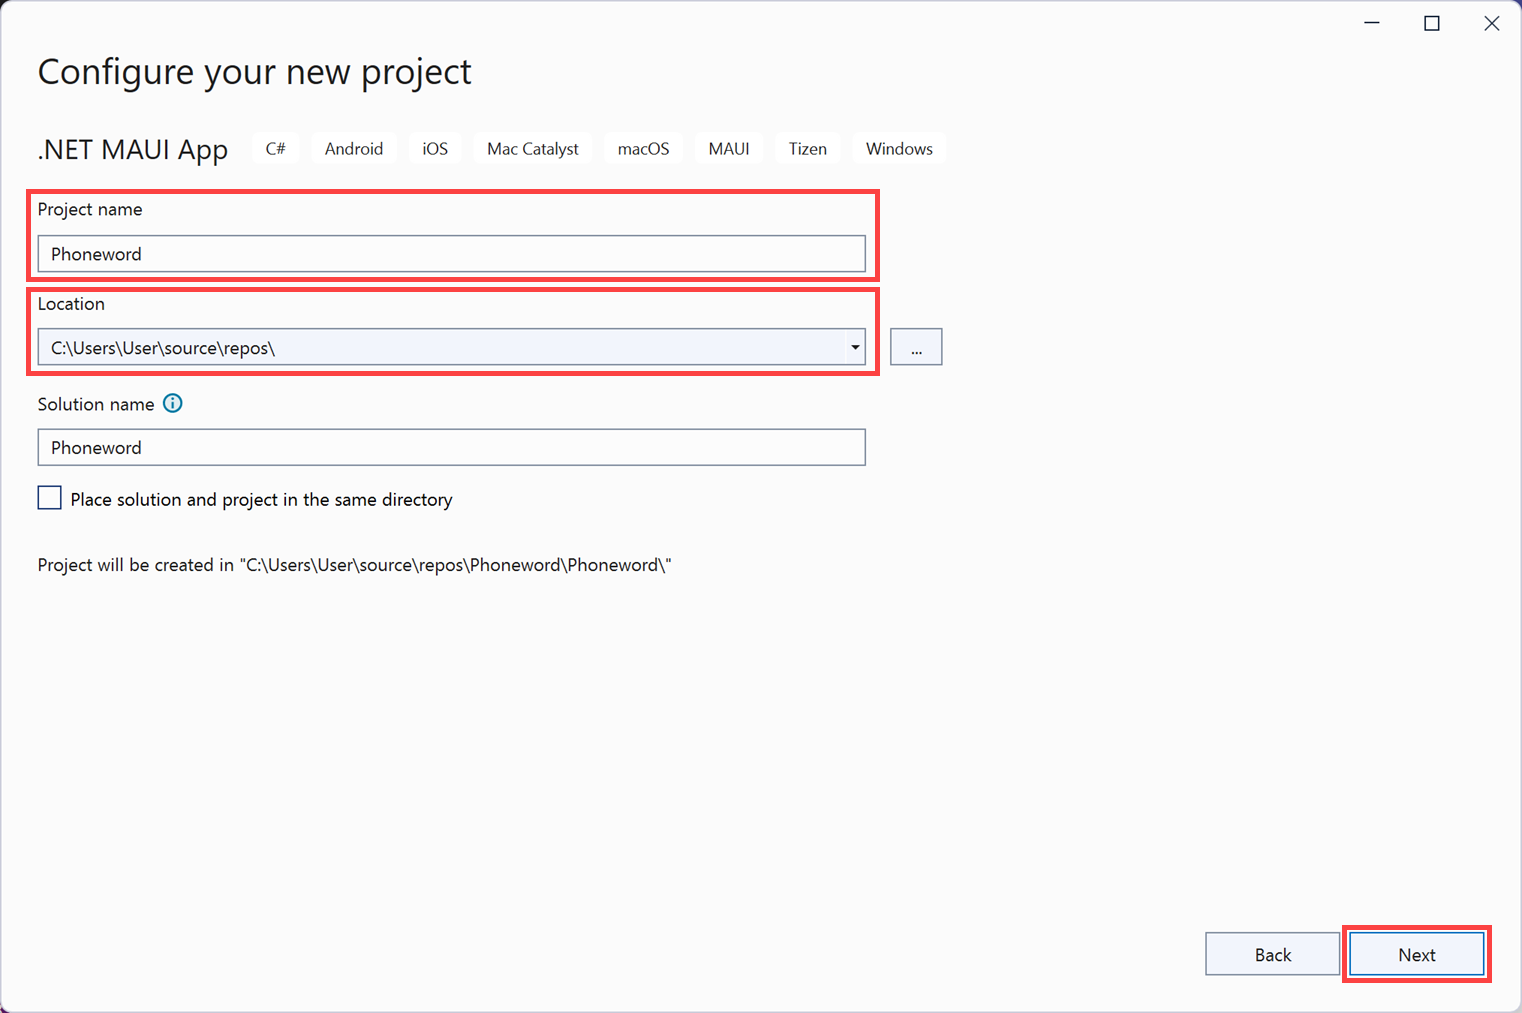
On the Configure your new project page, name the project Phoneword, and save it in a location of your choice. Select Next.
Select .NET 8.0 (Long Term Support) in the Framework drop-down, then select Create to create the app.
Examine the solution structure
In the Solution Explorer window, expand the Phoneword project. Expand the Resources folder and its subfolders, expand the App.xaml node, AppShell.xaml node, and the MainPage.xaml node.
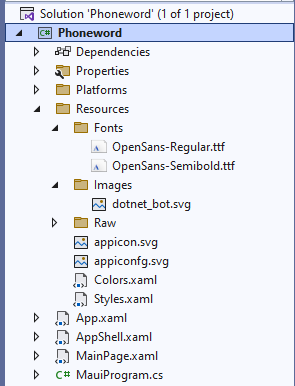
In the project, note the following items:
The Resources folder contains shared fonts, images, and assets used by all platforms.
The MauiProgram.cs file contains the code that configures the app and specifies that the App class should be used to run the application.
The App.xaml.cs file, the constructor for the App class, creates a new instance of the AppShell class, which is then displayed in the application window.
The AppShell.xaml file contains the main layout for the application and starting page of MainPage.
The MainPage.xaml file contains the layout for the page. This layout includes the XAML code for a button with the caption Click me and an image that displays the dotnet_bot.png file. There are two other labels as well.
The MainPage.xaml.cs file contains the application logic for the page. Specifically, the MainPage class includes a method named
OnCounterClickedthat runs when the user taps the Click me button.
Build and run the application on Windows
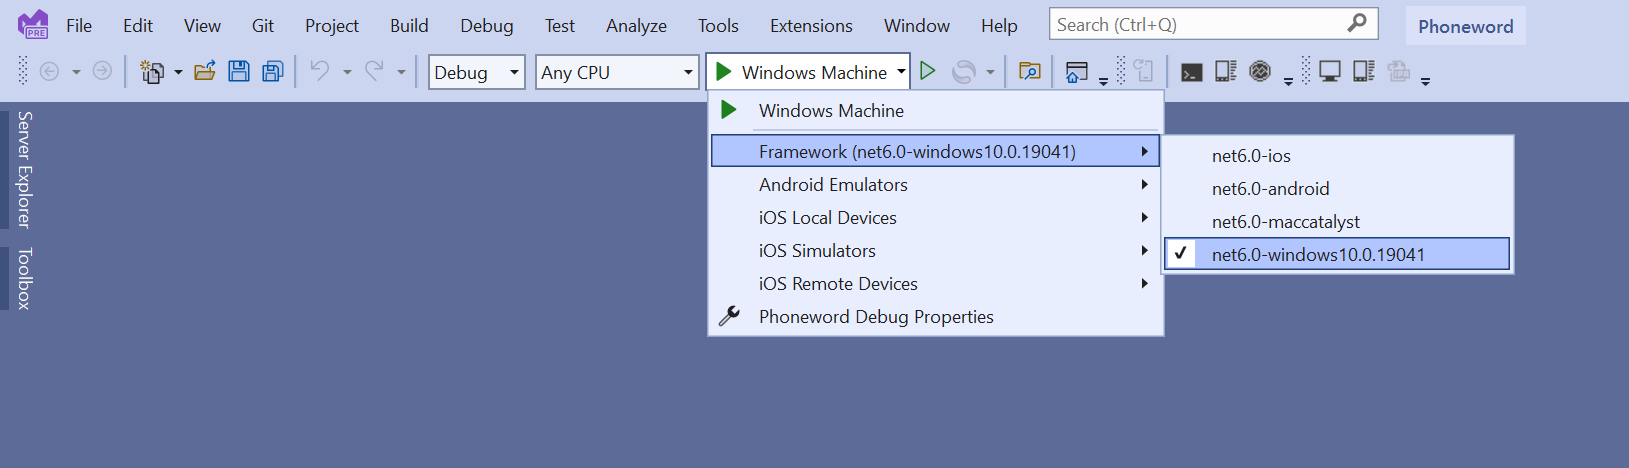
In the Visual Studio toolbar, select the Windows Machine profile. Select the .net6.0-windows framework from the list in the frameworks drop-down list box.
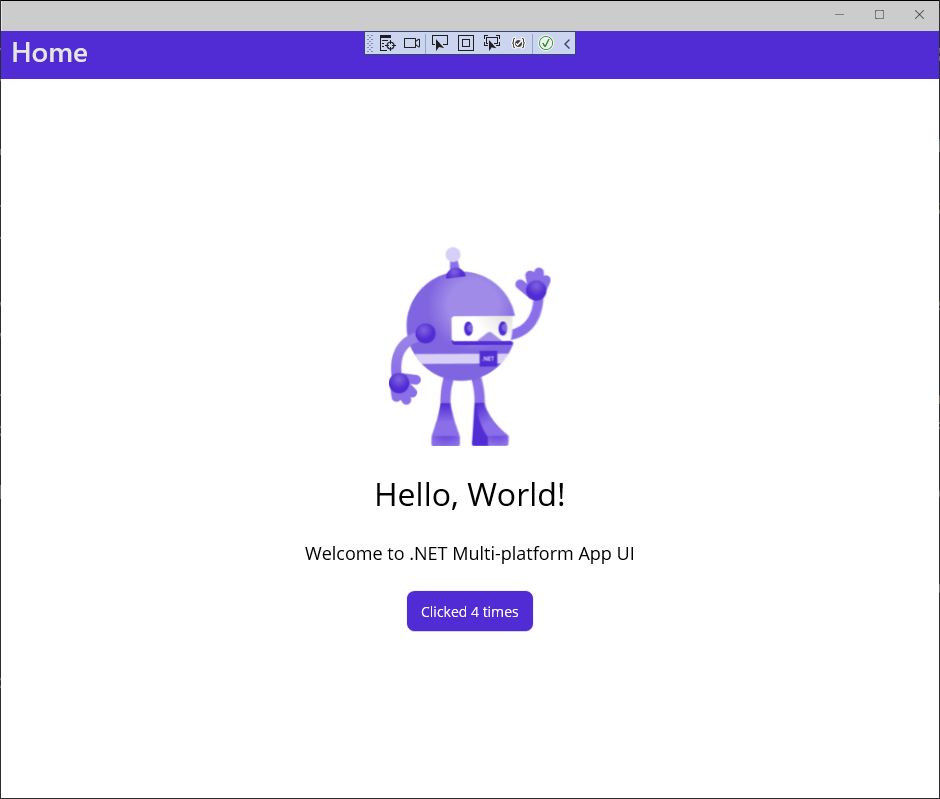
On the Debug menu, select Start Debugging. This action will build, deploy, and run the app on Windows:

Verify that the Windows version of the app starts up. Select the Click me button several times. The button text should update with the count being incremented with each tap.
On the View menu, select Solution Explorer. In the Solution Explorer window, expand the MainPage.xaml node and open the MainPage.xaml.cs code-behind file.
In the OnCounterClicked method, change the statement that increments the count variable to add 5 to this variable instead:
private void OnCounterClicked(object sender, EventArgs e)
{
    count+=5; // update this

    if (count == 1)
        CounterBtn.Text = $"Clicked {count} time";
    else
        CounterBtn.Text = $"Clicked {count} times";

    SemanticScreenReader.Announce(CounterBtn.Text);
}
In the Visual Studio toolbar, select the Hot Reload button:
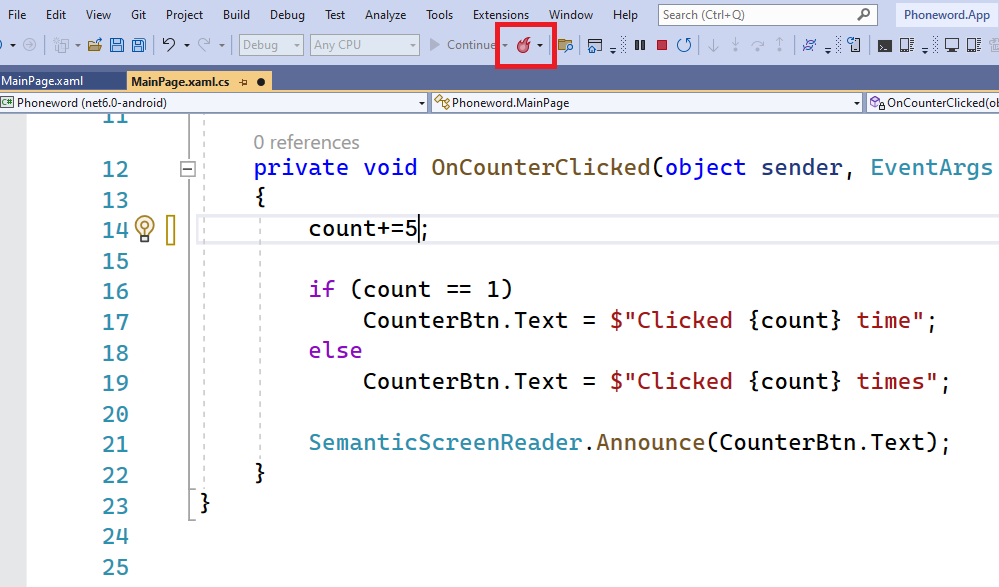
Switch back to the app and select the Click me button. Verify that the count is now incremented by 5.
Note
Visual Studio's Hot Reload feature allows you to modify your code while the app is running in Debug mode. You don't need to stop the app to see the changes. As well as modifying code, you can also make changes to the XAML markup for a page, and these changes will become visible in the running app.
Close the app and return to Visual Studio.
Build and run the application on Android
In the Visual Studio toolbar, select the Phoneword project.
On the Tools menu, select Android and then select Android Device Manager. If you're prompted to let Android Device Manager make changes to your computer, select Yes.

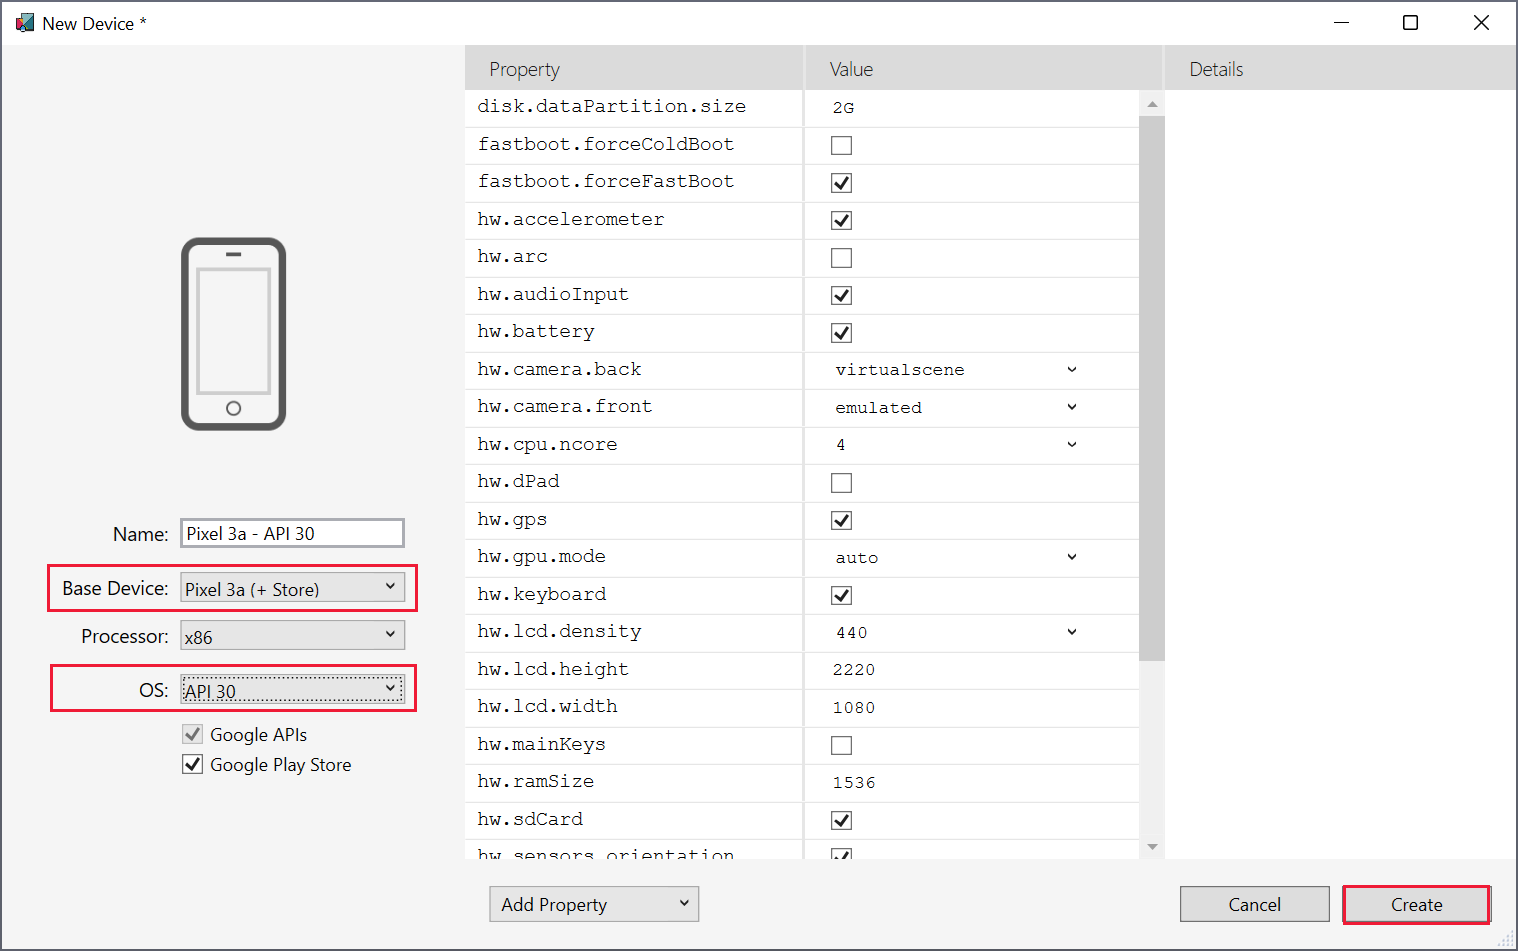
In the Android Device Manager window, select + New. In the New Device window select the Pixel 3a (+ Store) base device, select the API 30 OS, and select Create. Wait while the various libraries are downloaded and the device is configured.
When the device is created, return to Visual Studio.
In the Visual Studio toolbar, in the Debug configuration drop-down list box, select the Android Emulators profile, and select the pixel_3a-api_30 device. This is the device you just created.
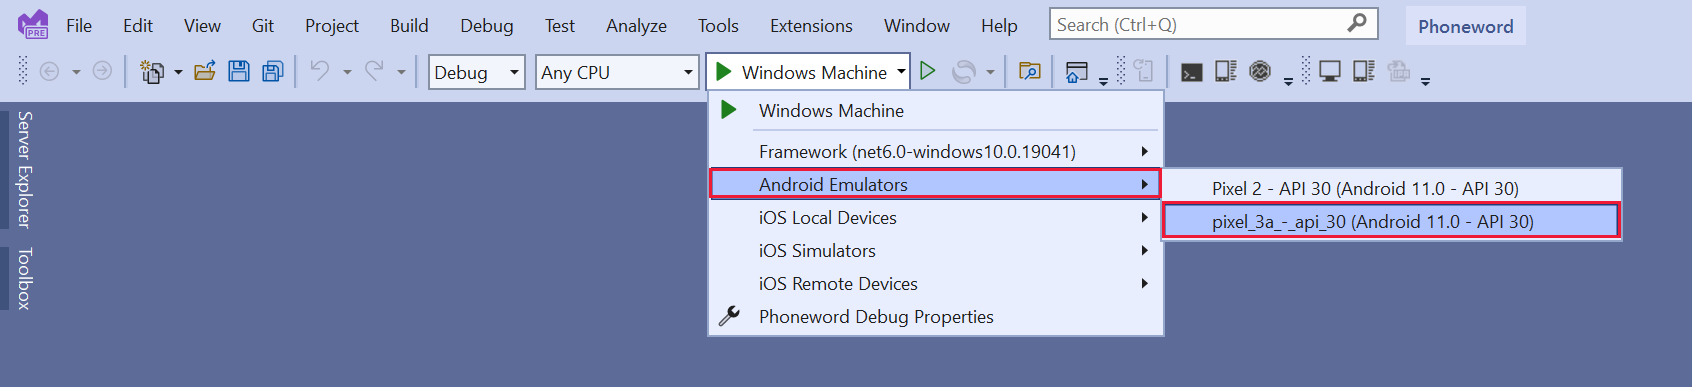
Start debugging use the pixel_3a-api_30 profile. This action will build, deploy, and run the app on the Android device.

When the app starts running on the emulator (this can take several minutes), select the Click me button and check that the app runs in exactly the same way that it did on Windows.

Return to Visual Studio and stop debugging.