Exercise - Create and run a basic workflow
Important
You need your own Azure subscription to run this exercise, and you might incur charges. If you don't already have an Azure subscription, create a free account before you begin.
You want to automate deployment of updates to your toy company's website. As a first step, you'll create a basic workflow in GitHub Actions.
In this exercise, you'll:
- Create a GitHub account and repository.
- Create a basic workflow.
- Execute your basic workflow.
Create a repository in GitHub
In a browser, go to GitHub. Sign in by using your GitHub account, or create a new account if you don't have one.
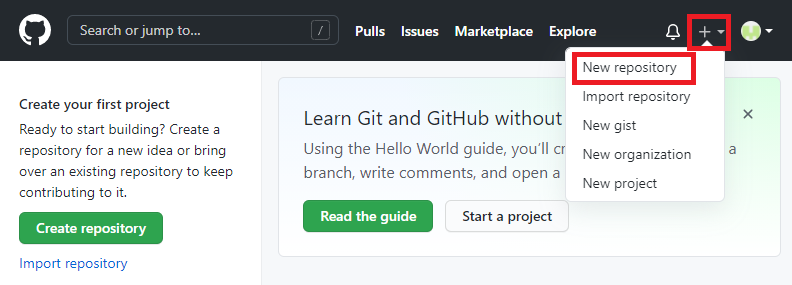
Select the plus (+) icon in the upper right of the window, and then select New repository.
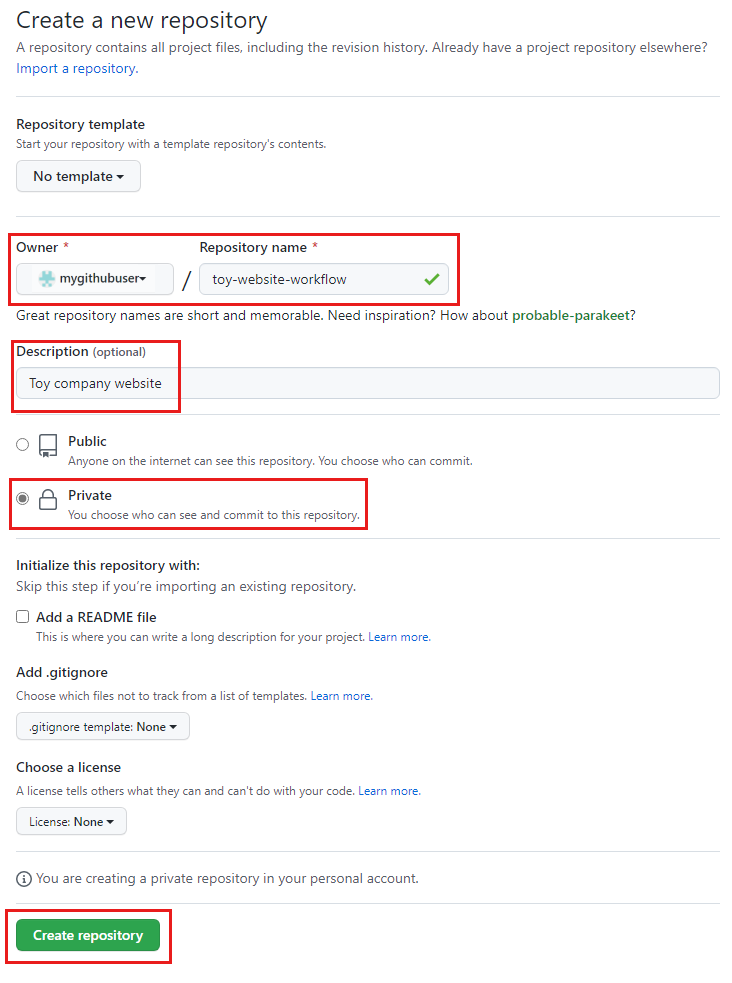
Enter the details of your new repository:
- Owner: Select your GitHub user name from the drop-down menu. In the screenshot,
mygithubuseris the repository owner's GitHub account name. You'll use your account name later in this module. - Repository name: Enter a meaningful but short name. For this module, use
toy-website-workflow. - Description: Include a description to help others understand the repository's purpose.
- Private: You can use GitHub to create public and private repositories. Create a private repository, because only people inside your organization should access your toy website's files. You can grant access to others later.
After you're done, your repository configuration should look like the following screenshot:
- Owner: Select your GitHub user name from the drop-down menu. In the screenshot,
Select Create repository.
Clone the repository
In Visual Studio Code, clone your repository.
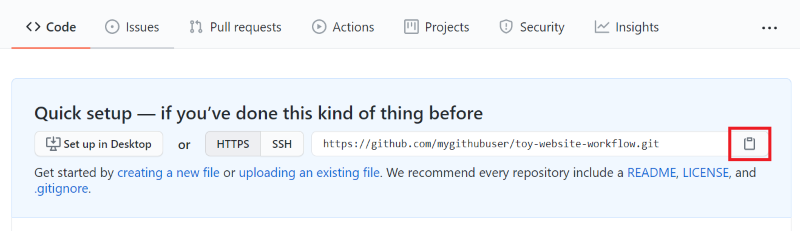
On the repository page, select the copy button to copy the URL to your Git repository.
Open Visual Studio Code.
Open a Visual Studio Code terminal window by selecting Terminal > New Terminal. The window usually opens at the bottom of the screen.
Navigate in the terminal to the directory where you want to clone the GitHub repository on your local computer. For example, to clone the repository to the toy-website-workflow folder, run the following command:
cd toy-website-workflowType
git cloneand then paste the URL you copied earlier, which looks something like this:git clone https://github.com/mygithubuser/toy-website-workflowYou'll get a warning that you cloned an empty repository. You can ignore the message.
This is the first time you've used this repository, so you might be prompted to sign in.
On Windows, type 1 to authenticate using a web browser, and select Enter.
On macOS, select Authorize.
A browser window appears. You might need to sign in to GitHub again. Select Authorize.
Reopen Visual Studio Code in the repository folder by running the following command:
code -r toy-website-workflow
Tip
You can also edit your GitHub Actions workflow definitions by using the GitHub web user interface. When you open a workflow definition, GitHub helps you with YAML file syntax and indentation and provides example code snippets for the actions you might want to use. In this module, you'll work with the definition file in Visual Studio Code, but you can explore the GitHub editor to see how it works.
Create a YAML workflow definition
Now that you've created and cloned your repository, you're ready to create a basic workflow definition.
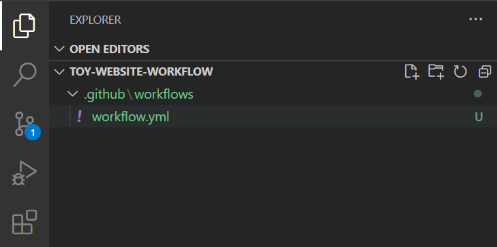
In Visual Studio Code, open the Explorer.
At the root of your toy-website-workflow folder structure, create a new folder named .github.
Note
Make sure you include the period at the start of the folder name. This indicates that this is a hidden folder, and GitHub requires the period for GitHub Actions to detect the workflow definition.
In the .github folder, create another folder named workflows.
In the workflows folder, create a new file named workflow.yml.
Copy the following workflow definition into the file:
name: deploy-toy-website

on: [workflow_dispatch]

jobs:
  say-hello:
    runs-on: ubuntu-latest
    steps:
      - name: 'placeholder step'
        run: echo "Hello world!"
Save the file.
Commit and push the file to your GitHub repository with the following commands:
git add .
git commit -m "Add initial workflow definition"
git push
Tip
Visual Studio Code helps you with the indentation for your YAML file. Look out for squiggly lines that indicate syntax errors, or select View > Problems to view a list of problems in your file.
Run the workflow
You've created a workflow definition. GitHub Actions automatically detects your workflow file because it's located in the .github/workflows directory.
In your browser, navigate to your repository. You might need to refresh the page to see your changes.
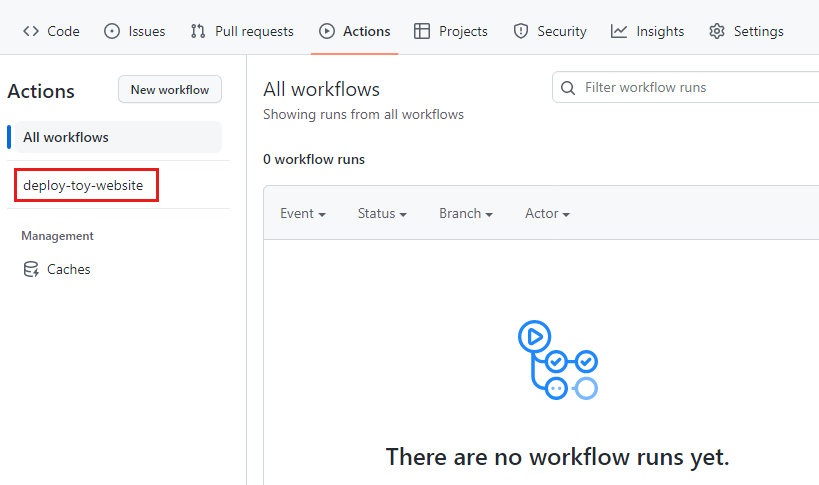
Select the Actions tab.

Select the deploy-toy-website workflow.
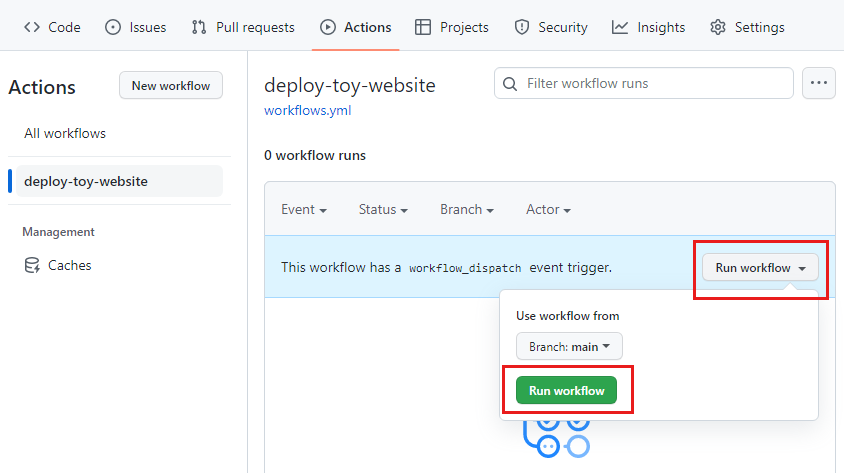
Select the Run workflow dropdown and then select the Run workflow button.
The workflow begins to run. It might take a few moments and you can refresh the page, but it should automatically refresh and show you a queued or running or even already finished workflow run.
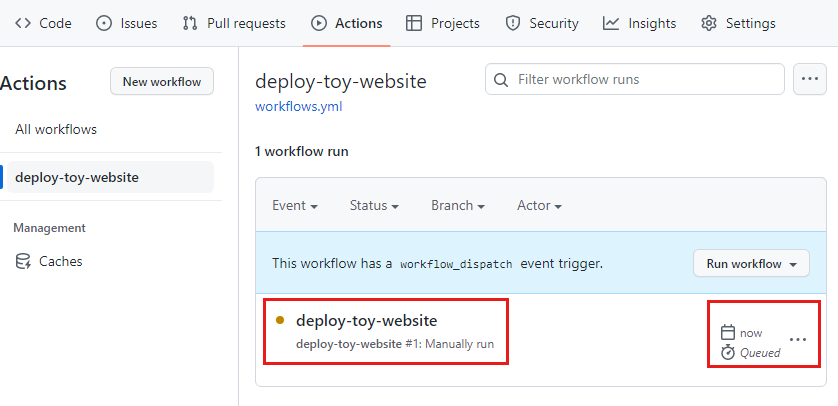
Notice the run status initially is displayed as Queued. It can take some time for your workflow to start. Your job is added to a queue for a runner, and once a runner is available, GitHub Actions assigns the runner and starts the job. The job status then becomes Executing.
Each workflow run includes an identifier. You can use this identifier when you need to refer to the workflow run, and to help find a specific workflow run.
Verify the workflow run
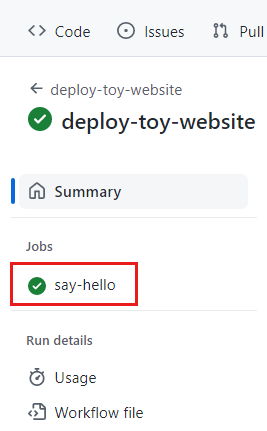
When the workflow run starts, select deploy-toy-website to view the run's details. Refresh the page until the job status displays Success.
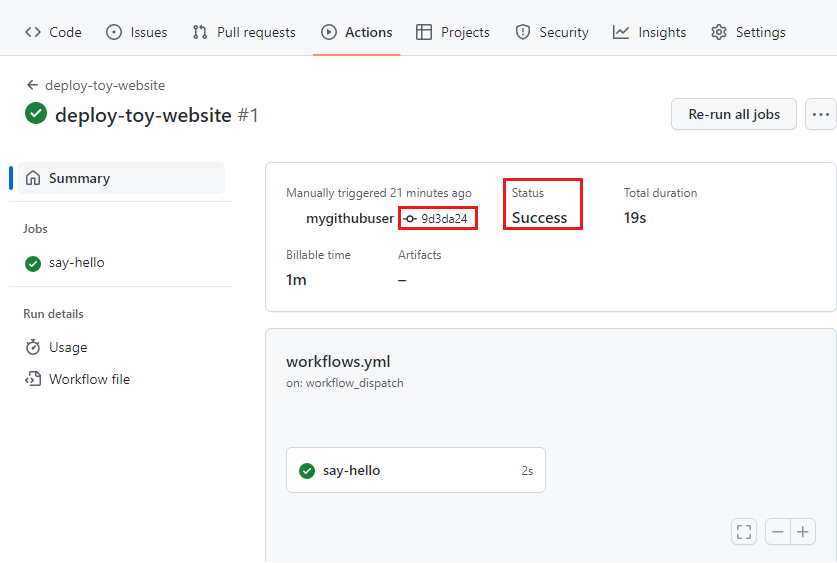
Also, notice the page includes an identifier for the Git commit that the run used. The commit's identifier indicates the version of your repository's content that the workflow used.
In the list of jobs, select say-hello.
The job information page is displayed, which shows the log of the steps that the workflow ran for you. Notice that your placeholder step is included.
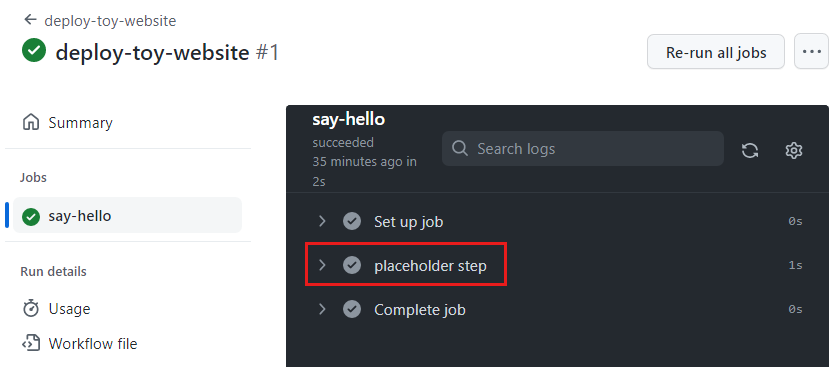
Notice the list includes steps that you didn't specify. These steps are created automatically by GitHub Actions.
Select placeholder step.

The logs for this step include the contents of the command as it was specified in your workflow's YAML file, and the Hello world! text that the script emitted.
Link workflow execution to a commit
It's good to understand how to cross-reference a workflow run to the commit the run contained. Linking workflow execution to a commit can help you trace the history of your deployments and diagnose problems.
Select Summary to return to the run summary.
Select the commit identifier. GitHub displays the details of the commit that triggered the workflow run.