Create a business rule
Business rules are flexible and can be used for many purposes, so they vary considerably in complexity and scope. Follow these steps to build any business rules and adjust for your specific needs:
Sign in to Power Apps maker portal.
Select Tables and select one of the tables in the relationships that you want to create.
Select the Business Rules in the customization section and then select + New business rule.
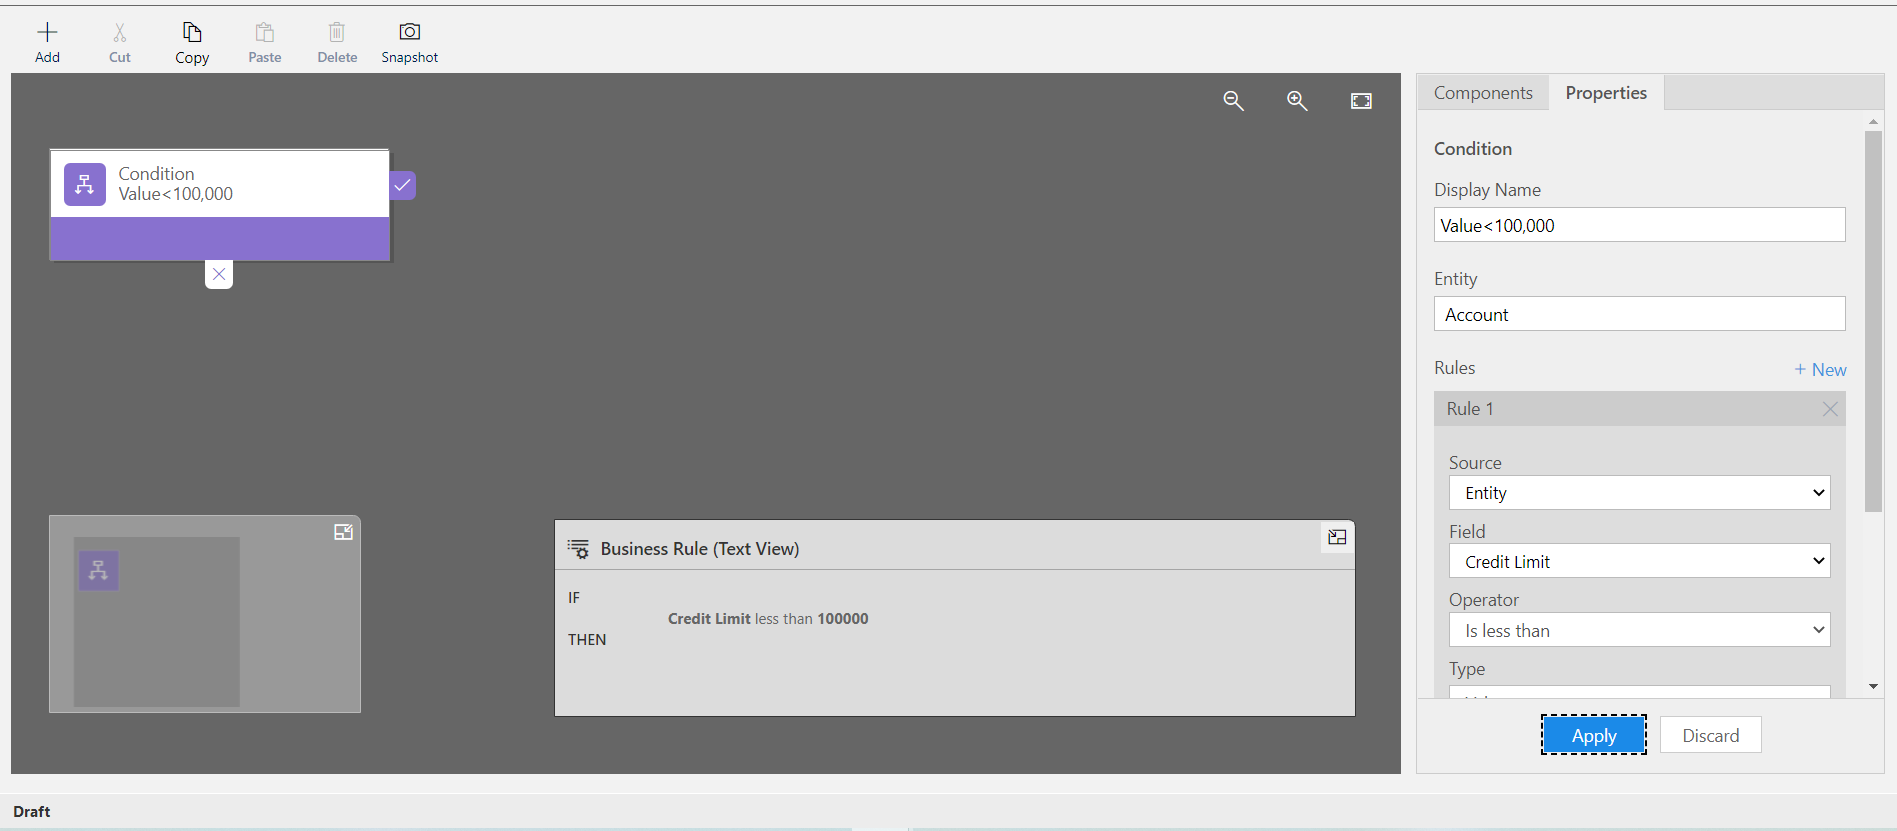
In the top right, you'll see Scope. The default value should be Entity, this means that the business rule will apply to the selected table.

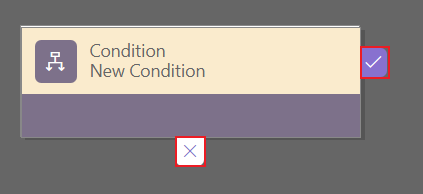
A Condition should already be added to the rule. The checkmark on the right of the condition will be the path if the condition returns True, and the X will be the path if the condition returns False.
Tip
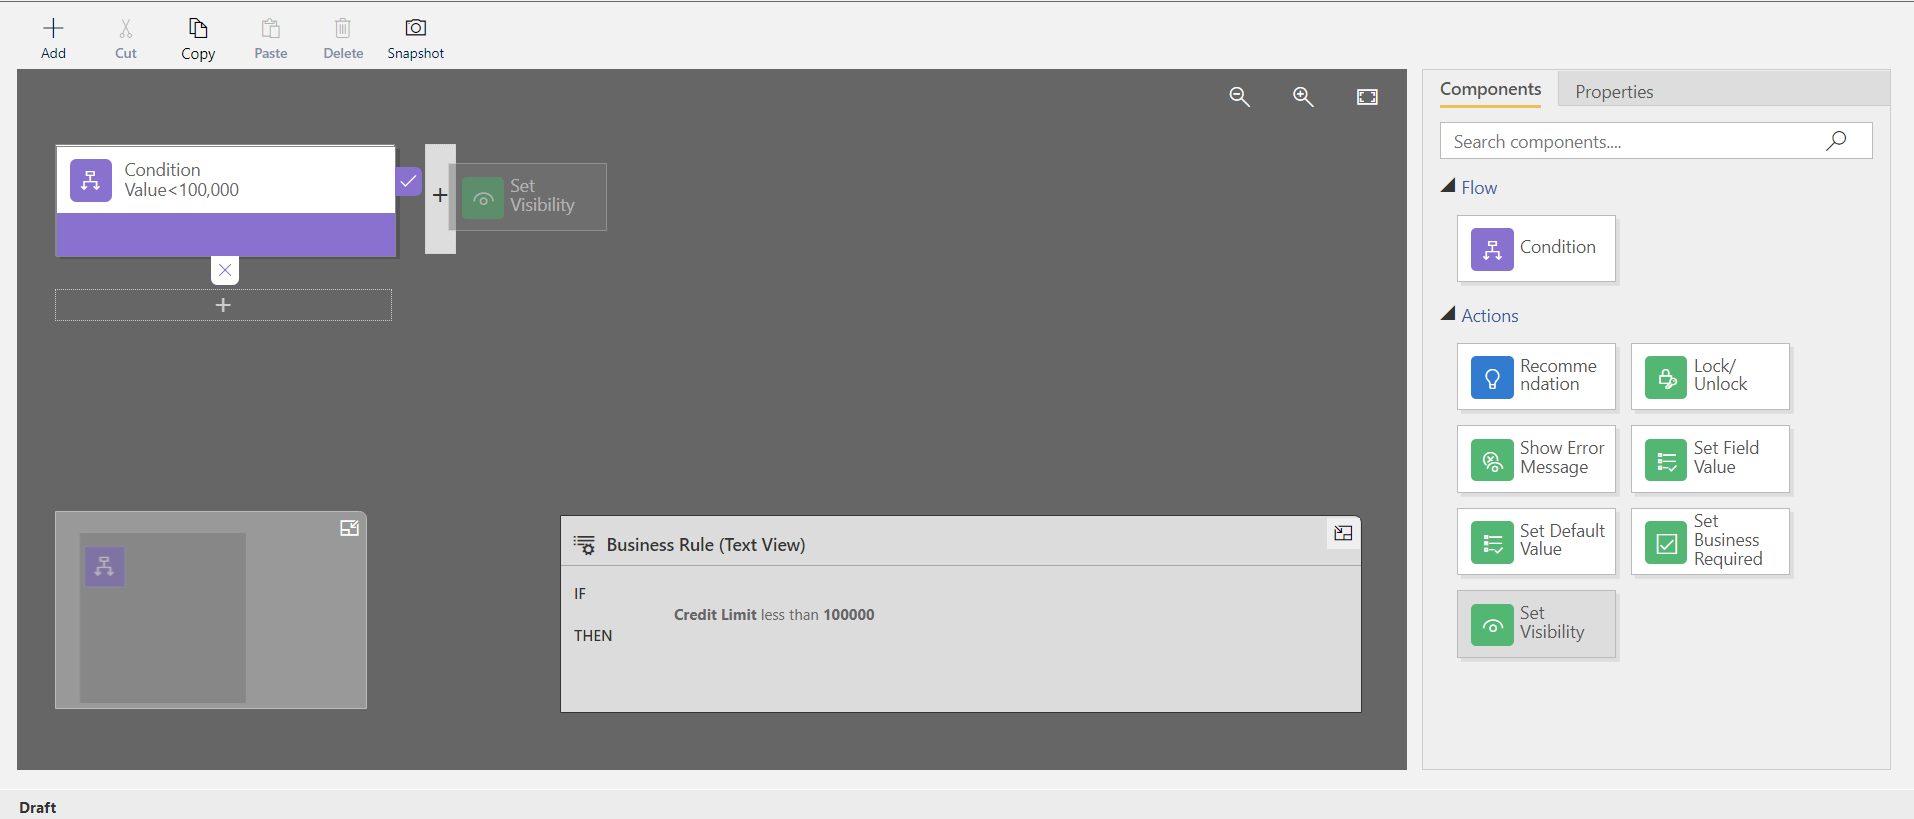
To add more conditions to your business rule, drag the Condition component from the Components tab to a plus sign (+) in the designer.
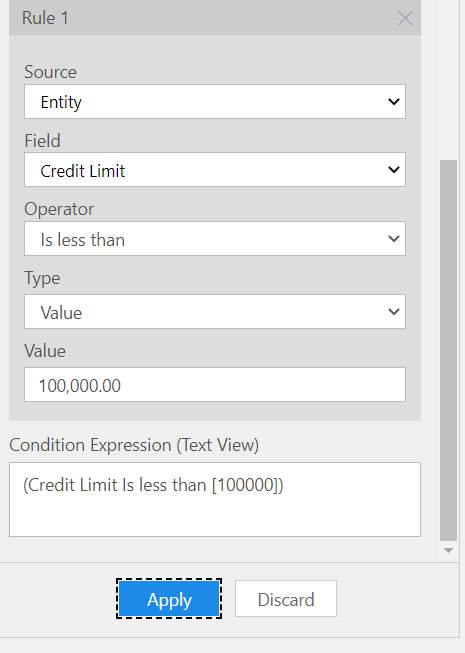
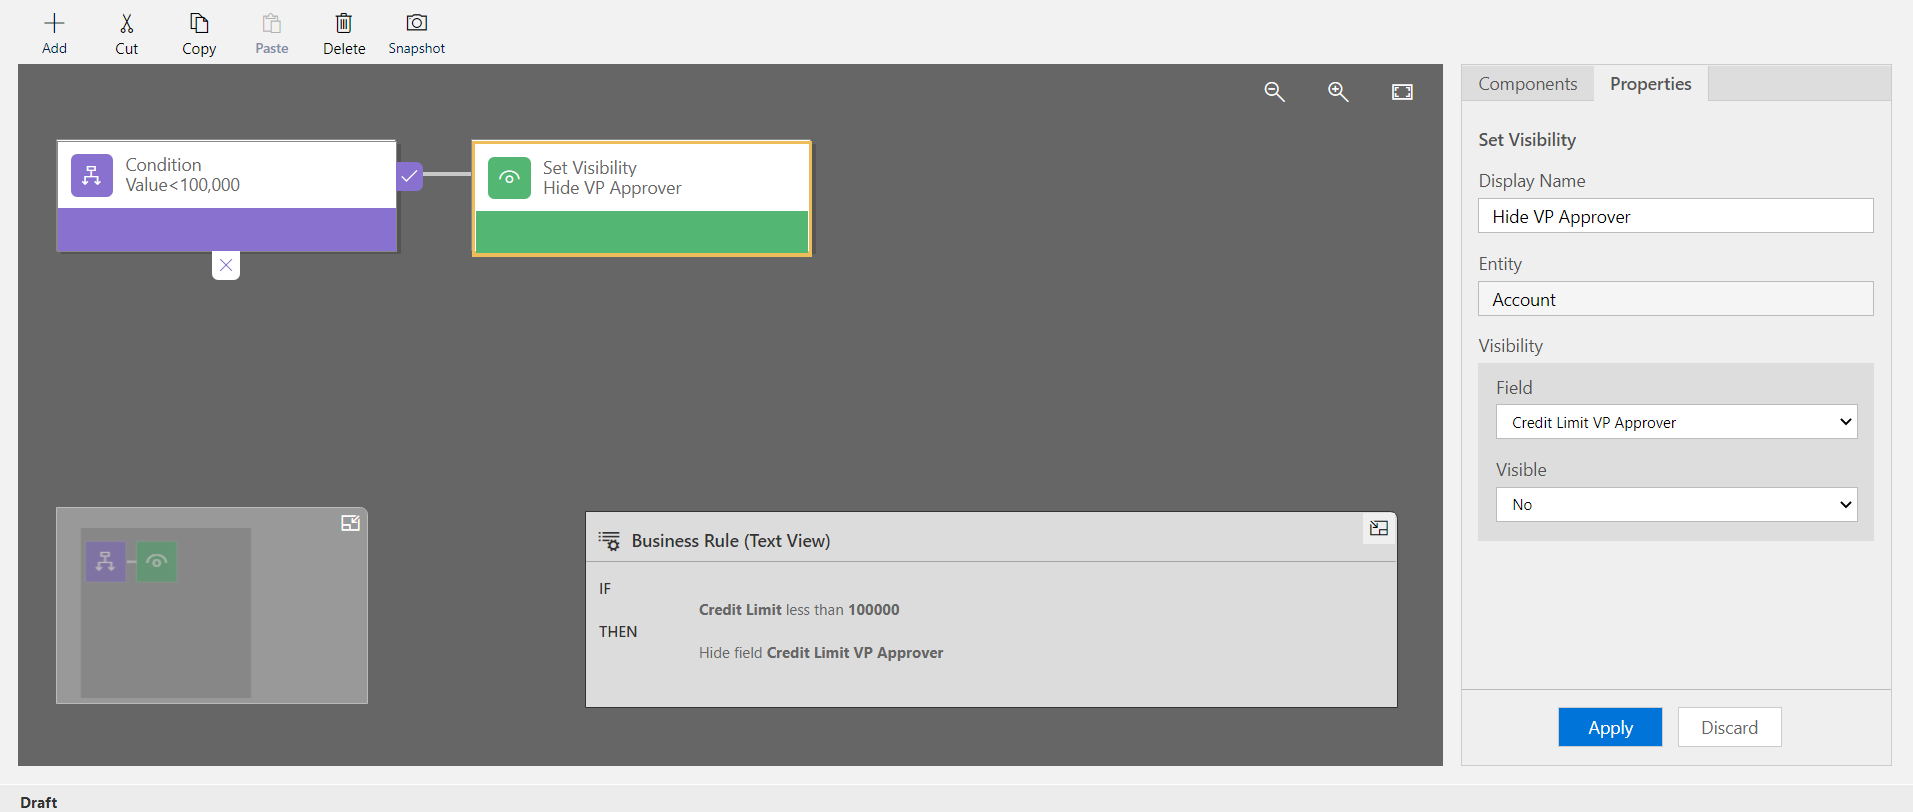
To set properties for the condition, select the Condition component in the designer window, and then set the properties on the Properties tab on the right side of the screen. As you set properties, Microsoft Dataverse creates an expression at the bottom of the Properties tab. For this example, we're going to set our condition to (Credit Limit Is less than [100000]).
Tip
To add another clause (an AND or an OR) to the condition, select + New next to Rules on the Properties tab to create a new rule, and then set the properties for that rule. In the Rule Logic column, you can specify whether to add the new rule as an AND or an OR clause.
When you're done configuring the condition, select Apply.
Important
Business rules do not autosave and you must select Apply after editing each condition and action.
Add action(s) from the Action component with the following procedure:
Drag one of the action components from the Components tab to a plus sign (+) next to the Condition component. Drag the action to a plus sign (+) next to a check mark if you want the business rule to take that action when the condition is met, or drag the action to a plus sign (+) next to an X if you want the business rule to take that action if the condition isn't met. We're going to add the Set Visibility action if the condition is met.
Set the property for each step.
To set properties for the action, select the Action component in the designer window, and then set the properties on the Properties tab. We're going to hide the Credit Limit VP Approver field in this action.
When you're done setting properties, select Apply.
Select Validate to validate the business rule in the action bar.
Select Save to save the business rule.
Select Activate and then Activate again to activate the process.
Tip
Consider the following tips as you work on business rules in the designer window:
Snapshot - To take a snapshot of everything in the Business Rule window, select Snapshot on the action bar. This is useful, for example,if you want to share and get comments on the business rule from a team member.
Use the mini-map to quickly browse through different parts of the process. The mini-map is useful when you have a complicated process that scrolls off the screen.
As you add conditions, actions, and business recommendations to your business rule, code (Text view) for the business rule is built and appears at the bottom of the designer window. This code is read-only.