Create a flow in the flow designer
The first step in flow development is to create a new flow. The creation of a flow takes place in the Power Automate for desktop console. On the top-left, press the New flow button to create a new flow:
Enter the name of your new flow and select Create; this will open the flow designer window:
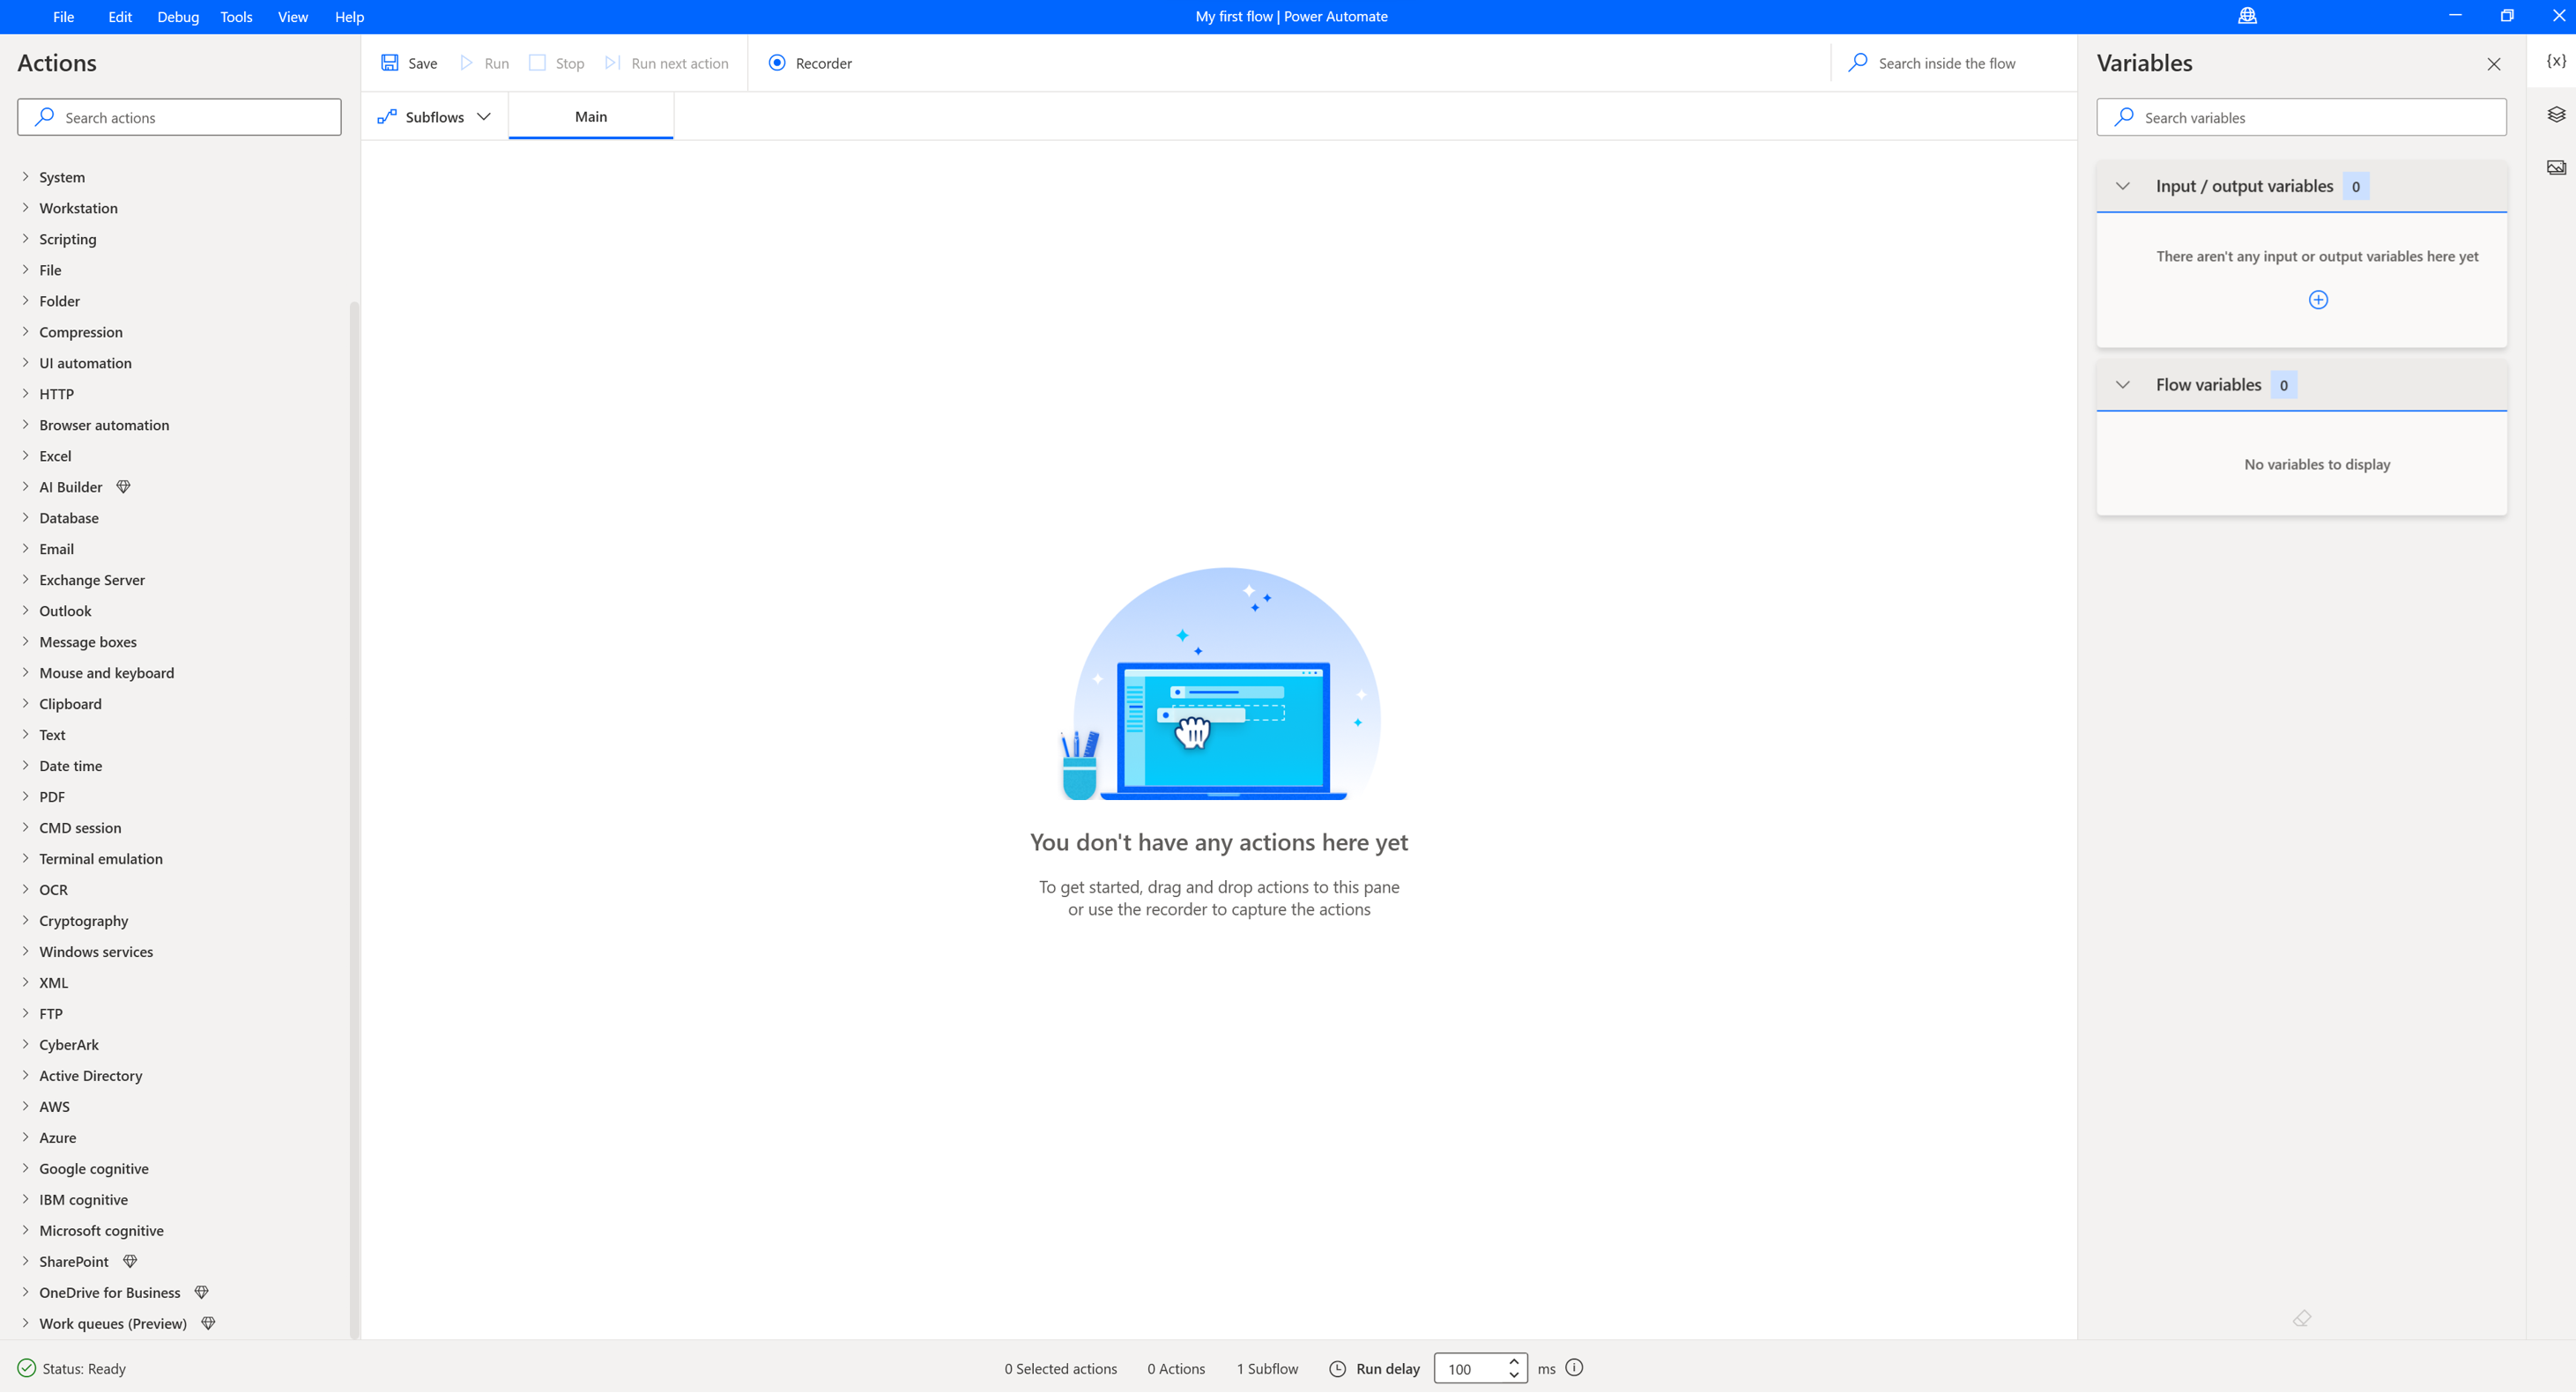
The flow designer is where all flows are built, edited, and tested.
Actions
Actions are the basic building blocks of a flow; flows are essentially a series of actions, which are run sequentially. To add an action to the flow, drag & drop it from the actions pane to the main workspace pane, or double-click on it. The actions pane is located by default on the left-hand side of the flow designer.
When added, the action’s properties window automatically appears, allowing the user to configure the action’s details:
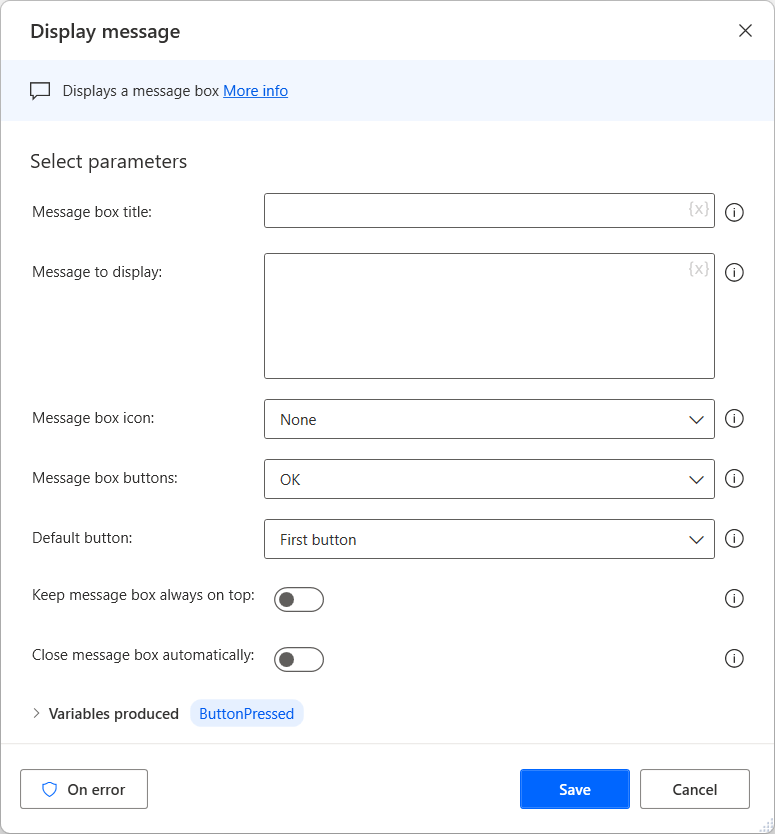
This window can be accessed at any time, by double-clicking the action in the workspace pane.
Variables
Variables are data containers that Power Automate for desktop uses to store data for later use. In the previous screenshot, %ButtonPressed% is a variable created by the Display message action. Variables are contained between percentage marks, which allows them to stand out from simple text.
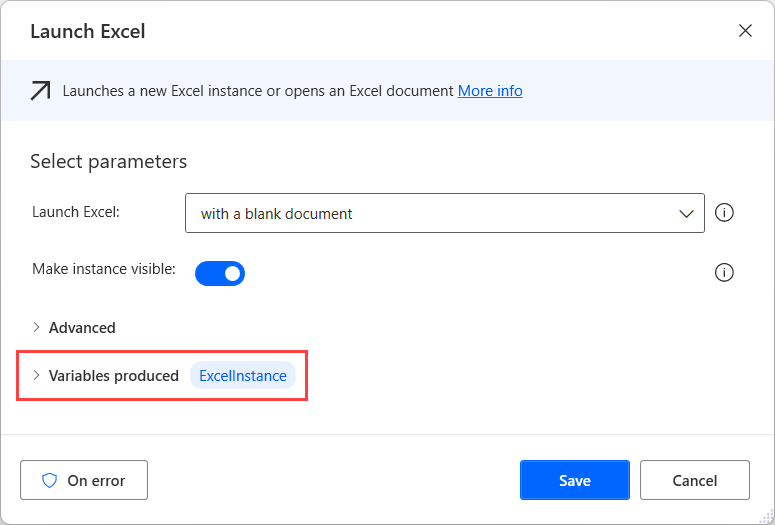
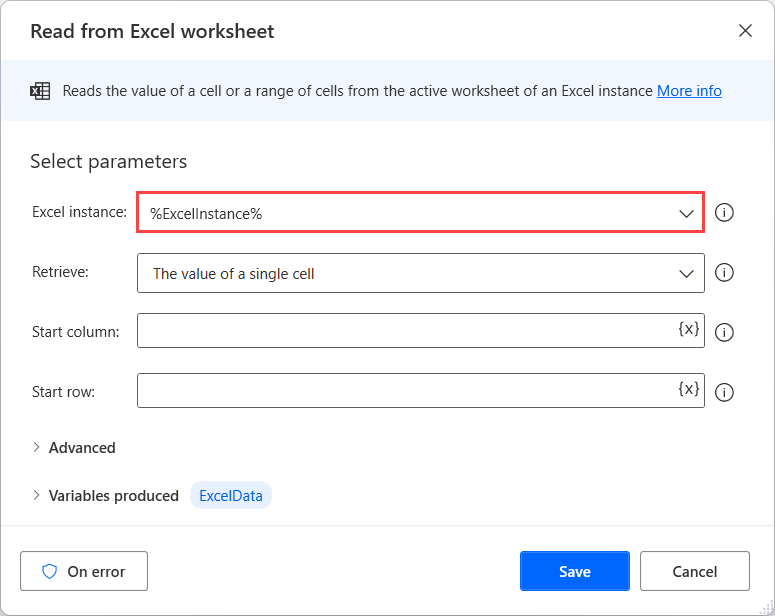
Variables can be produced as output from actions or used as input for other actions. Opening an Excel worksheet, for example, produces a variable containing the Excel instance. This variable may then be used as input in any following actions that require interaction with that particular Excel instance: