Exercise - Enable Microsoft Entra multifactor authentication
You can walk through the basic steps necessary to configure and enable Microsoft Entra multifactor authentication using Conditional policies. Keep in mind that a real deployment requires significant thought and planning. Make sure that you review the documentation links at the end of this module before you enable MFA for your environments.
Important
You need Microsoft Entra ID P1 or P2 for this exercise. You can use a 30-day free trial to try this feature out, or just read through the following instructions to understand the flow.
Configure multifactor authentication options
Sign in to the Azure portal using a Global administrator account.
Navigate to the Microsoft Entra dashboard using the Microsoft Entra ID option in the side menu.
Select Security in the left-hand menu.
Select multifactor authentication under the Manage heading in the menu. Here, you find options for multifactor authentication.
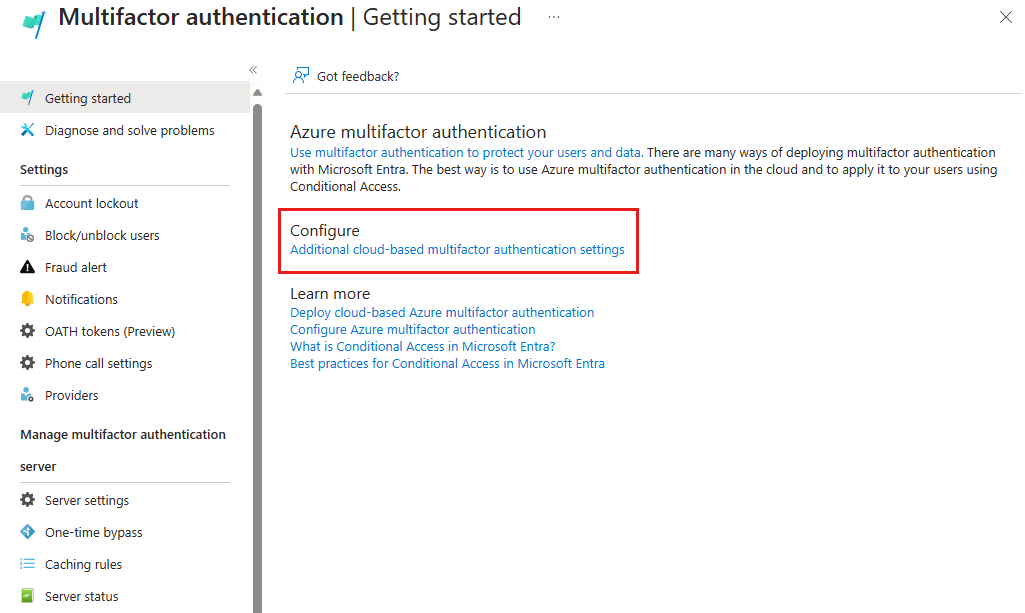
Under Configure, select Additional cloud-based multifactor authentication settings. A new browser page opens where you can see all the MFA options for Azure.
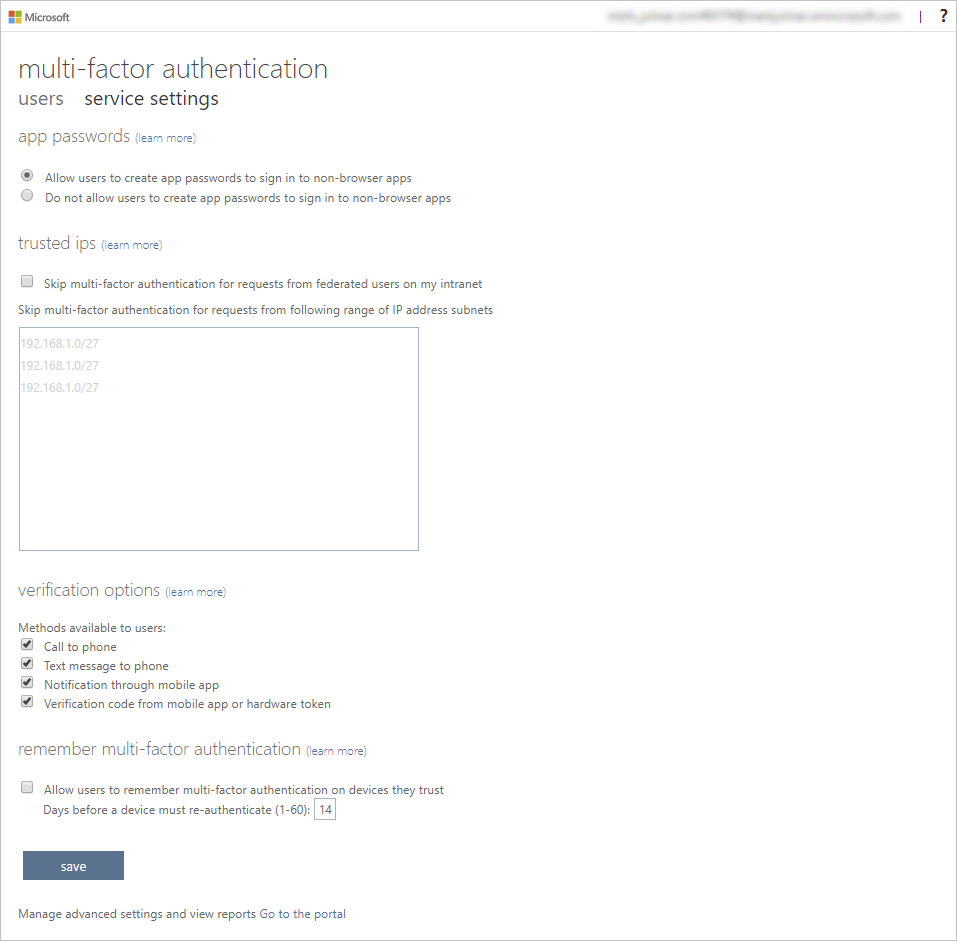
This page is where you select the supported authentication methods. In this example, all of them are selected.
You can also enable or disable app passwords here, which allow users to create unique account passwords for apps that don't support multifactor authentication. This feature lets the user authenticate with their Microsoft Entra identity, using a different password specific to that app.
Set up Conditional Access rules for MFA
Next, examine how to set up Conditional Access policy rules that would enforce MFA for guest users accessing specific apps on your network.
Switch back to the Azure portal and select Microsoft Entra ID > Security > Conditional Access.
Select Create new policy from the top menu.

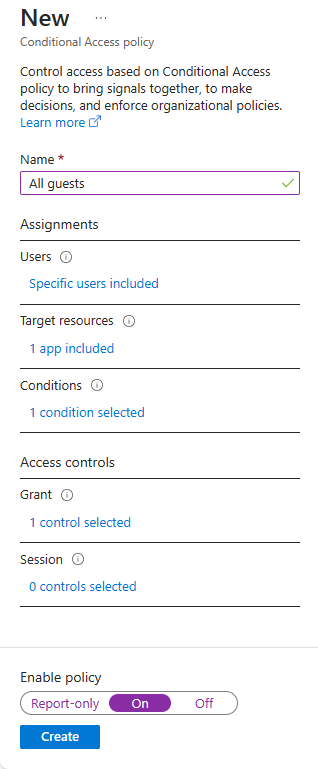
Name your policy, for example, All guests.
Under Users, select 0 users and groups selected.
- Under Include, choose Select users and groups.
- Select users and groups and then choose Select.
Under Target resources, select No target resources selected.
- Select Cloud apps.
- Under Include, choose Select apps.
- Under Select, choose None. Select apps from the options on the right and then choose Select.
Under Conditions, select 0 conditions selected.
- Under Locations, select Not configured.
- Under Configure, select Yes, then select Any location.
Under Grant, select 0 controls selected.
- Make sure that Grant access is selected.
- Select Require multifactor authentication and choose Select. This option enforces MFA.
Set Enable policy to On, and then Create.
MFA is now enabled for your selected applications. The next time a user or guest tries to sign into that app, they're prompted to register for MFA.